LIGHTROOM EDITING
Instructions:
- Download and install files. Install RNI first. After that, install “Saerin” Presets in Lightroom.
- In “Saerin” presets, there are a few key presets:
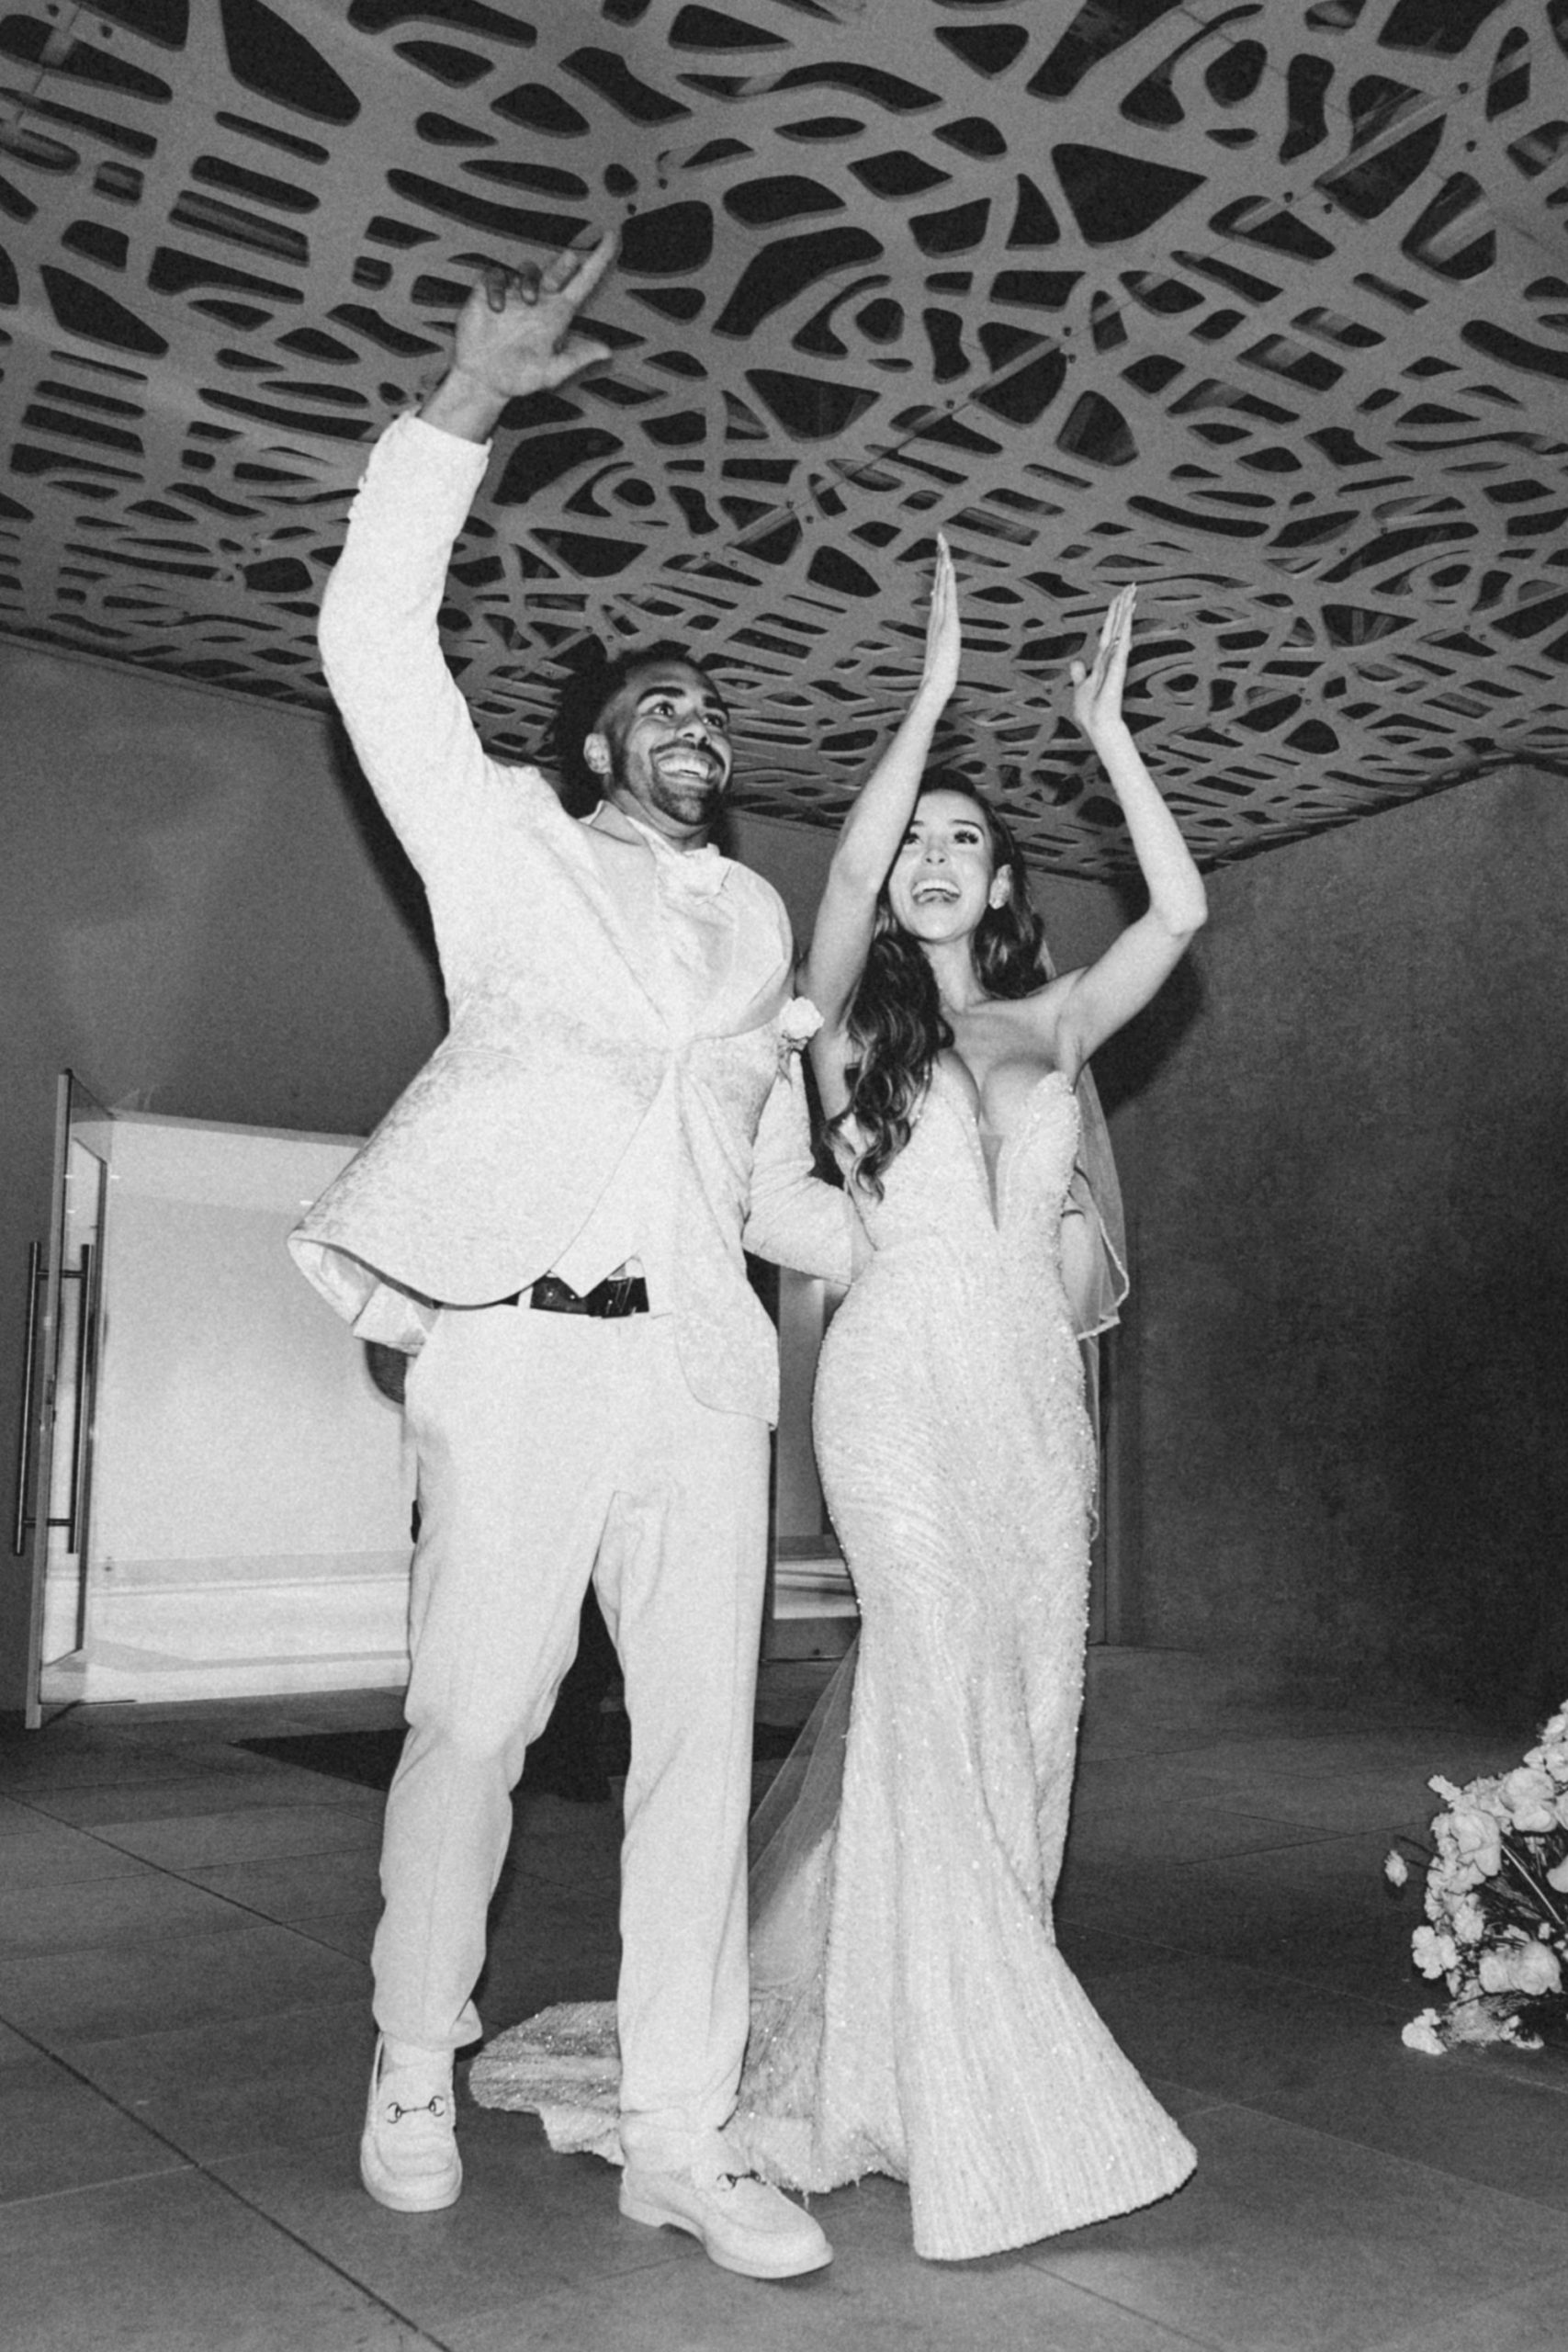
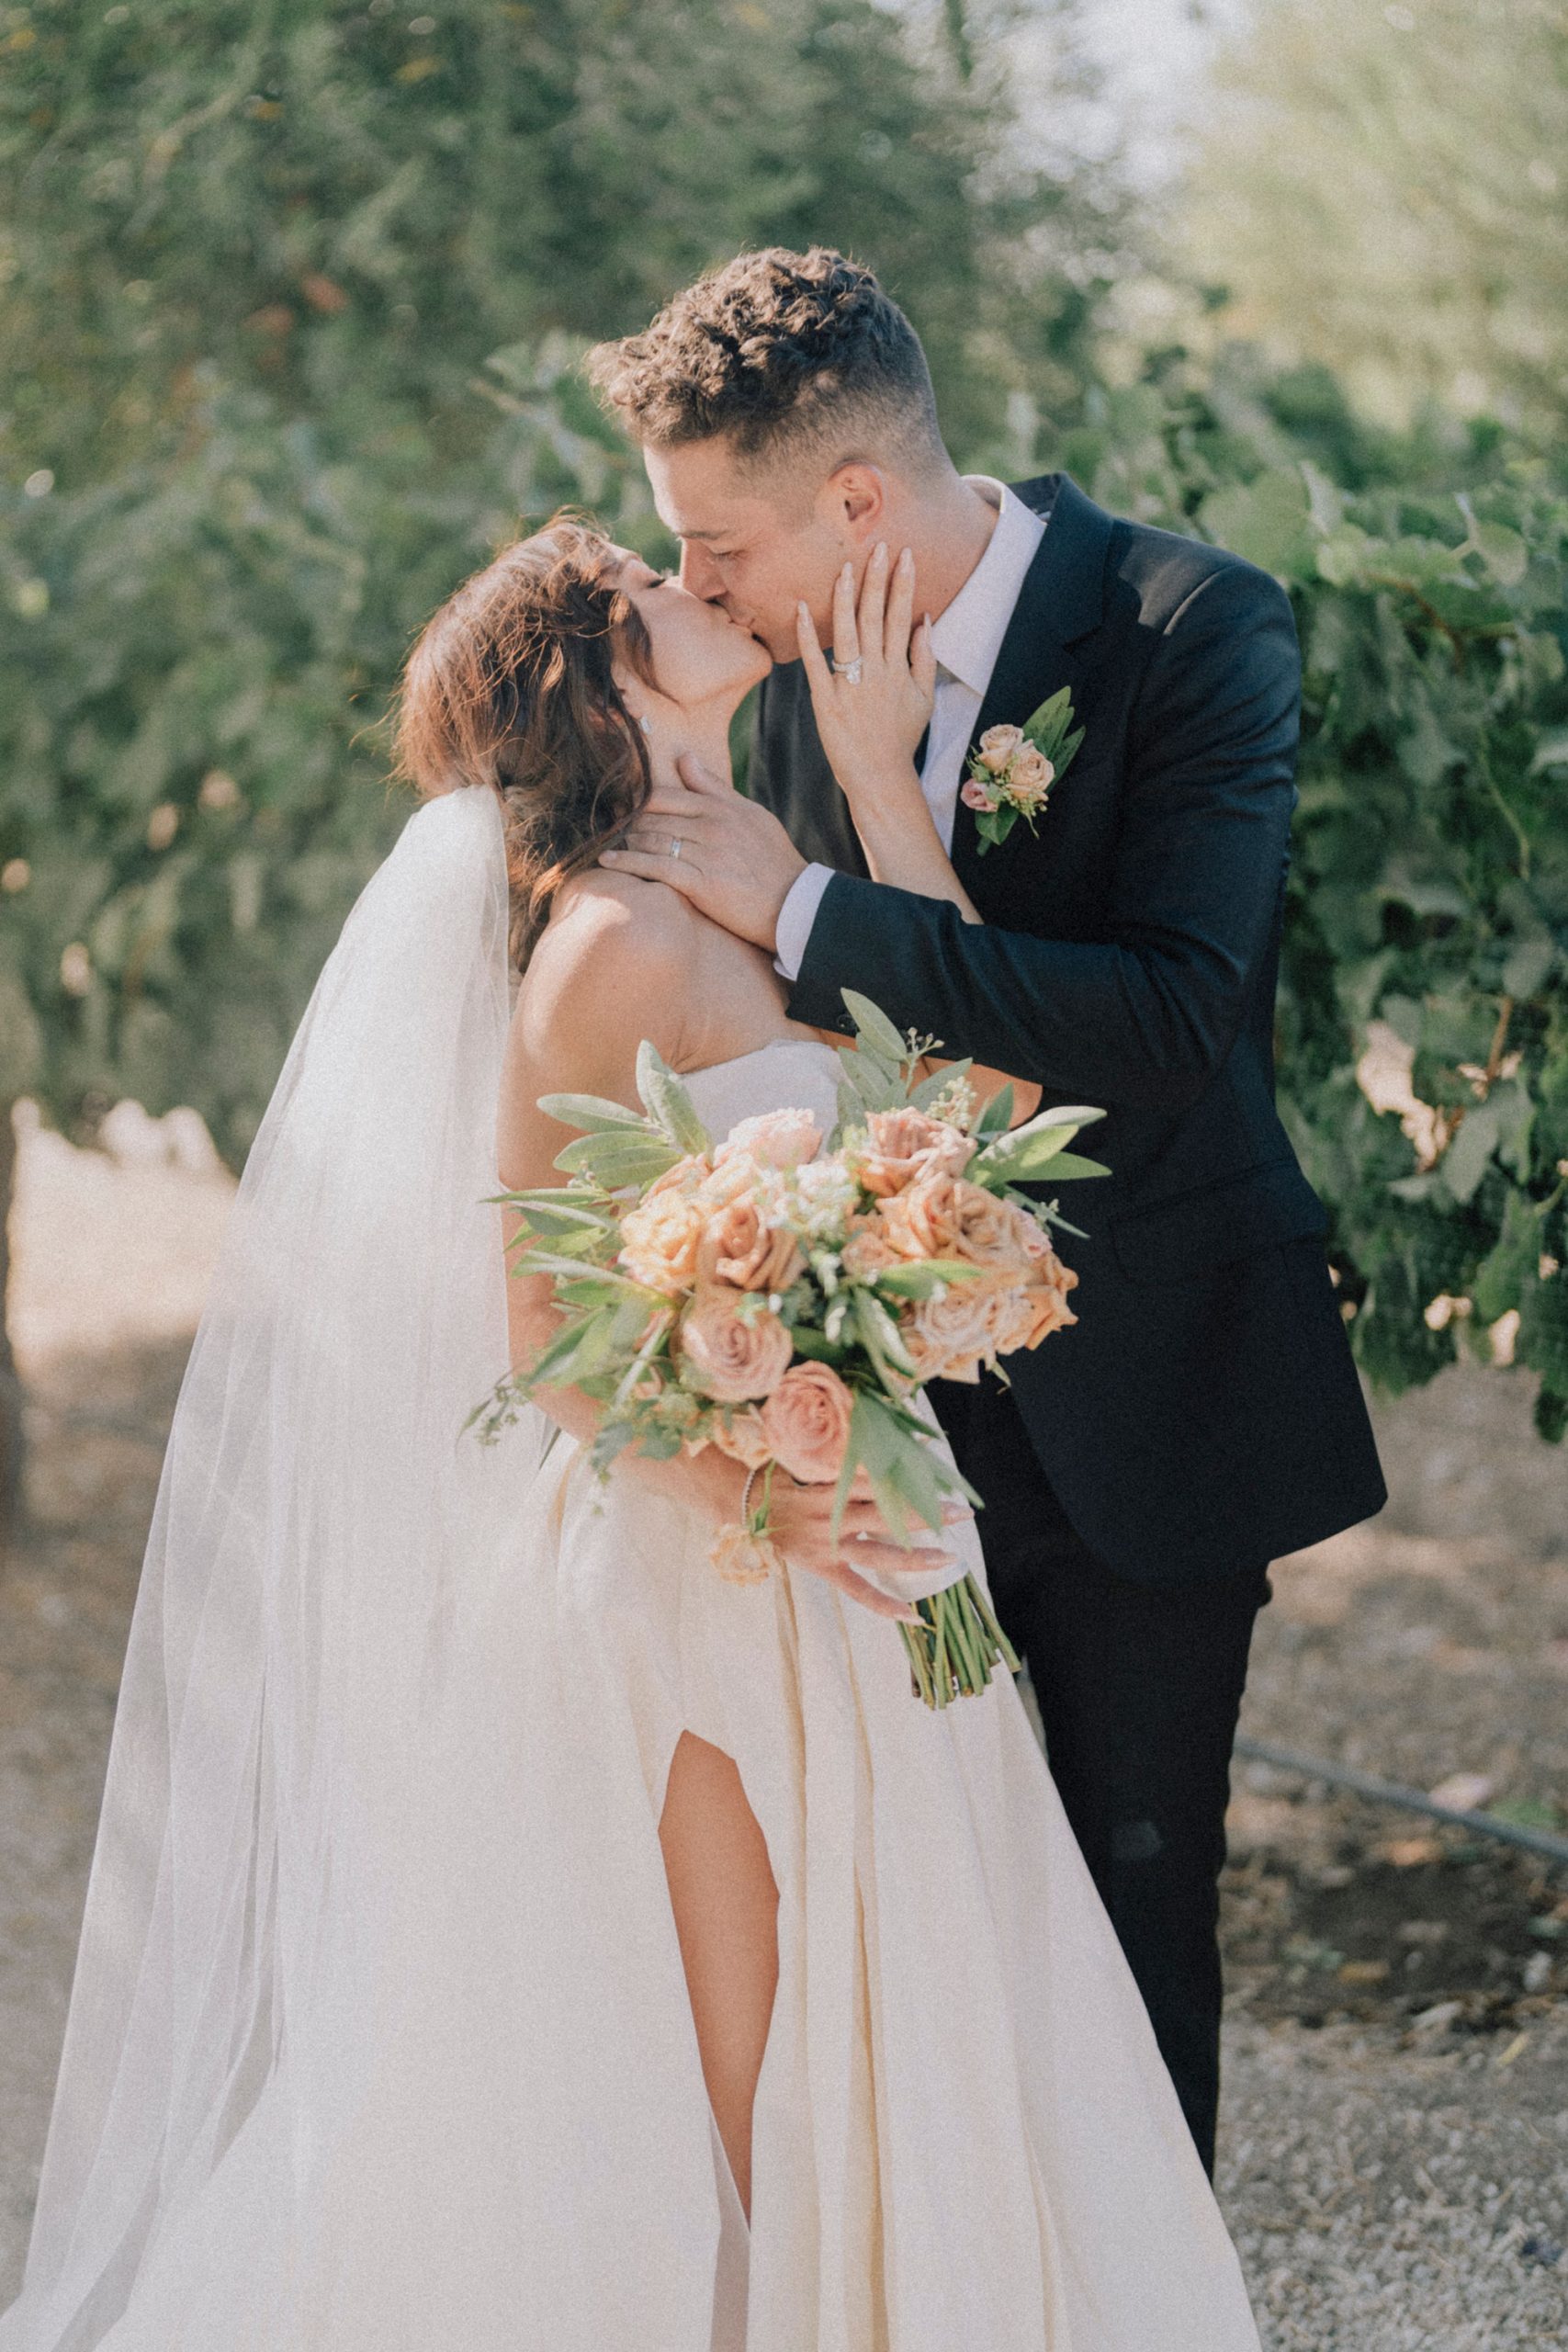
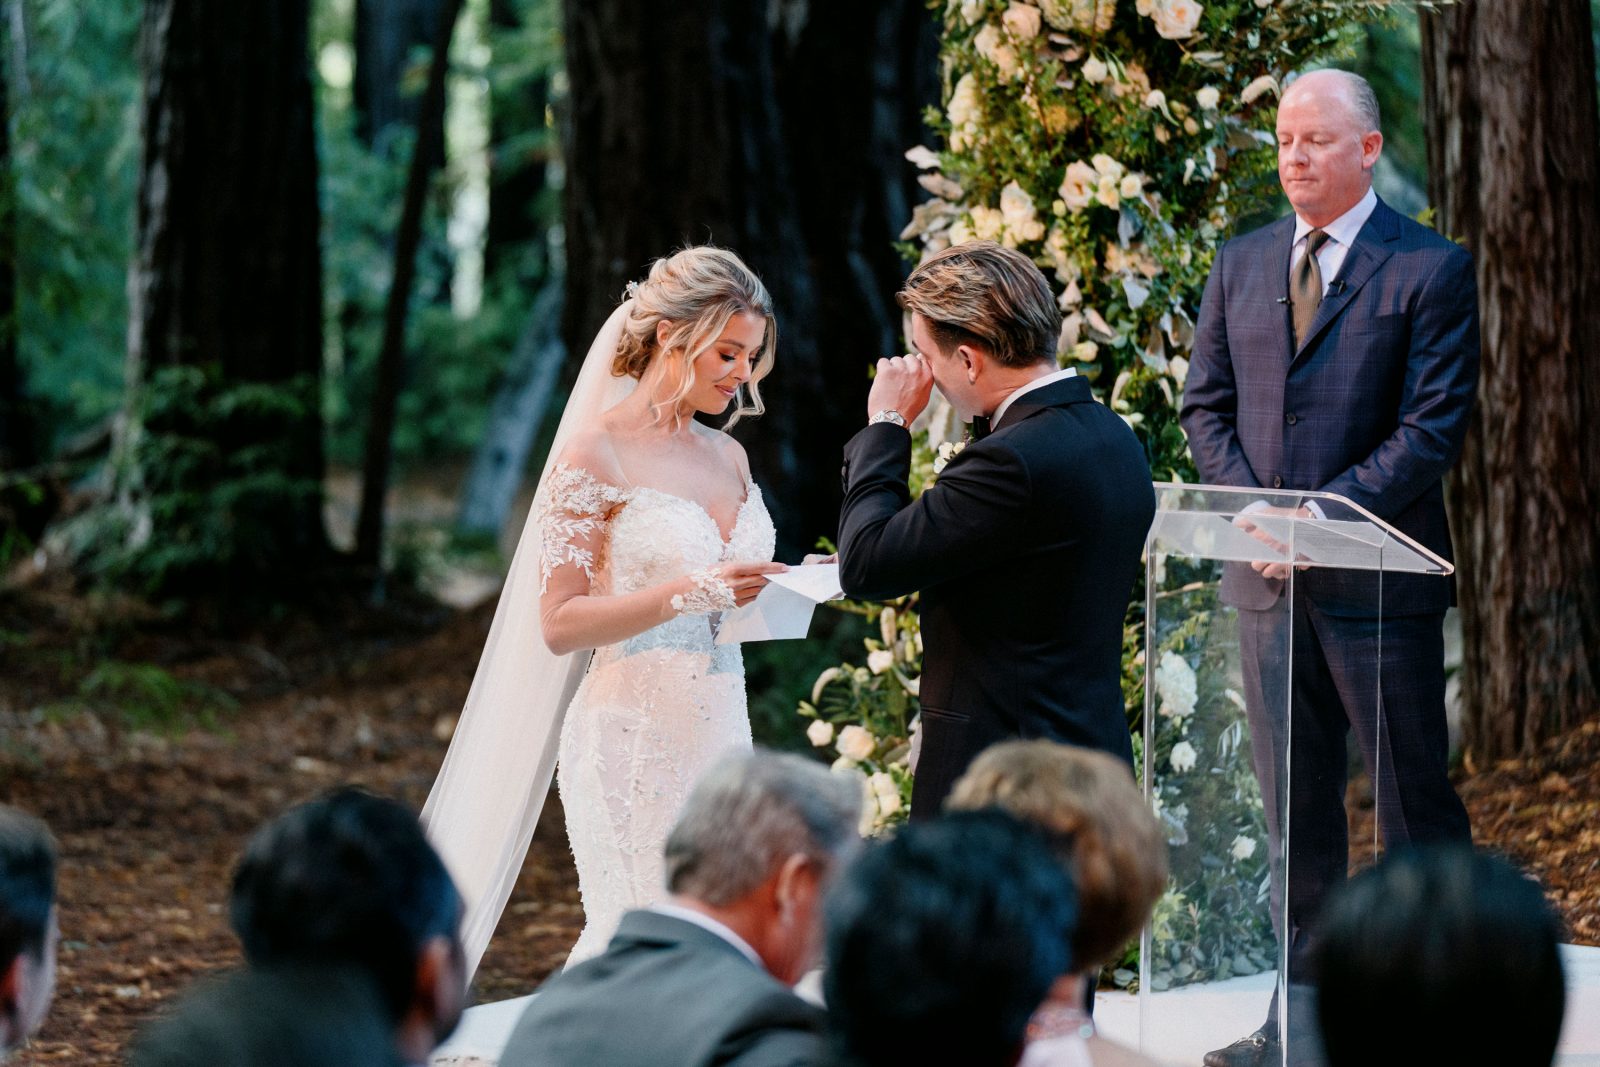
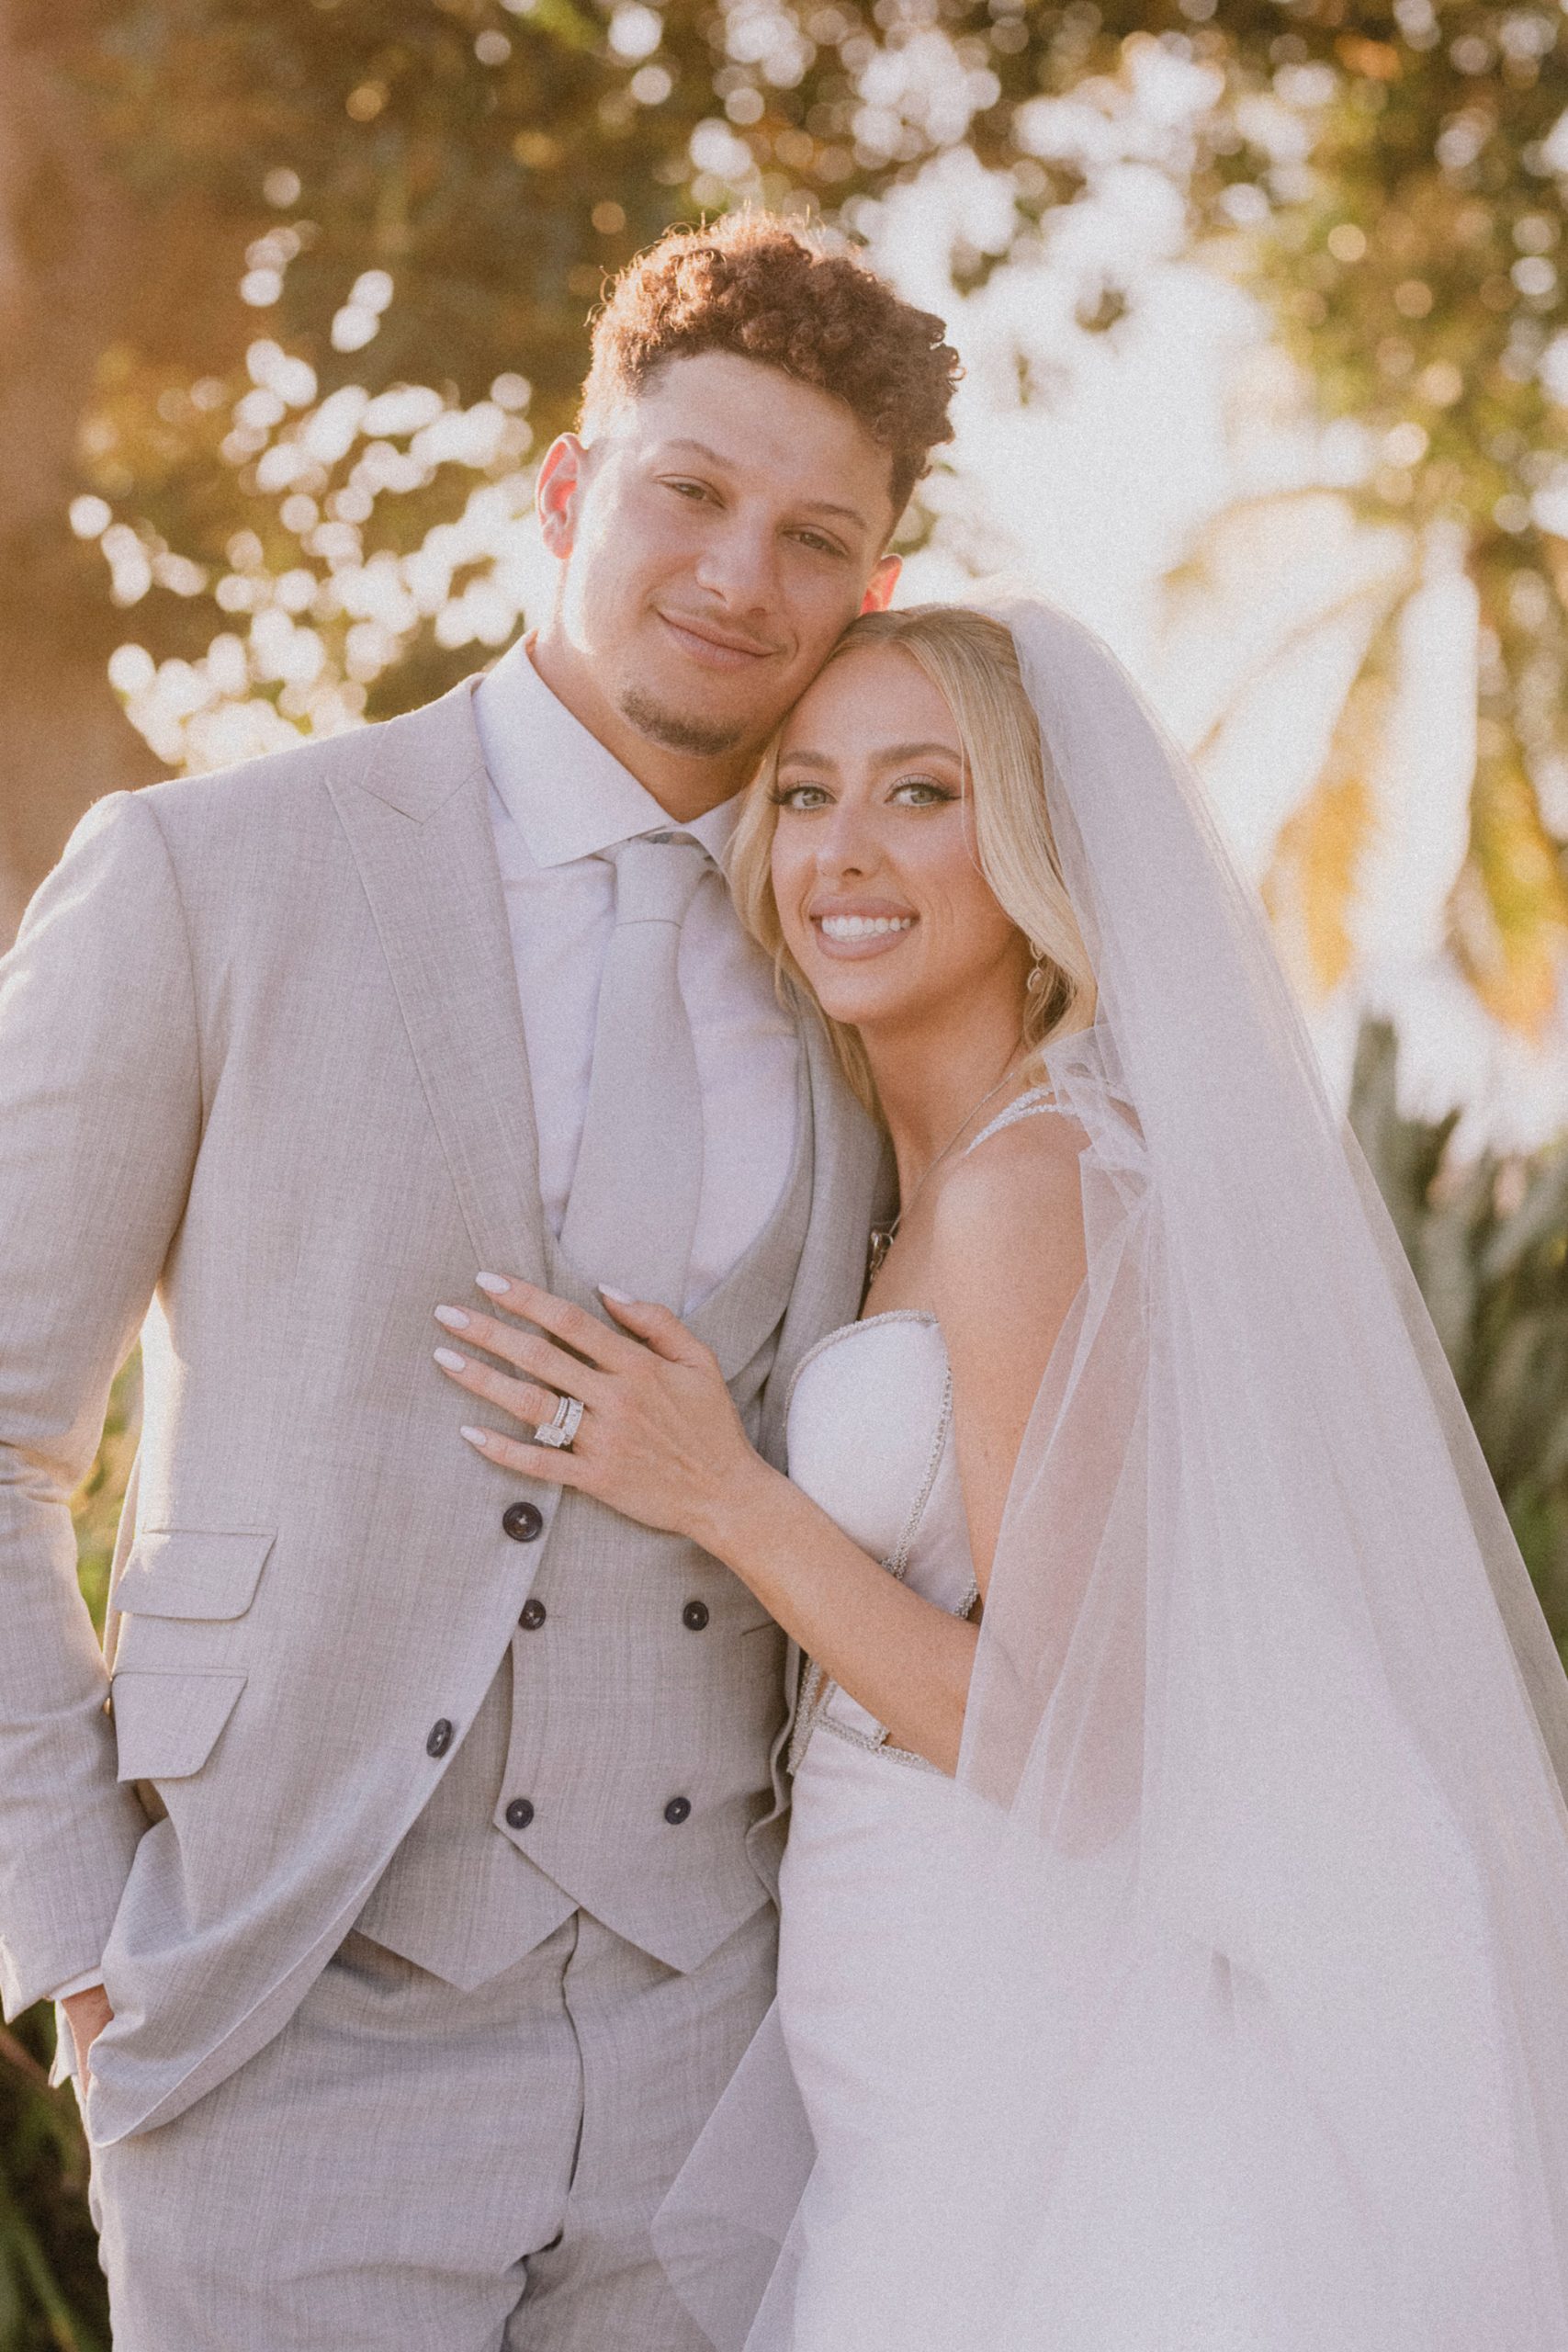
- “-1- C: Fuji Pro 400h” – this is the default for most people photos. Use this majority of the time. If the skin doesn’t look good for some reason, then use “-2- C: Portra 160”.
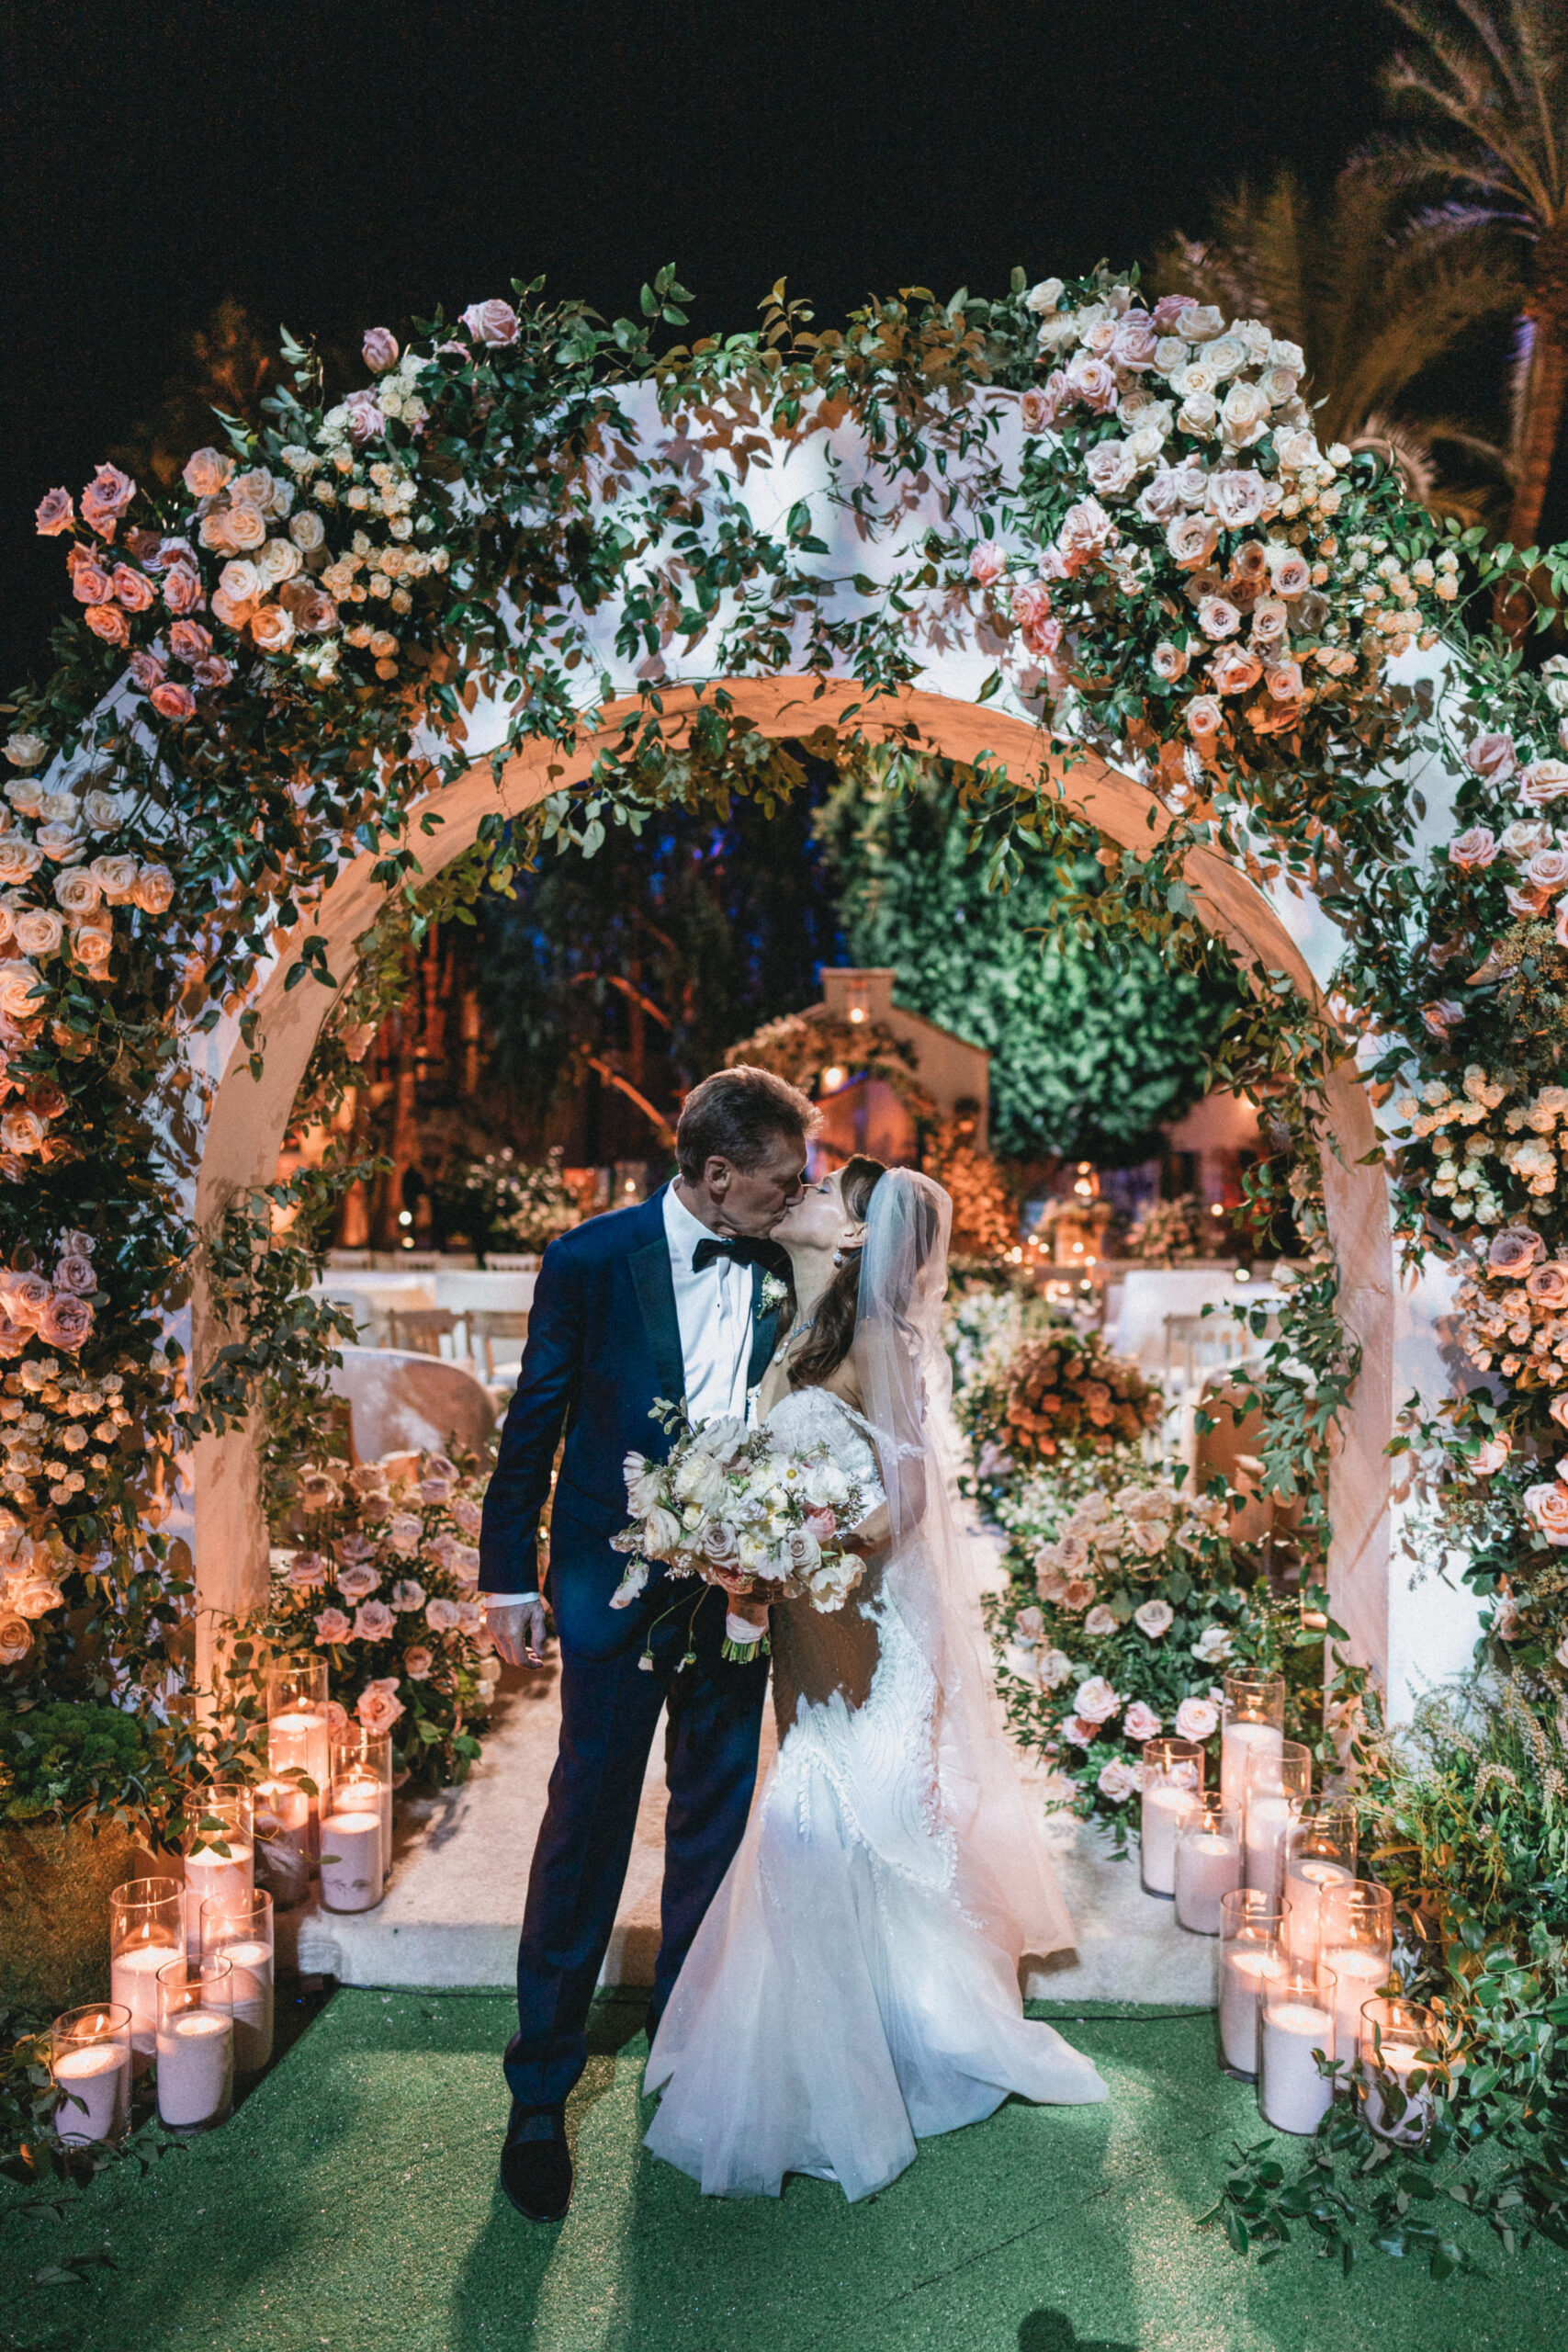
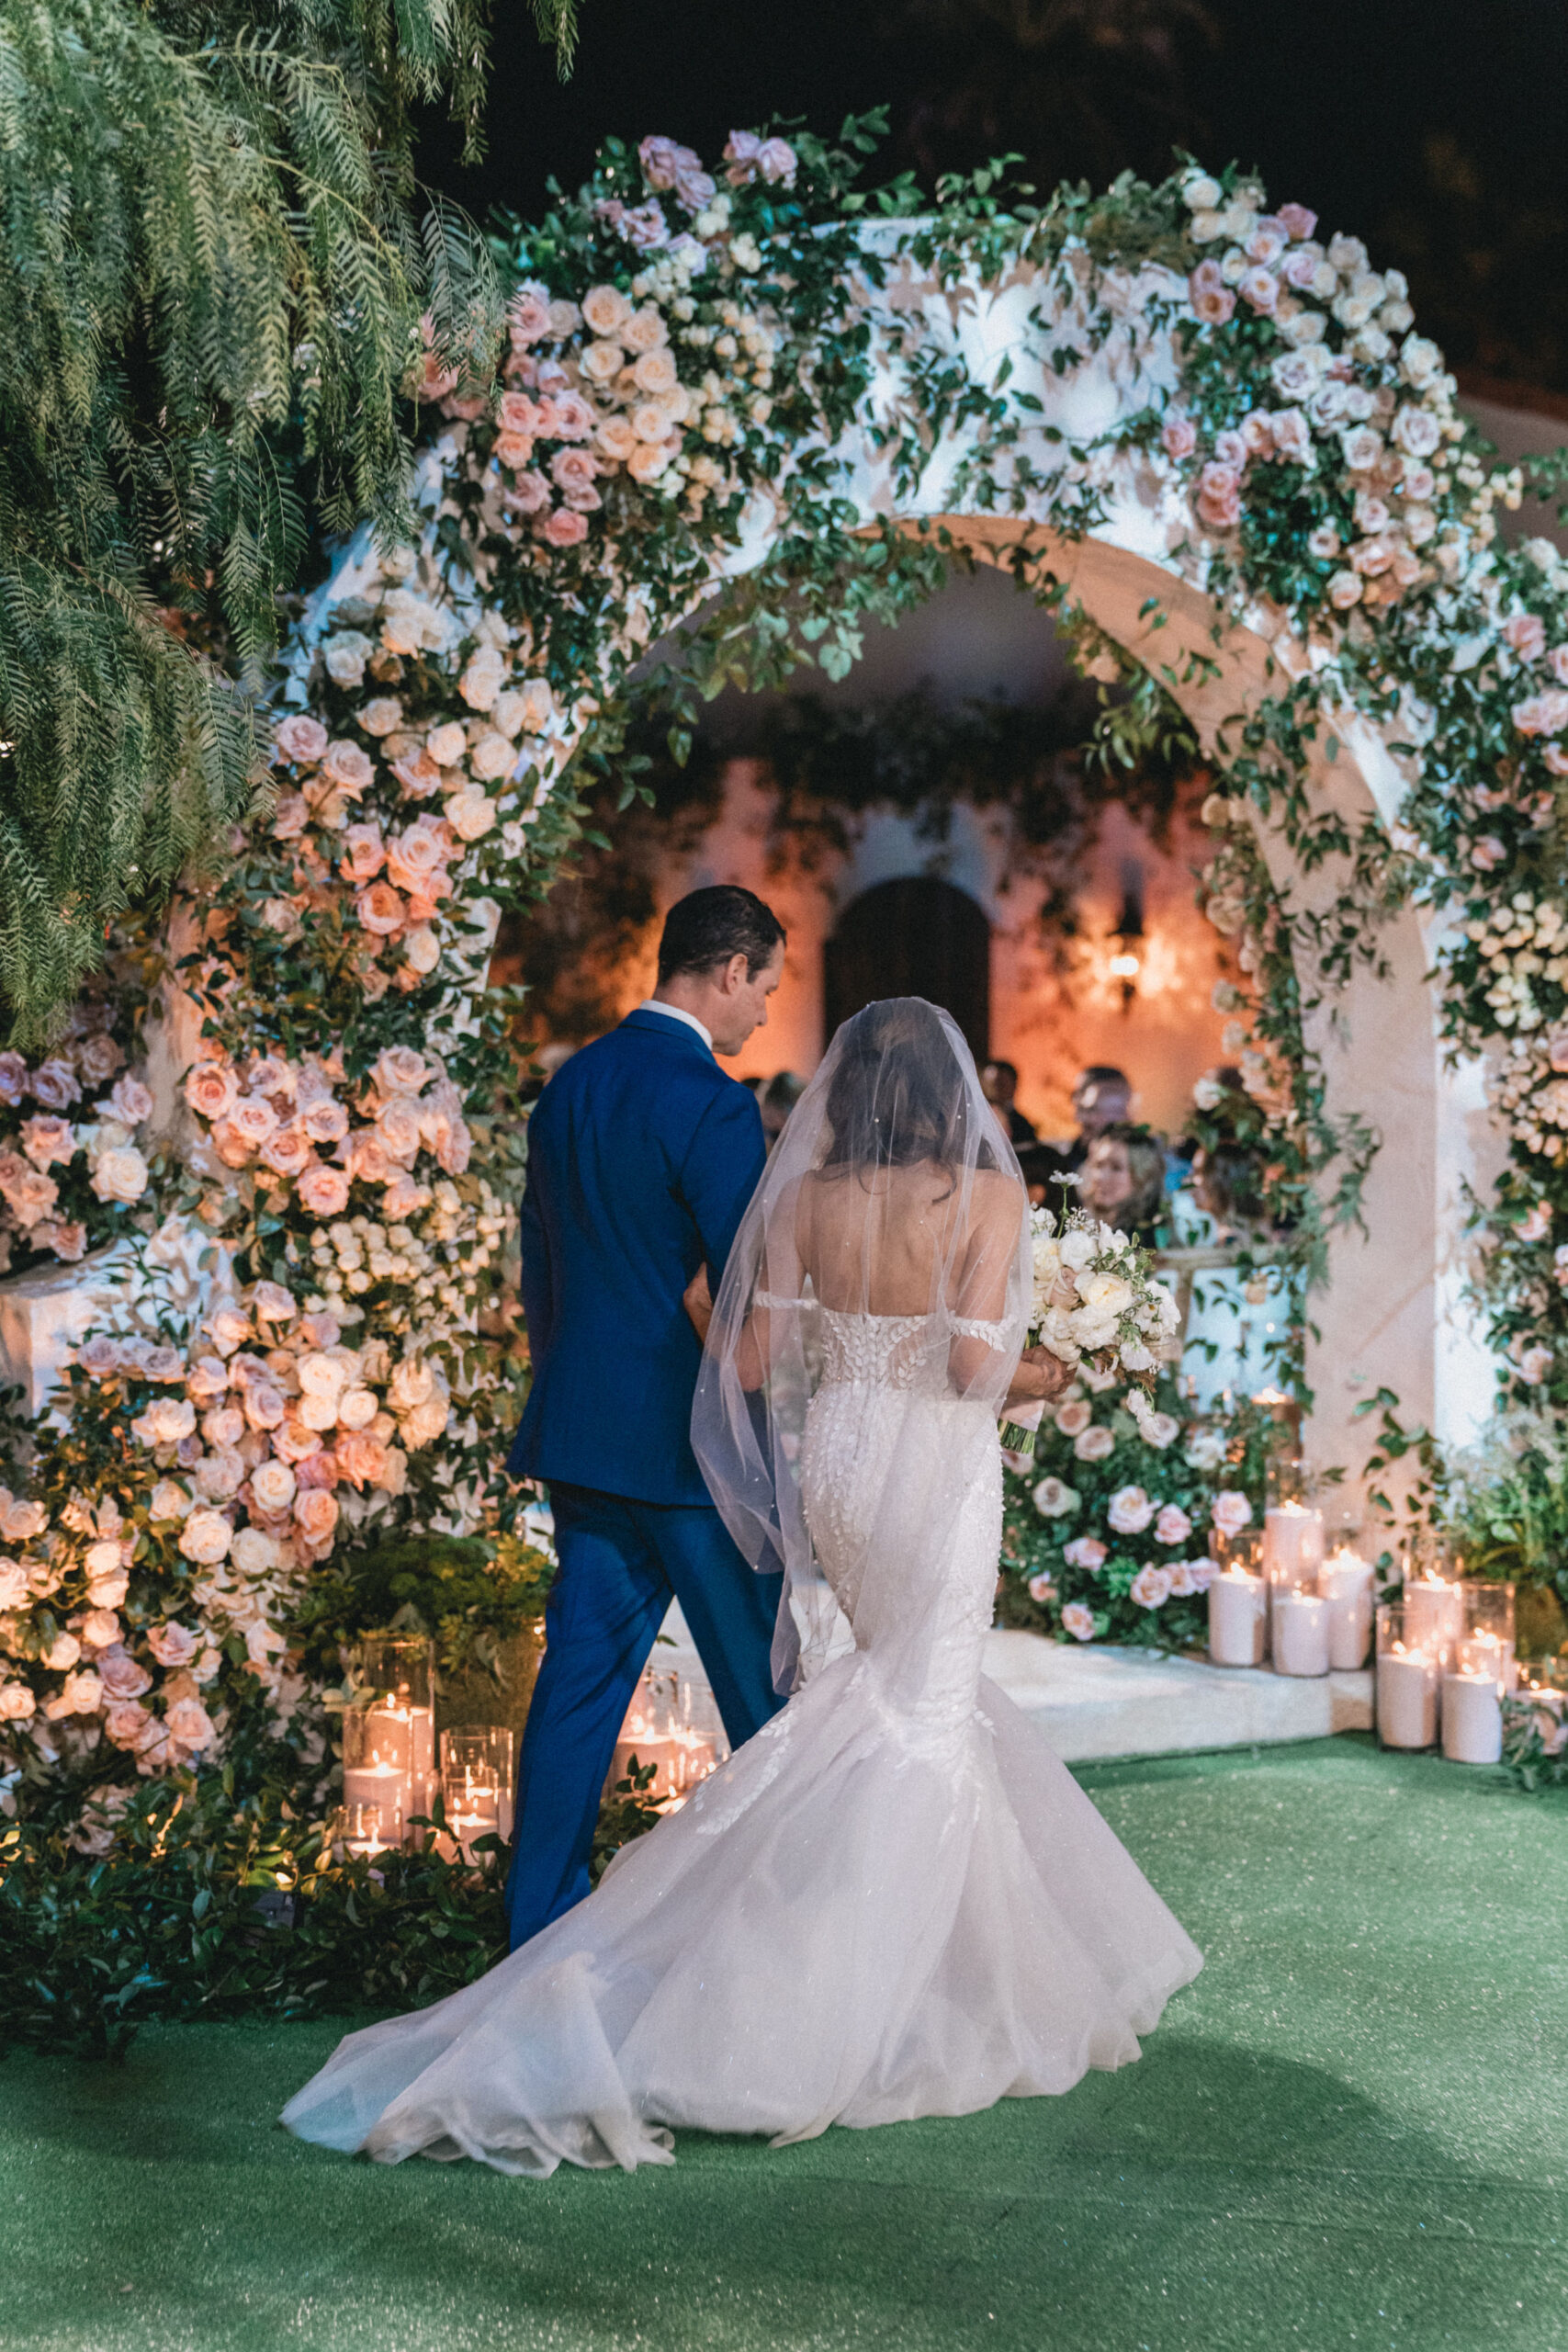
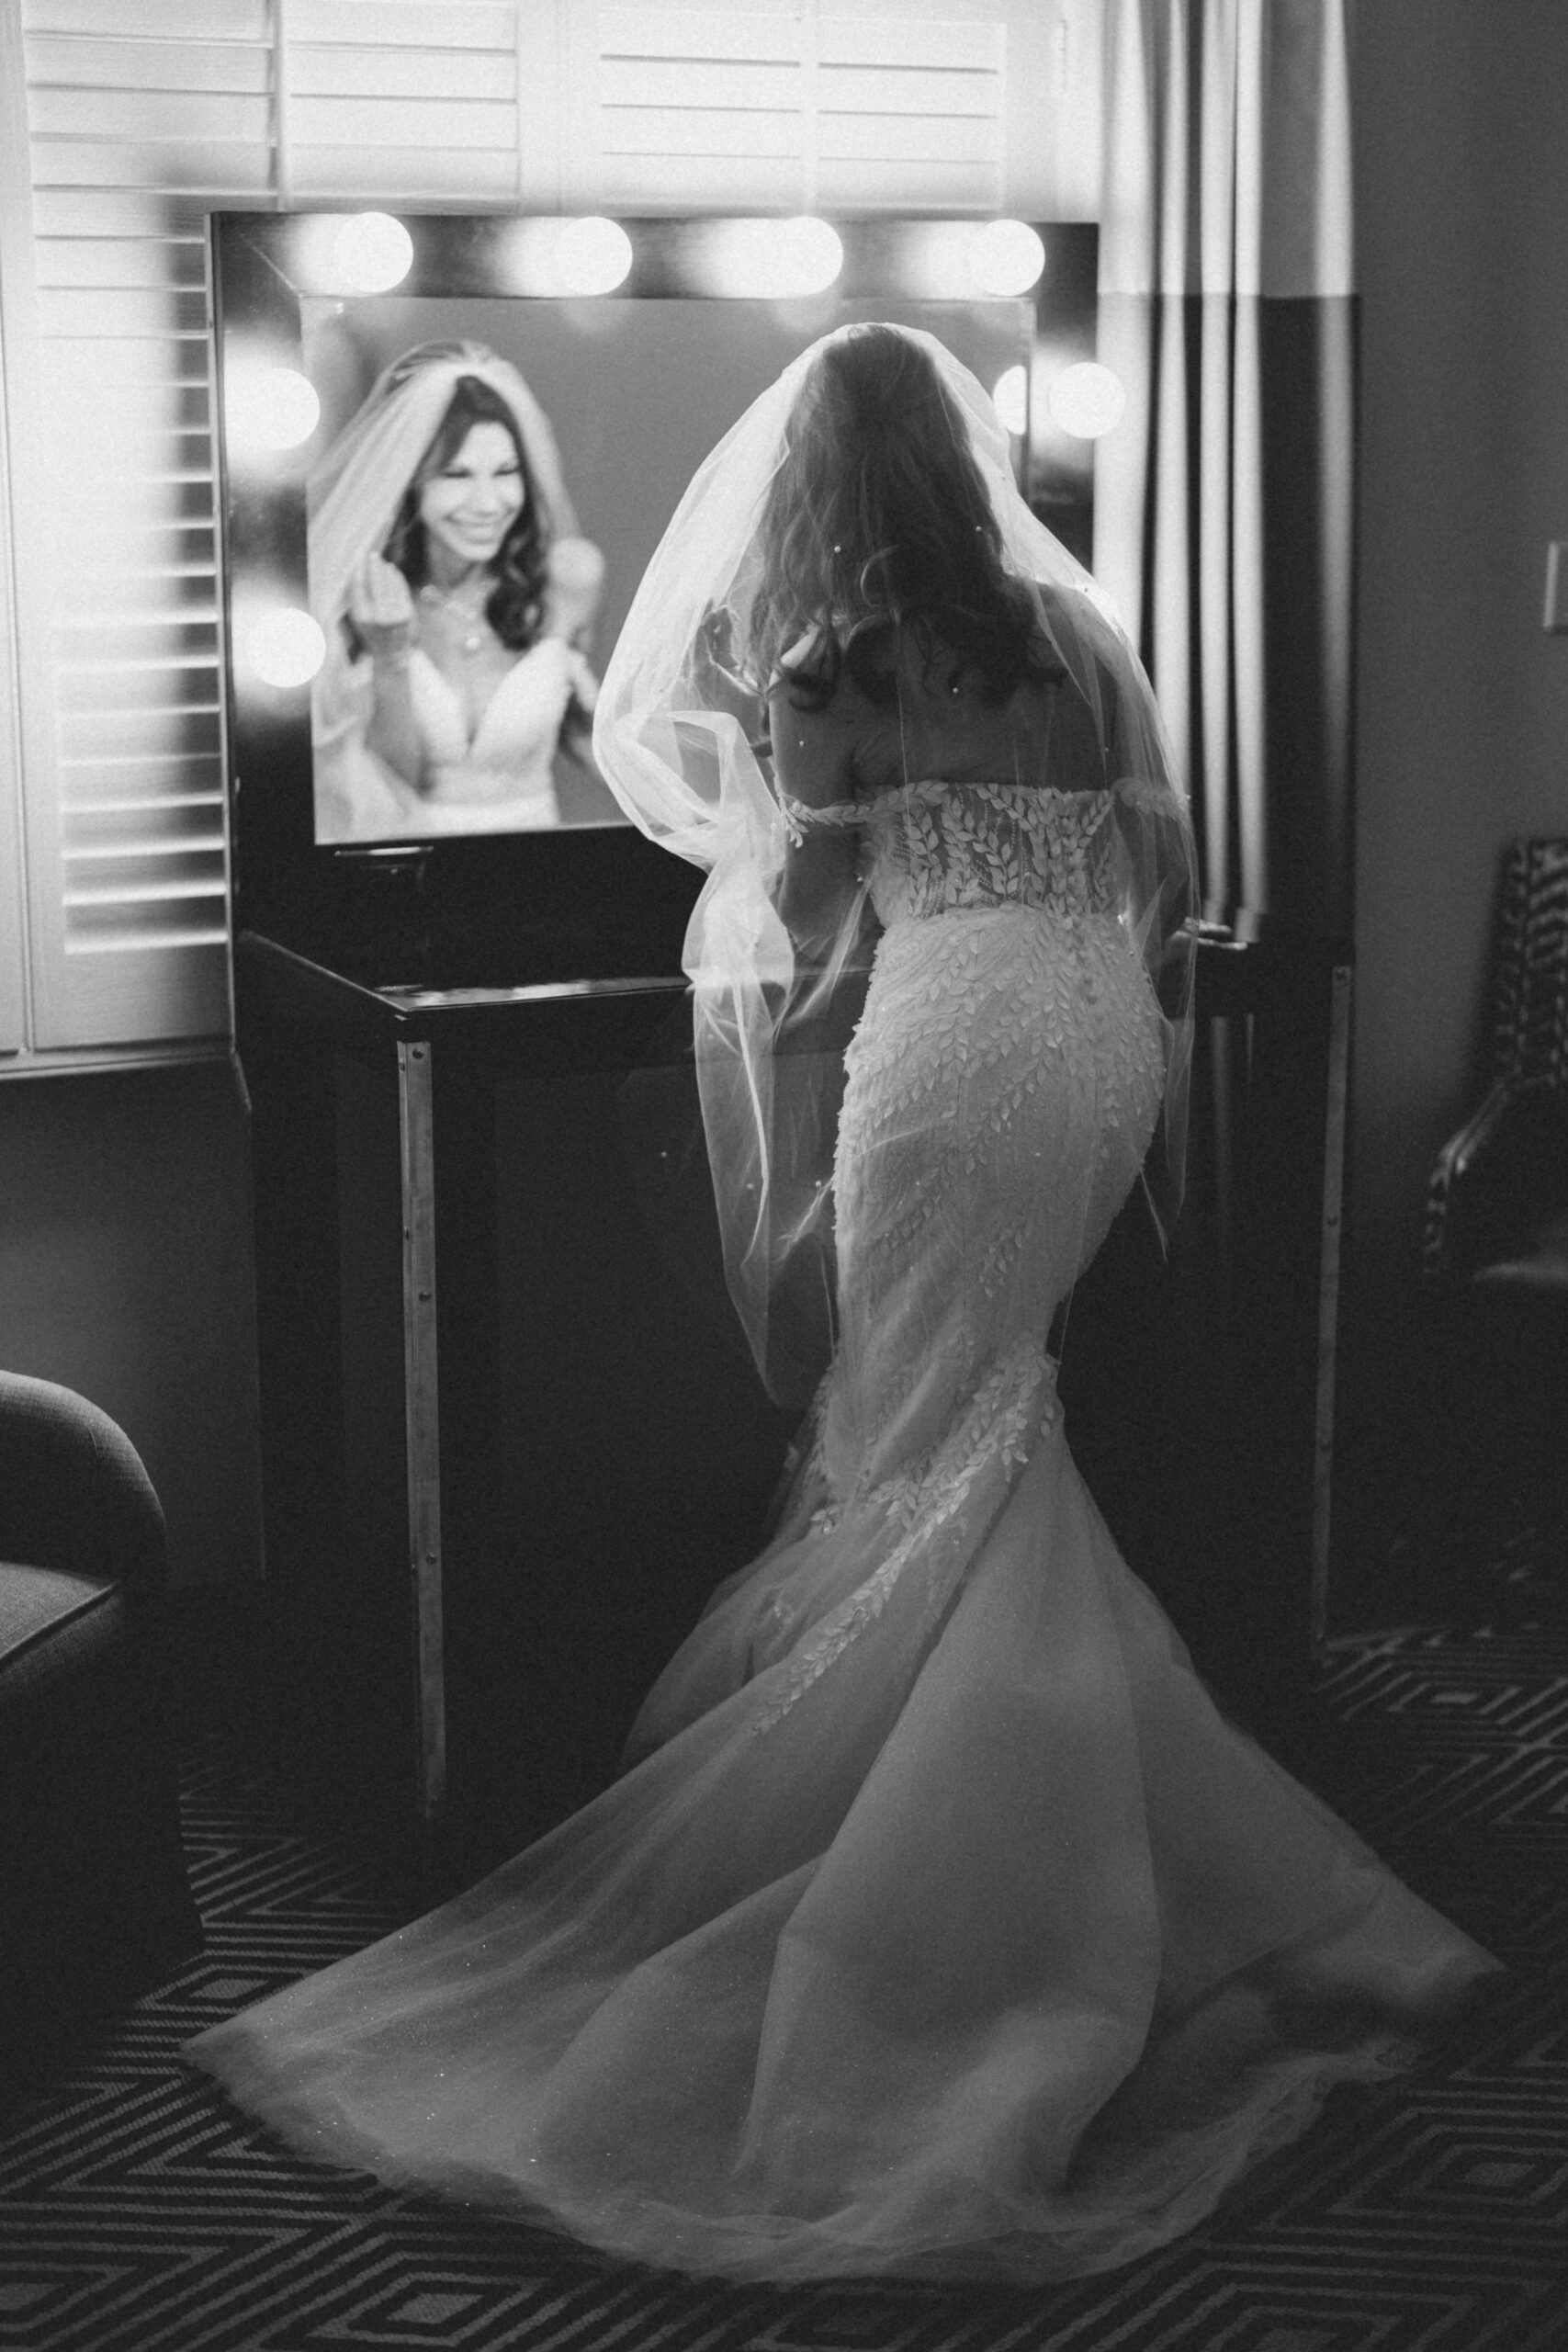
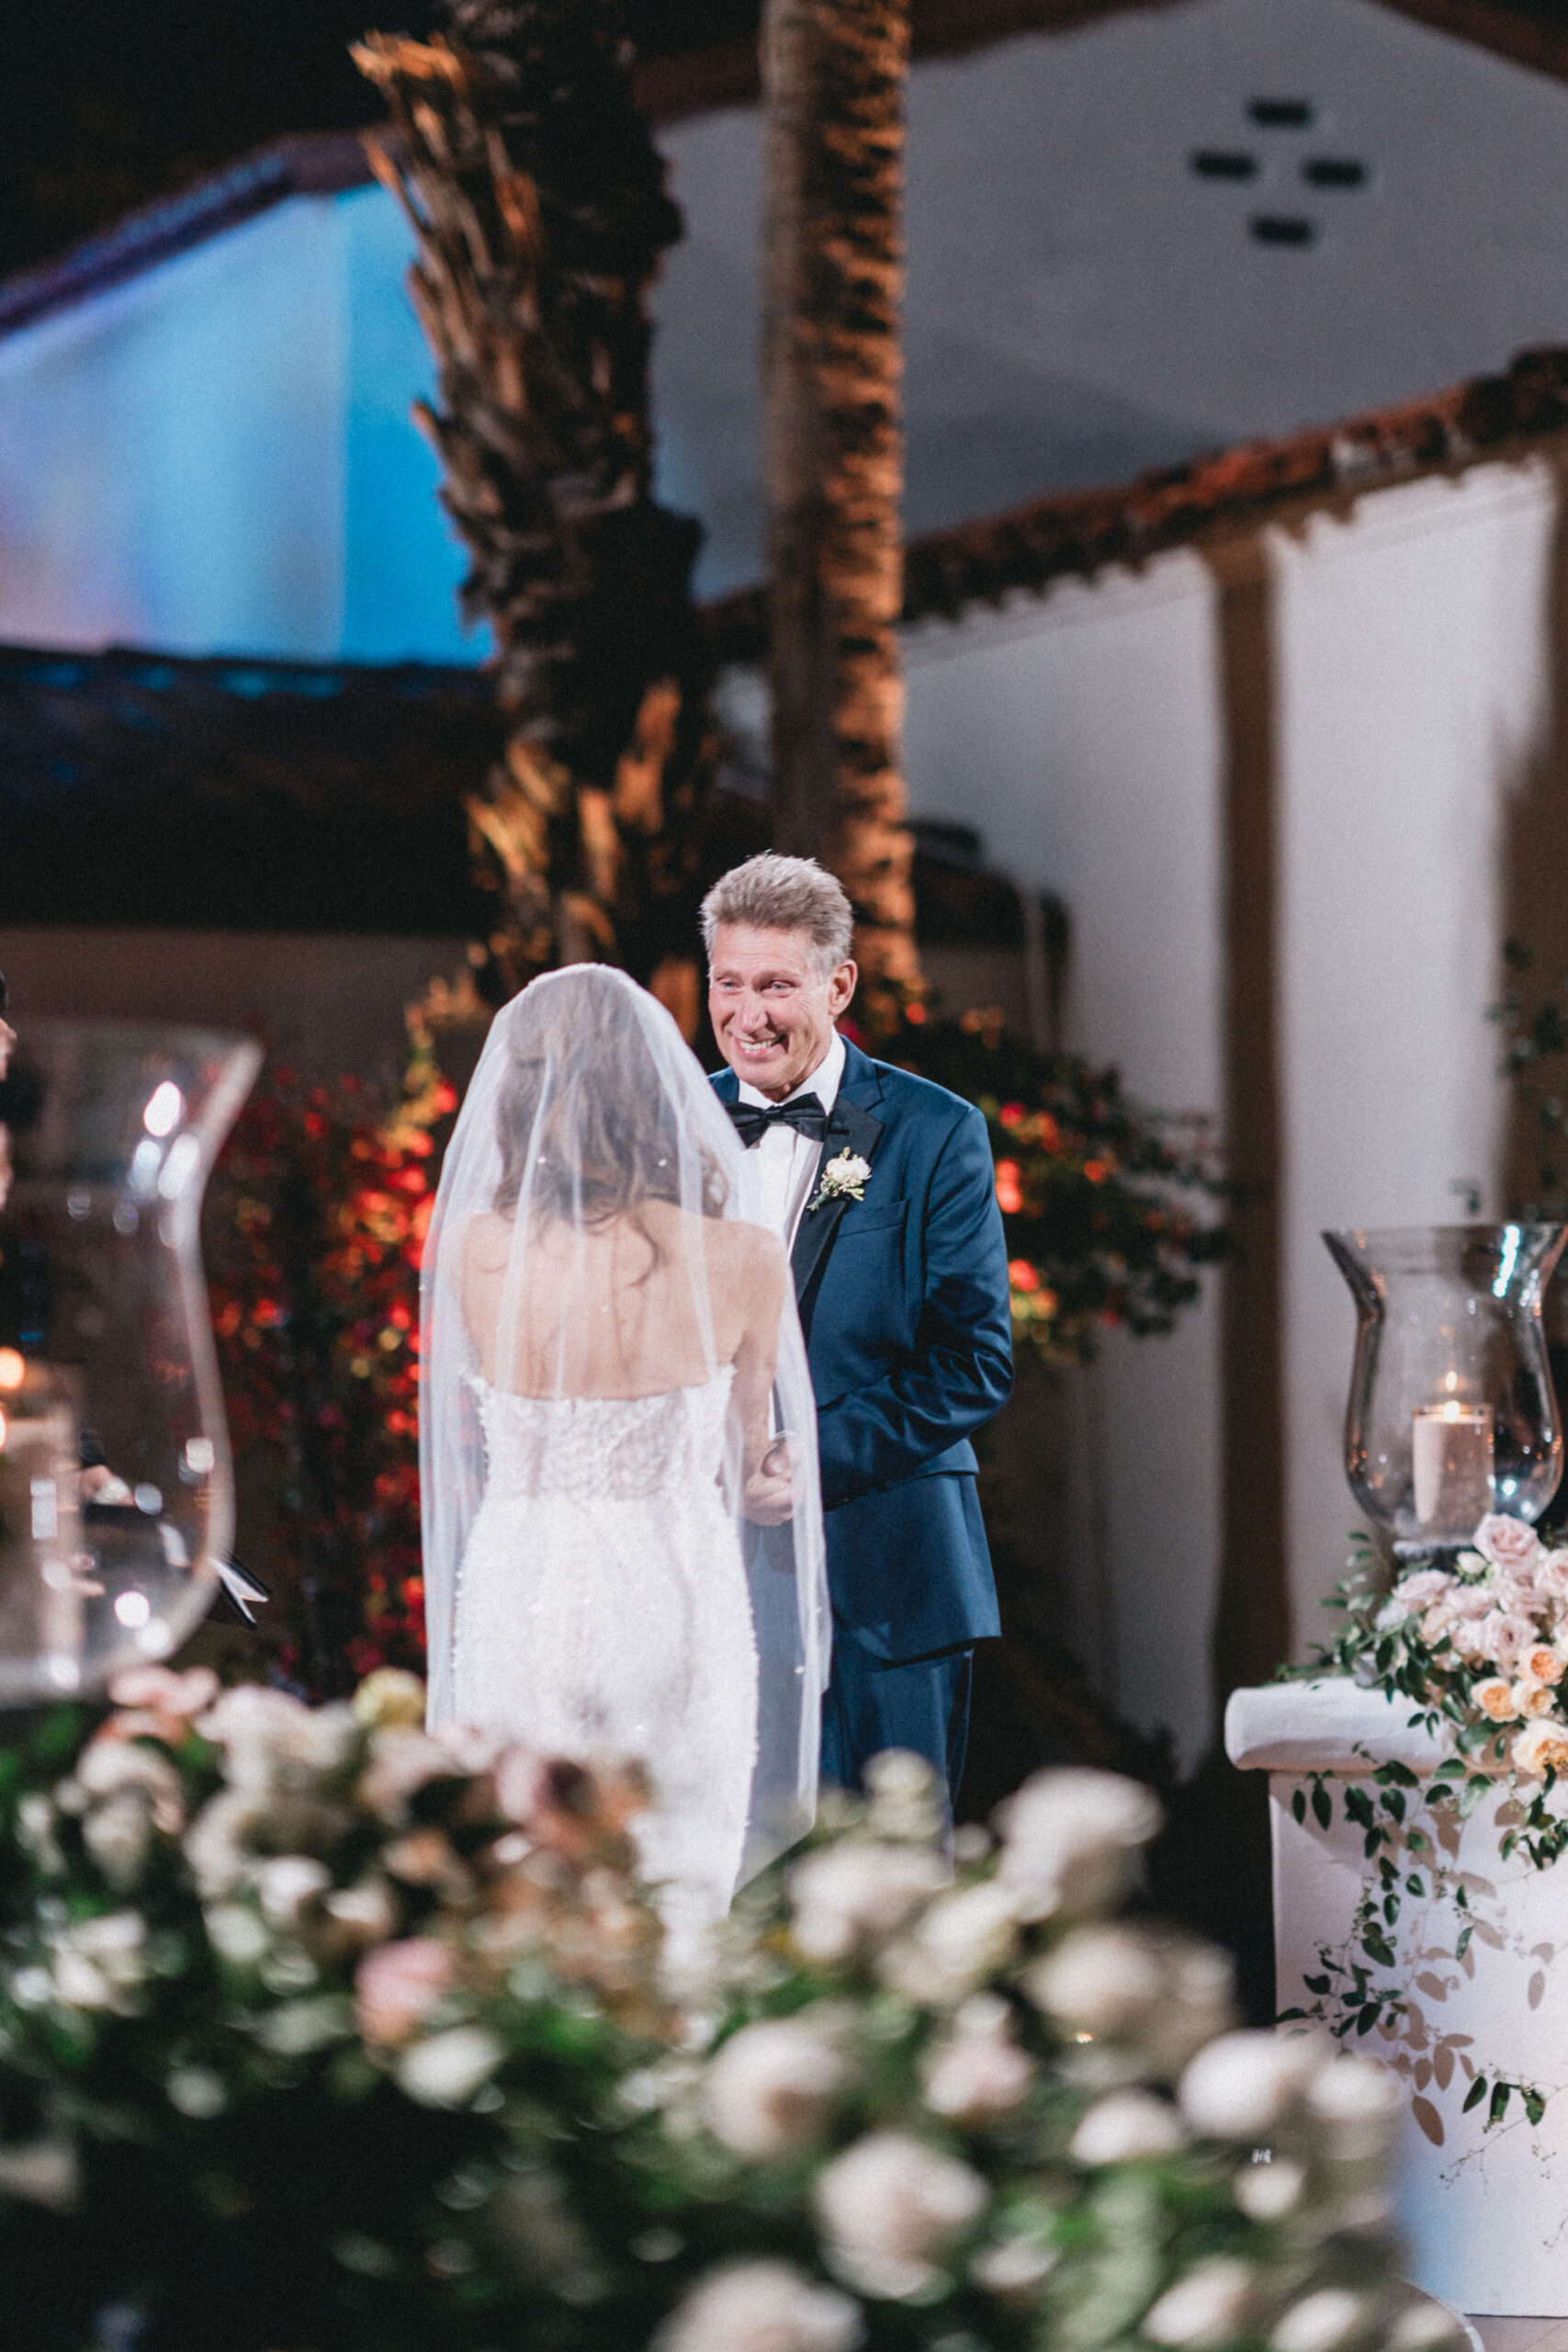
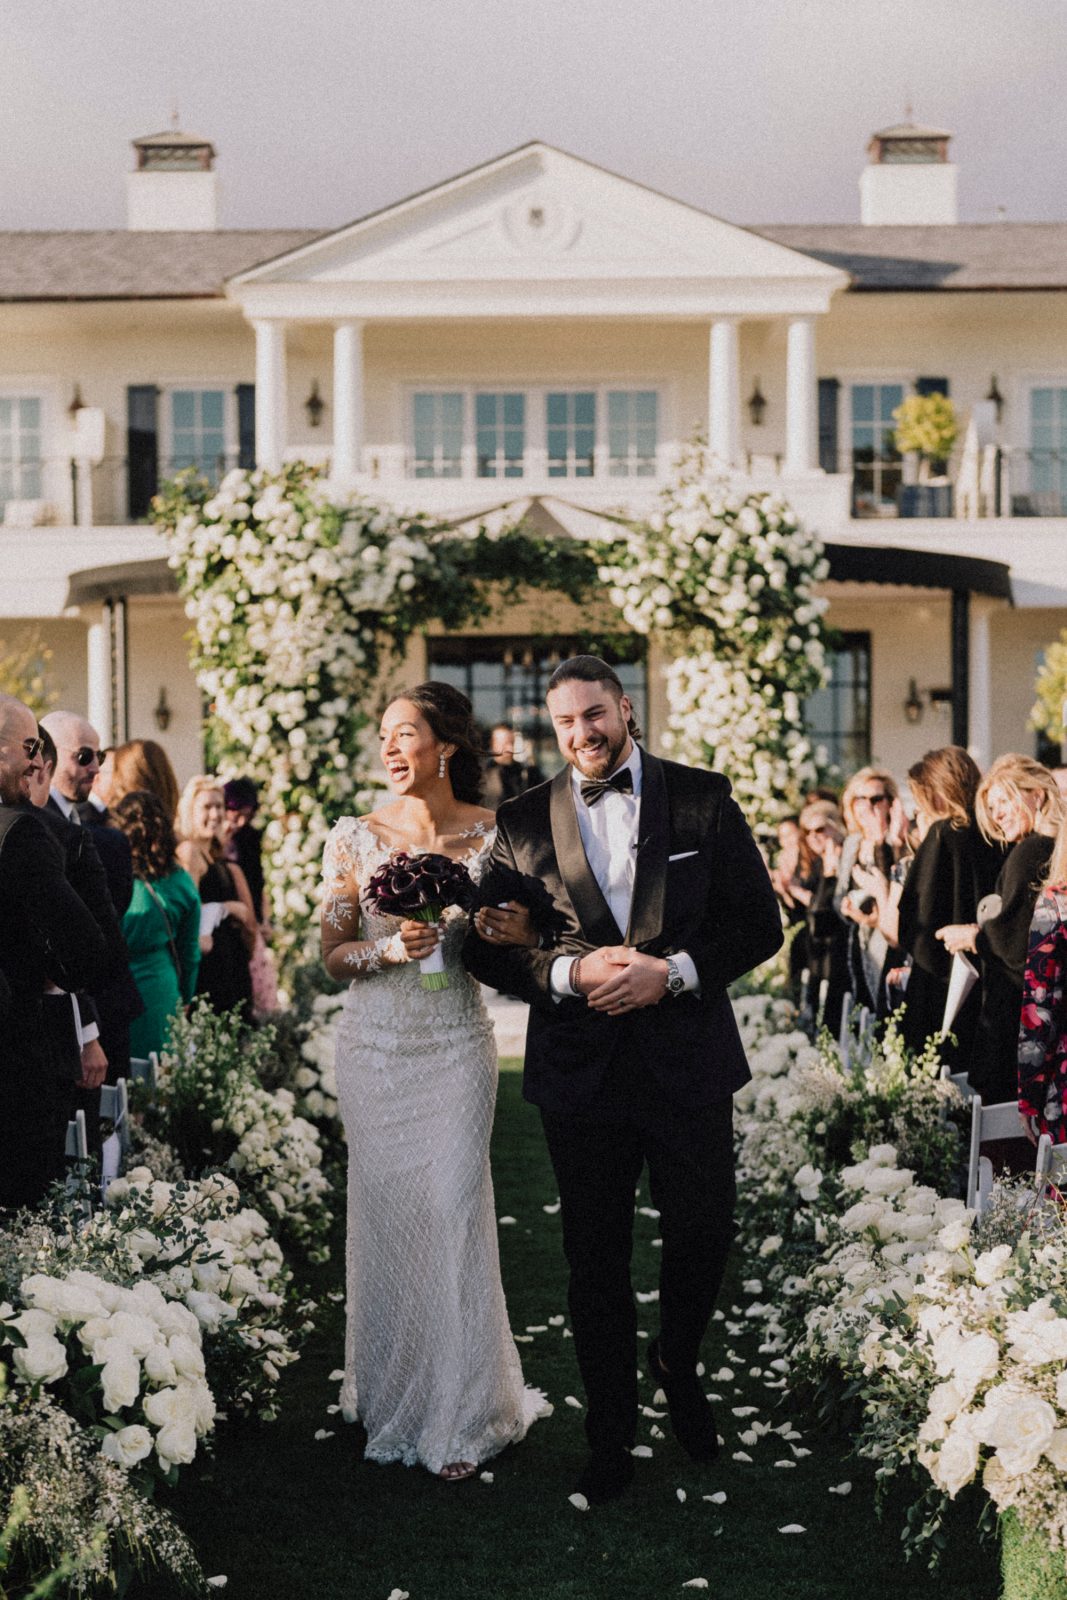
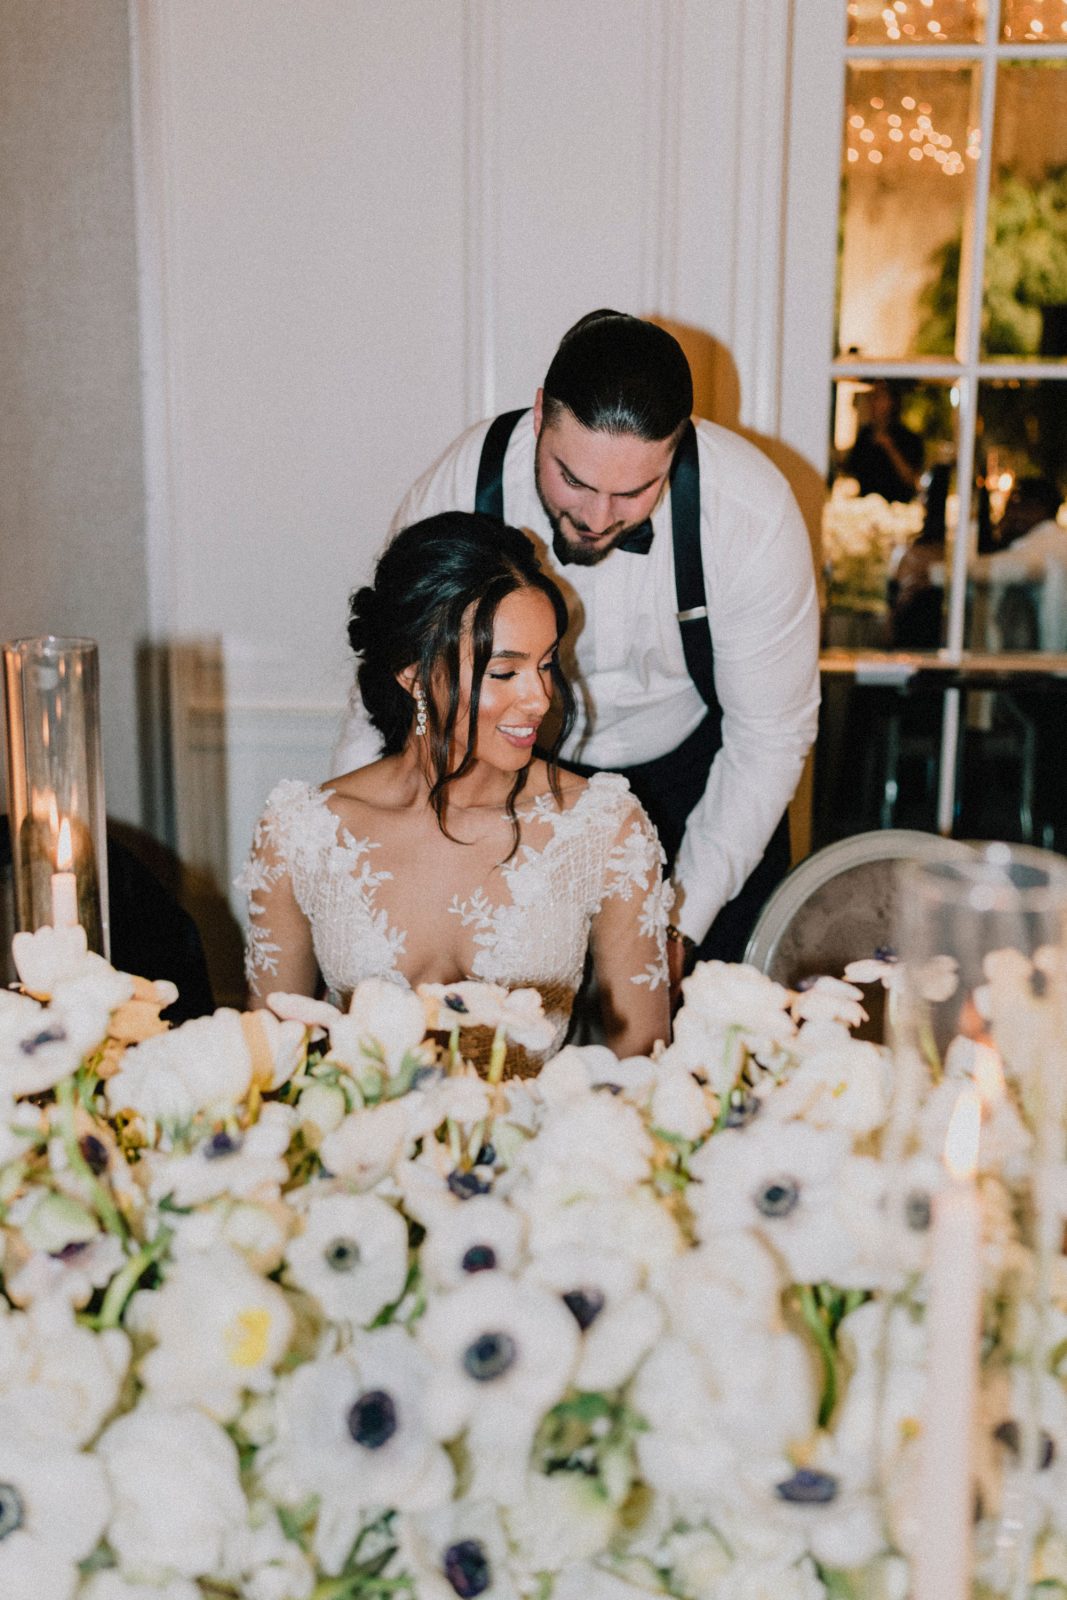
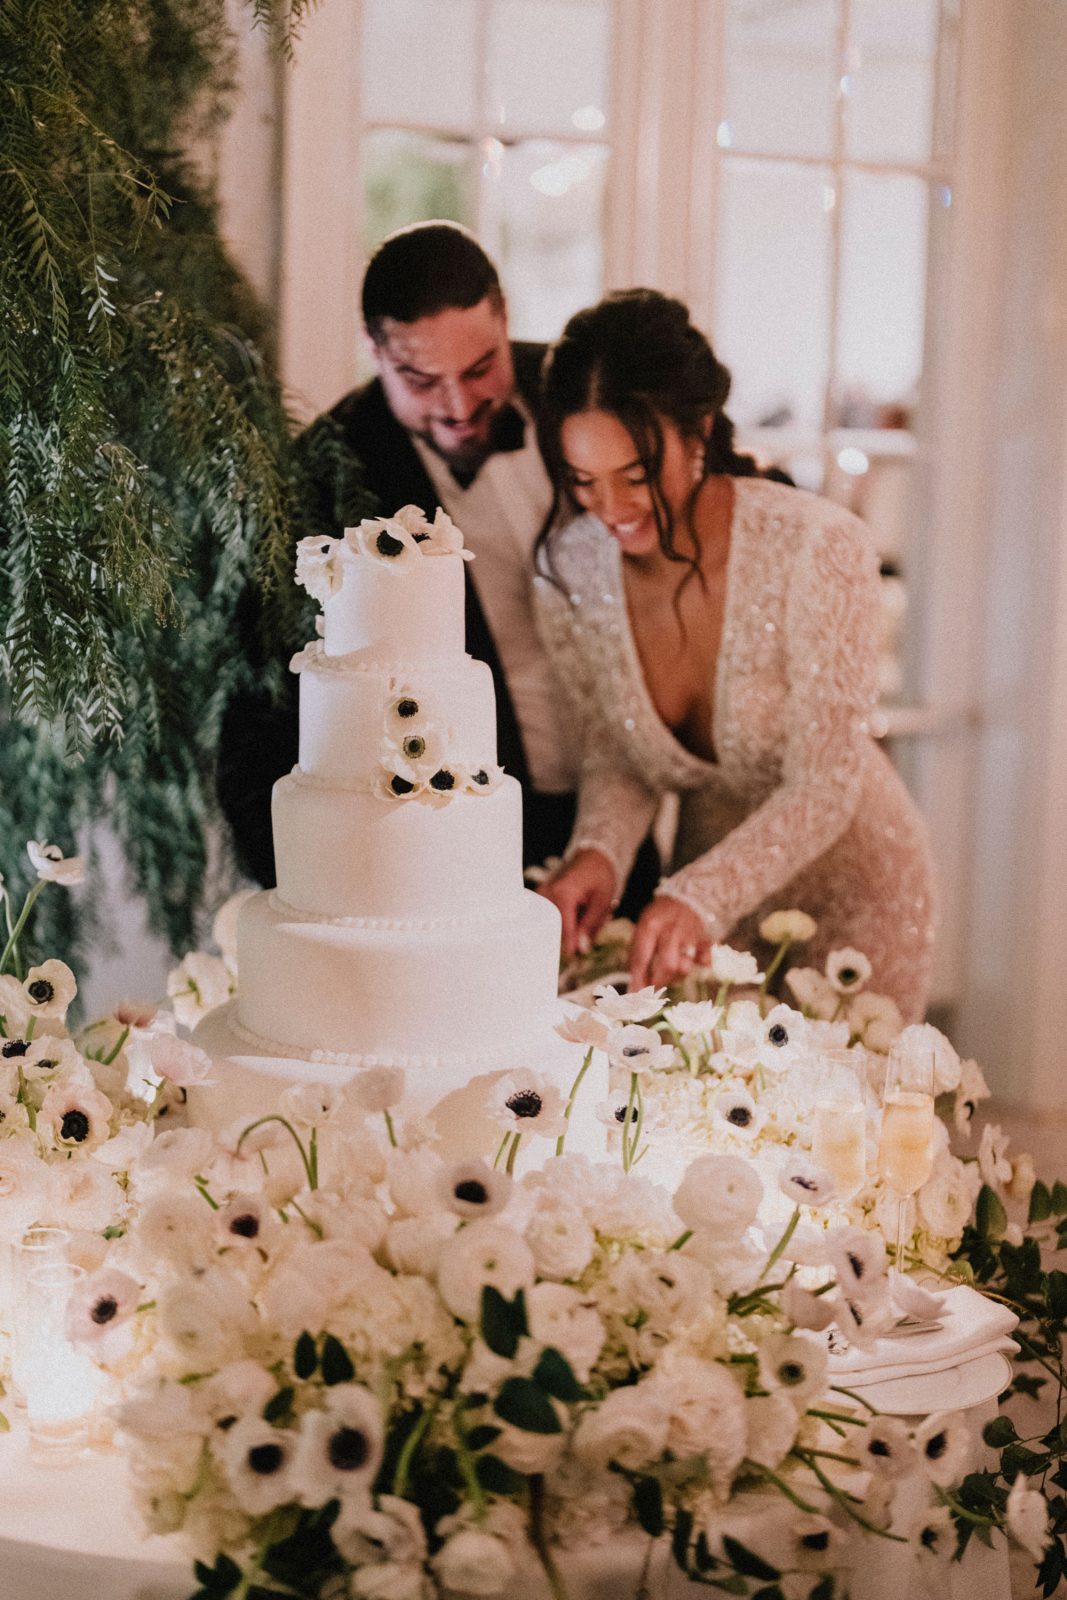
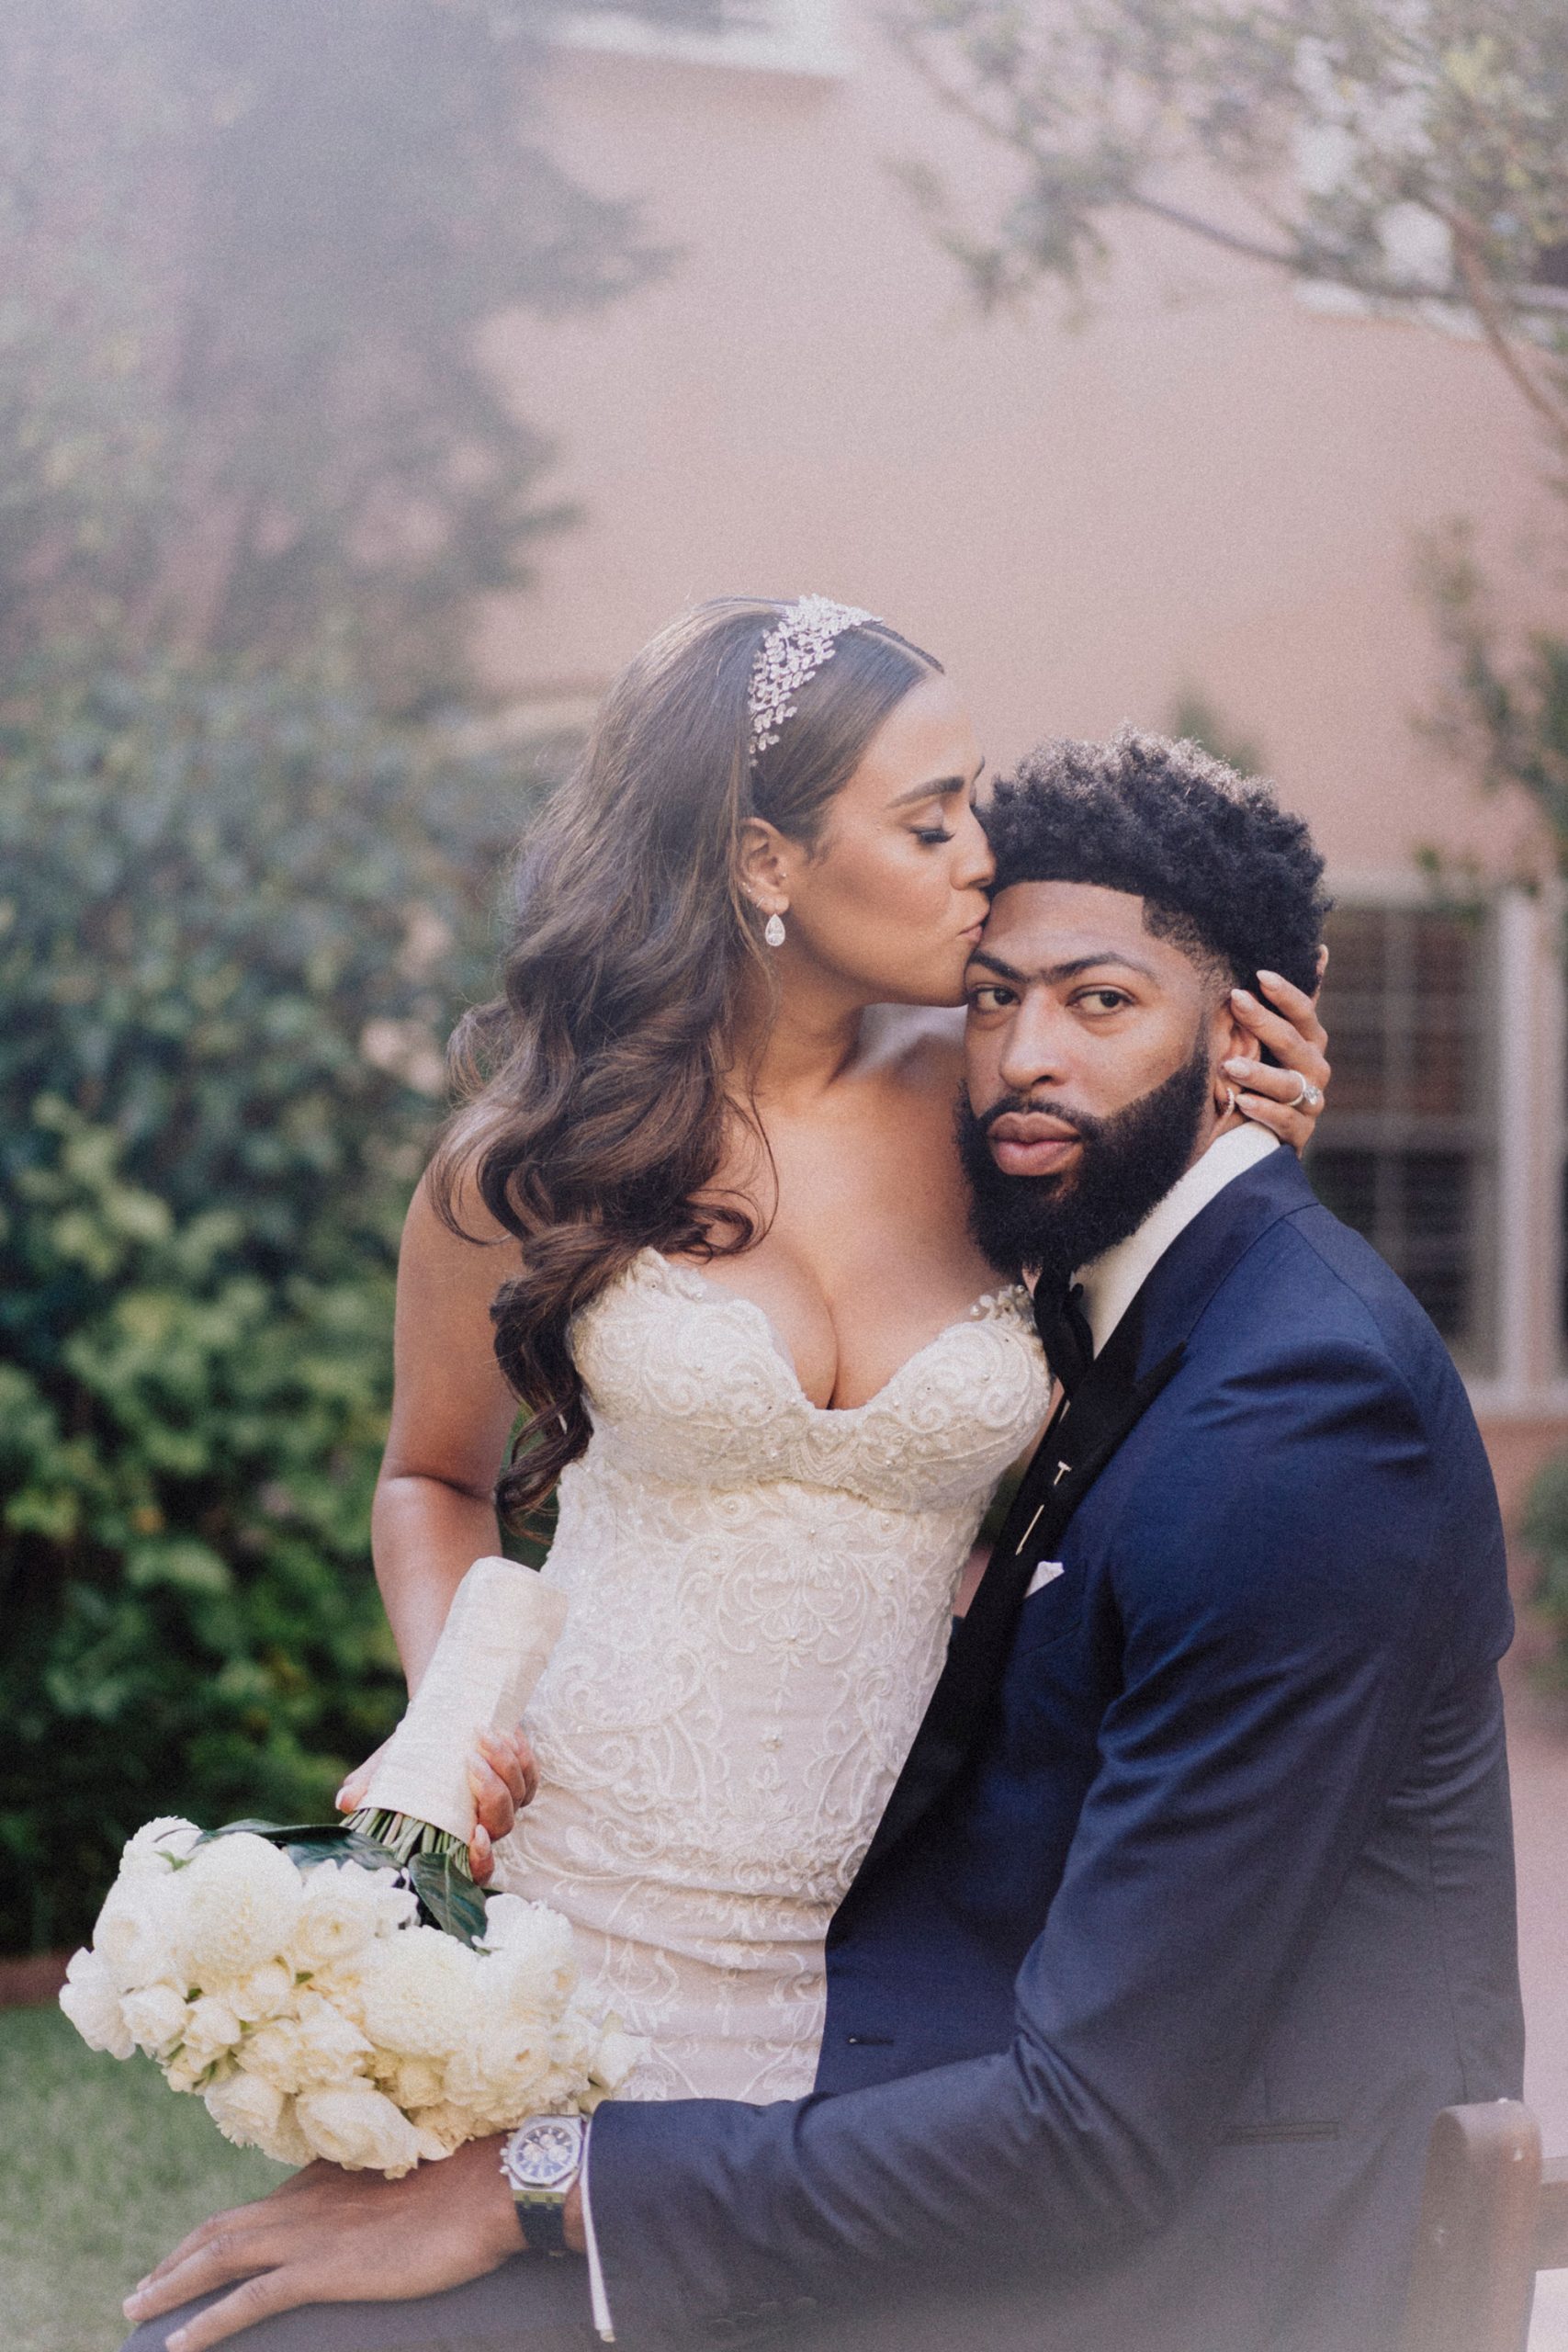
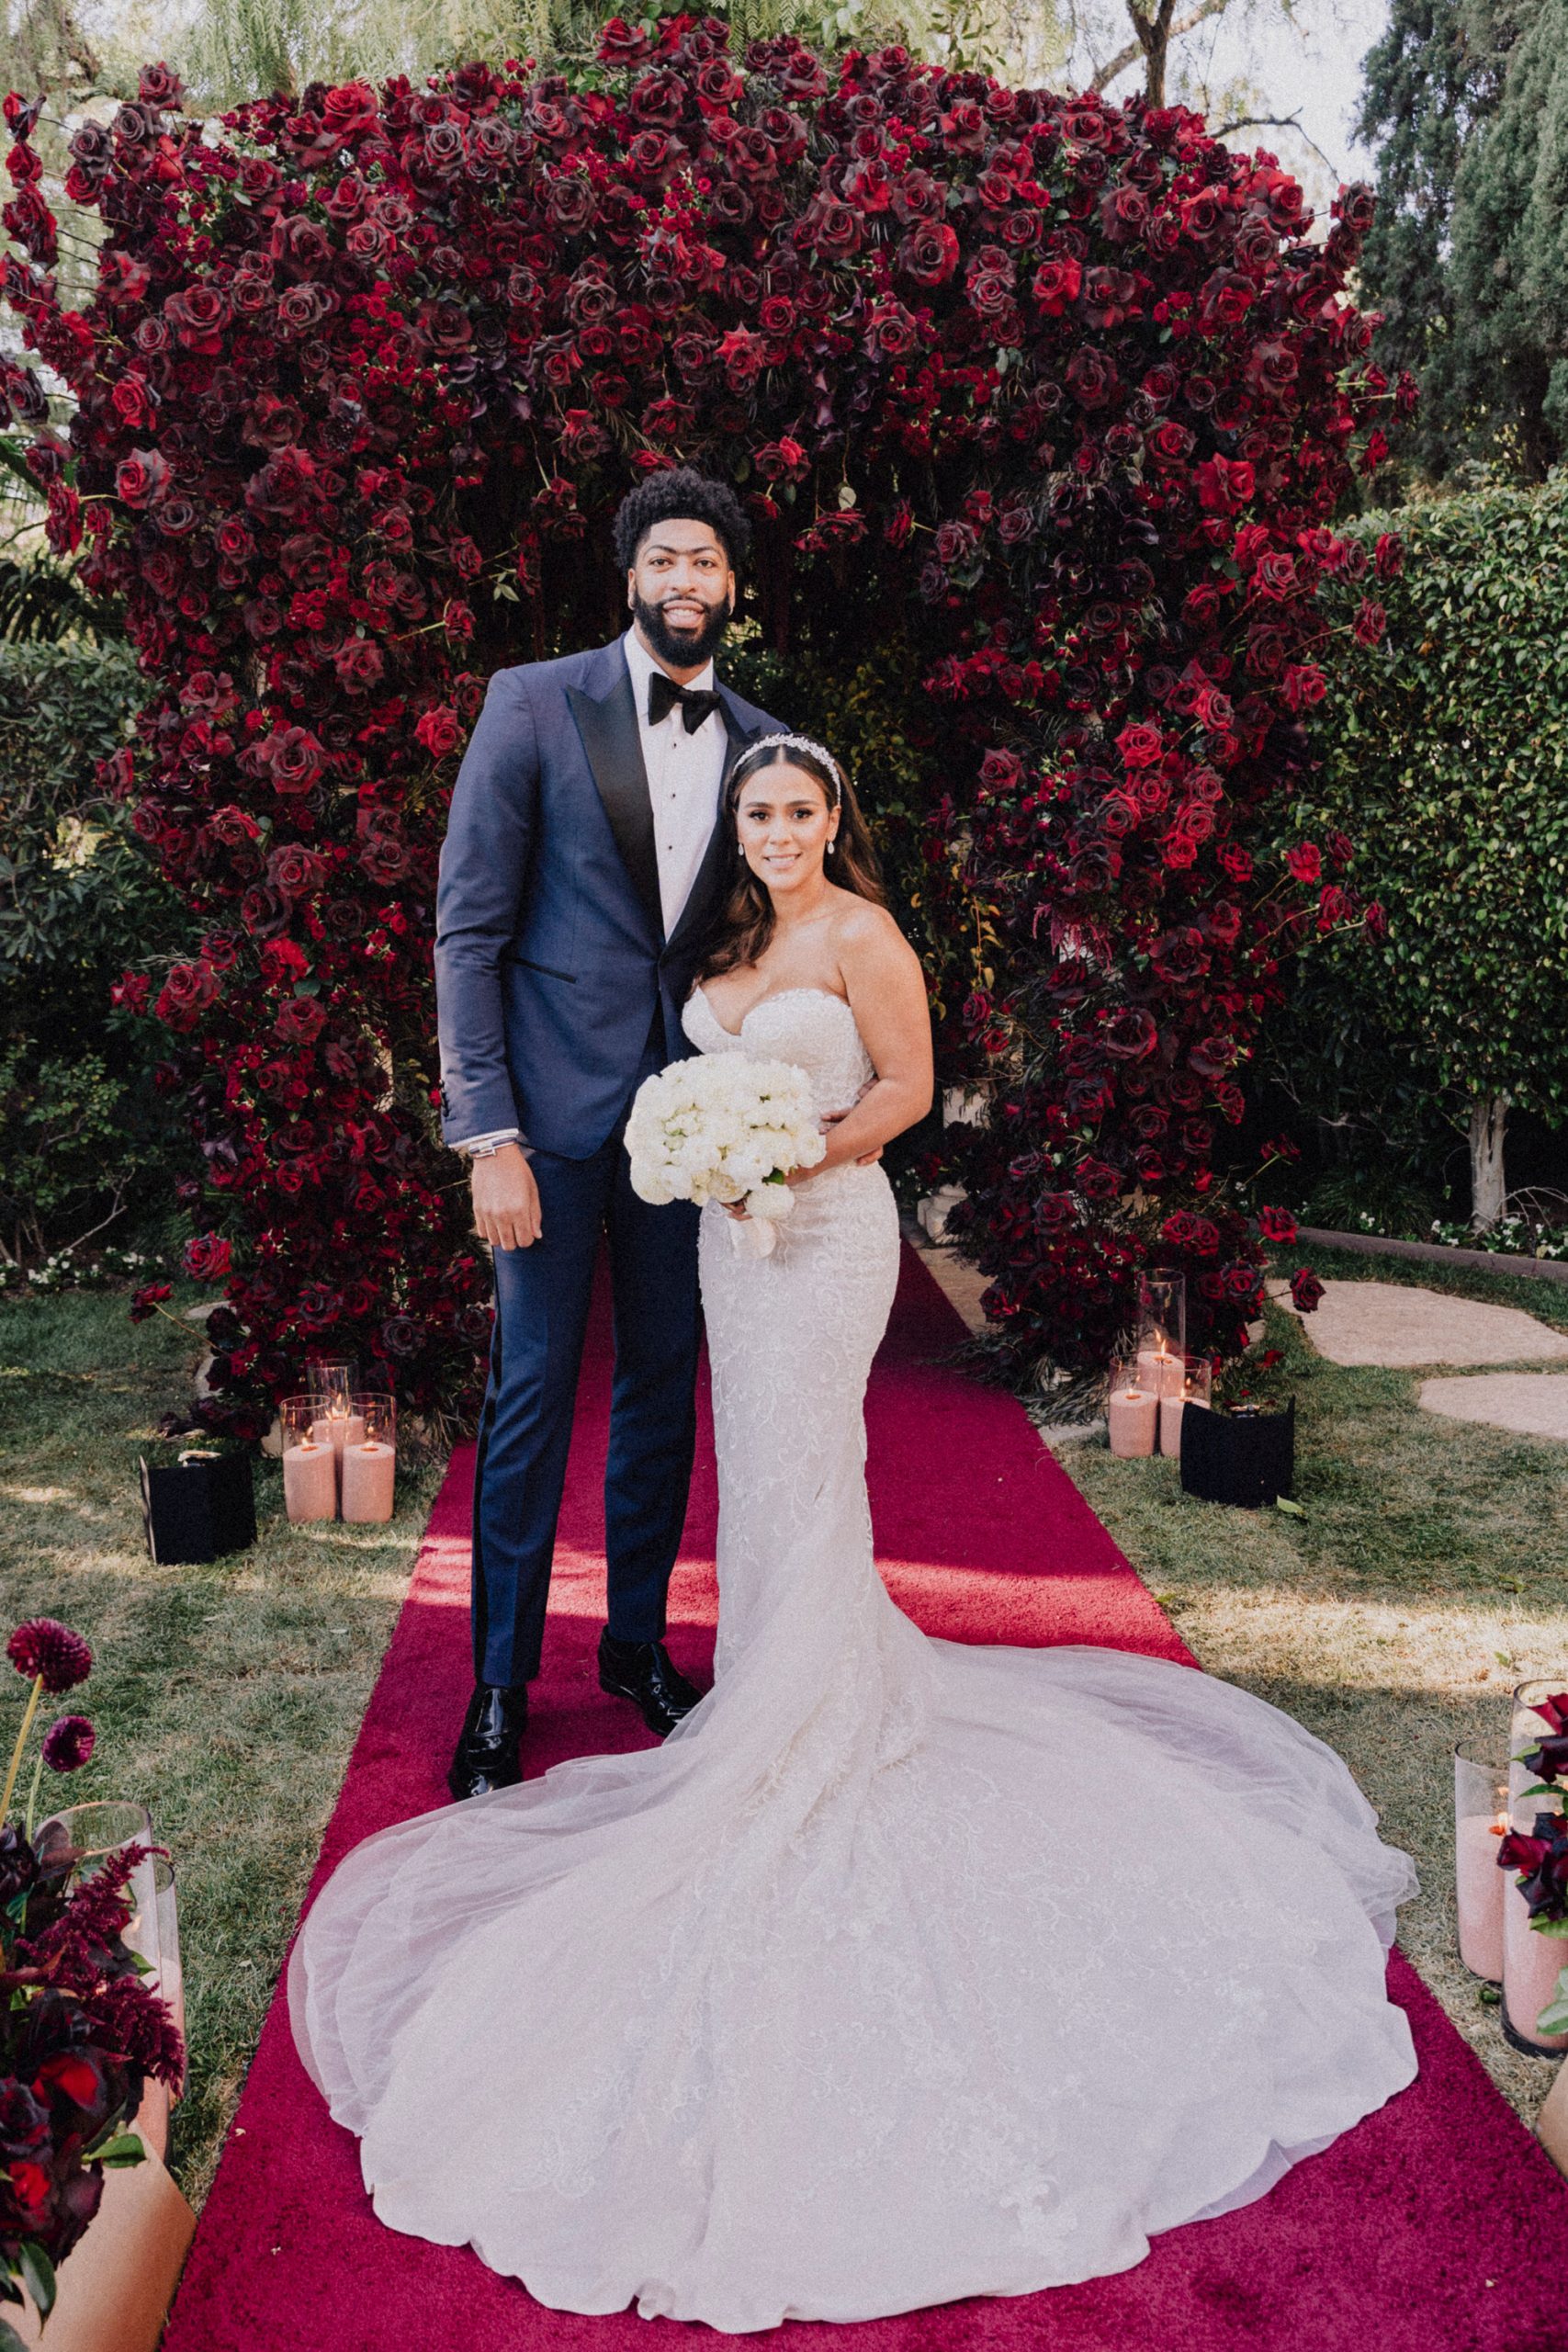
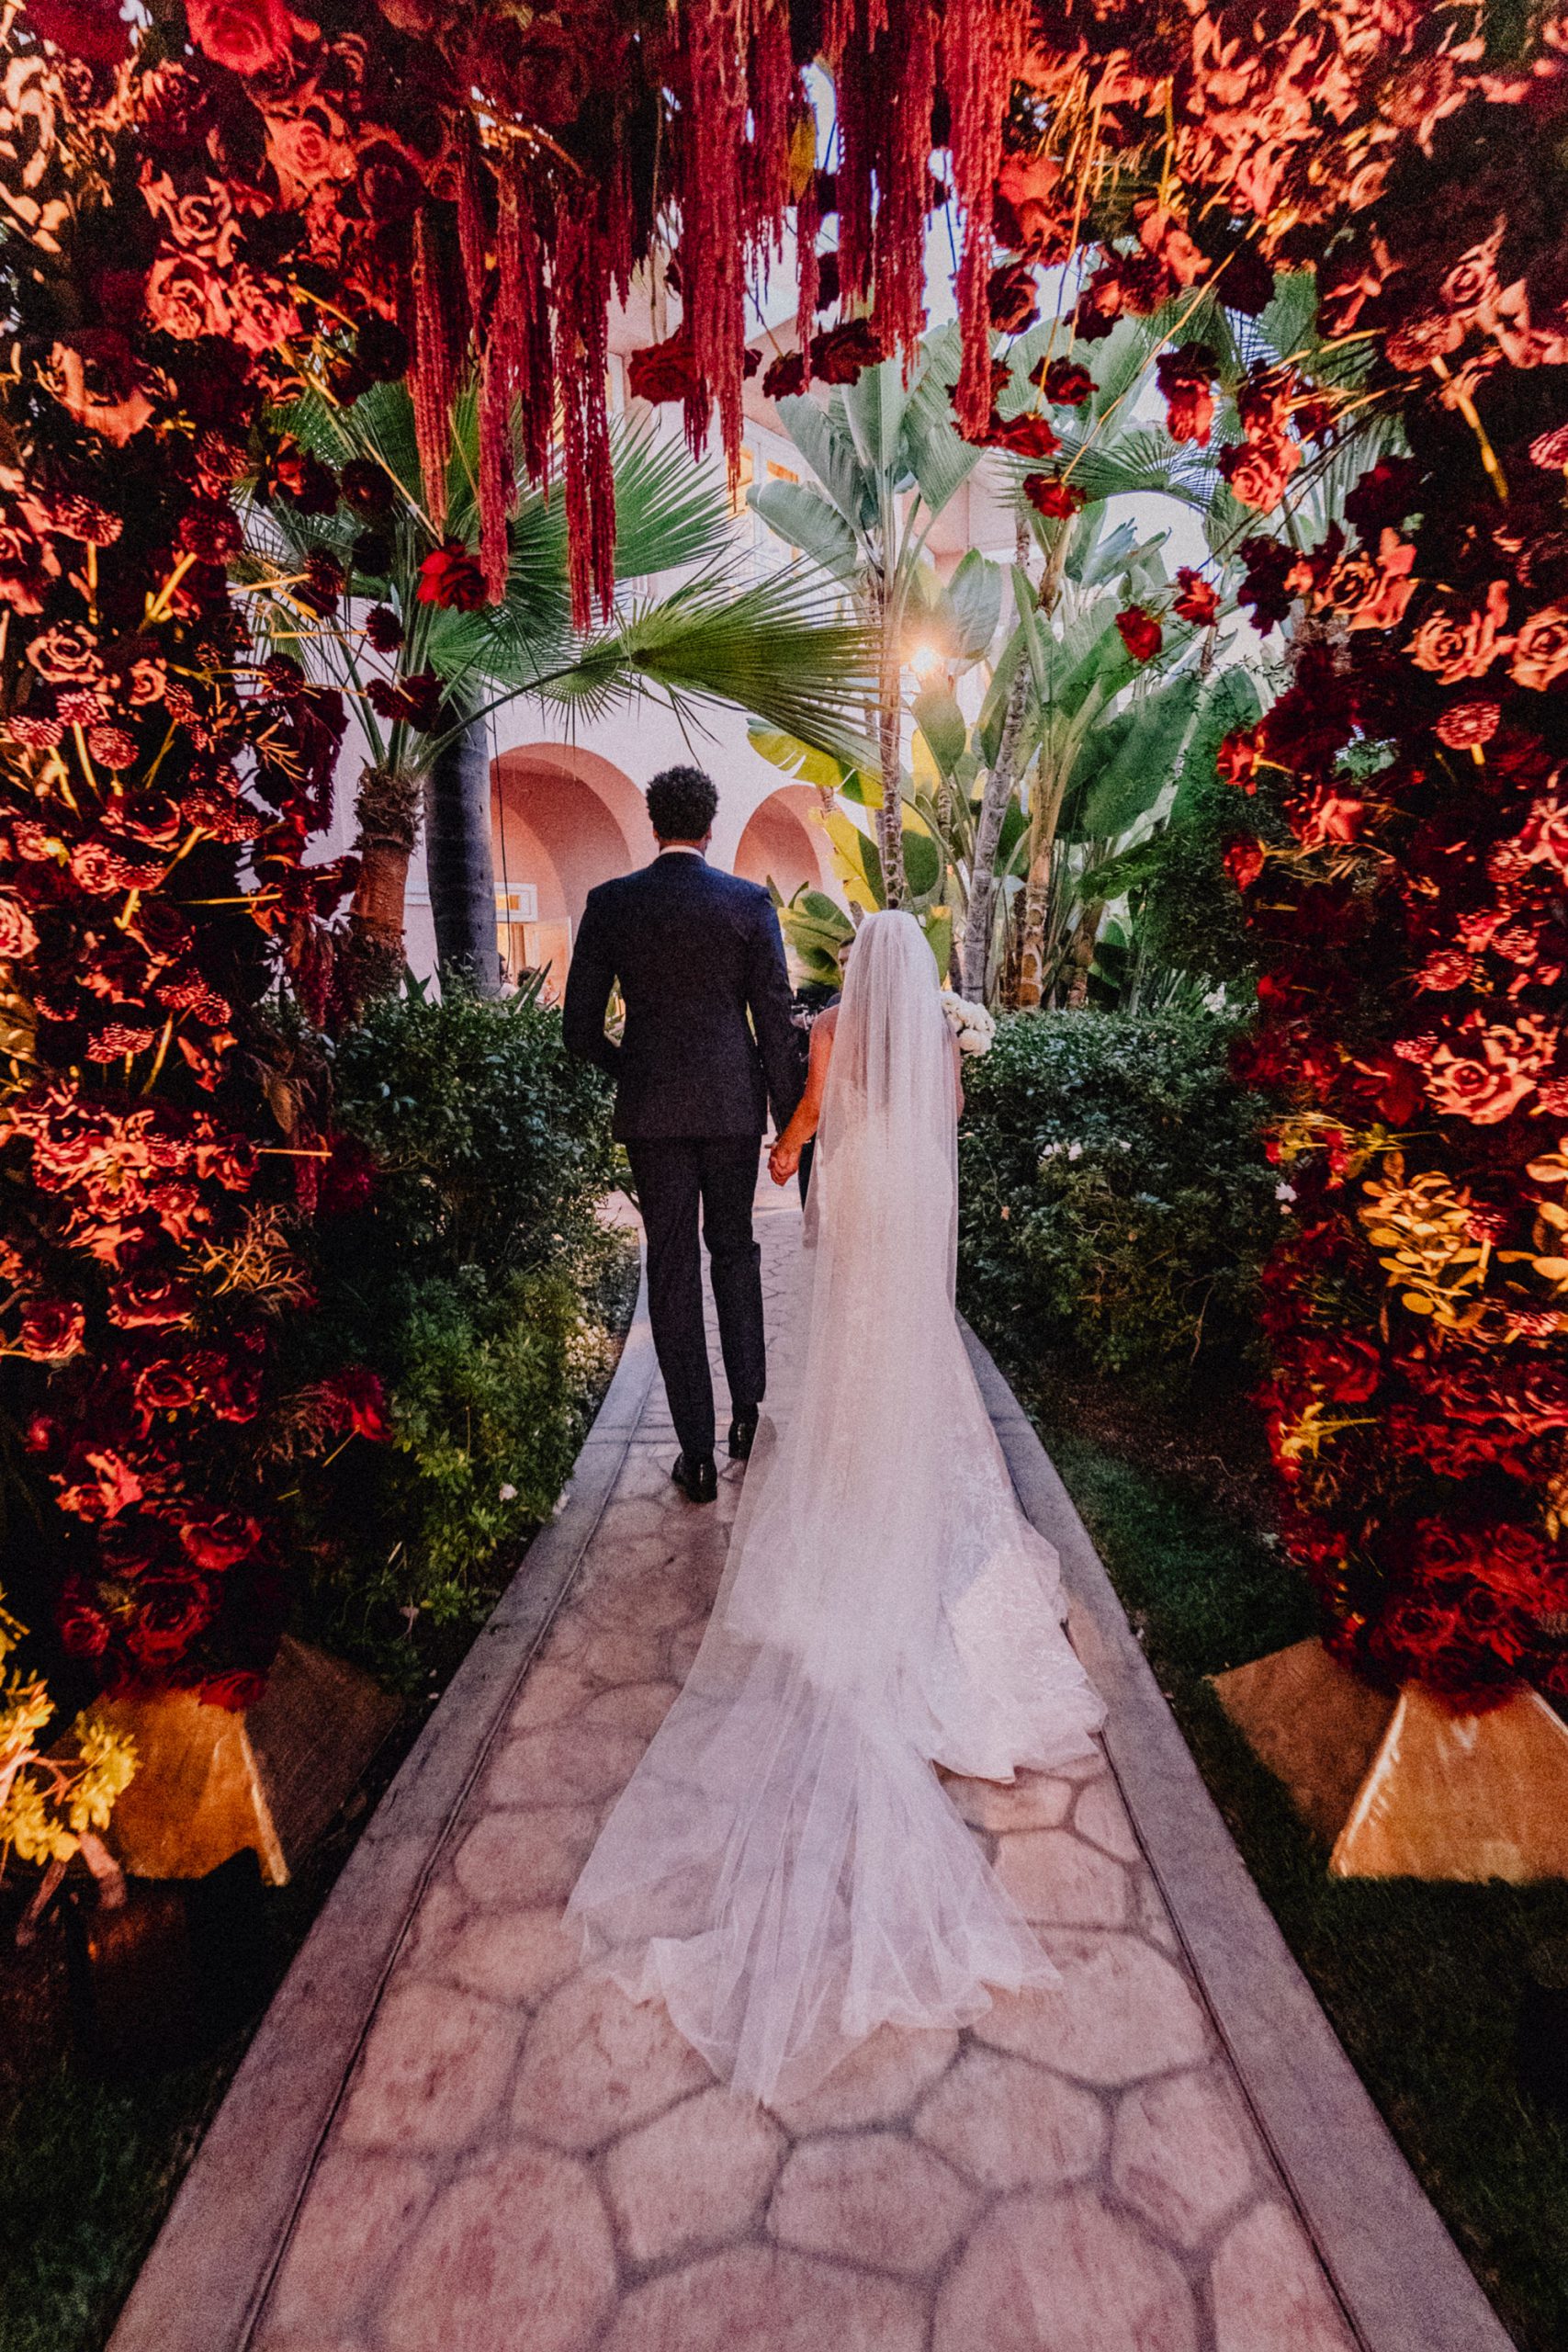
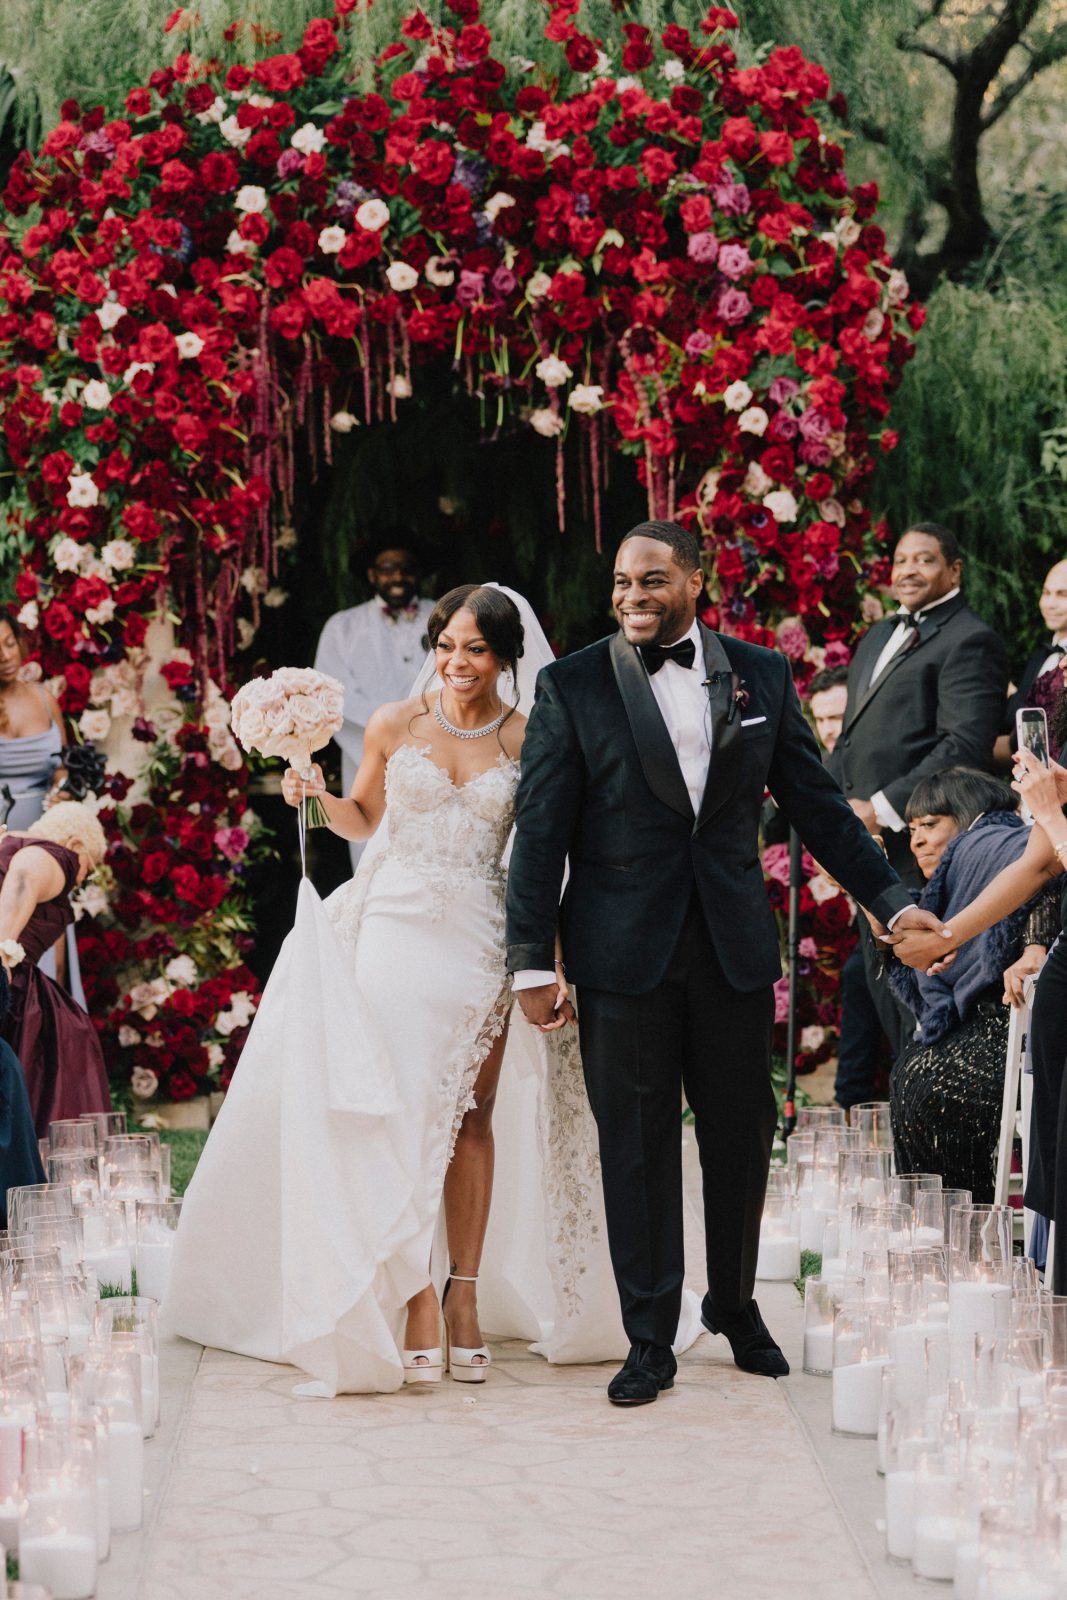
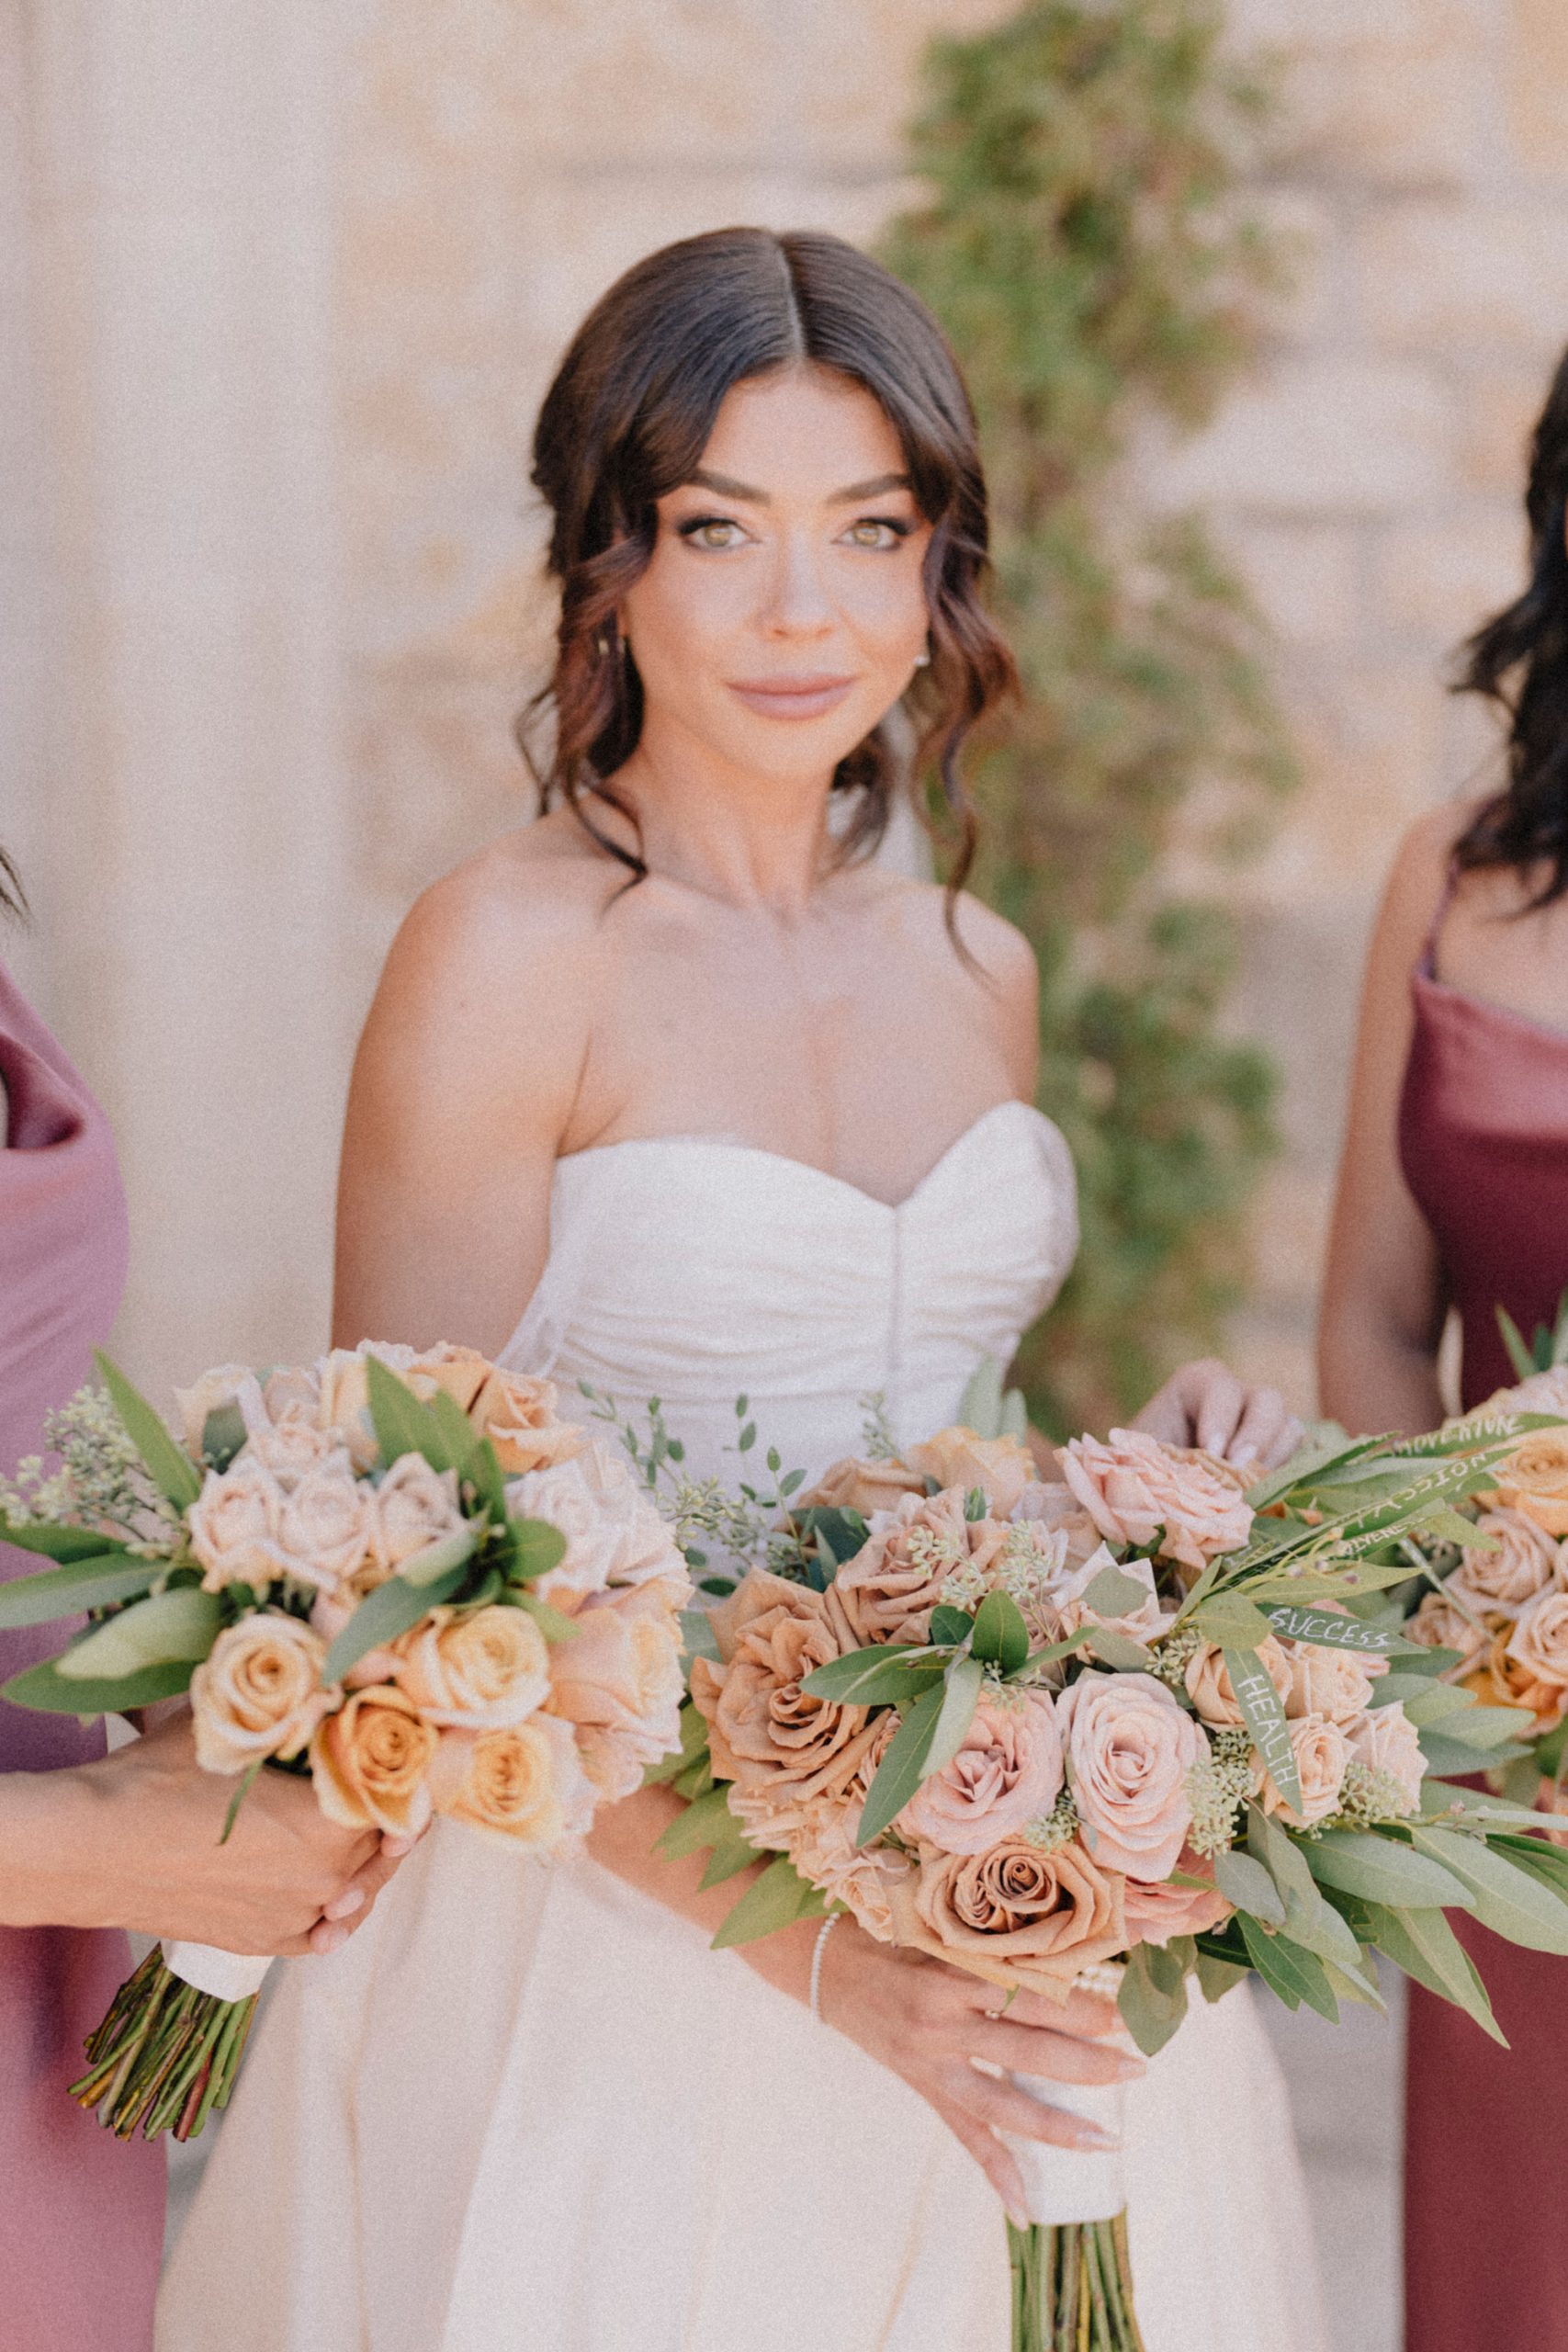
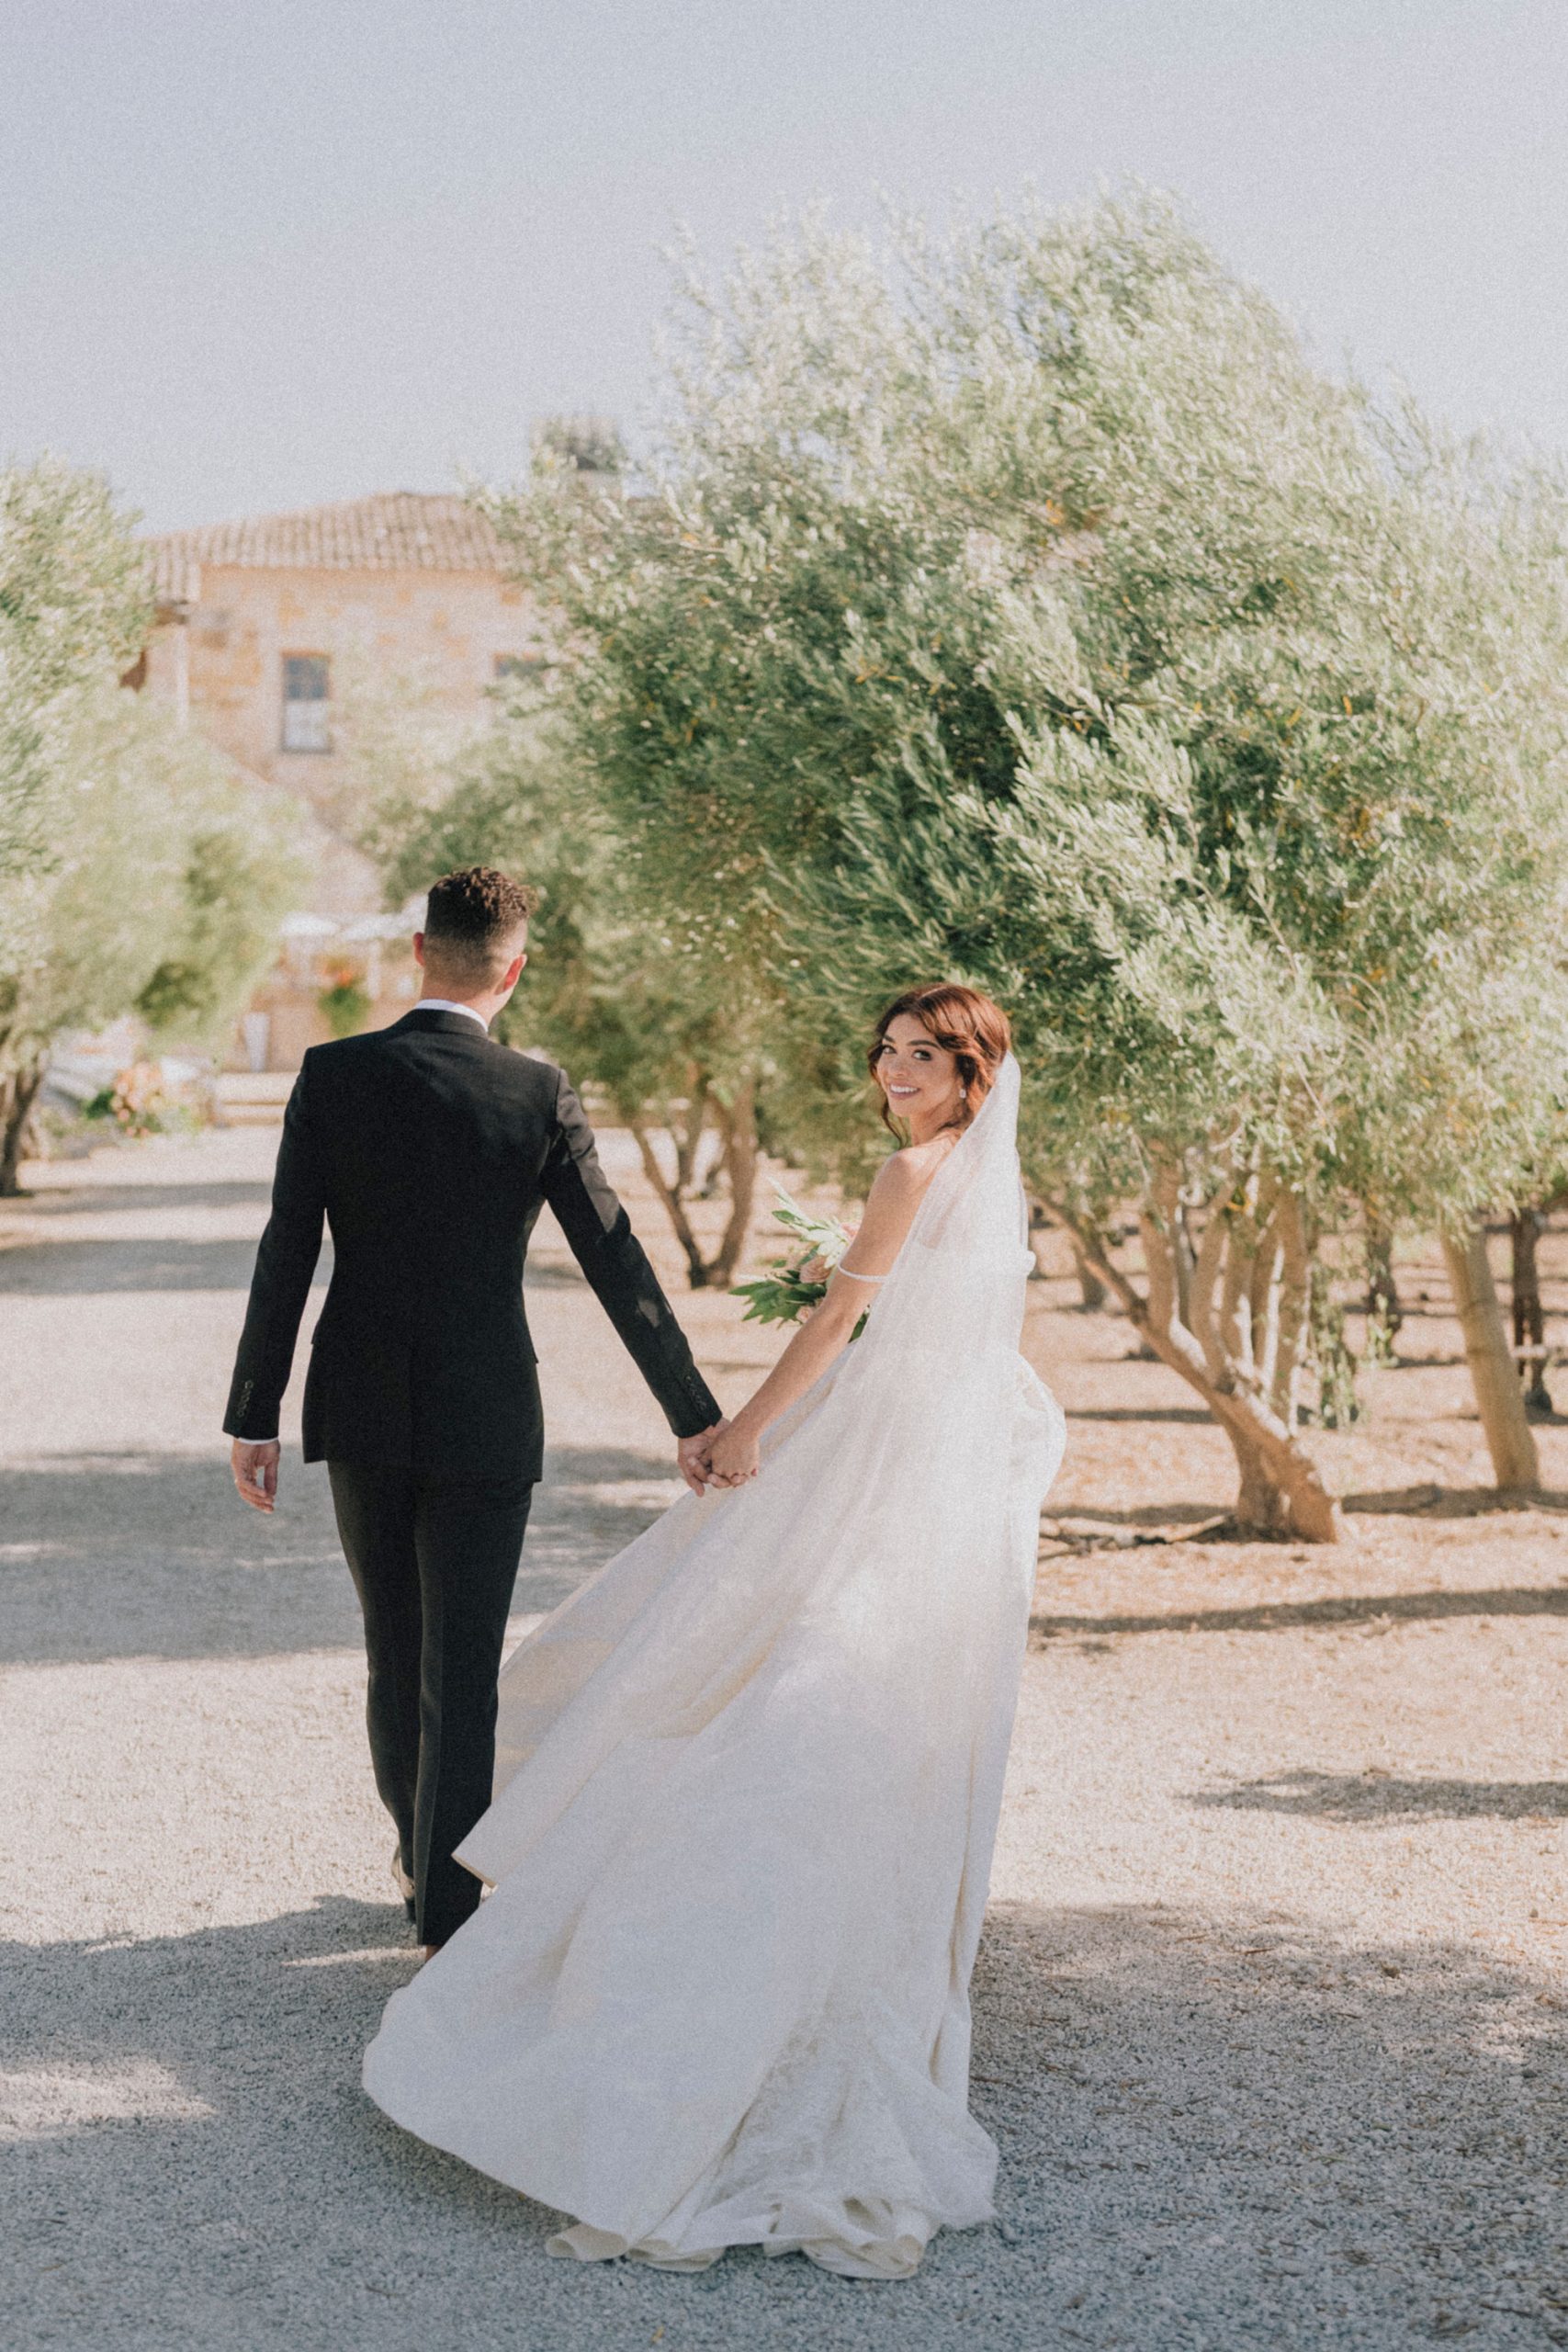
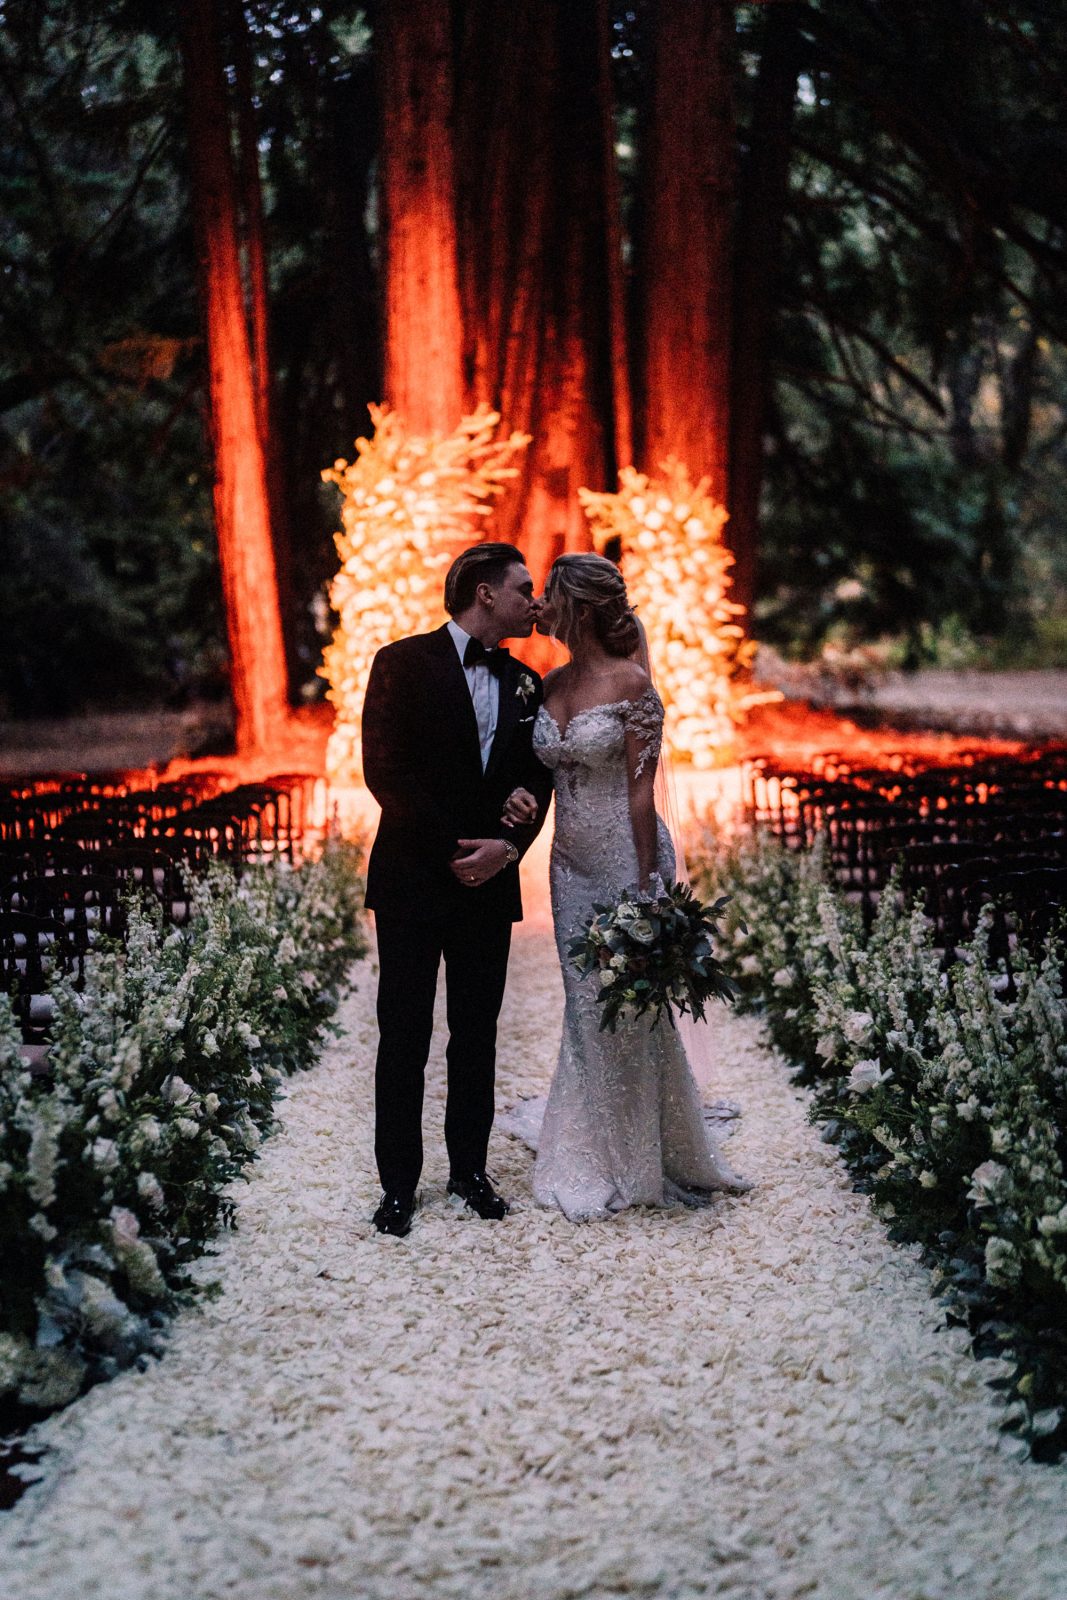
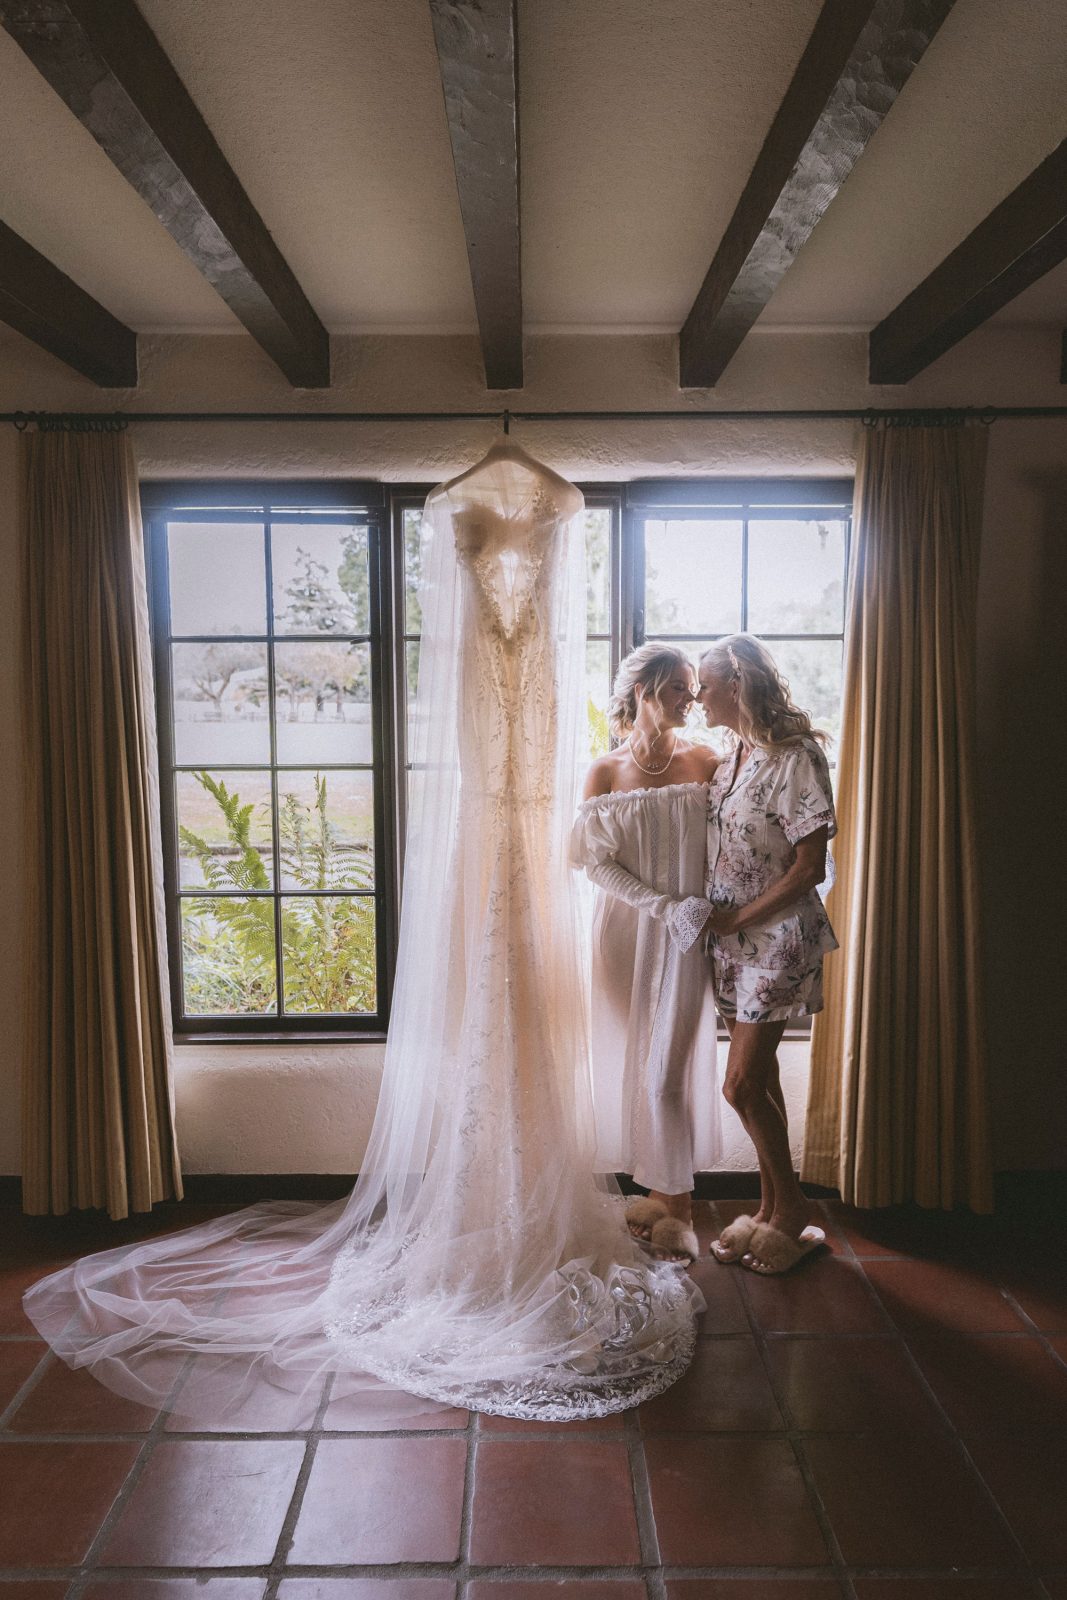
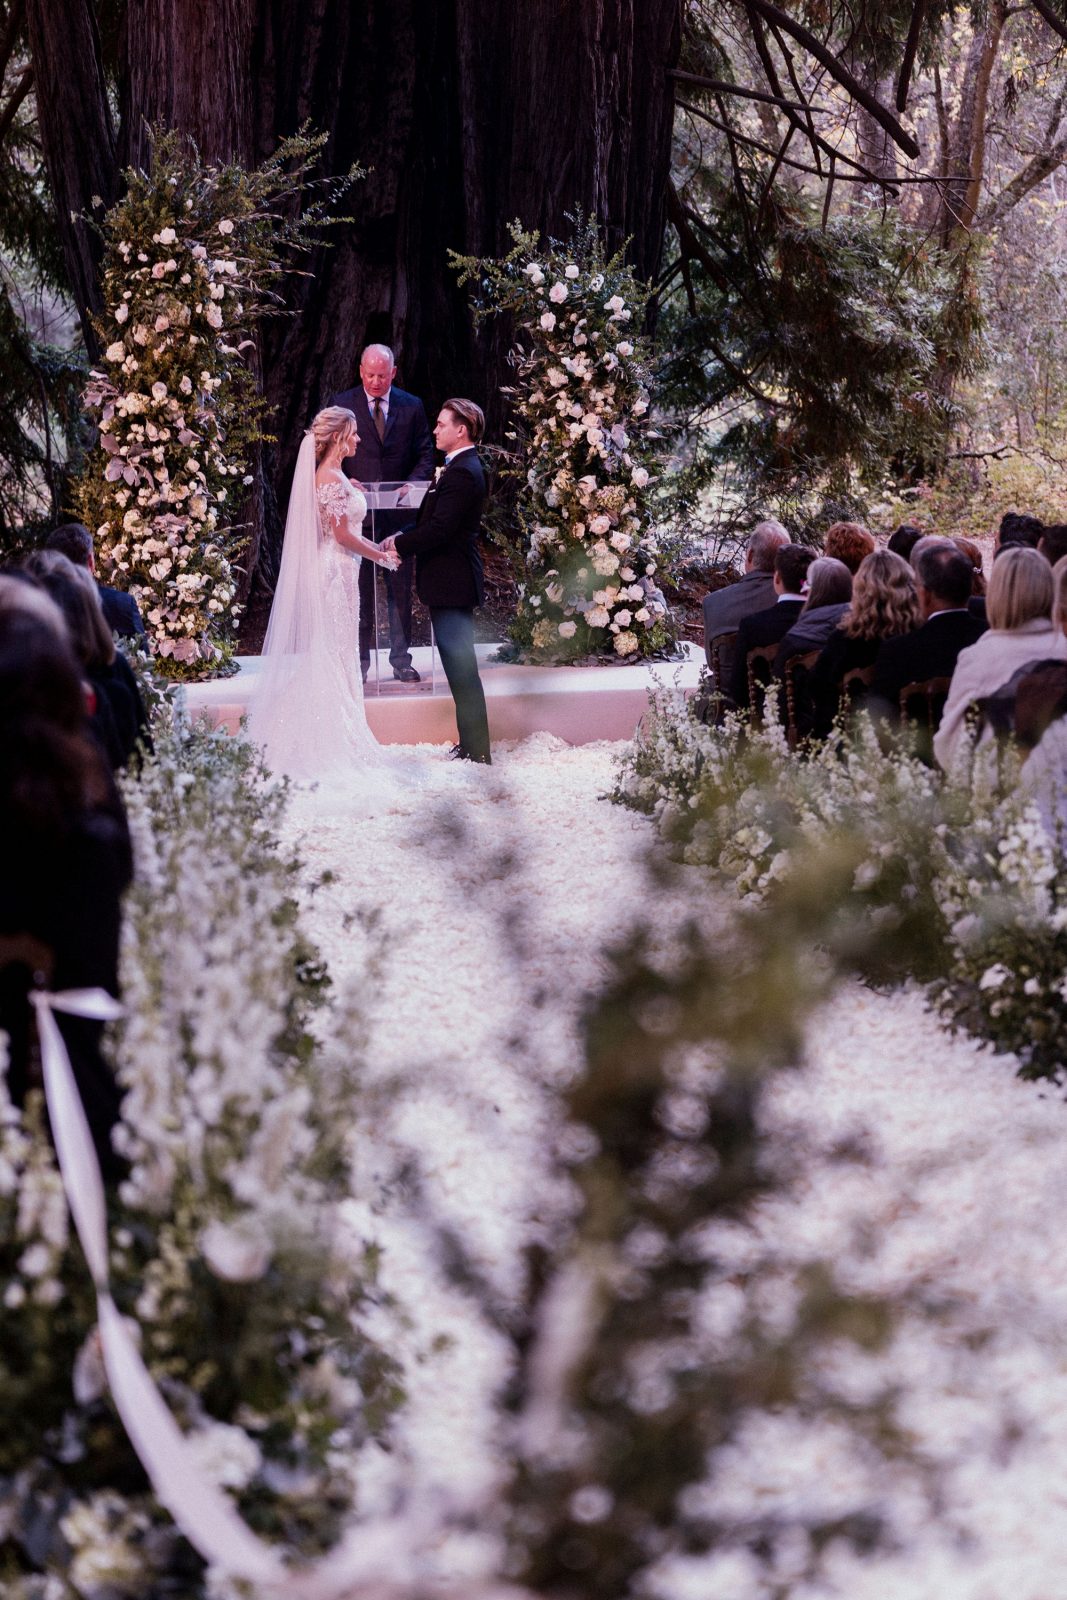
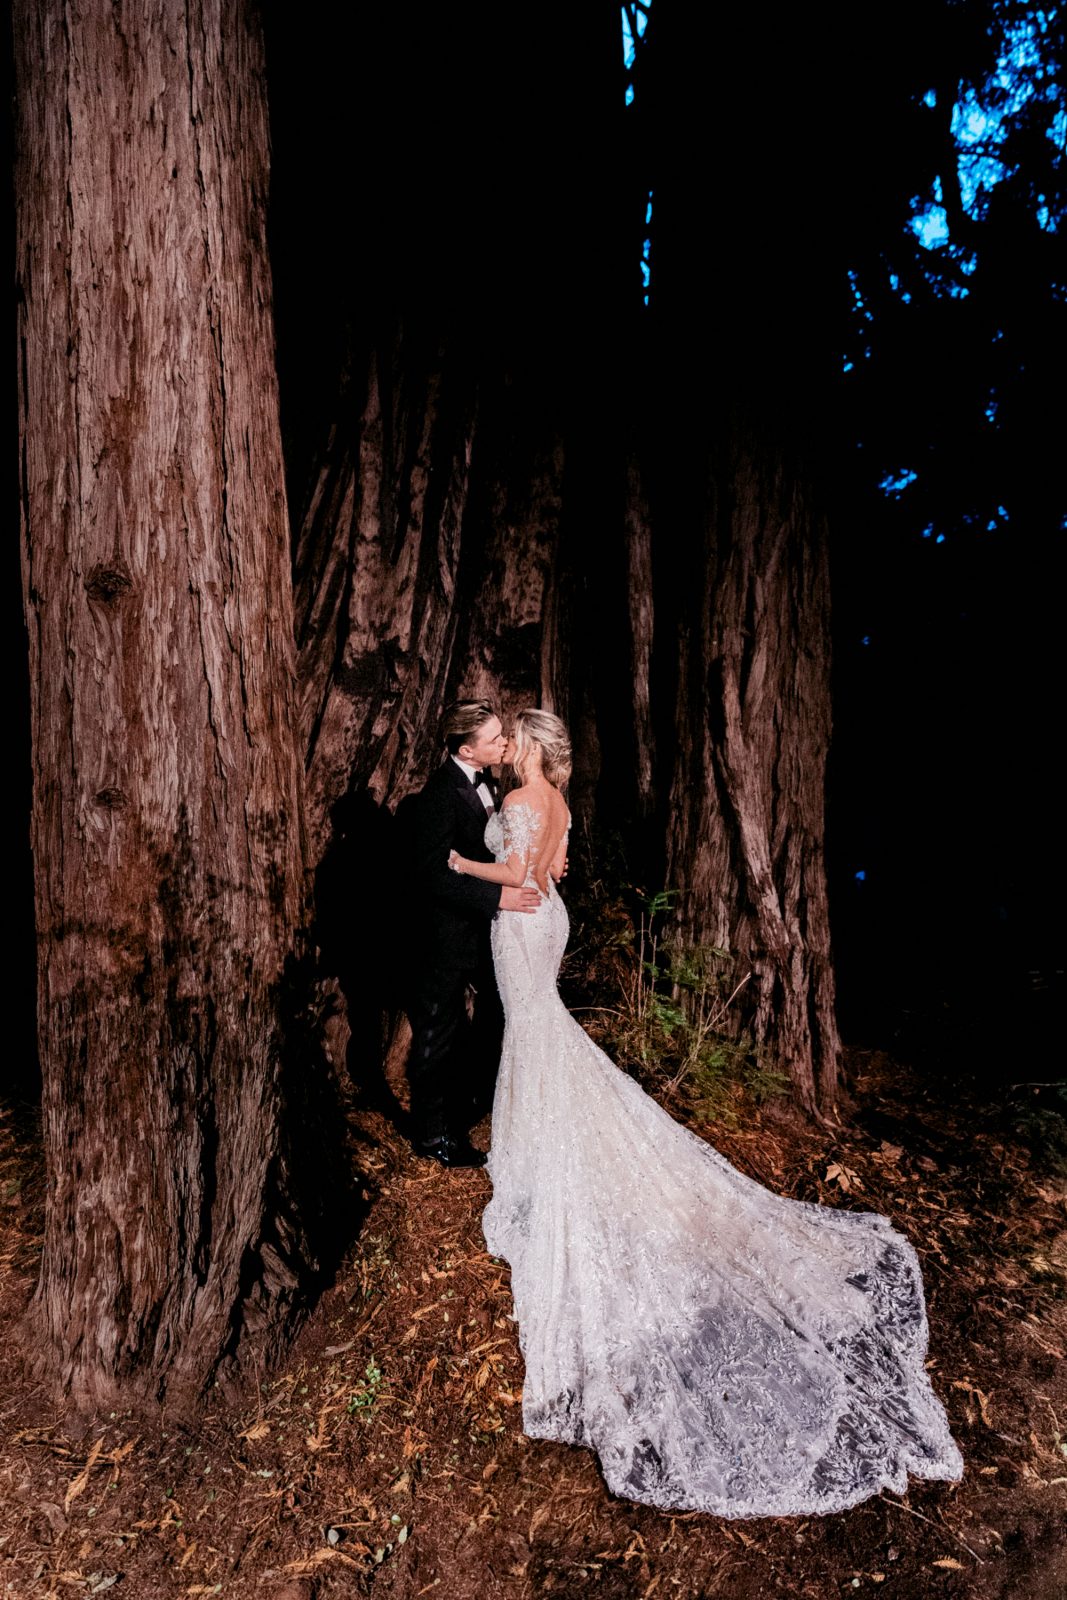
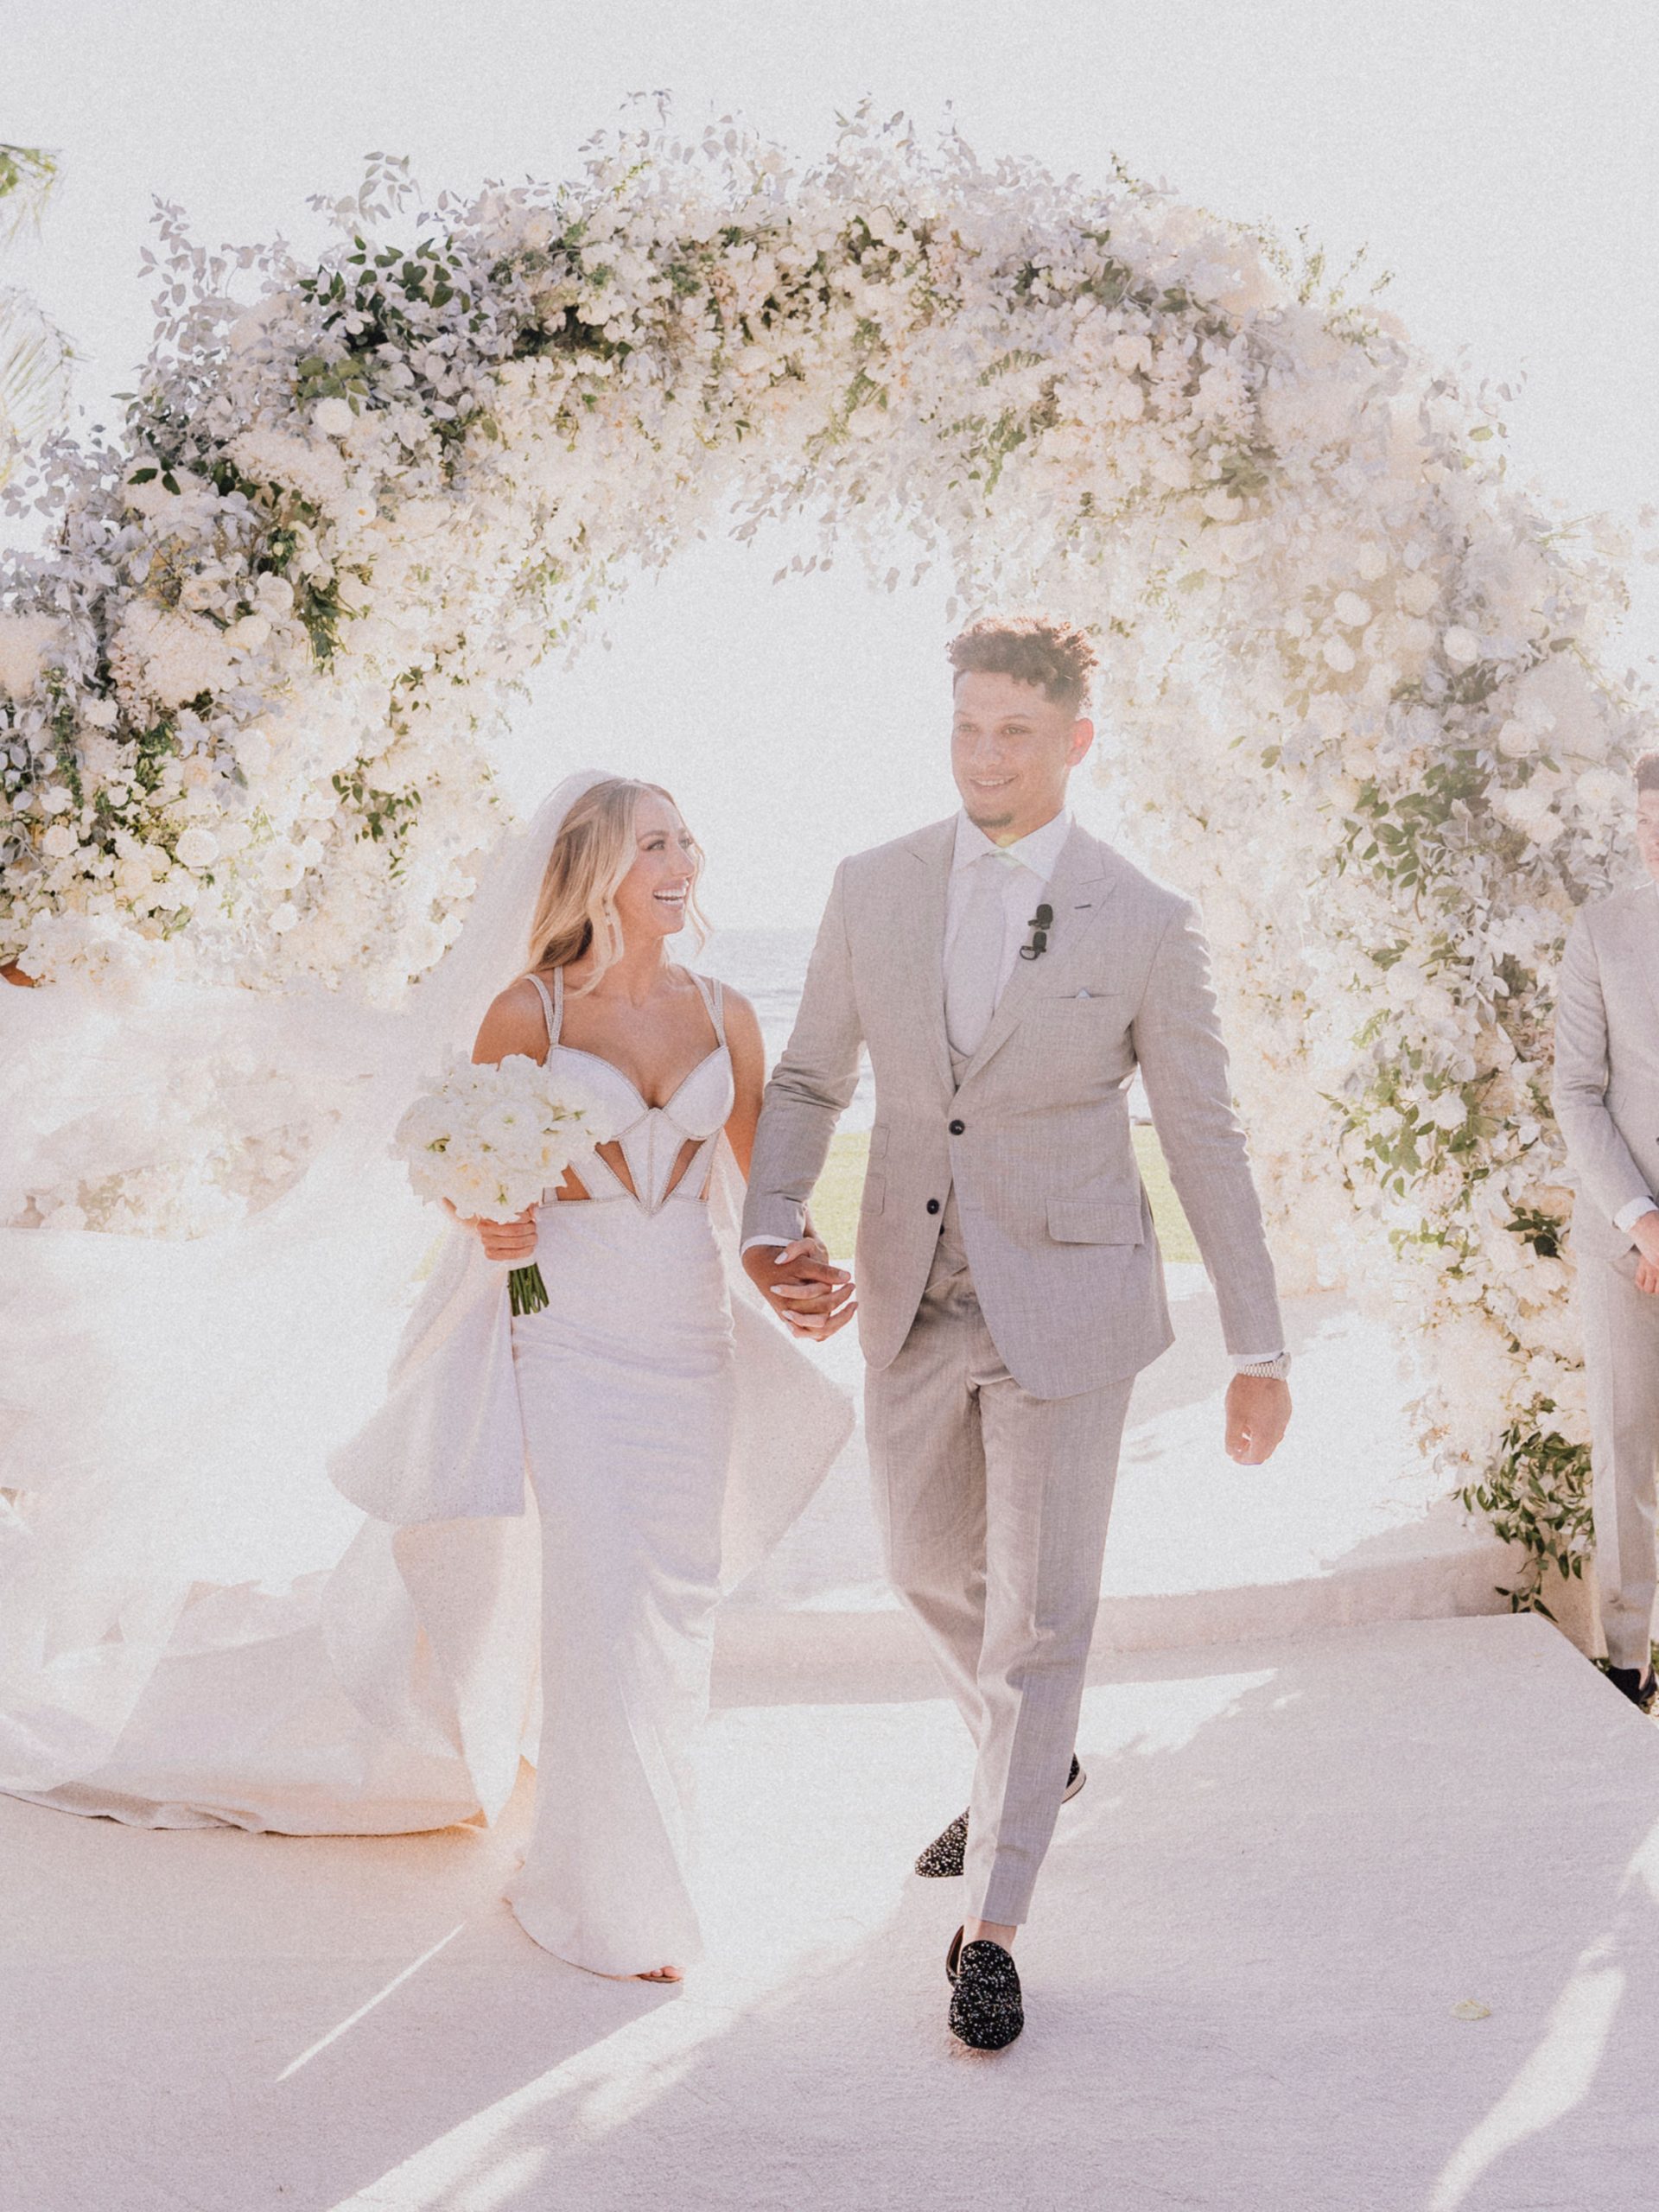
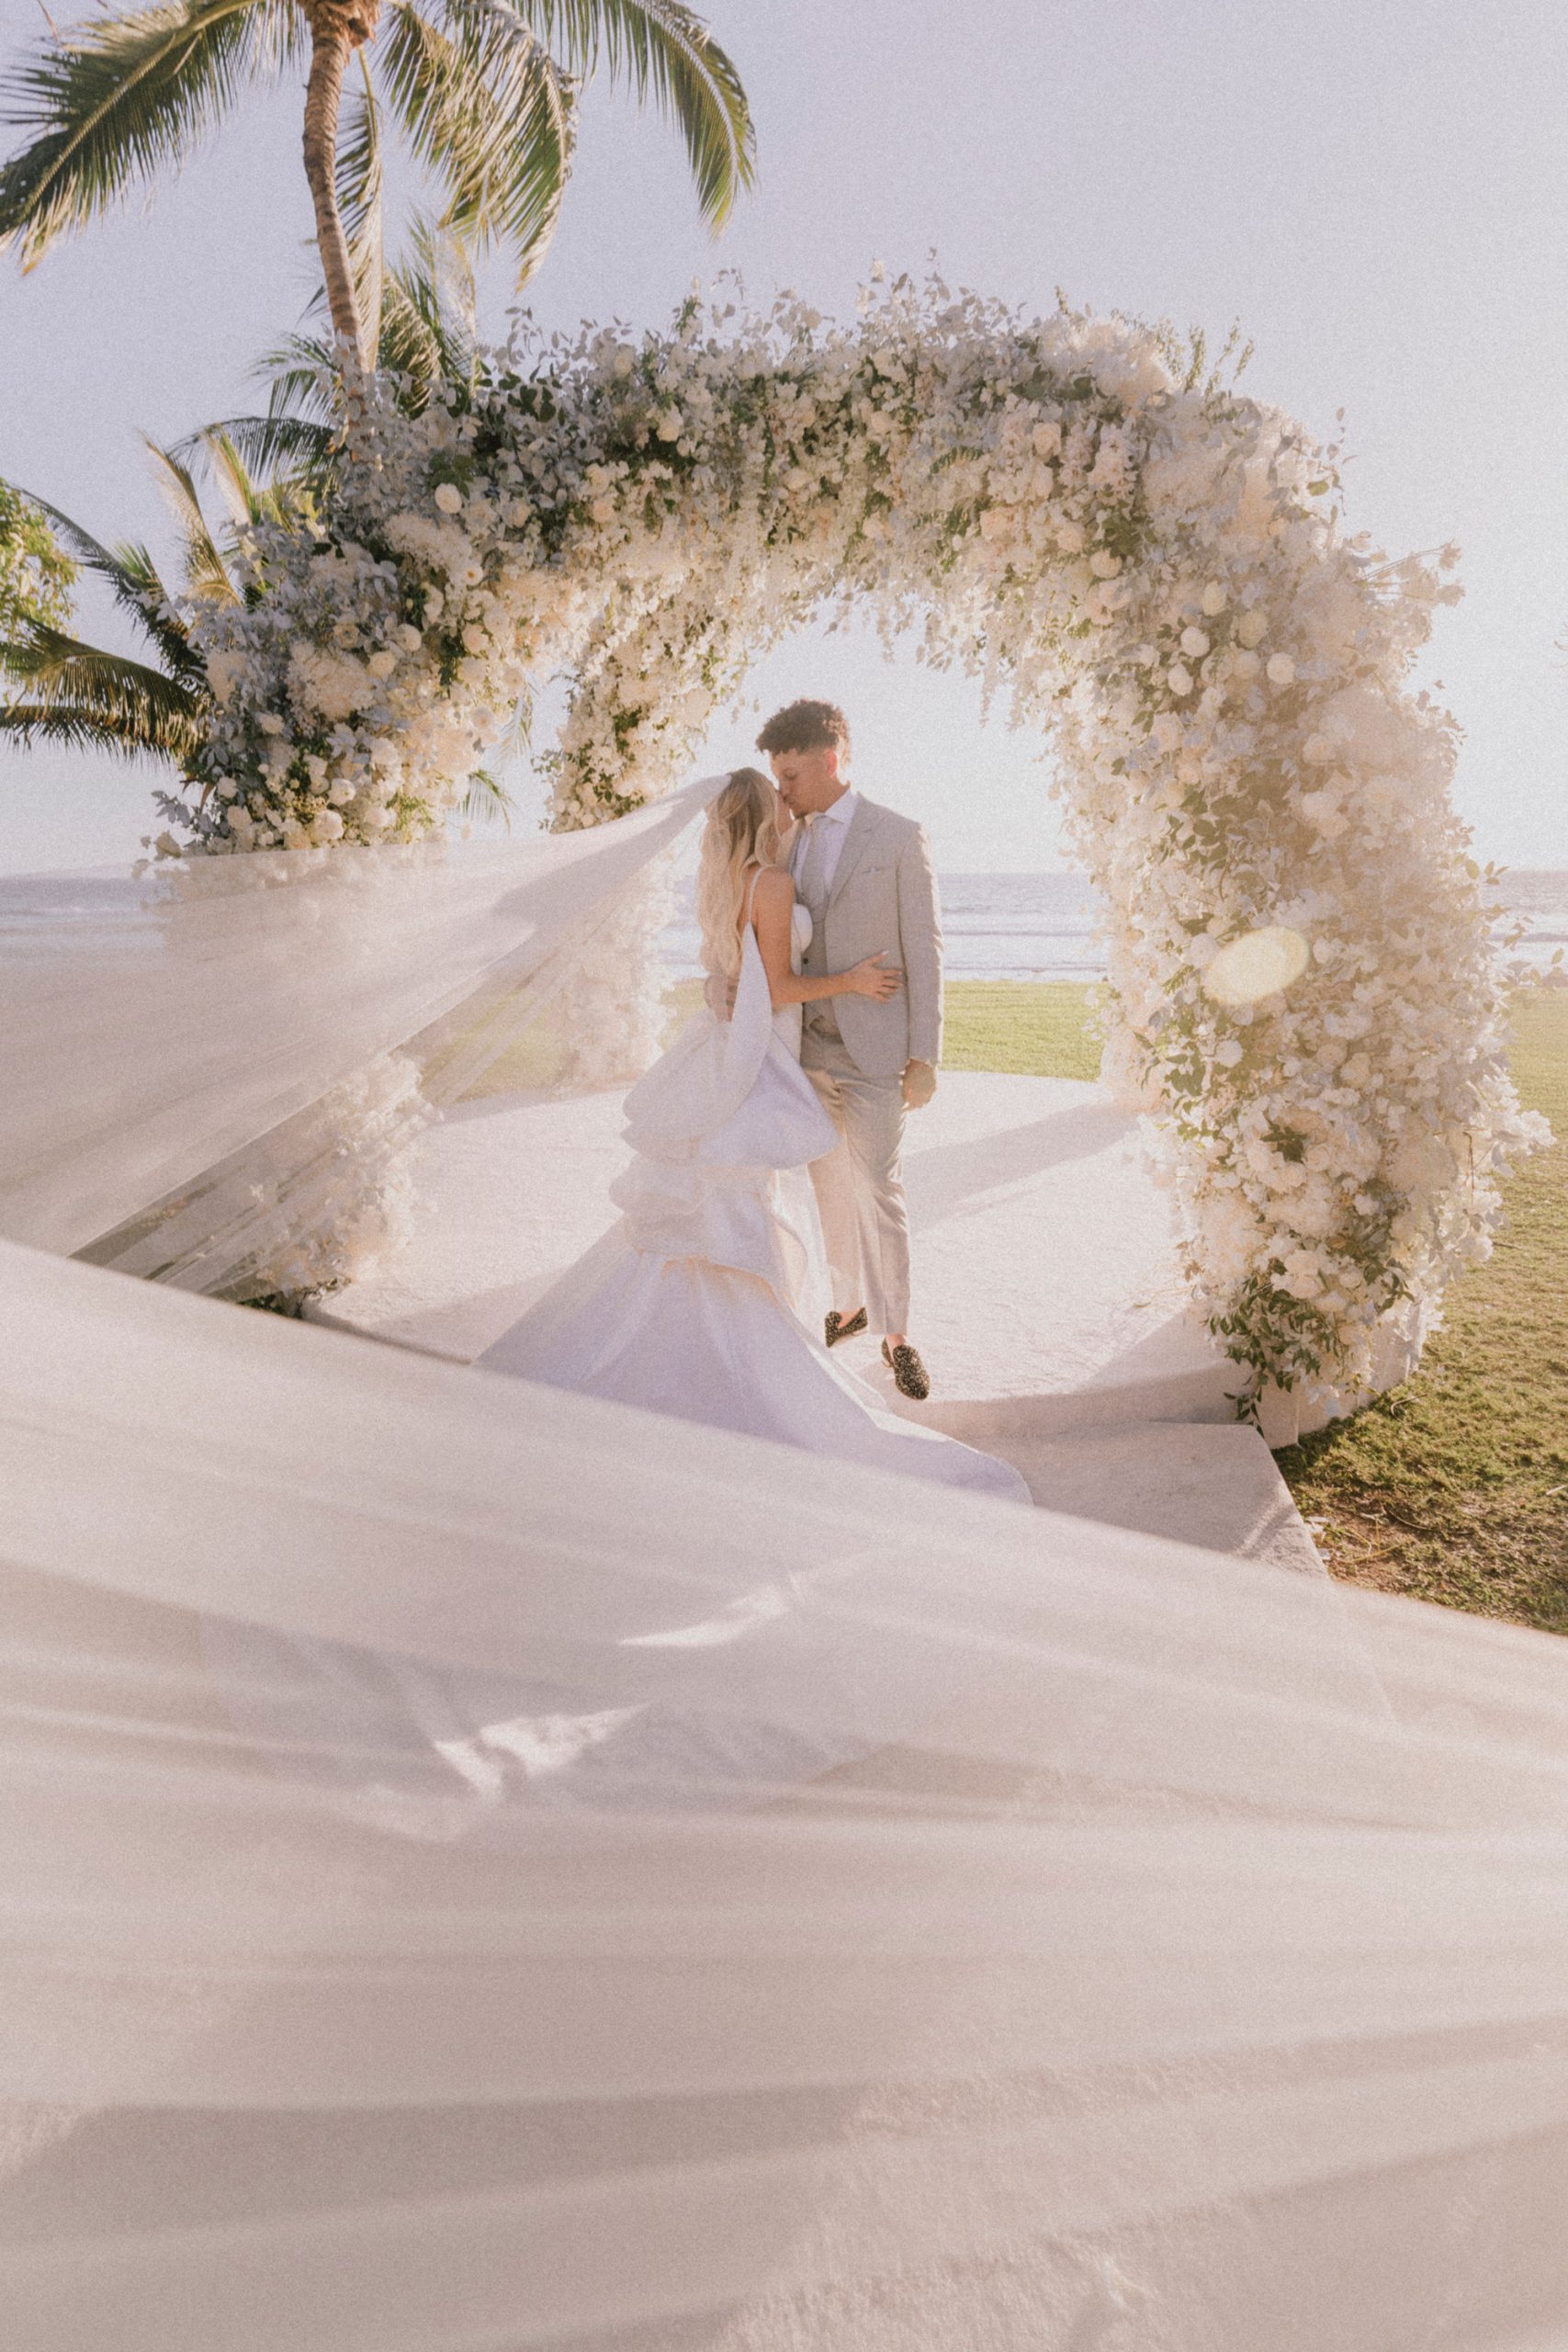
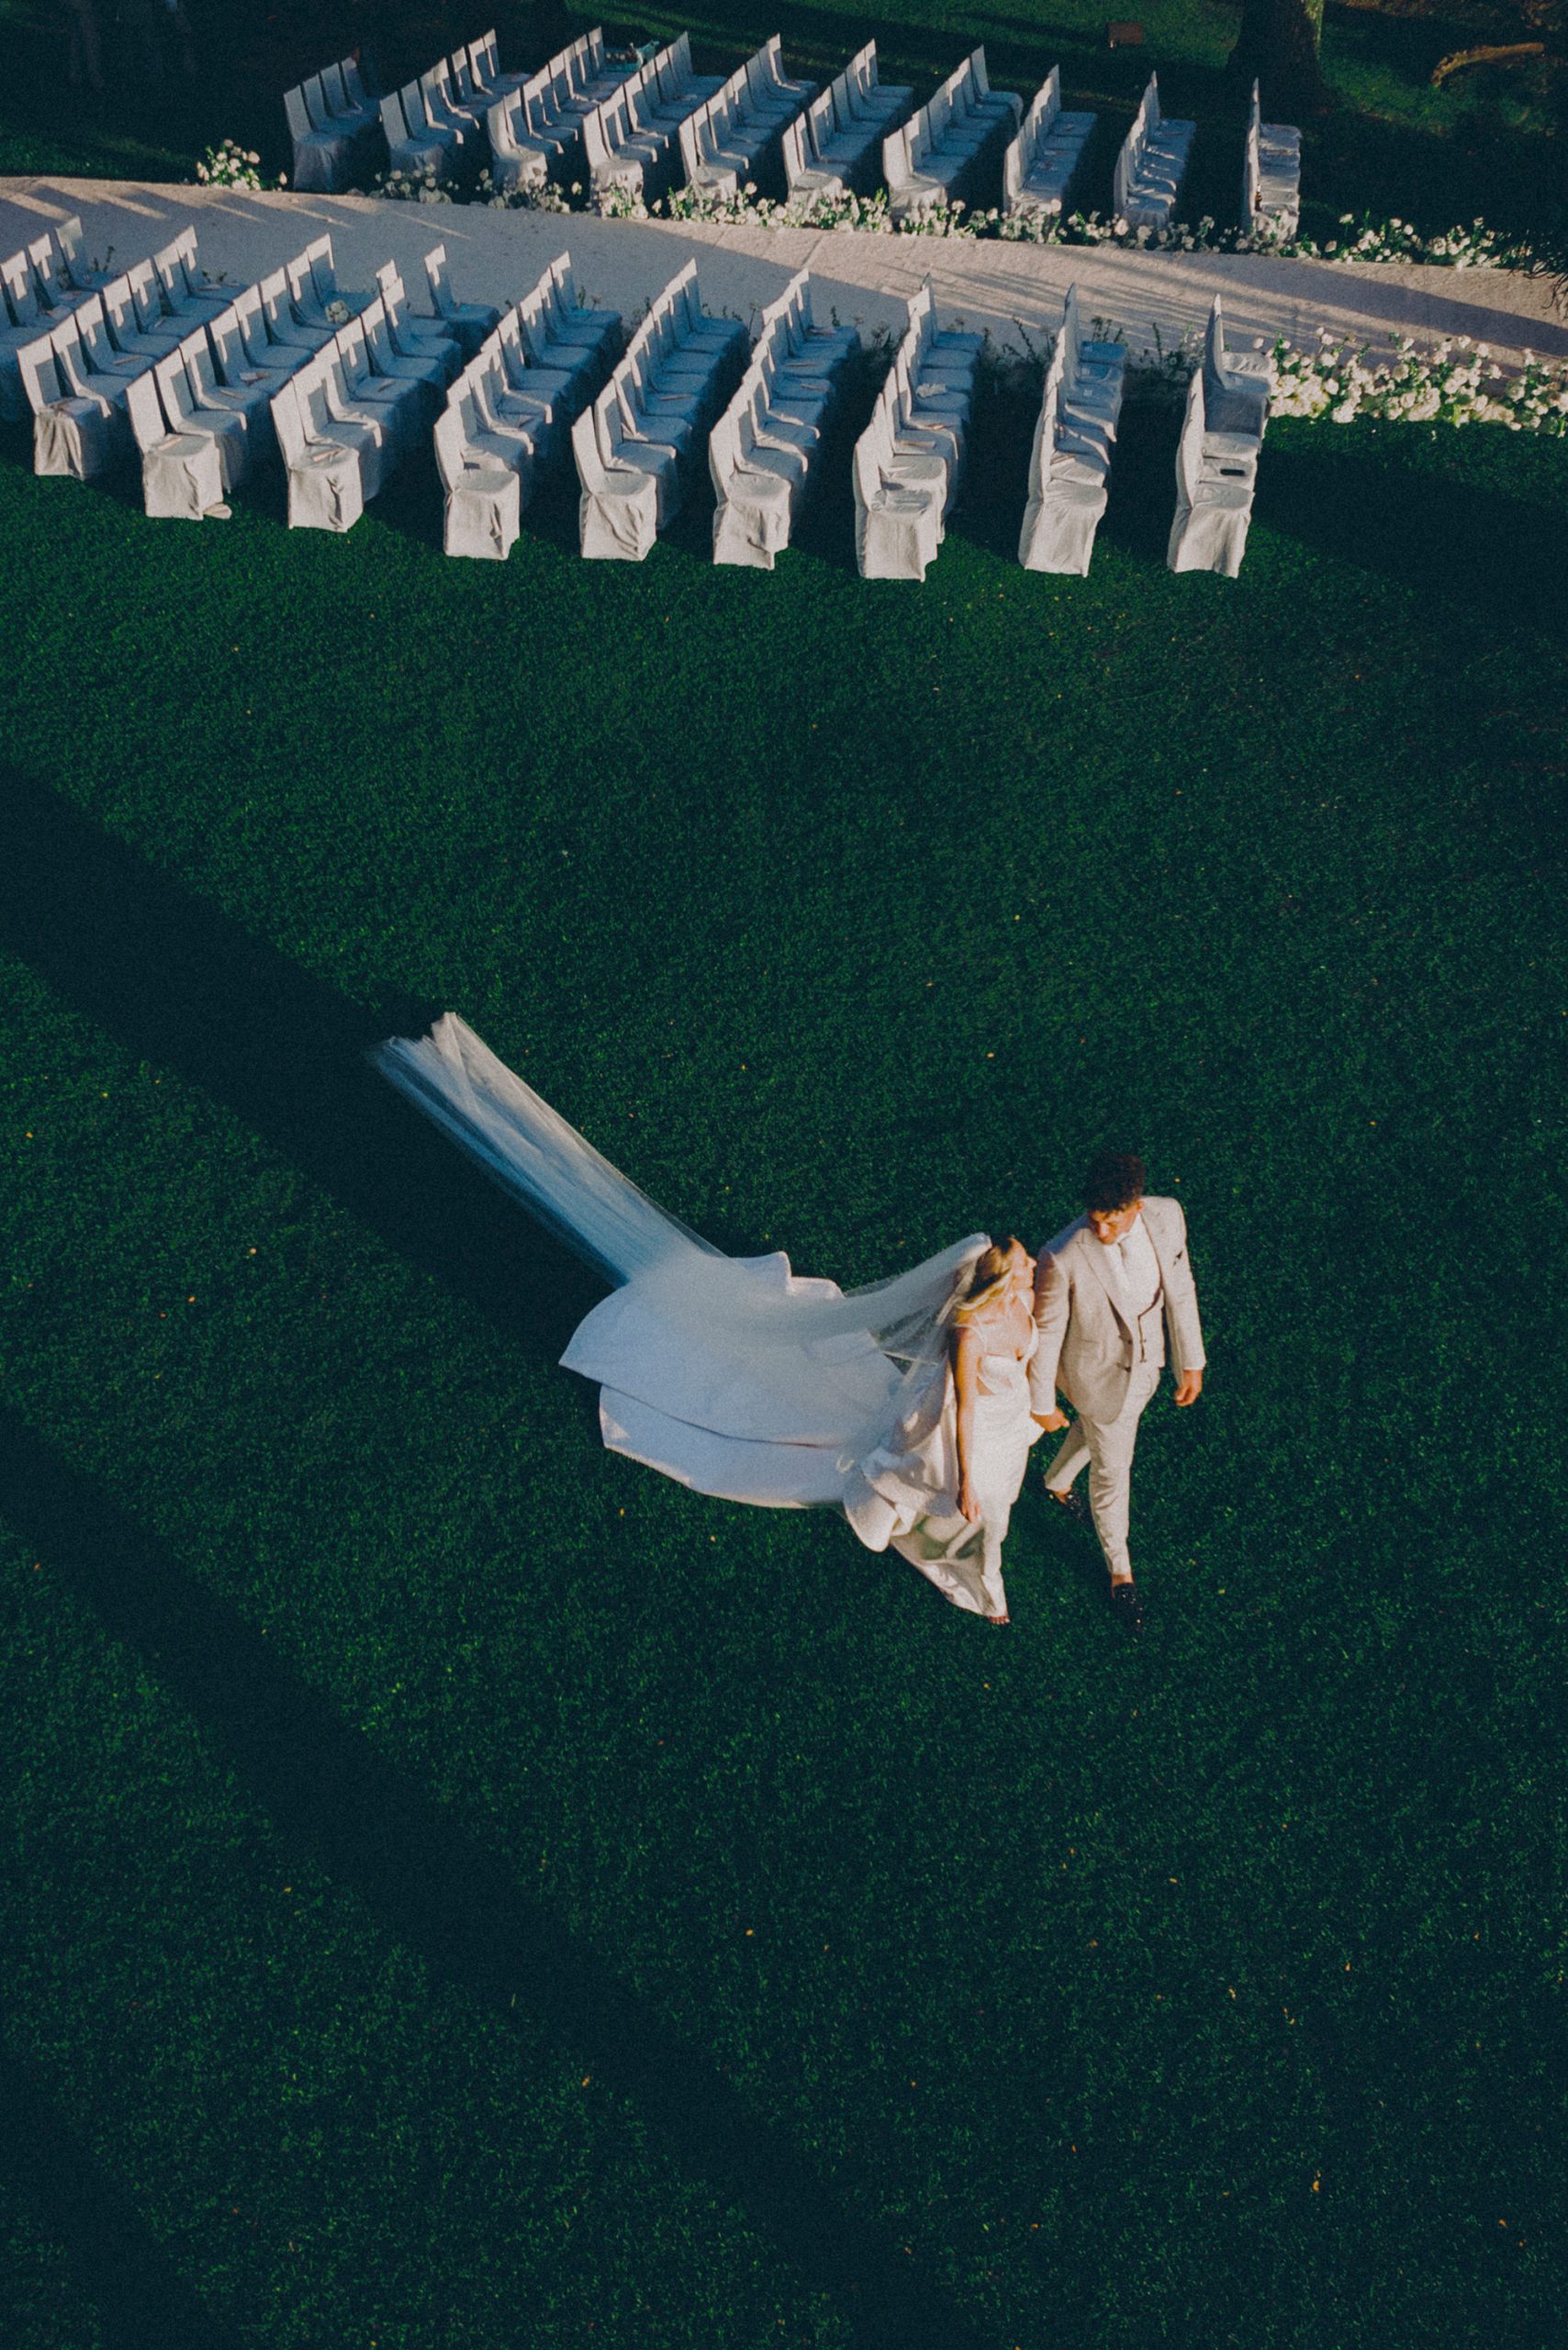
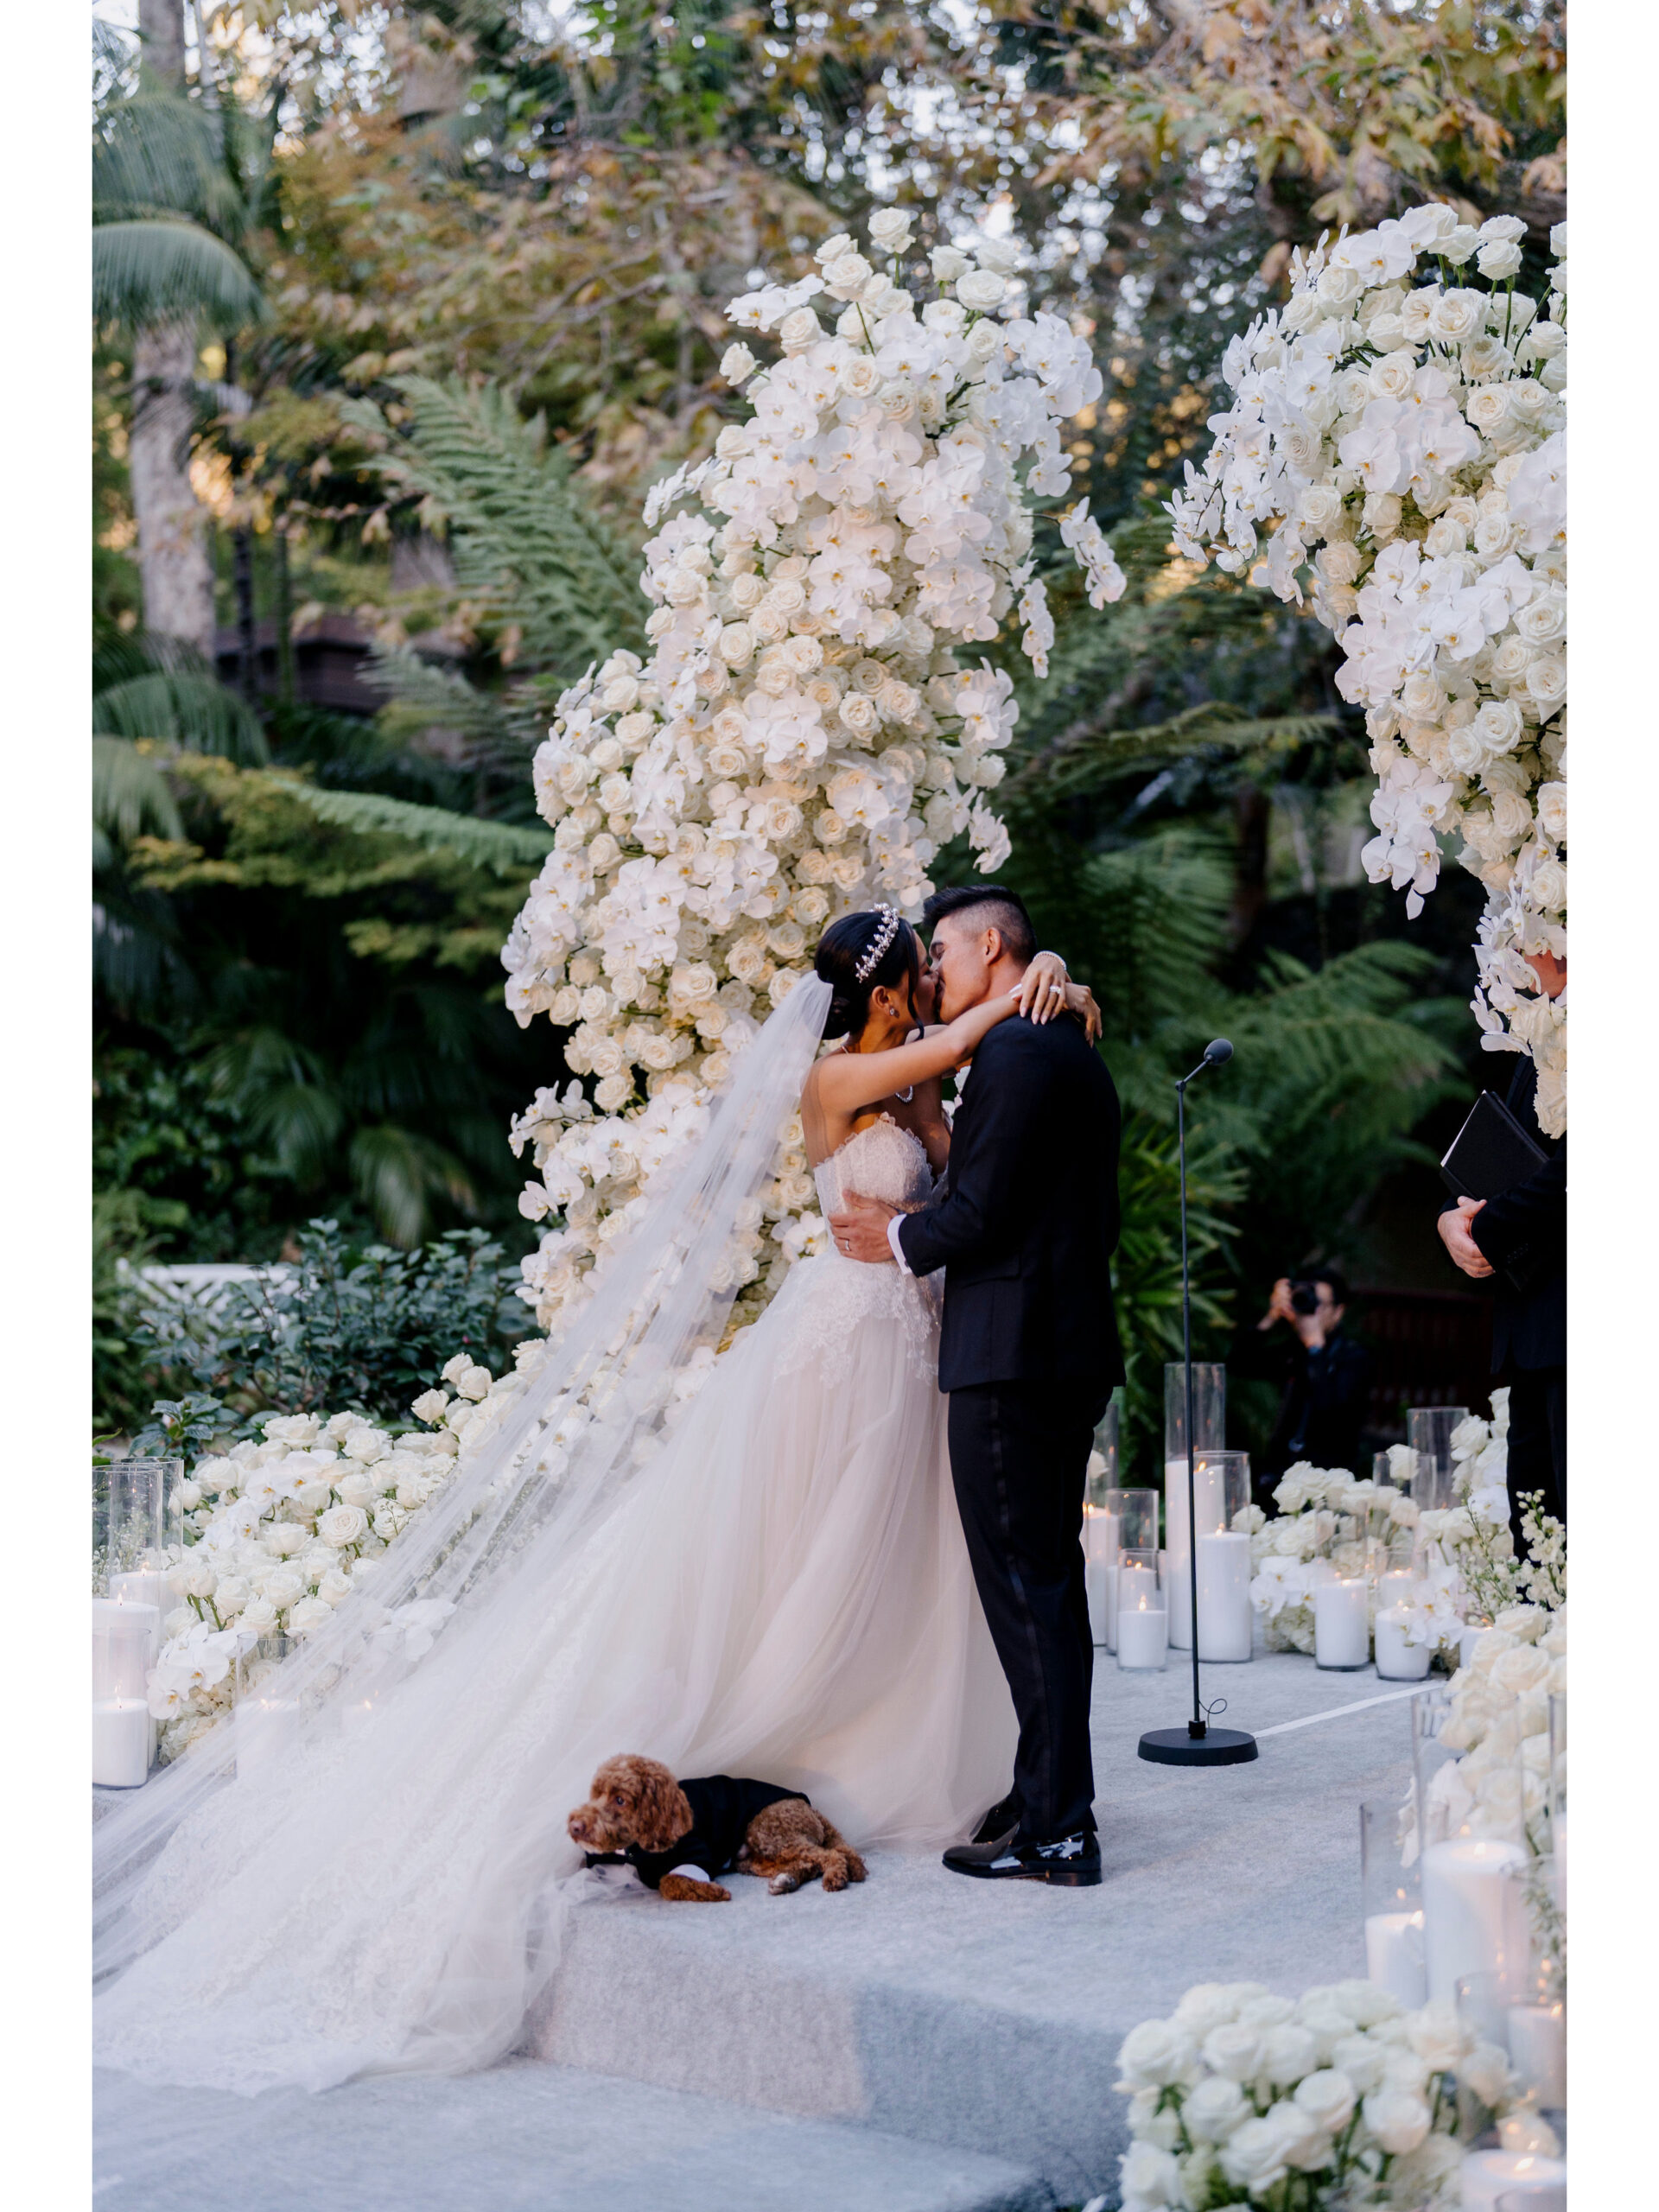
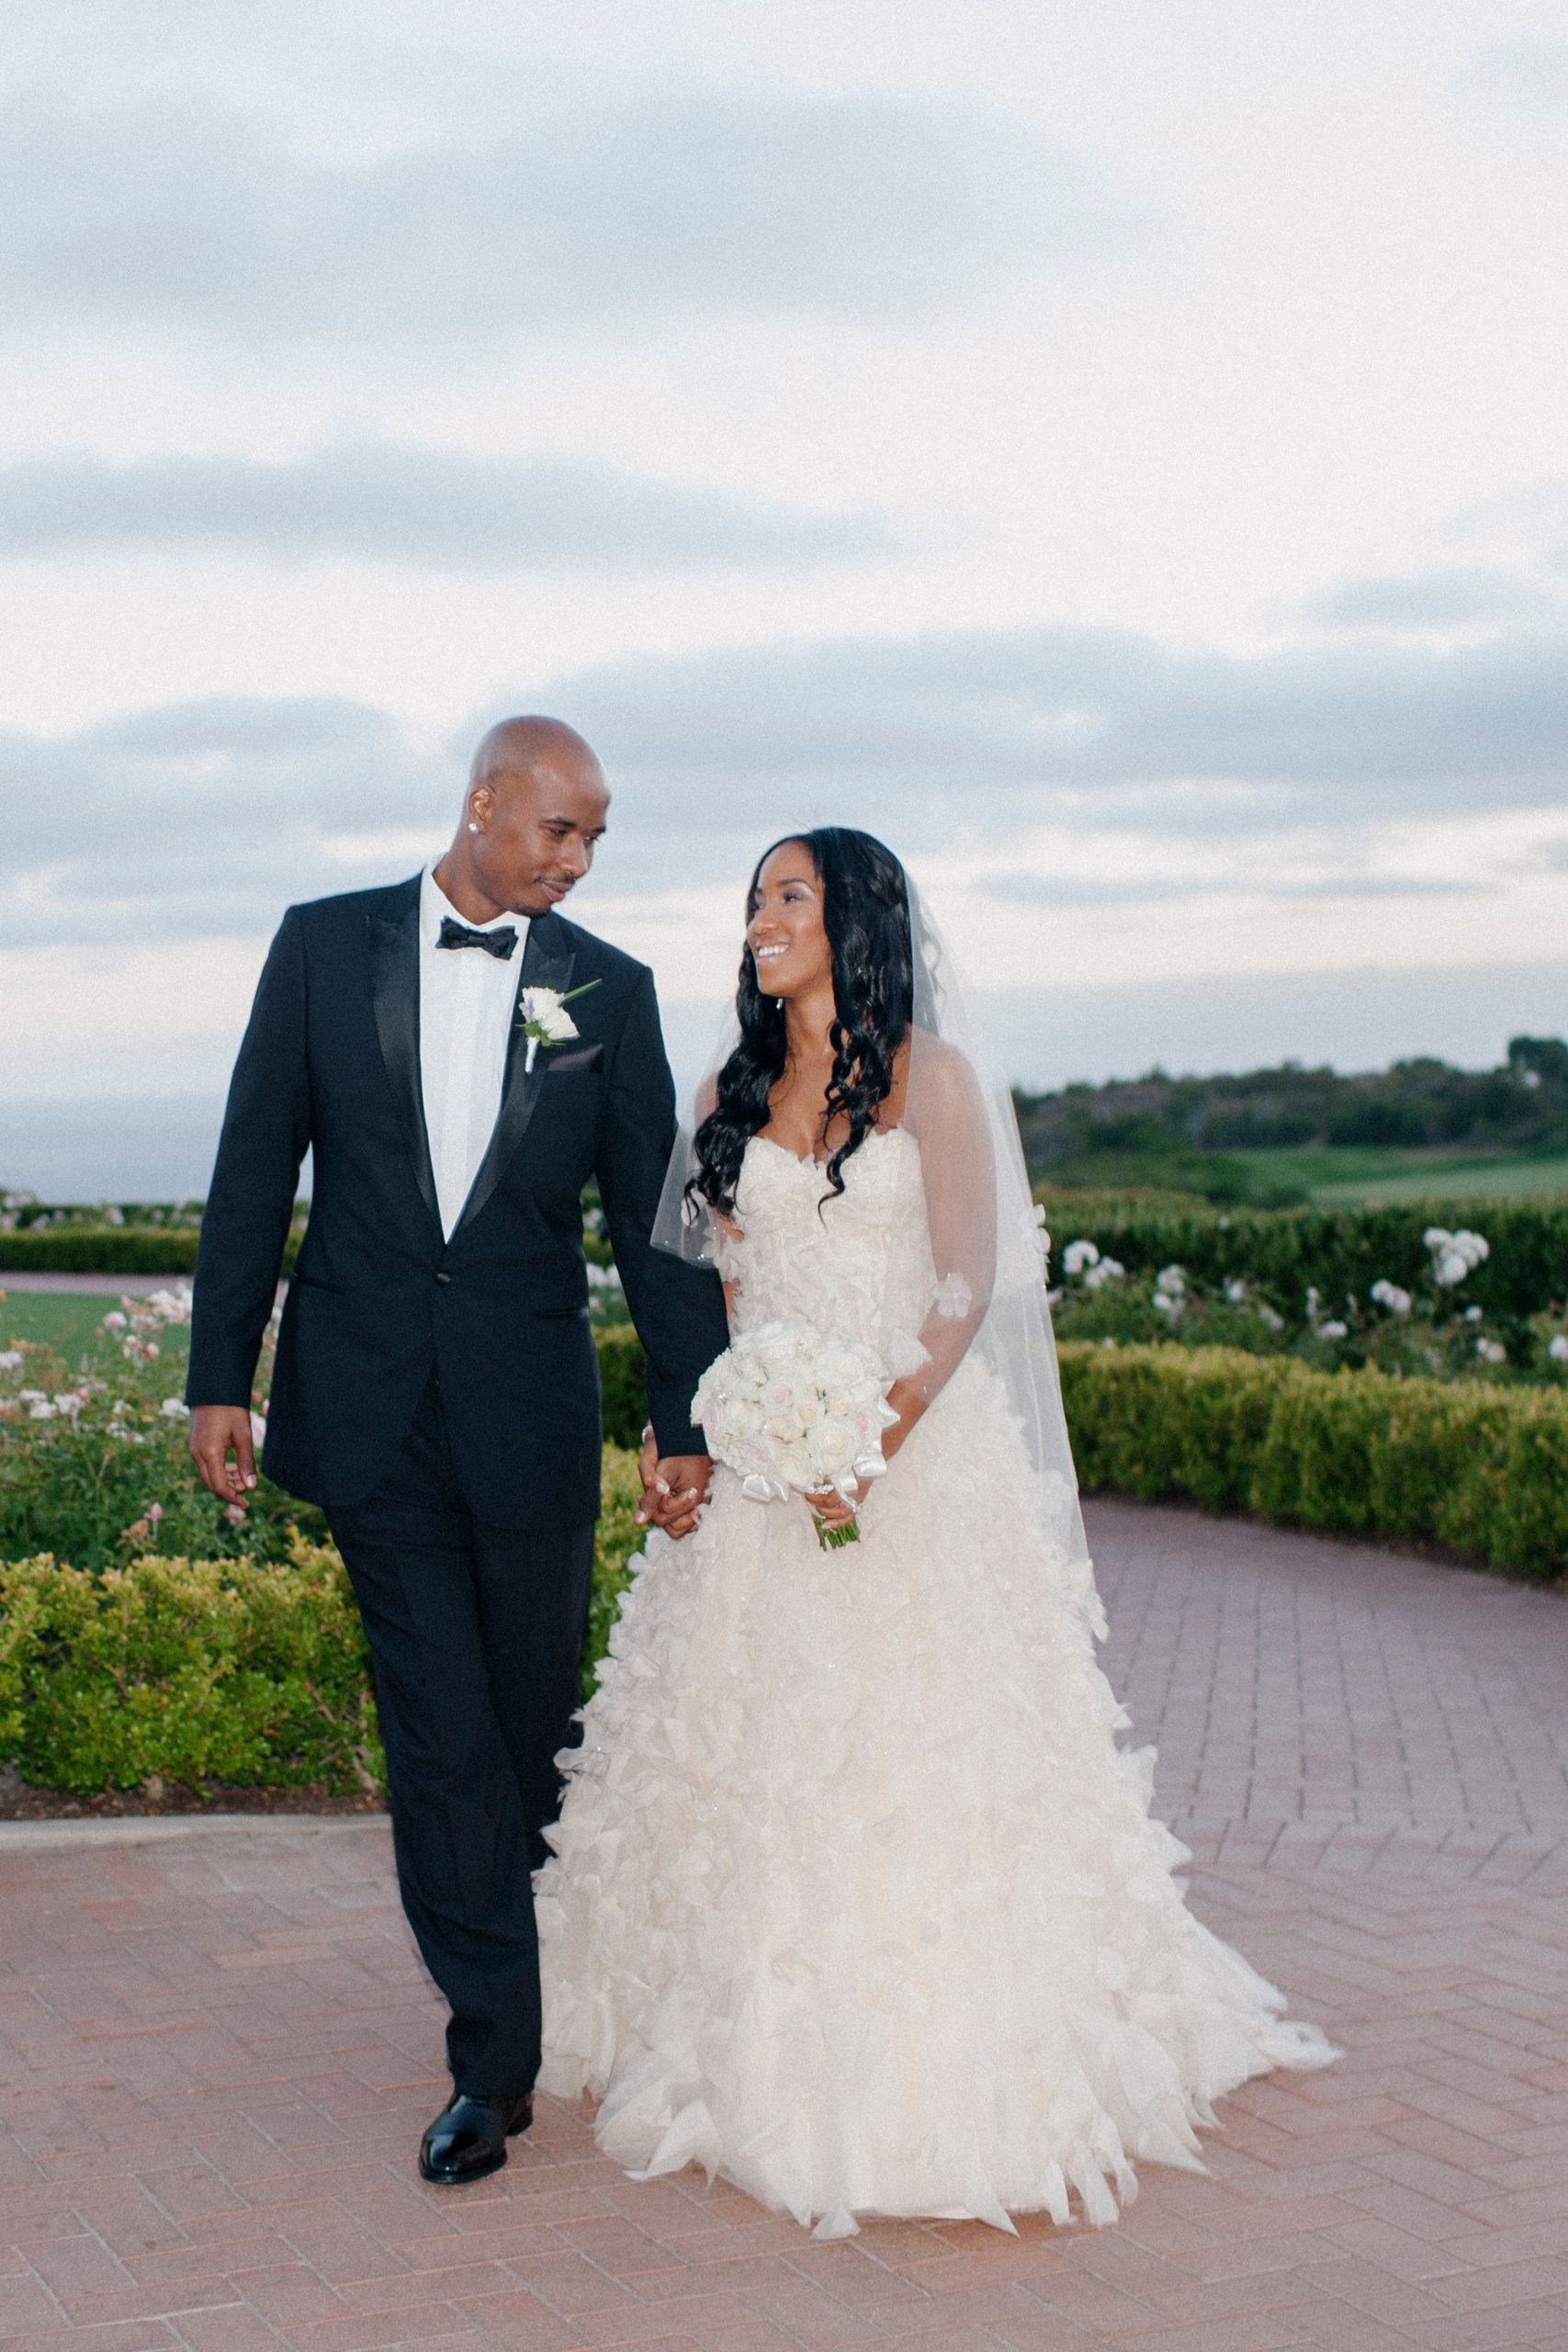
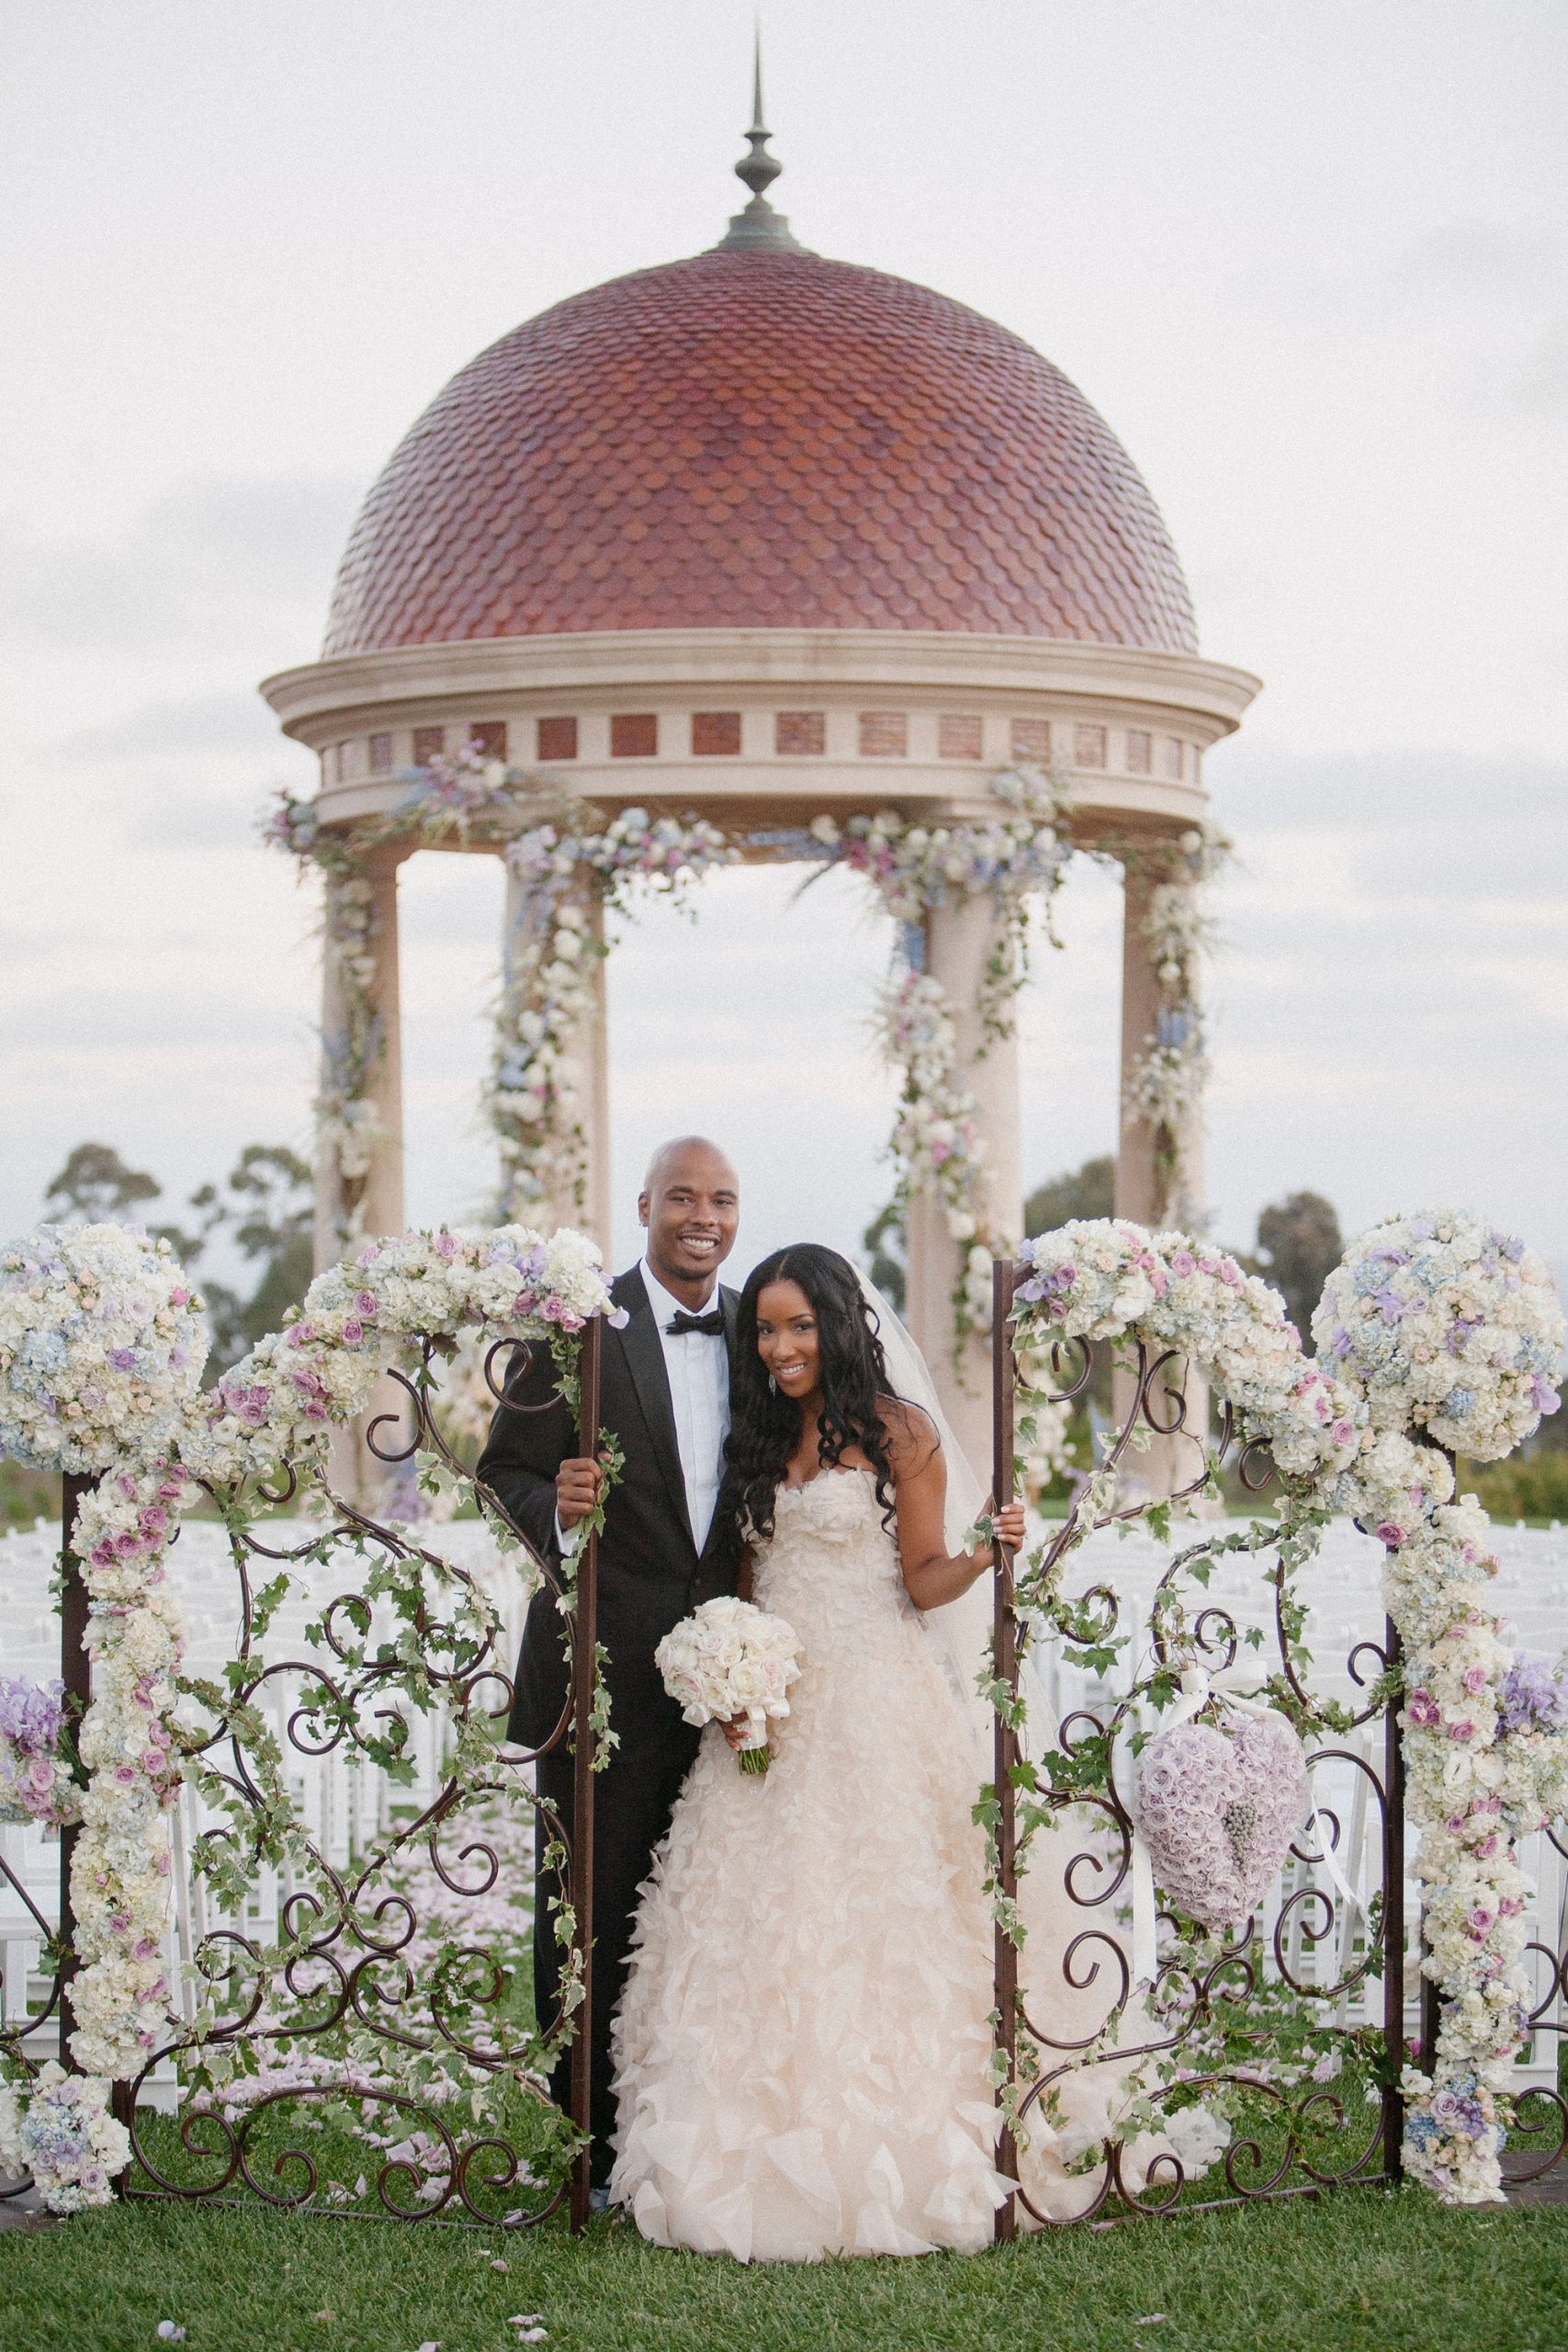
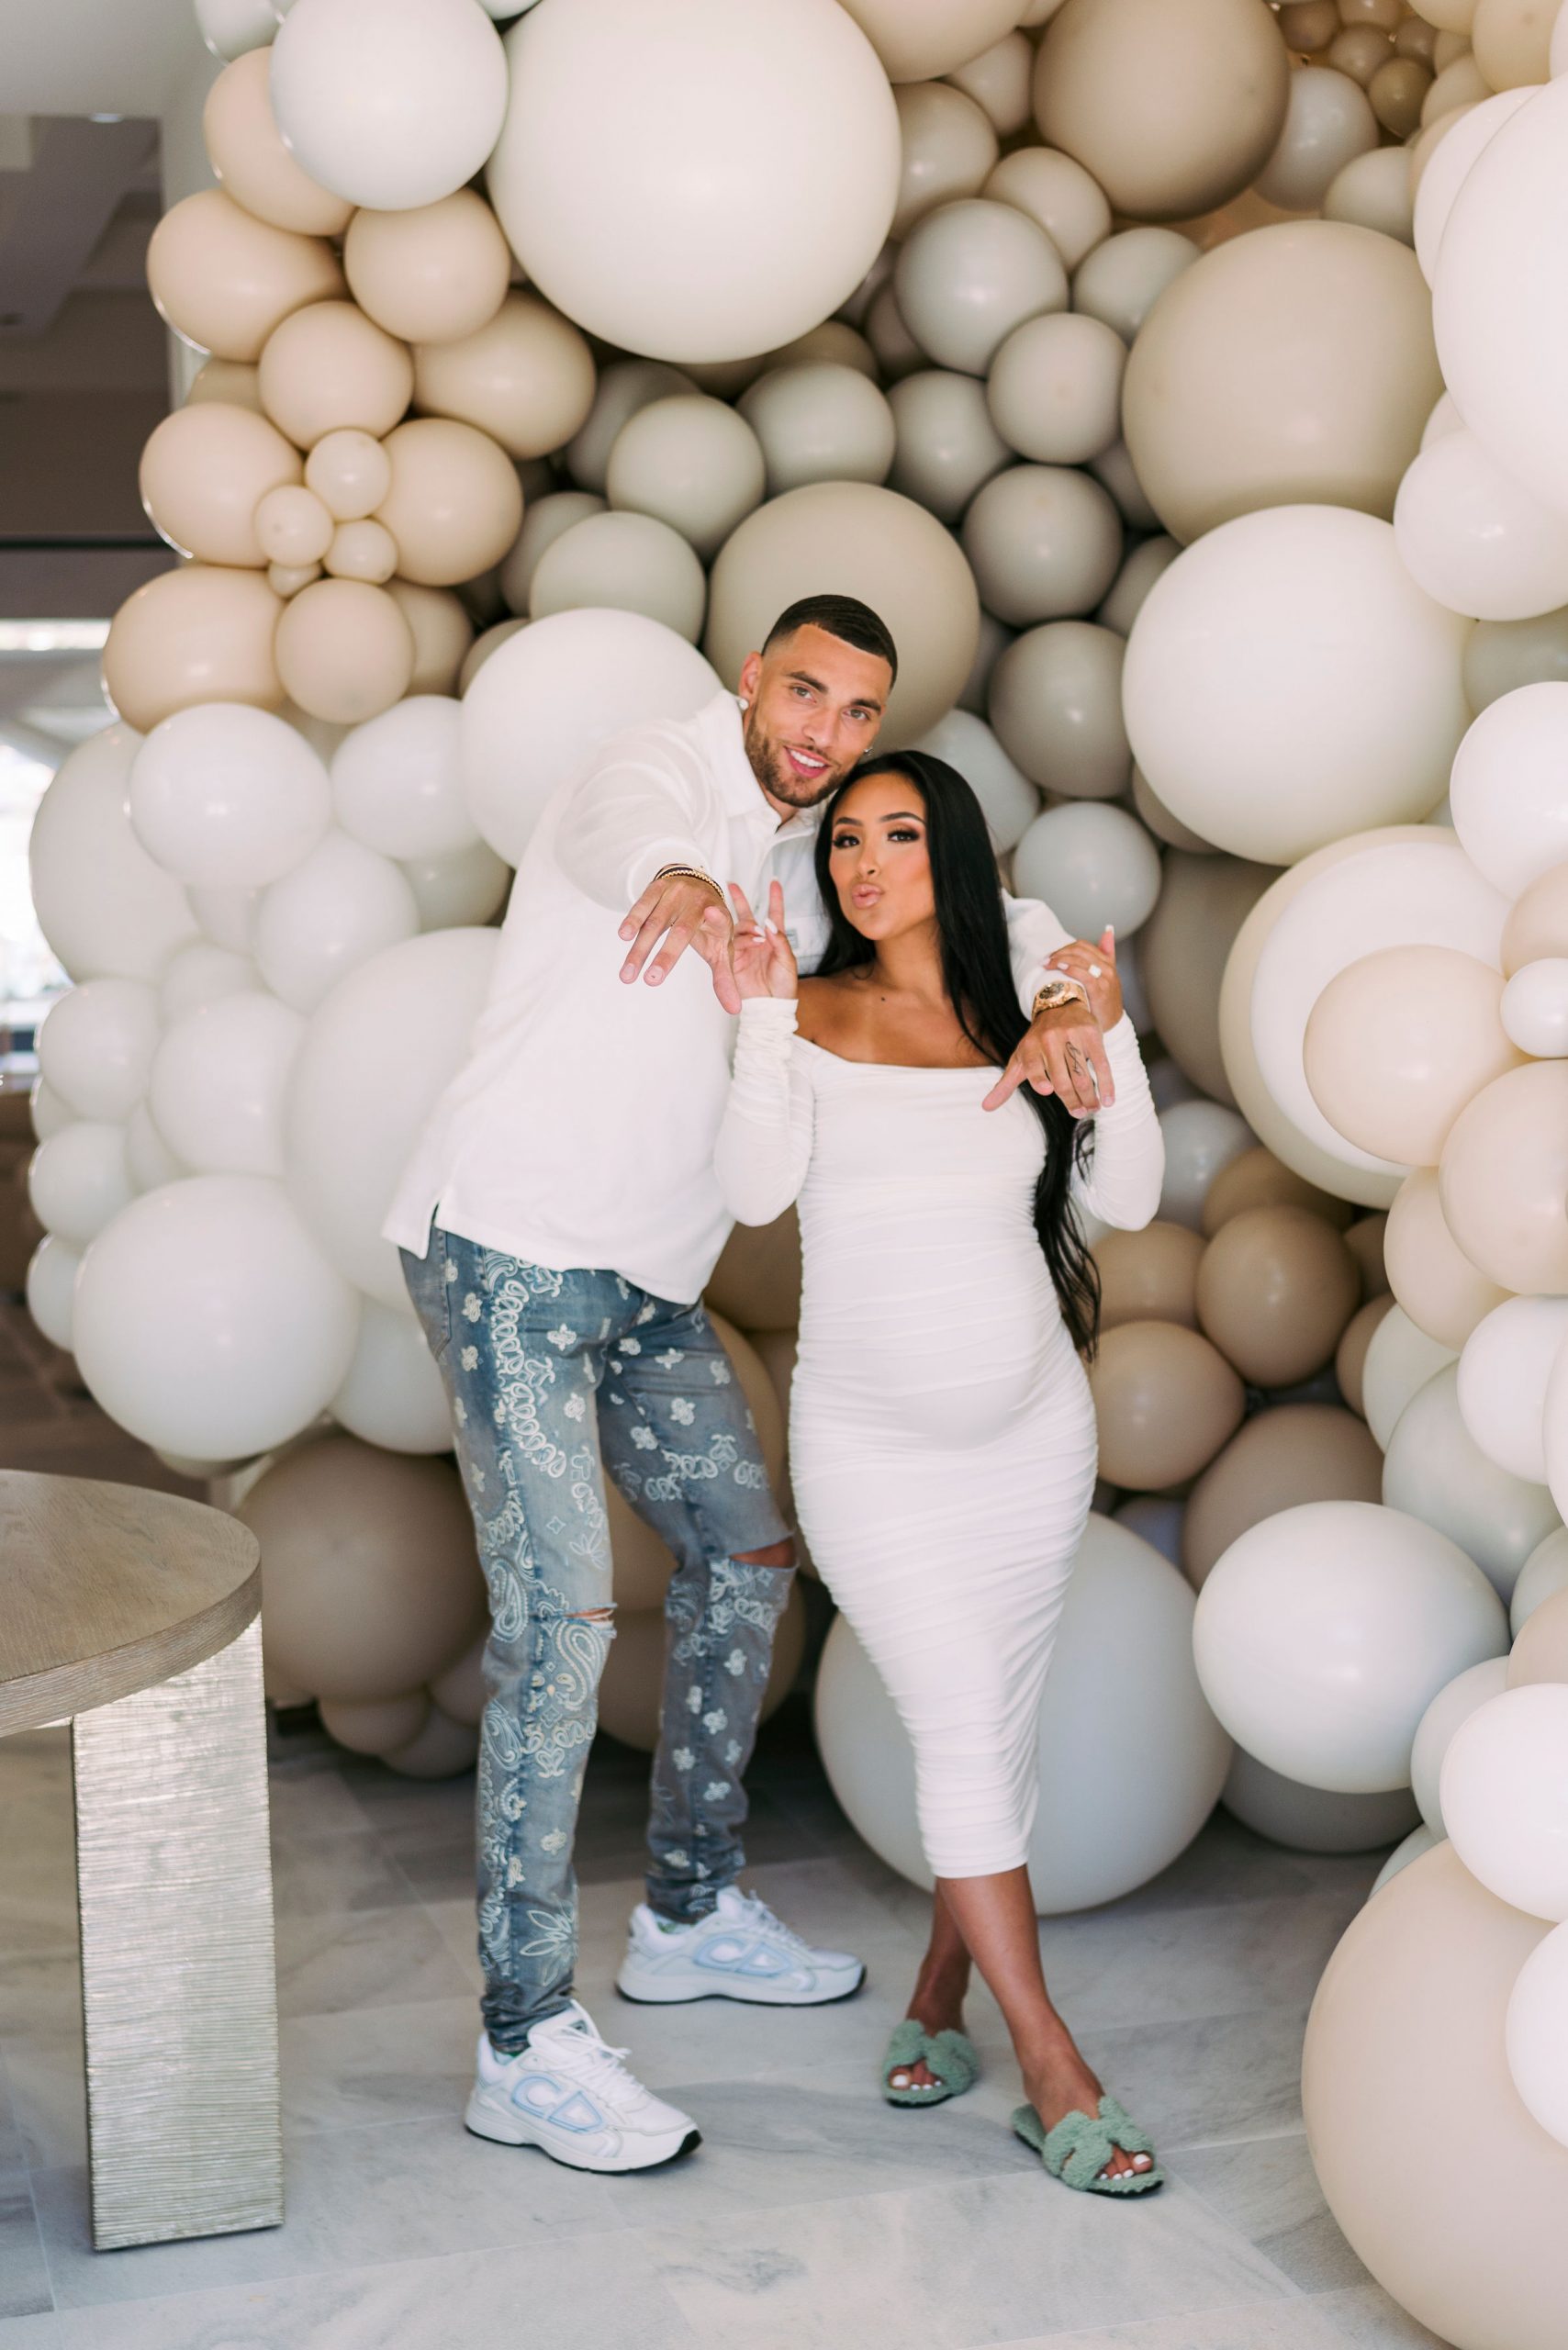
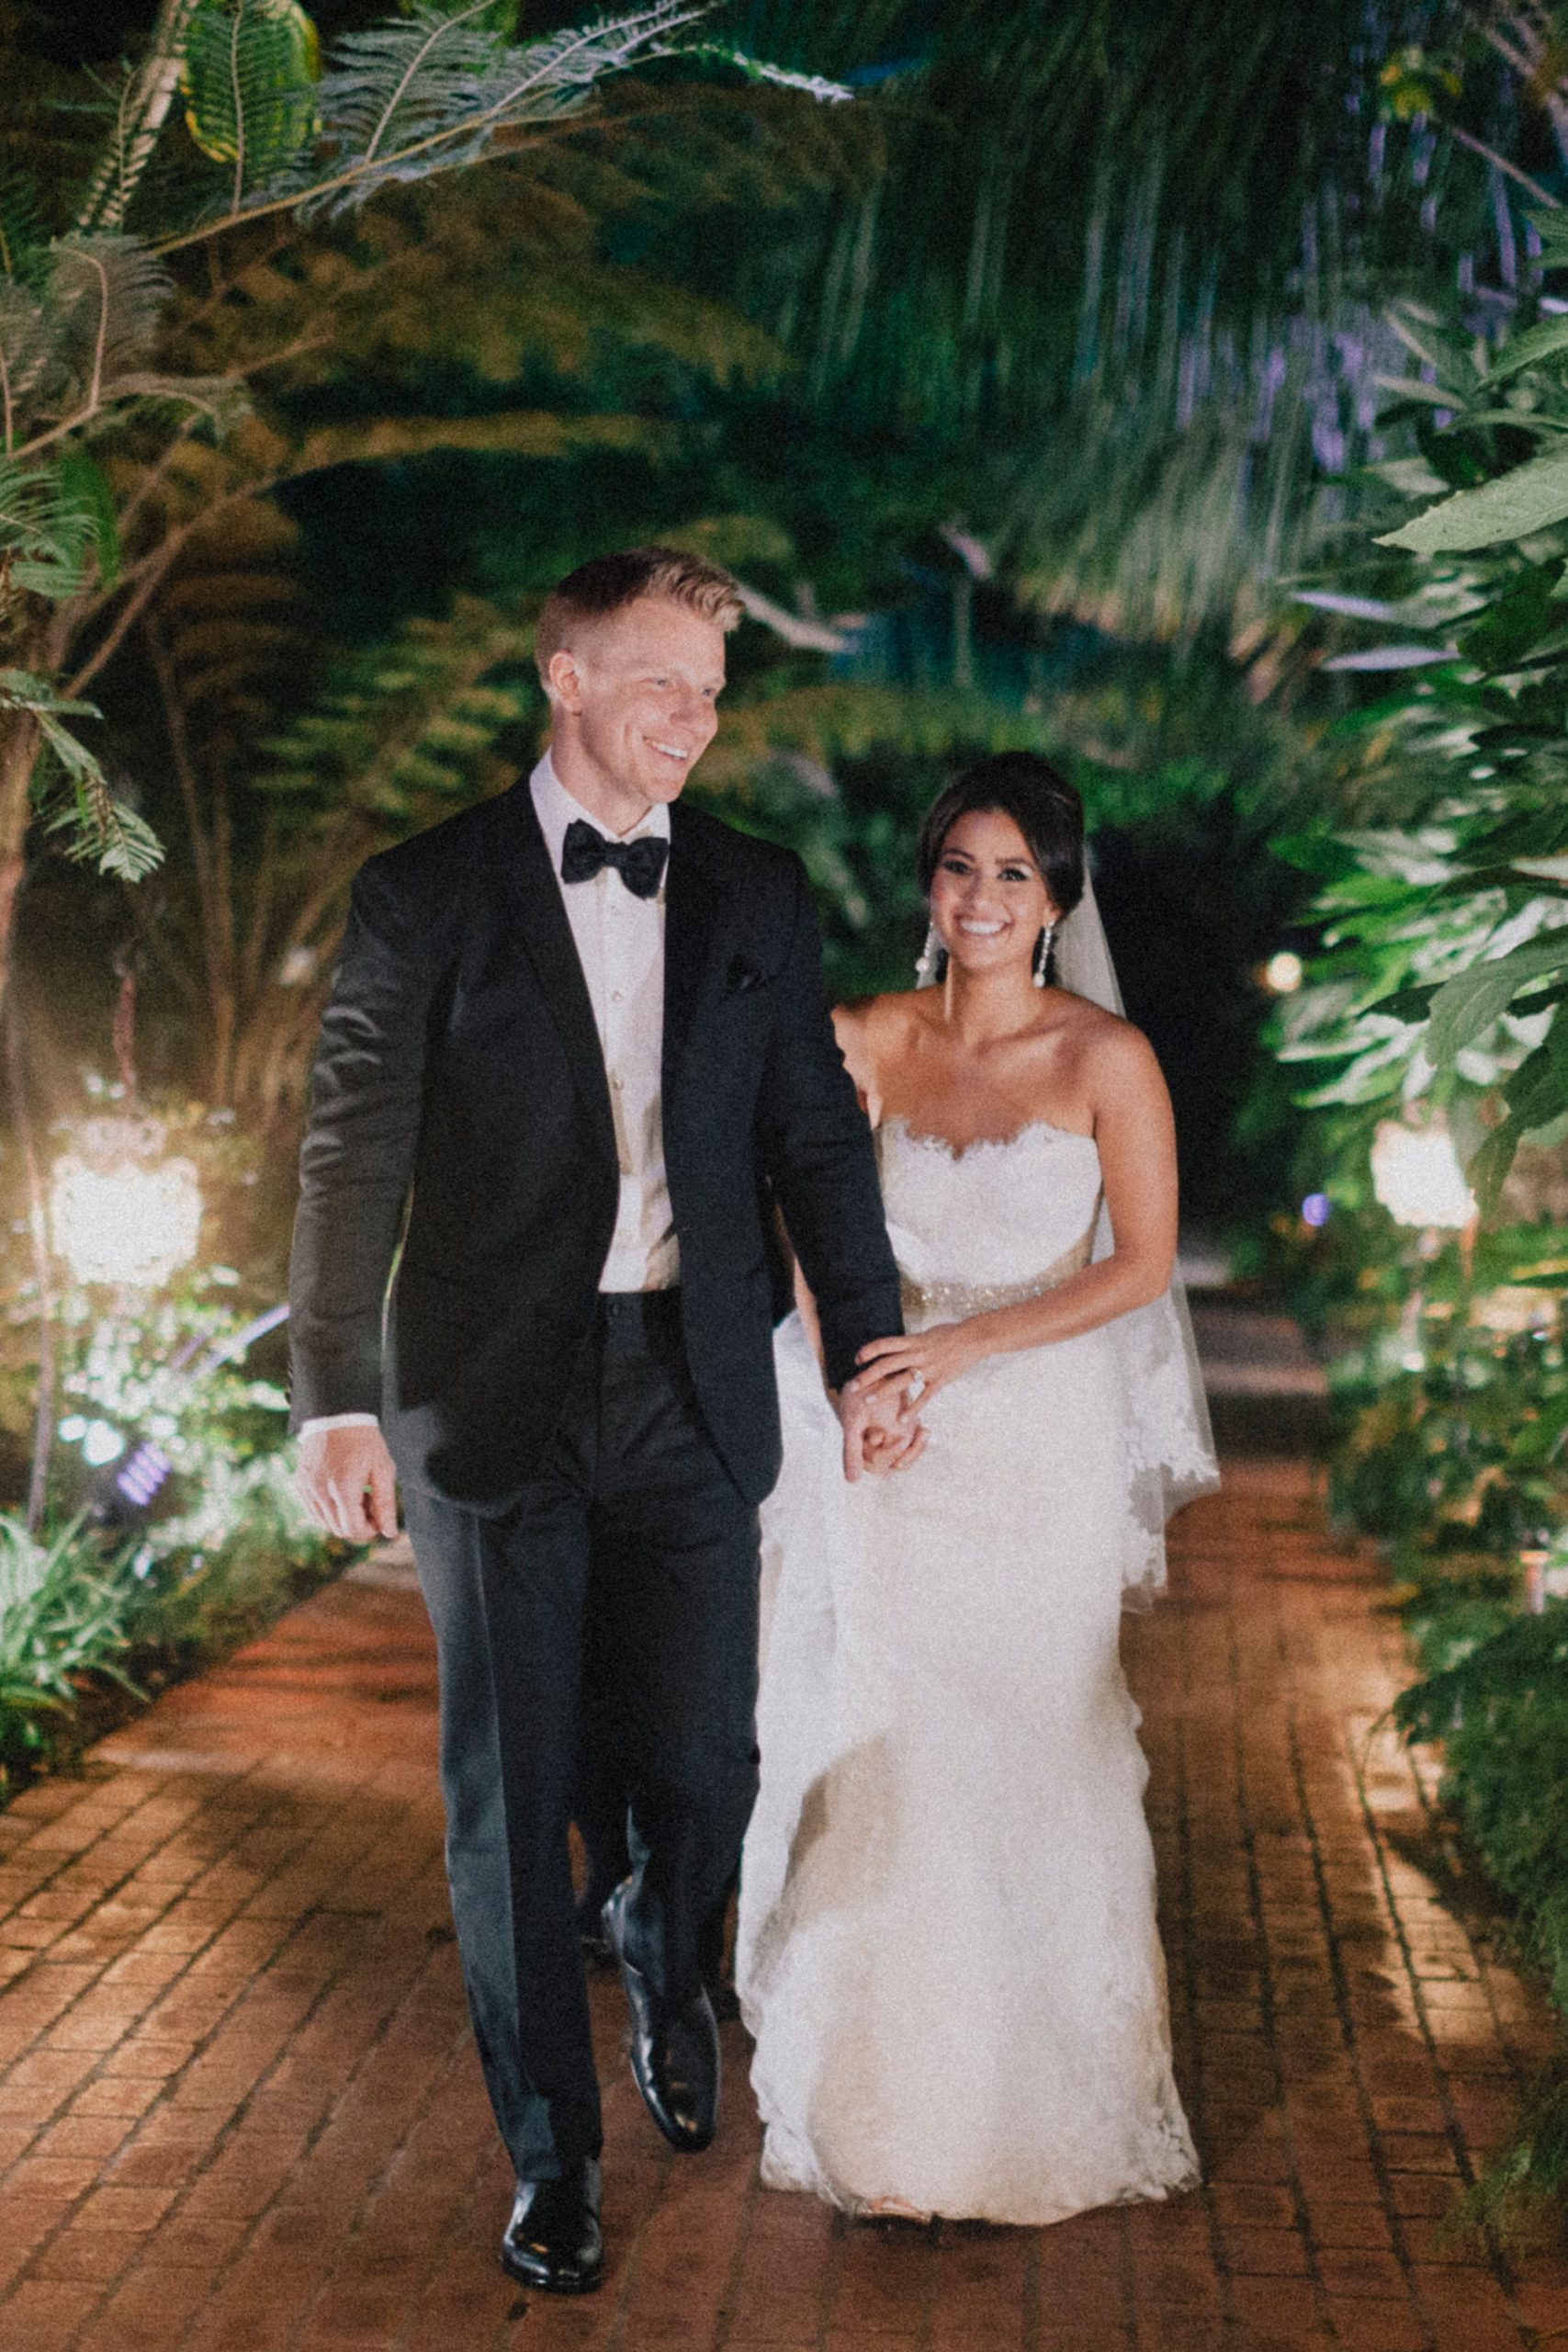
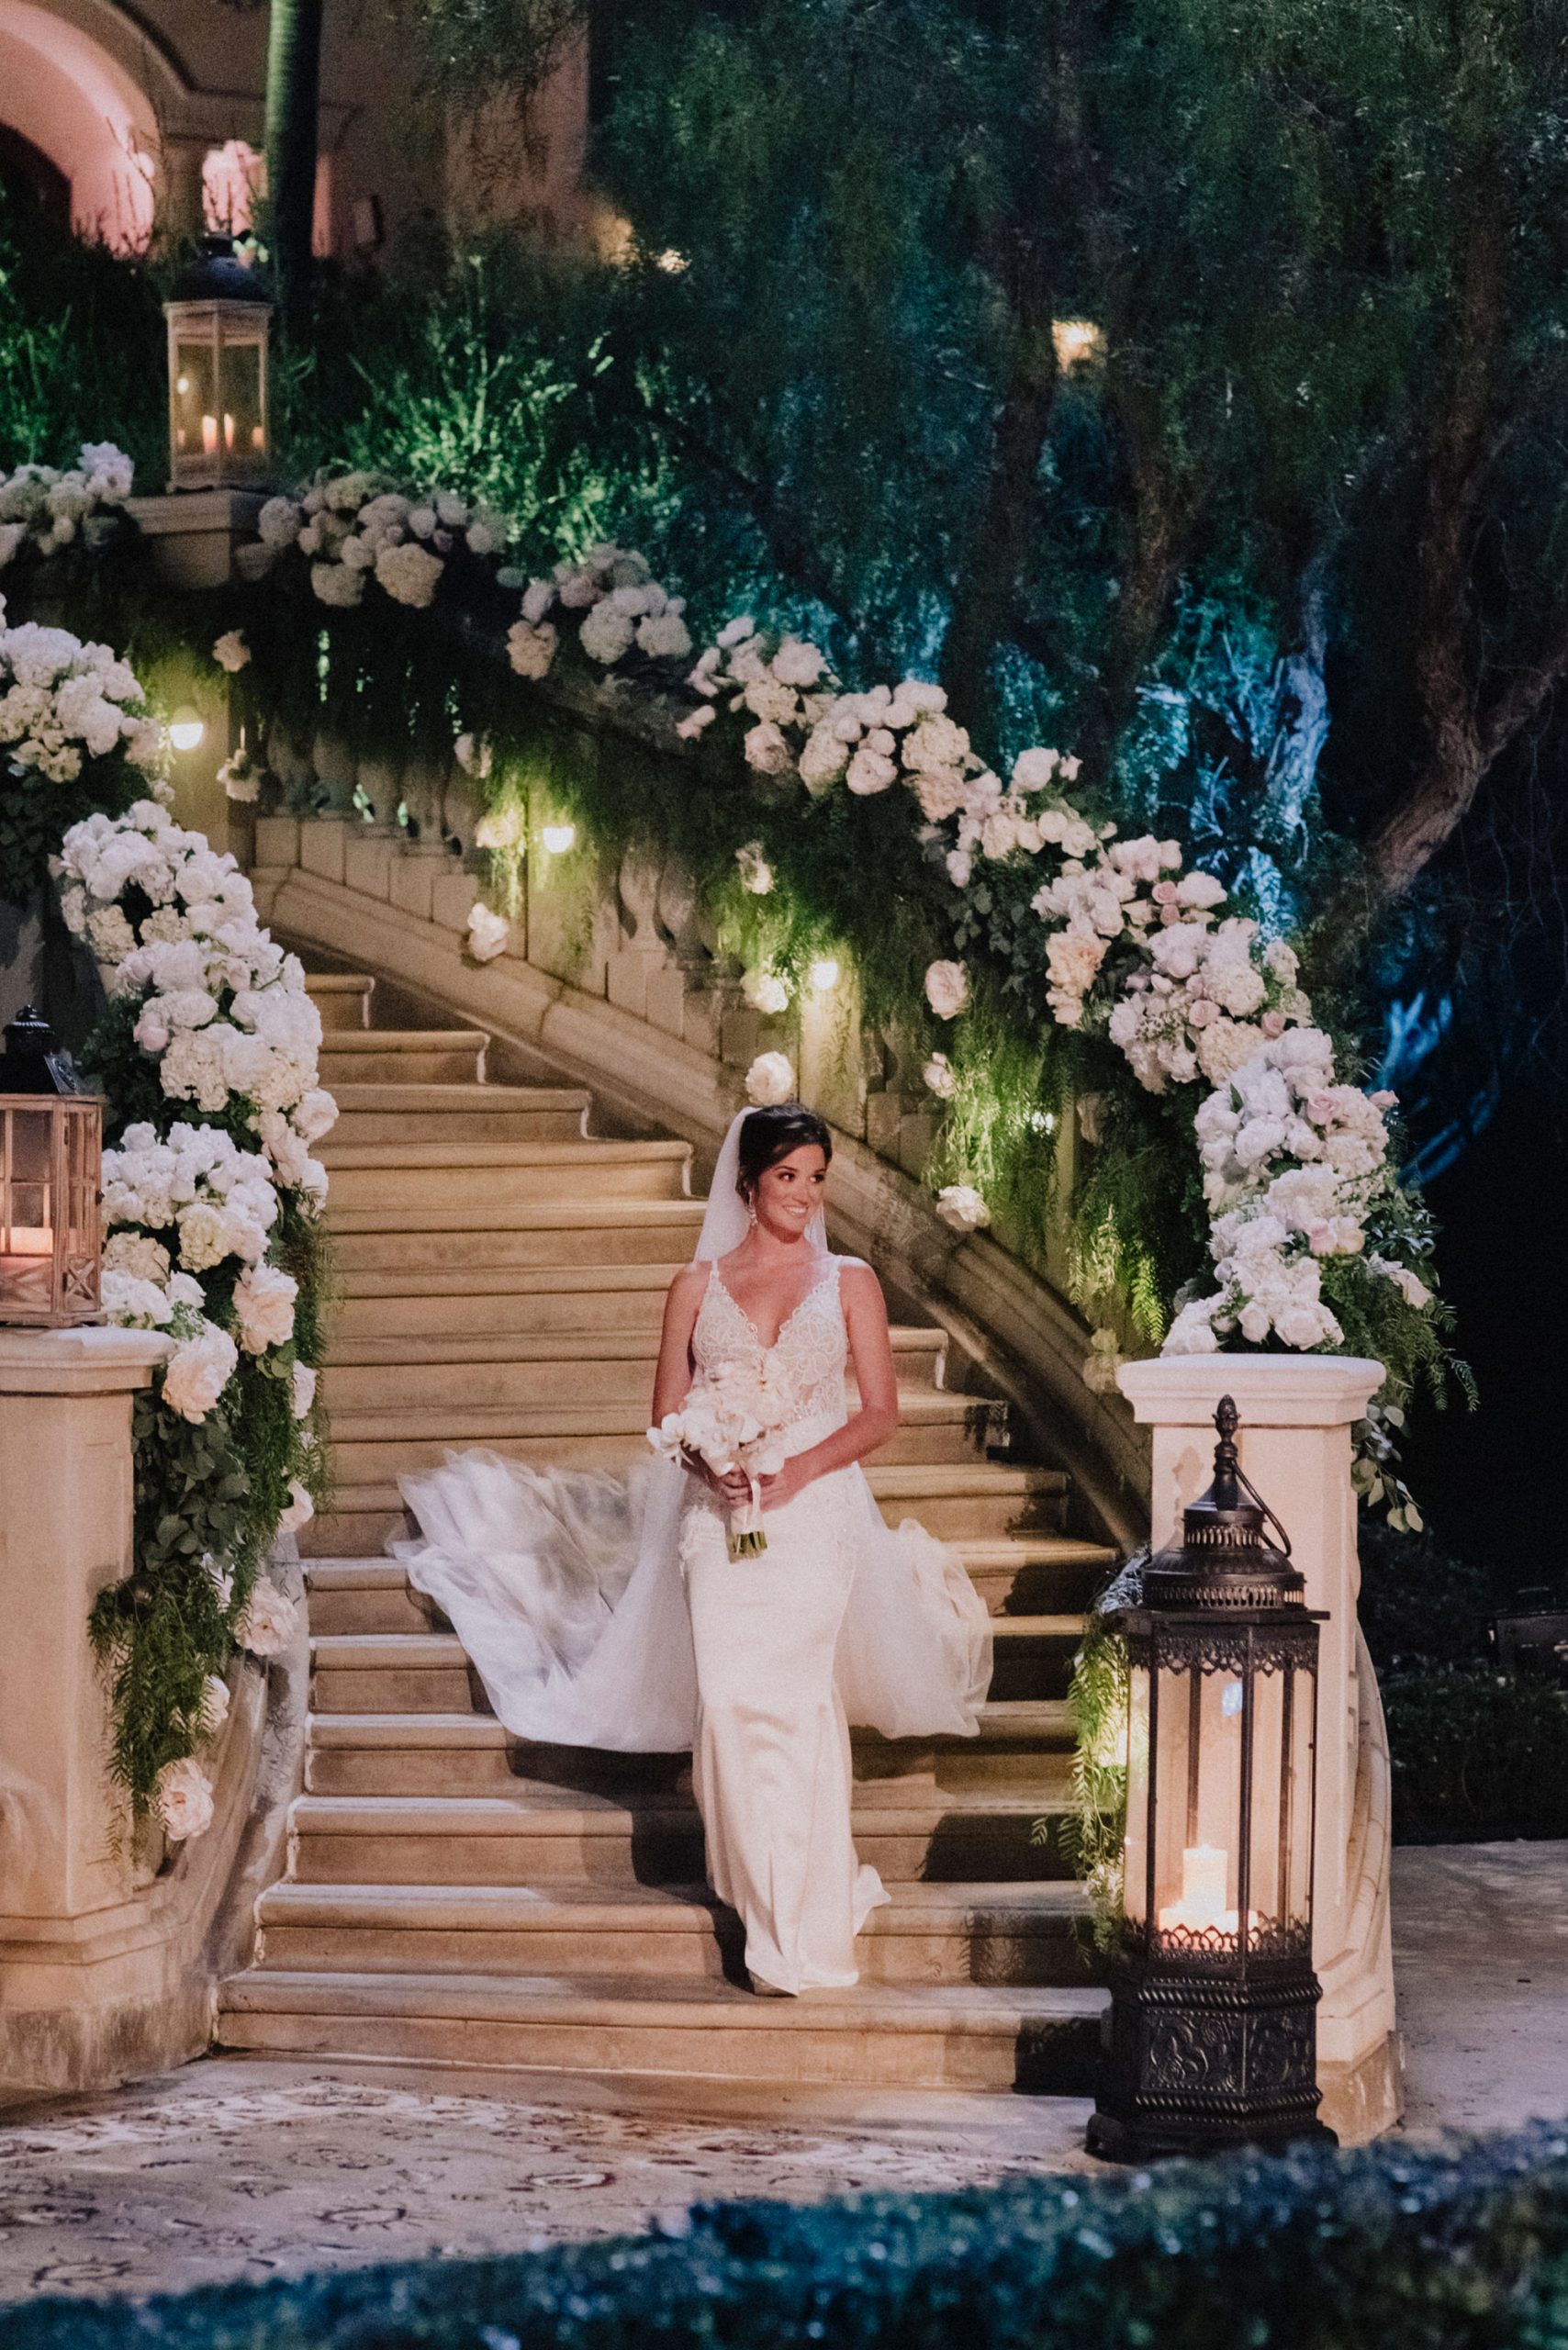
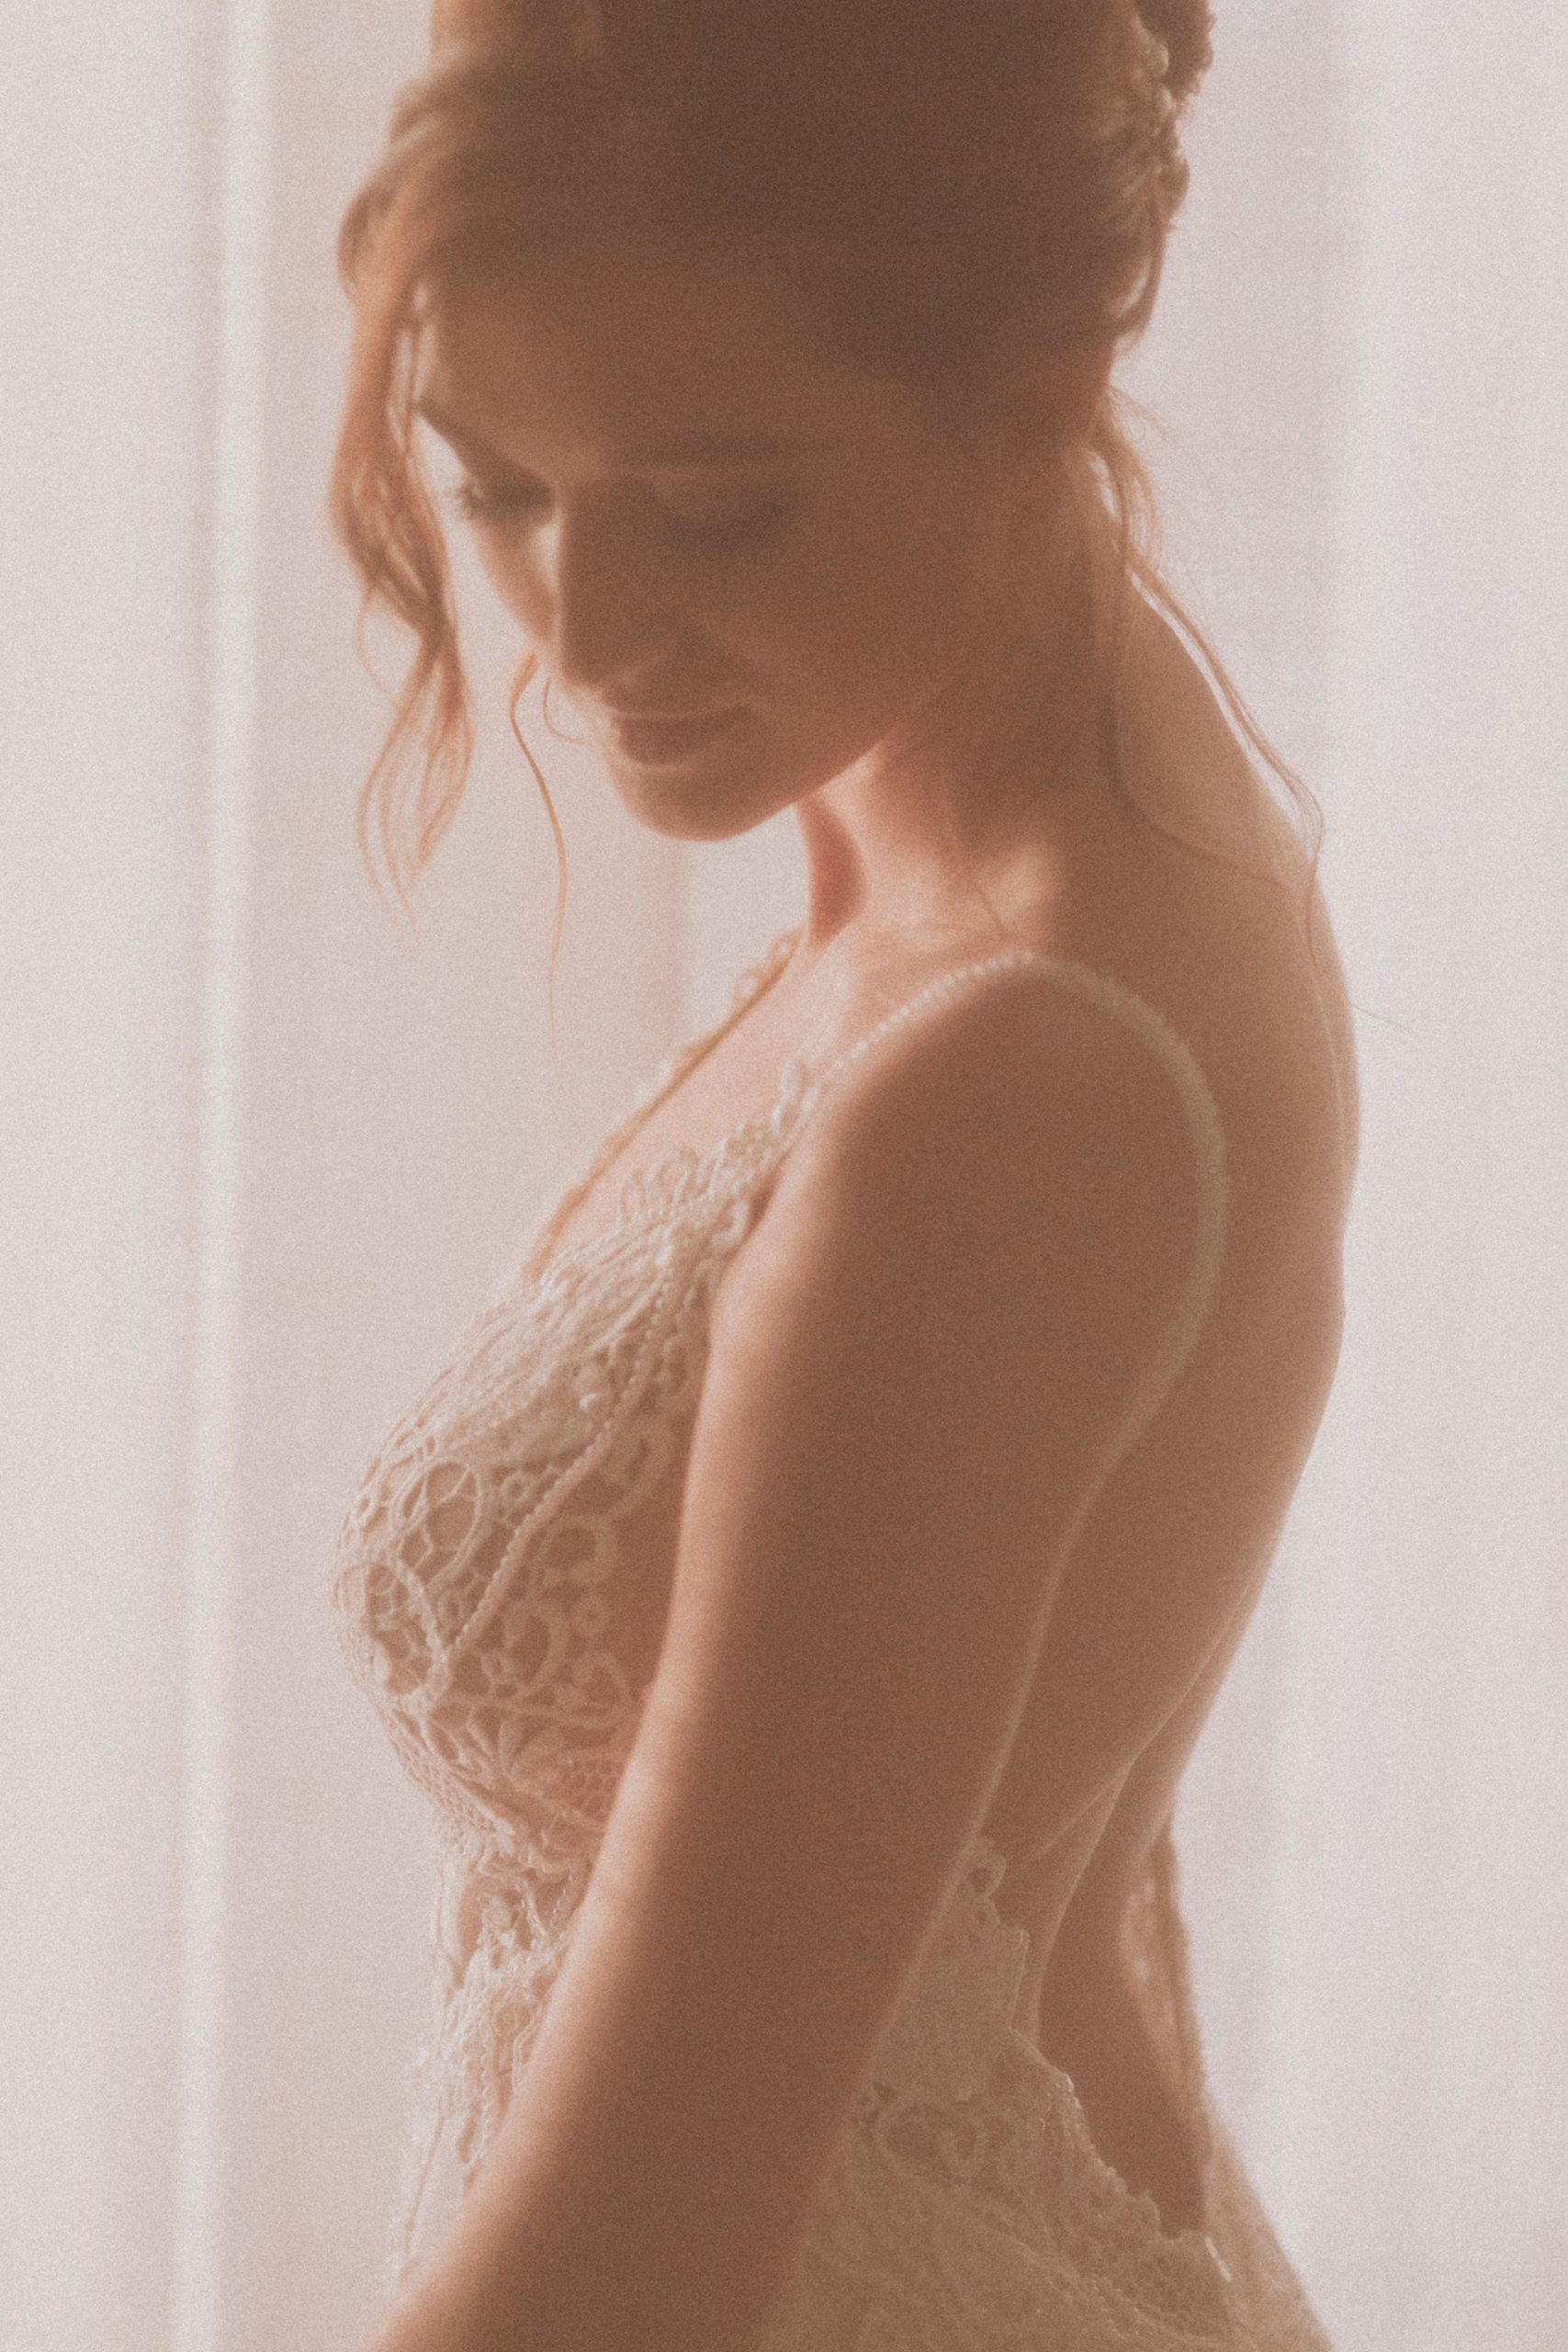
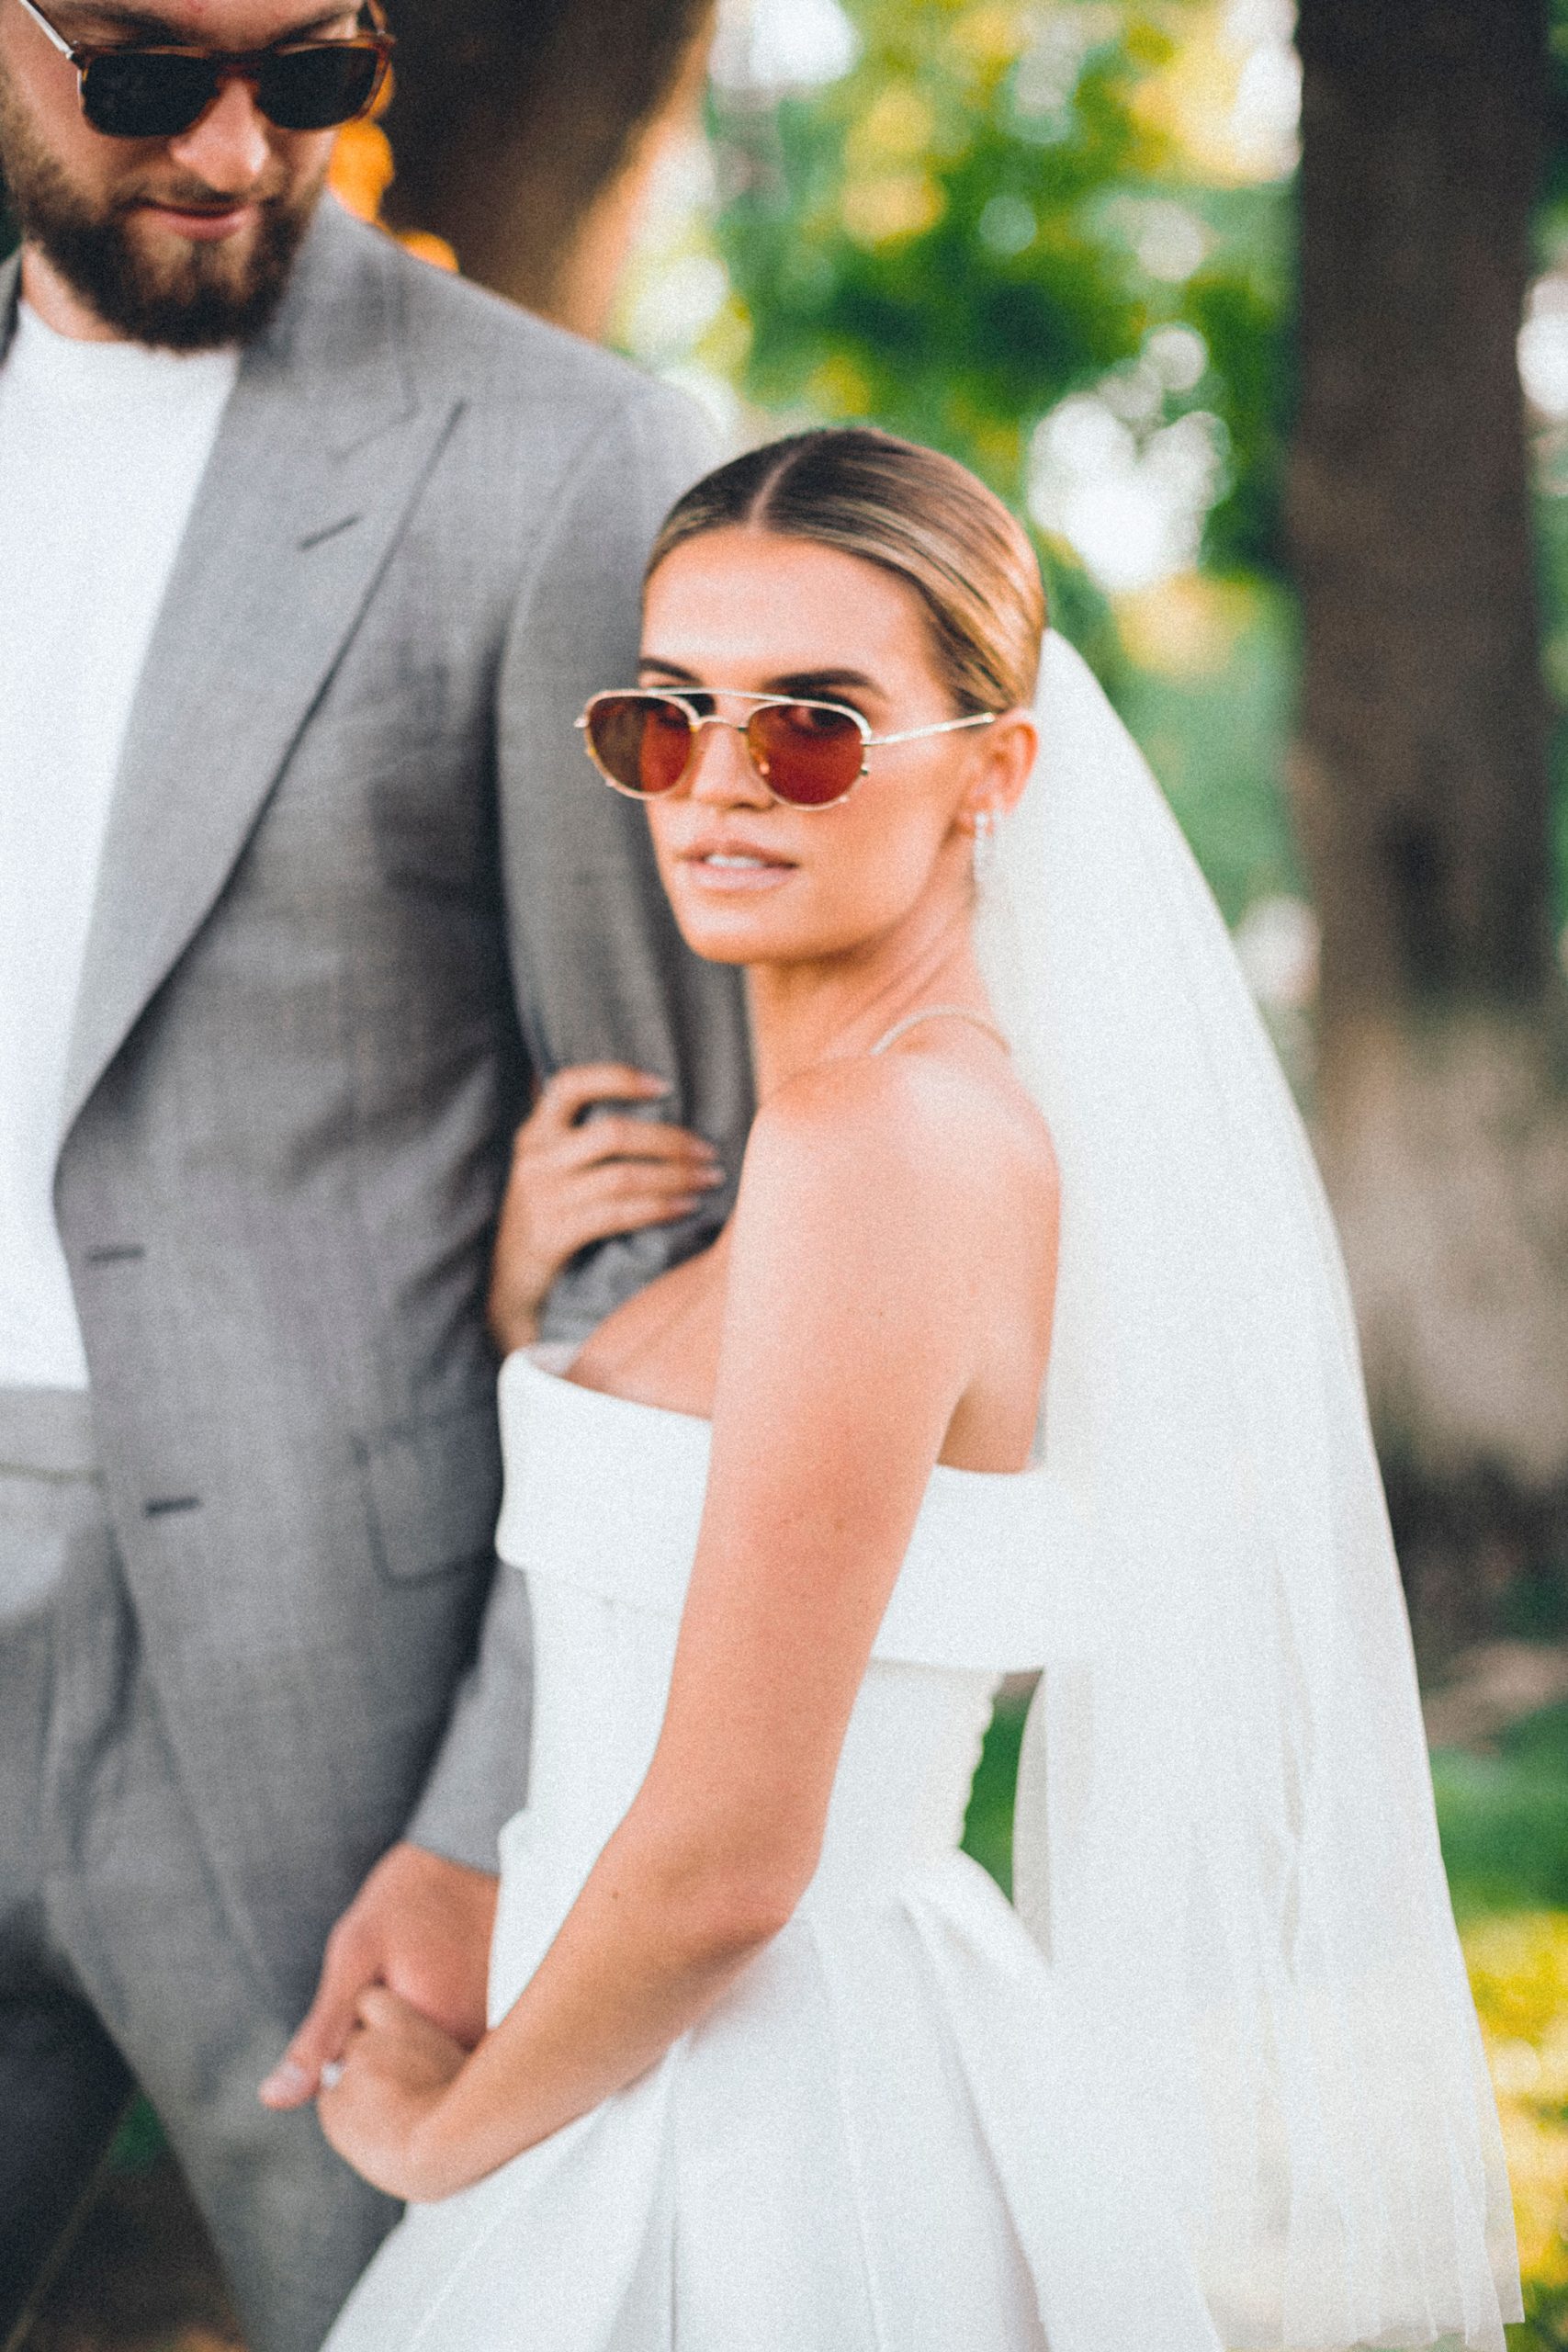
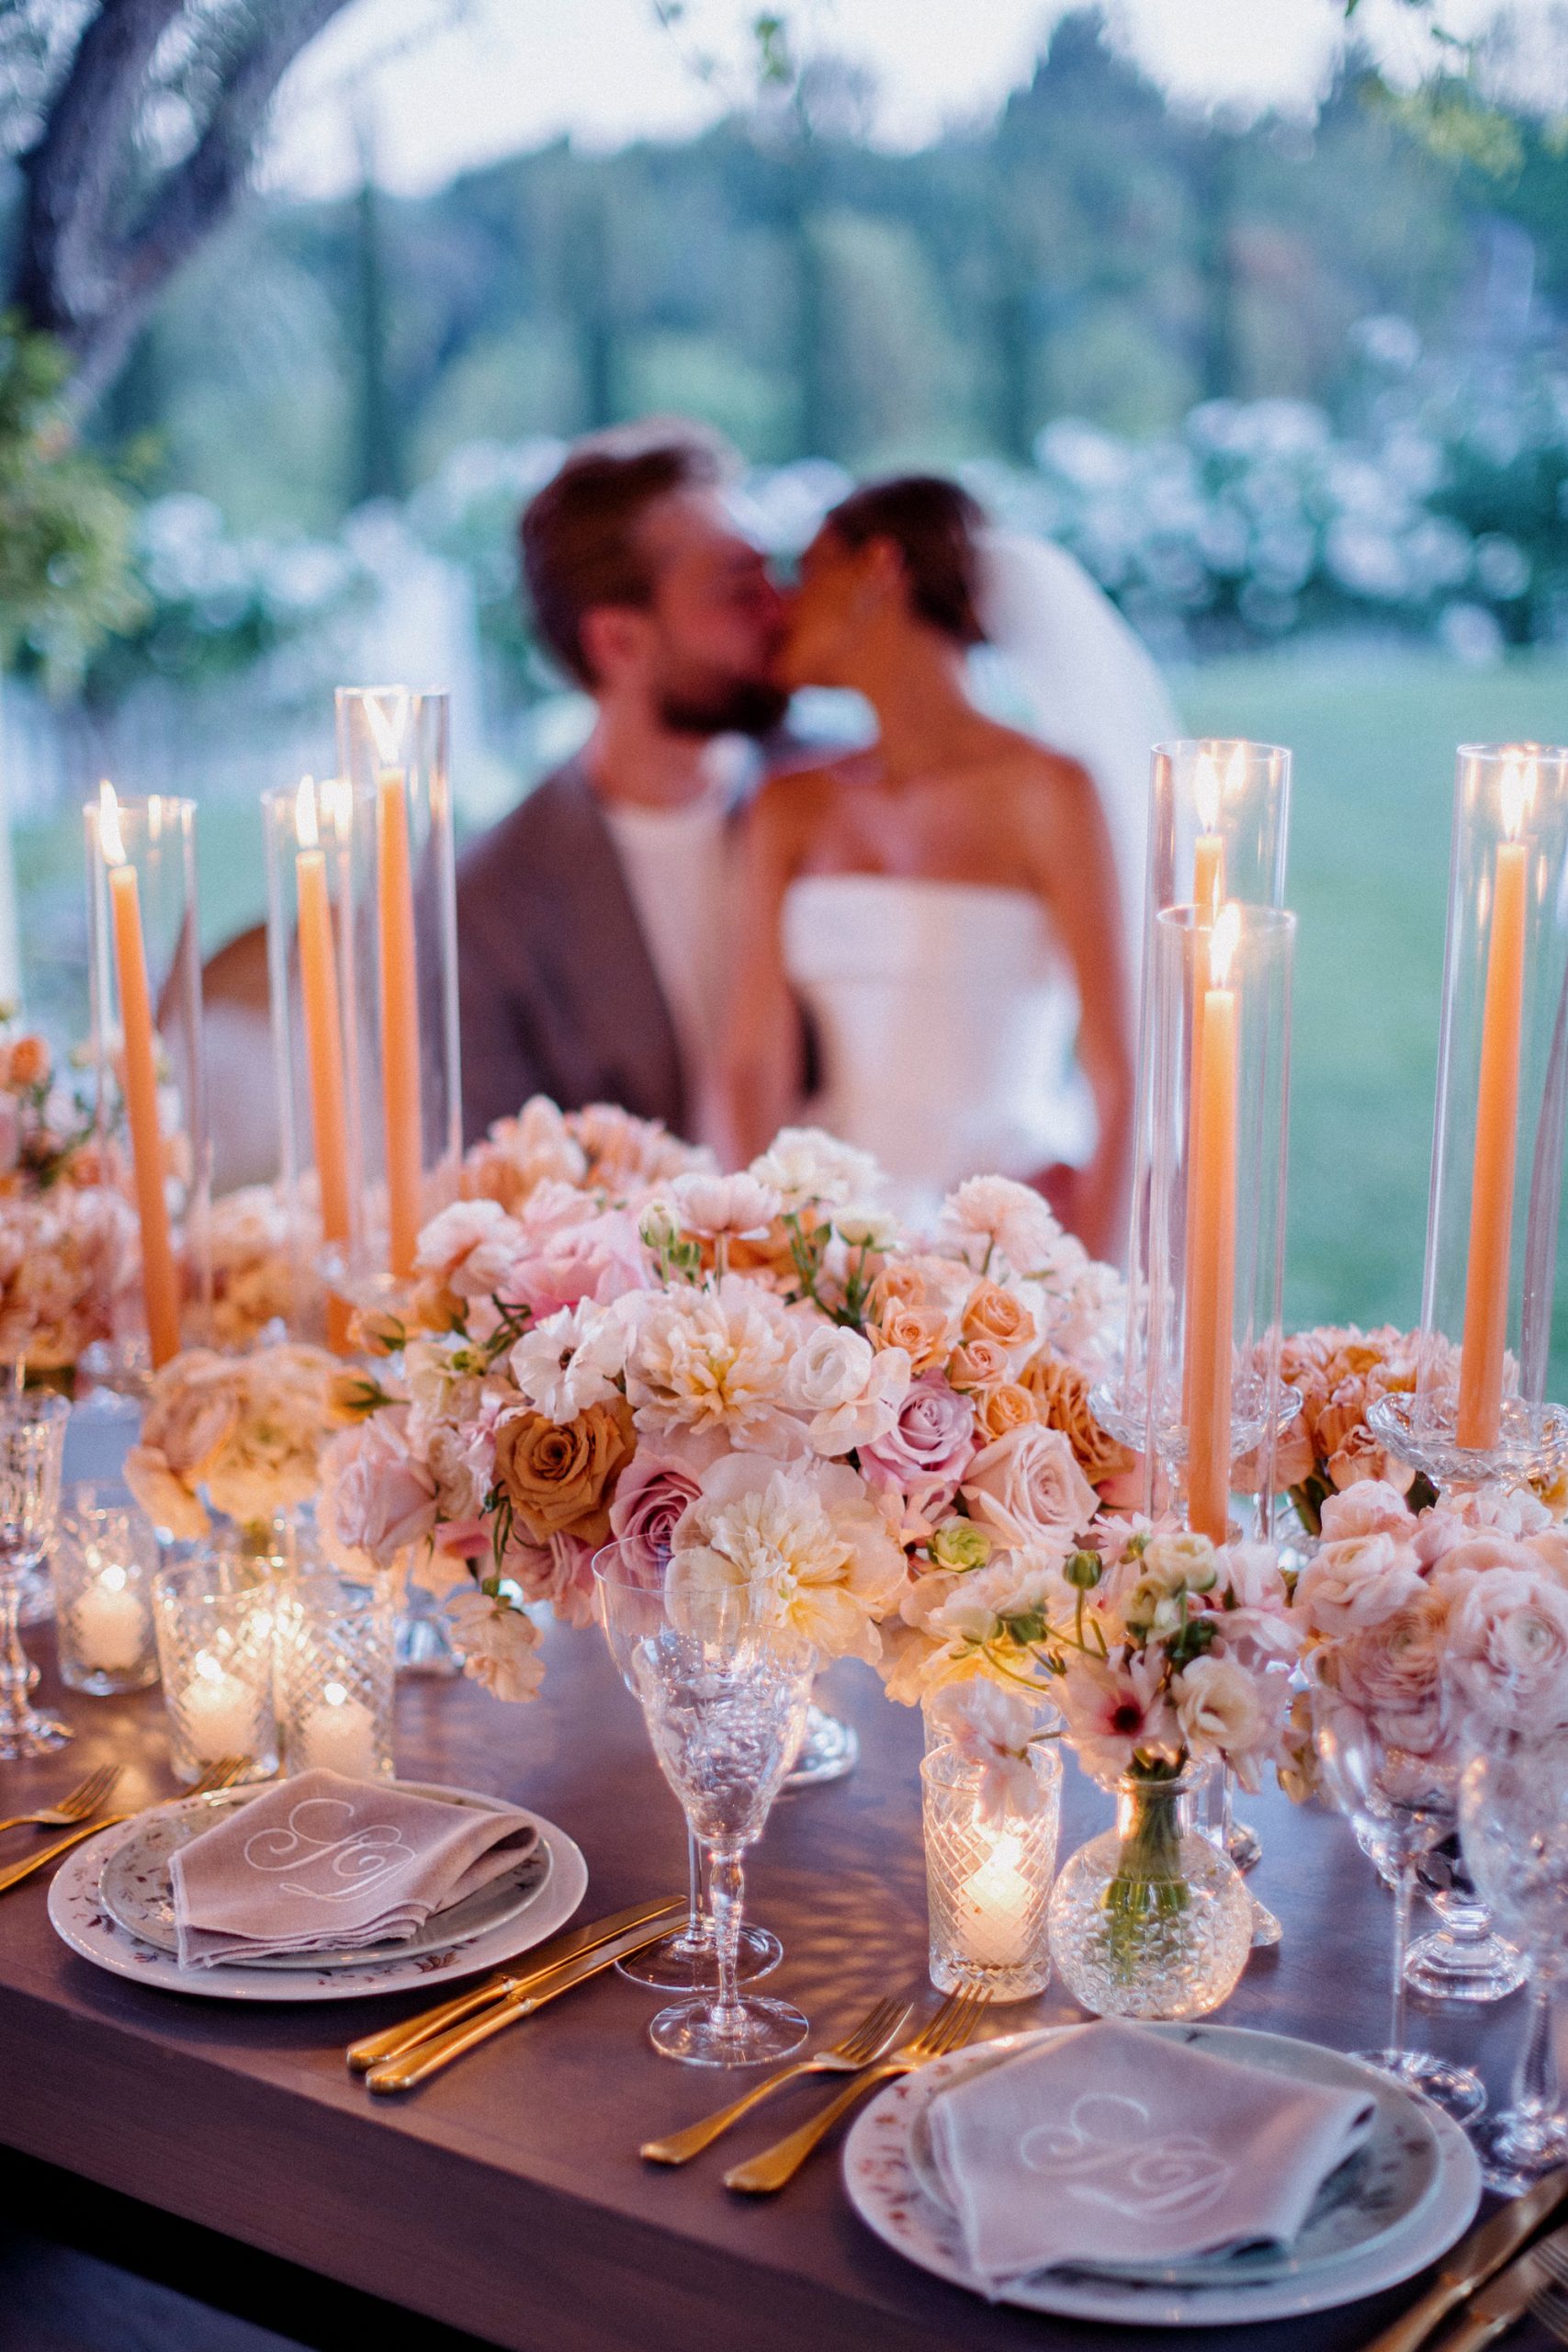
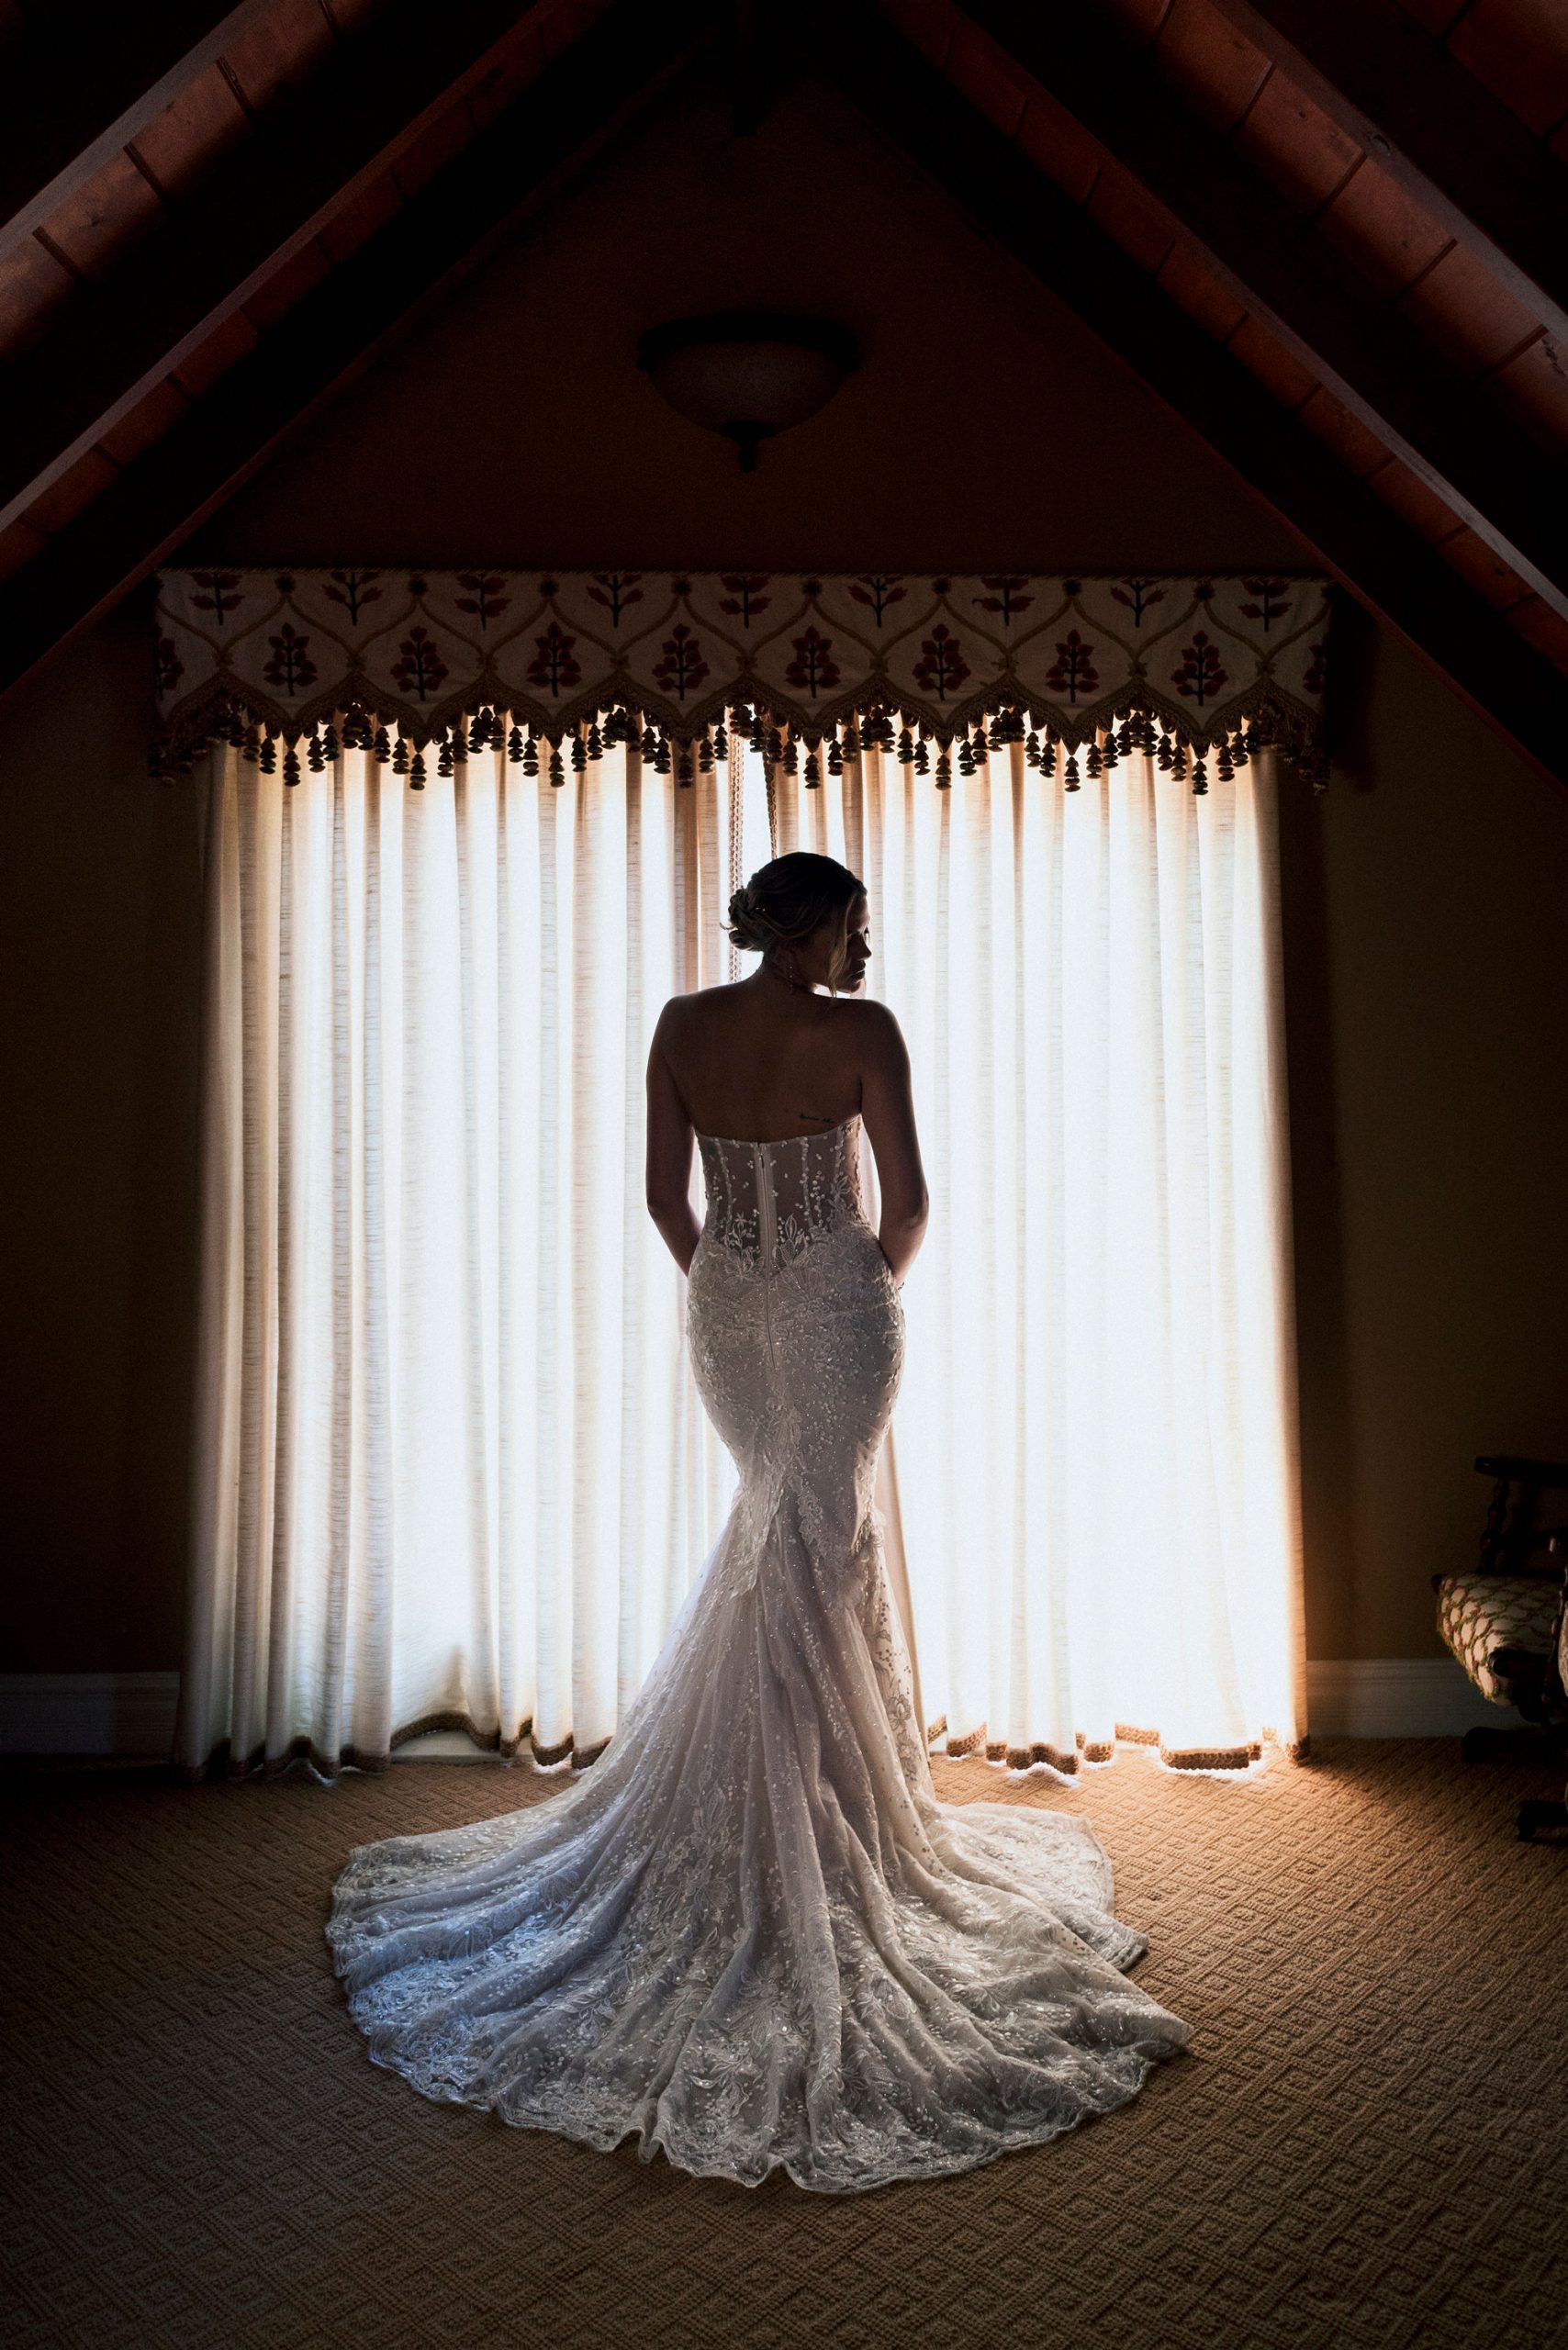
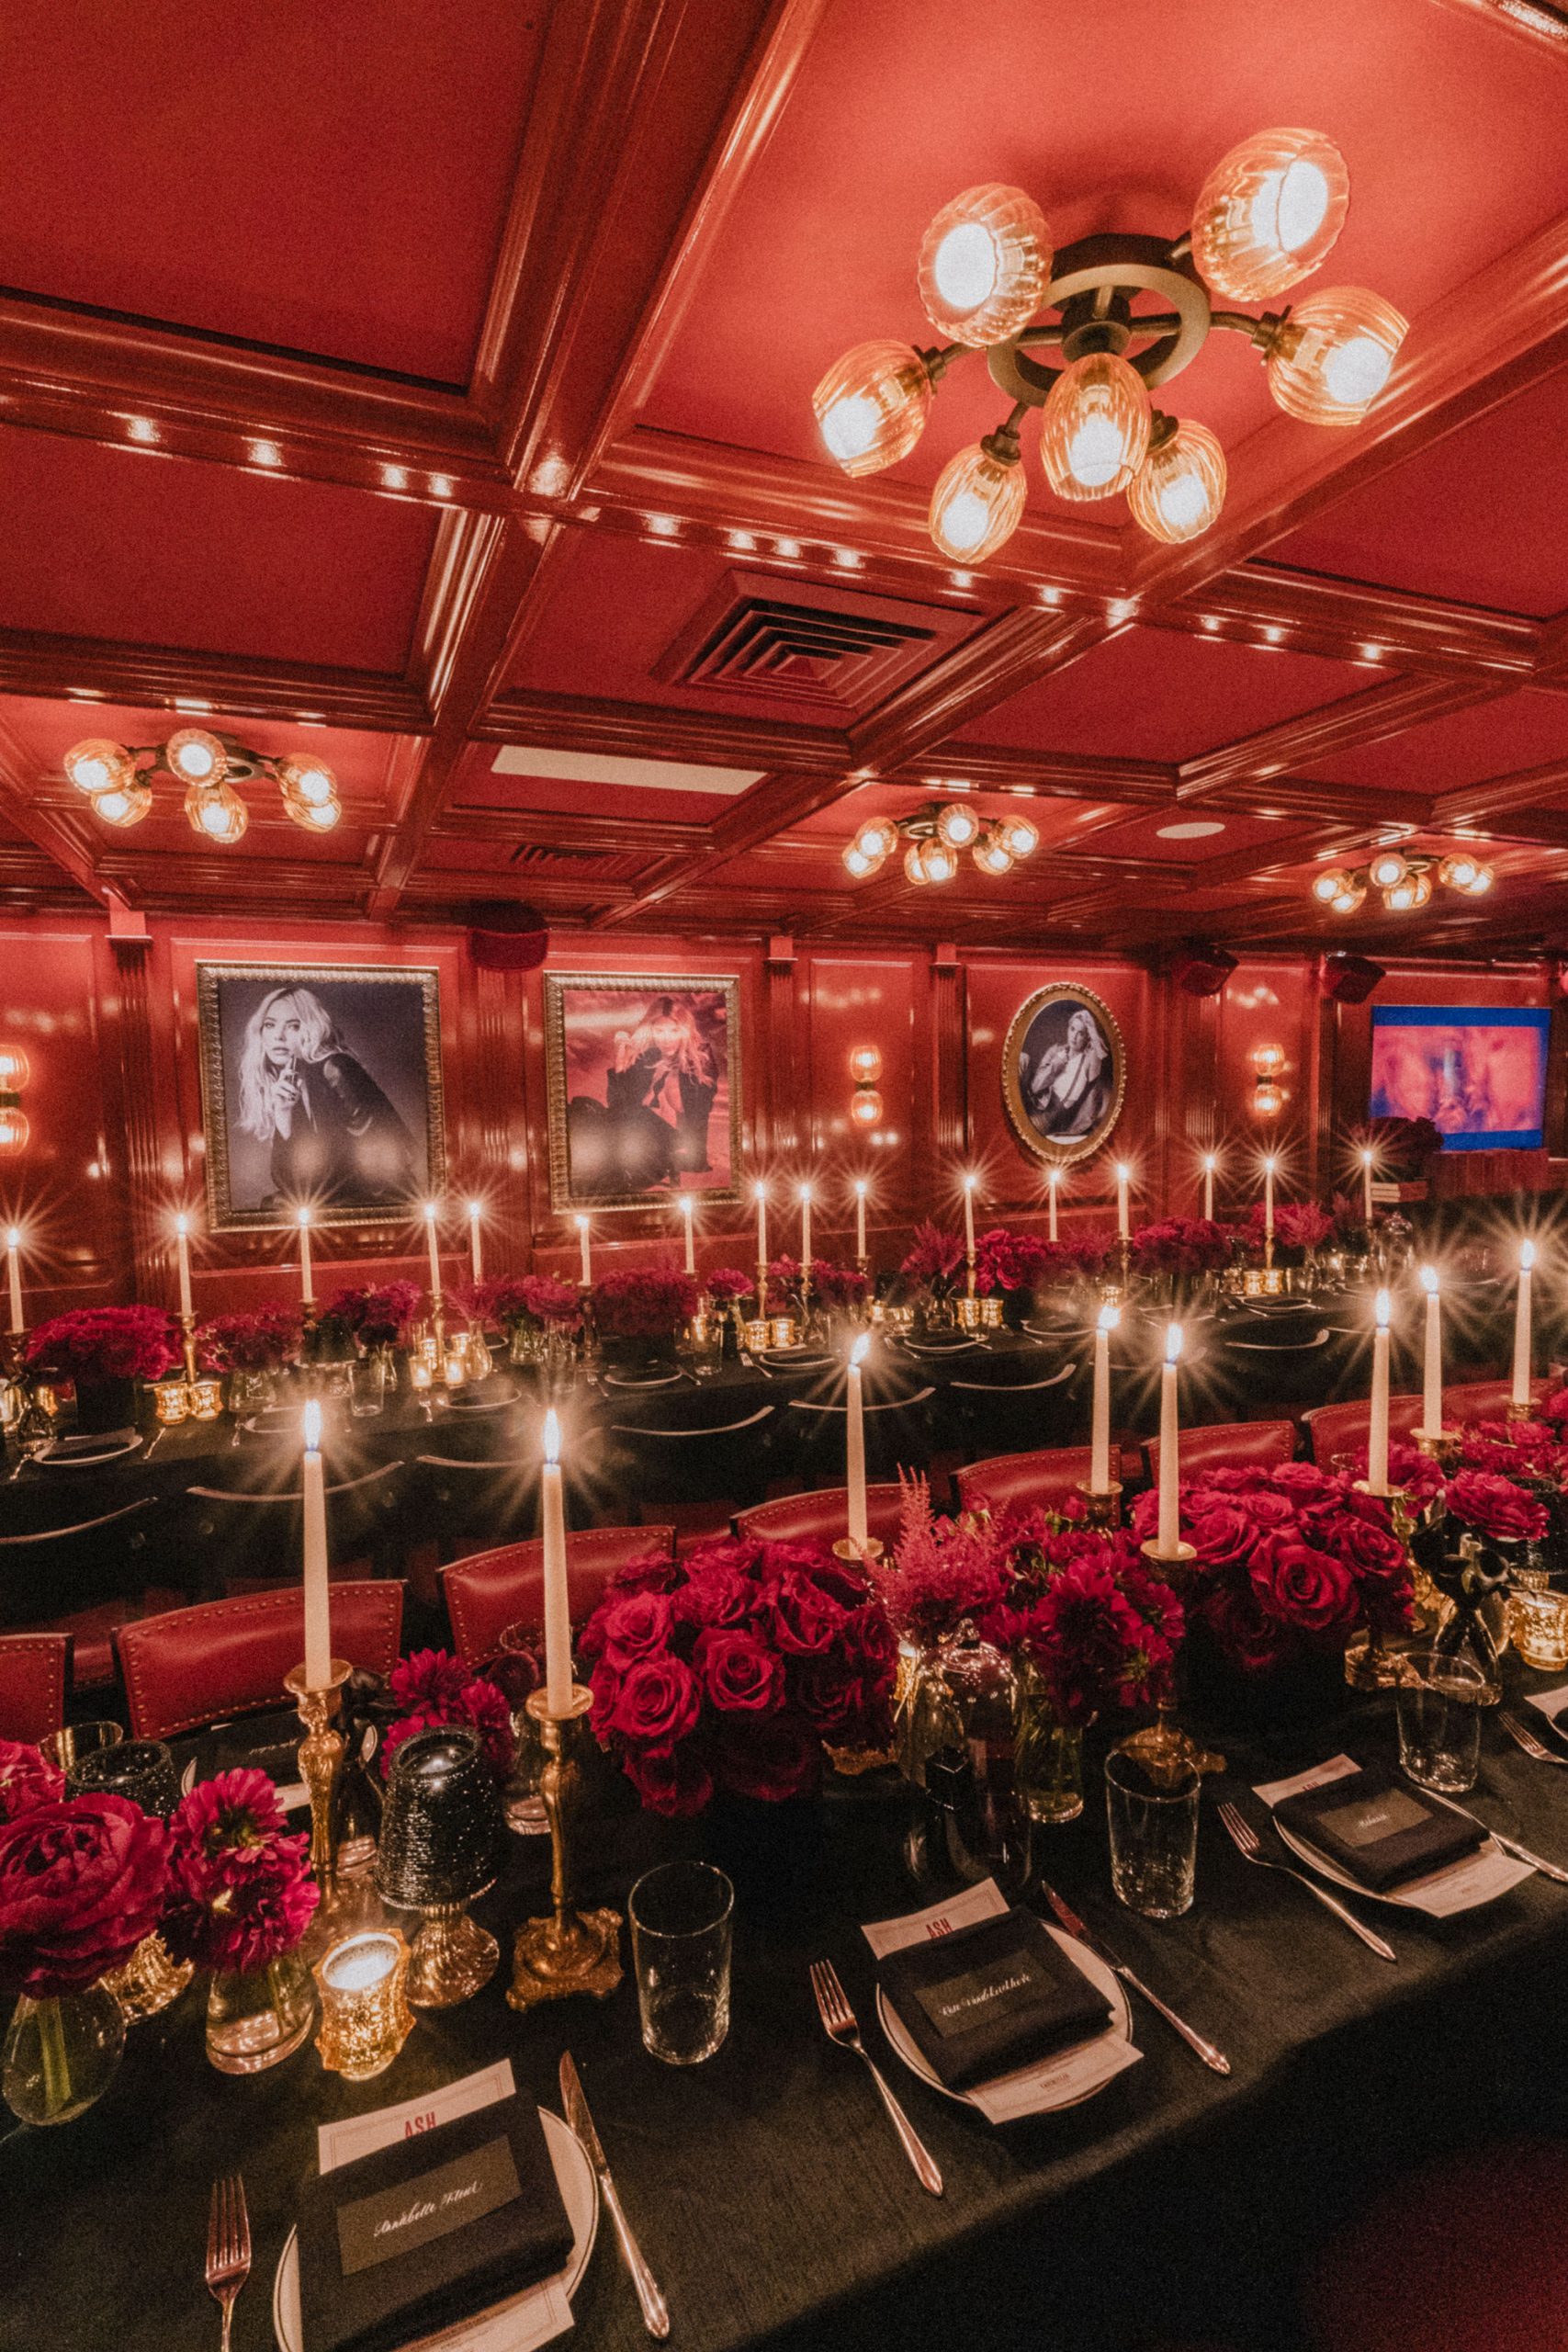
- For ALL decor photos without people in them — use “-2- Portra 160”. No black and white for decor photos. Decor photos – flowers, venue, tables, etc.. any photo without any people in as main subjects.
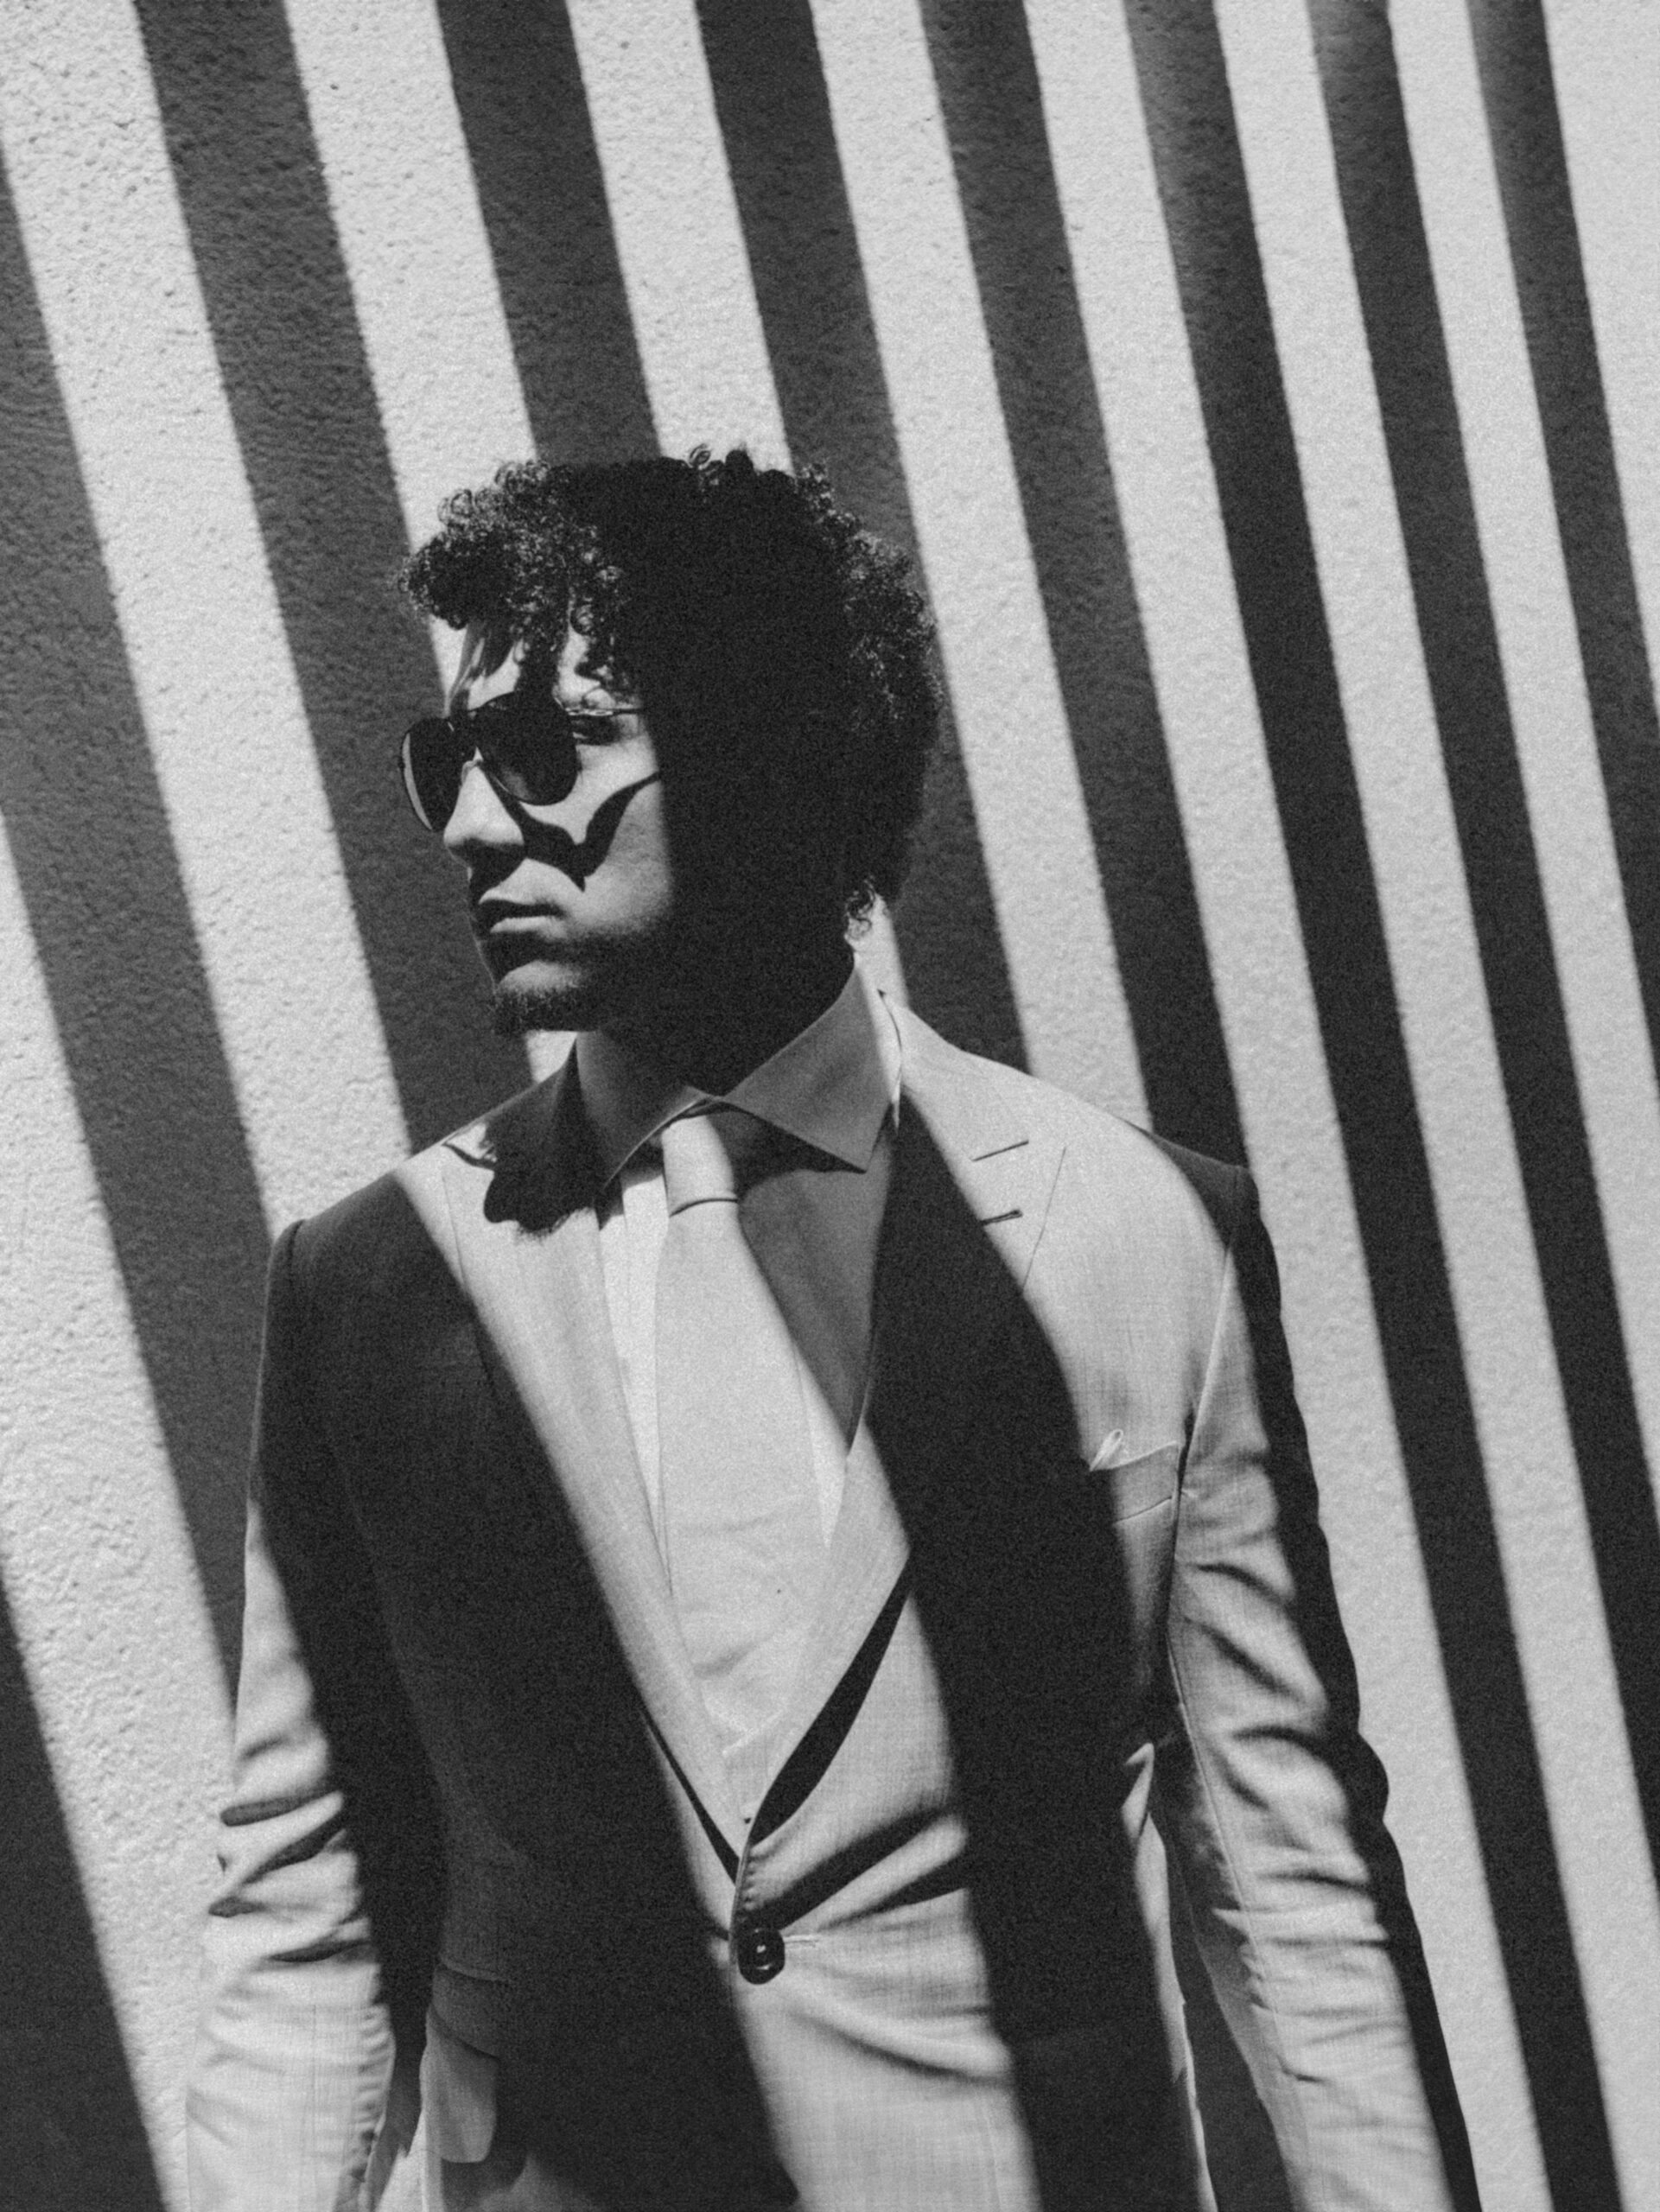
- There are 3 options for Black and Whites – use these as needed. Pay attention to how the skin looks on each of these. One highlights skin more than the other. Entire editing is to make people look good.
- Below are more BW and more Color preset options. Feel free to play around with them and use them if you feel it would be a good supplement. Please keep consistency in mind.
- When we send you a dropbox with photos to edit, there are two main folders:
- “PV” folder – this contains images that have been already sent to the clients as teasers shortly after the event. Remember that clients are looking at these images, so it is important to use these images as a baseline for most of your edits. This will also guide you in how we like certain images to look.
- “EDITME” folder – this folder contains all other images for you to edit through.
- First step is to go through each folder and separate DECOR (flowers, venue, stuff) images from EVENT (people, portraits) images. (*Alternatively, you can do this in LR as well. Whichever is fastest). Create folders and move photos. You’ll end up with:
- PV-Decor
- PV-Event
- EDITME-Decor
- EDITME-Event
- Import & Combine
- In Lightroom, follow these steps as a general guideline.
- Import “EDITME-Decor” folder. On right hand side of import window, “Build Previews: Minimal”. “Apply During Import > Develop Settings > Saerin > -2- C: Portra 160”
- Import “EDITME-Event” folder. On right hand side of import window, “Build Previews: Minimal”. “Apply During Import > Develop Settings > Saerin > -1- C: Fuji Pro 400h”
- Import “PV-Decor” folder. On right hand side of import window, “Build Previews: Minimal”. “Apply During Import > Develop Settings > none” *Important*
- Import “PV-Event” folder. On right hand side of import window, “Build Previews: Minimal”. “Apply During Import > Develop Settings > none” *Important*
- Label “PV-Decor” images with a color (i.e. Red)
- Move “PV-Decor” images to “EDITME-Decor” folder.
- Label “PV-Event” images with a color (i.e. Red)
- Move “PV-Event” images to “EDITME-Event” folder.
- Synchronize
- Sort by “Capture Time”. Now you should see all images with PV images highlighted among rest of the images.
- Double check that PV images are not identical shot as any others. Similar shot is ok, but if it’s too similar then feel free to delete the duplicate.
- In Library, locate one PV photo. Select this image as main, then select images of the same scene. i.e. Ctrl/Cmd and click on the PV image, then keep holding down Ctrl/Cmd and select other images of the same scene. The PV (first image) will be highlighted brighter than the other images – indicating that this is the main select.
- Locate and click on “Sync Settings” button on lower right corner. In Sync Settings dialog box – locate “Check All”. then, *Important* uncheck the following: Healing, Crop, Masking. This is important to uncheck because in some of our PV edits, these 3 are used heavily – however, the sync doesn’t look good because of camera movement between shots. You can re-sync these individually if you are paying attention to each image.
- Finish Synchronizing all PV files with all other images.
- Repeat from Step 10 for both Decor/Event folders.
- Editing!
- Sort images by File Name.
- In Develop, select one image. Then, on the blank background next to the photo – right click and select “White” as background color.
- Then start editing from the beginning!
- Edit synchronized files also! Sync was only to provide a cohesive look to the images.
- It’s important to not to spend too much time ($) per image. Focus on exposure, white balance, and crop. Spend time on Decor photos, Bride and Groom photos, and Family Photos. All other images – guests, candid shots, etc.. be efficient in editing them.
- Organizing
- After finish editing, sort files:
- Example: https://clients.johnandjoseph.com/michelleparcellandtravisdurbin/
- Decor photos in Decor folders. Group all similar looking decor shots together. Show from Wide shots to Tight slights in progression. Separate Ceremony decor from Reception Decor.
- Event photos in general by Chronological order. However, separate certain categories. Refer to example above.
- After all sorting is done, rename all files four (4) digit sequence such that all files would be in the sequence that you sorted when combined into one folder.
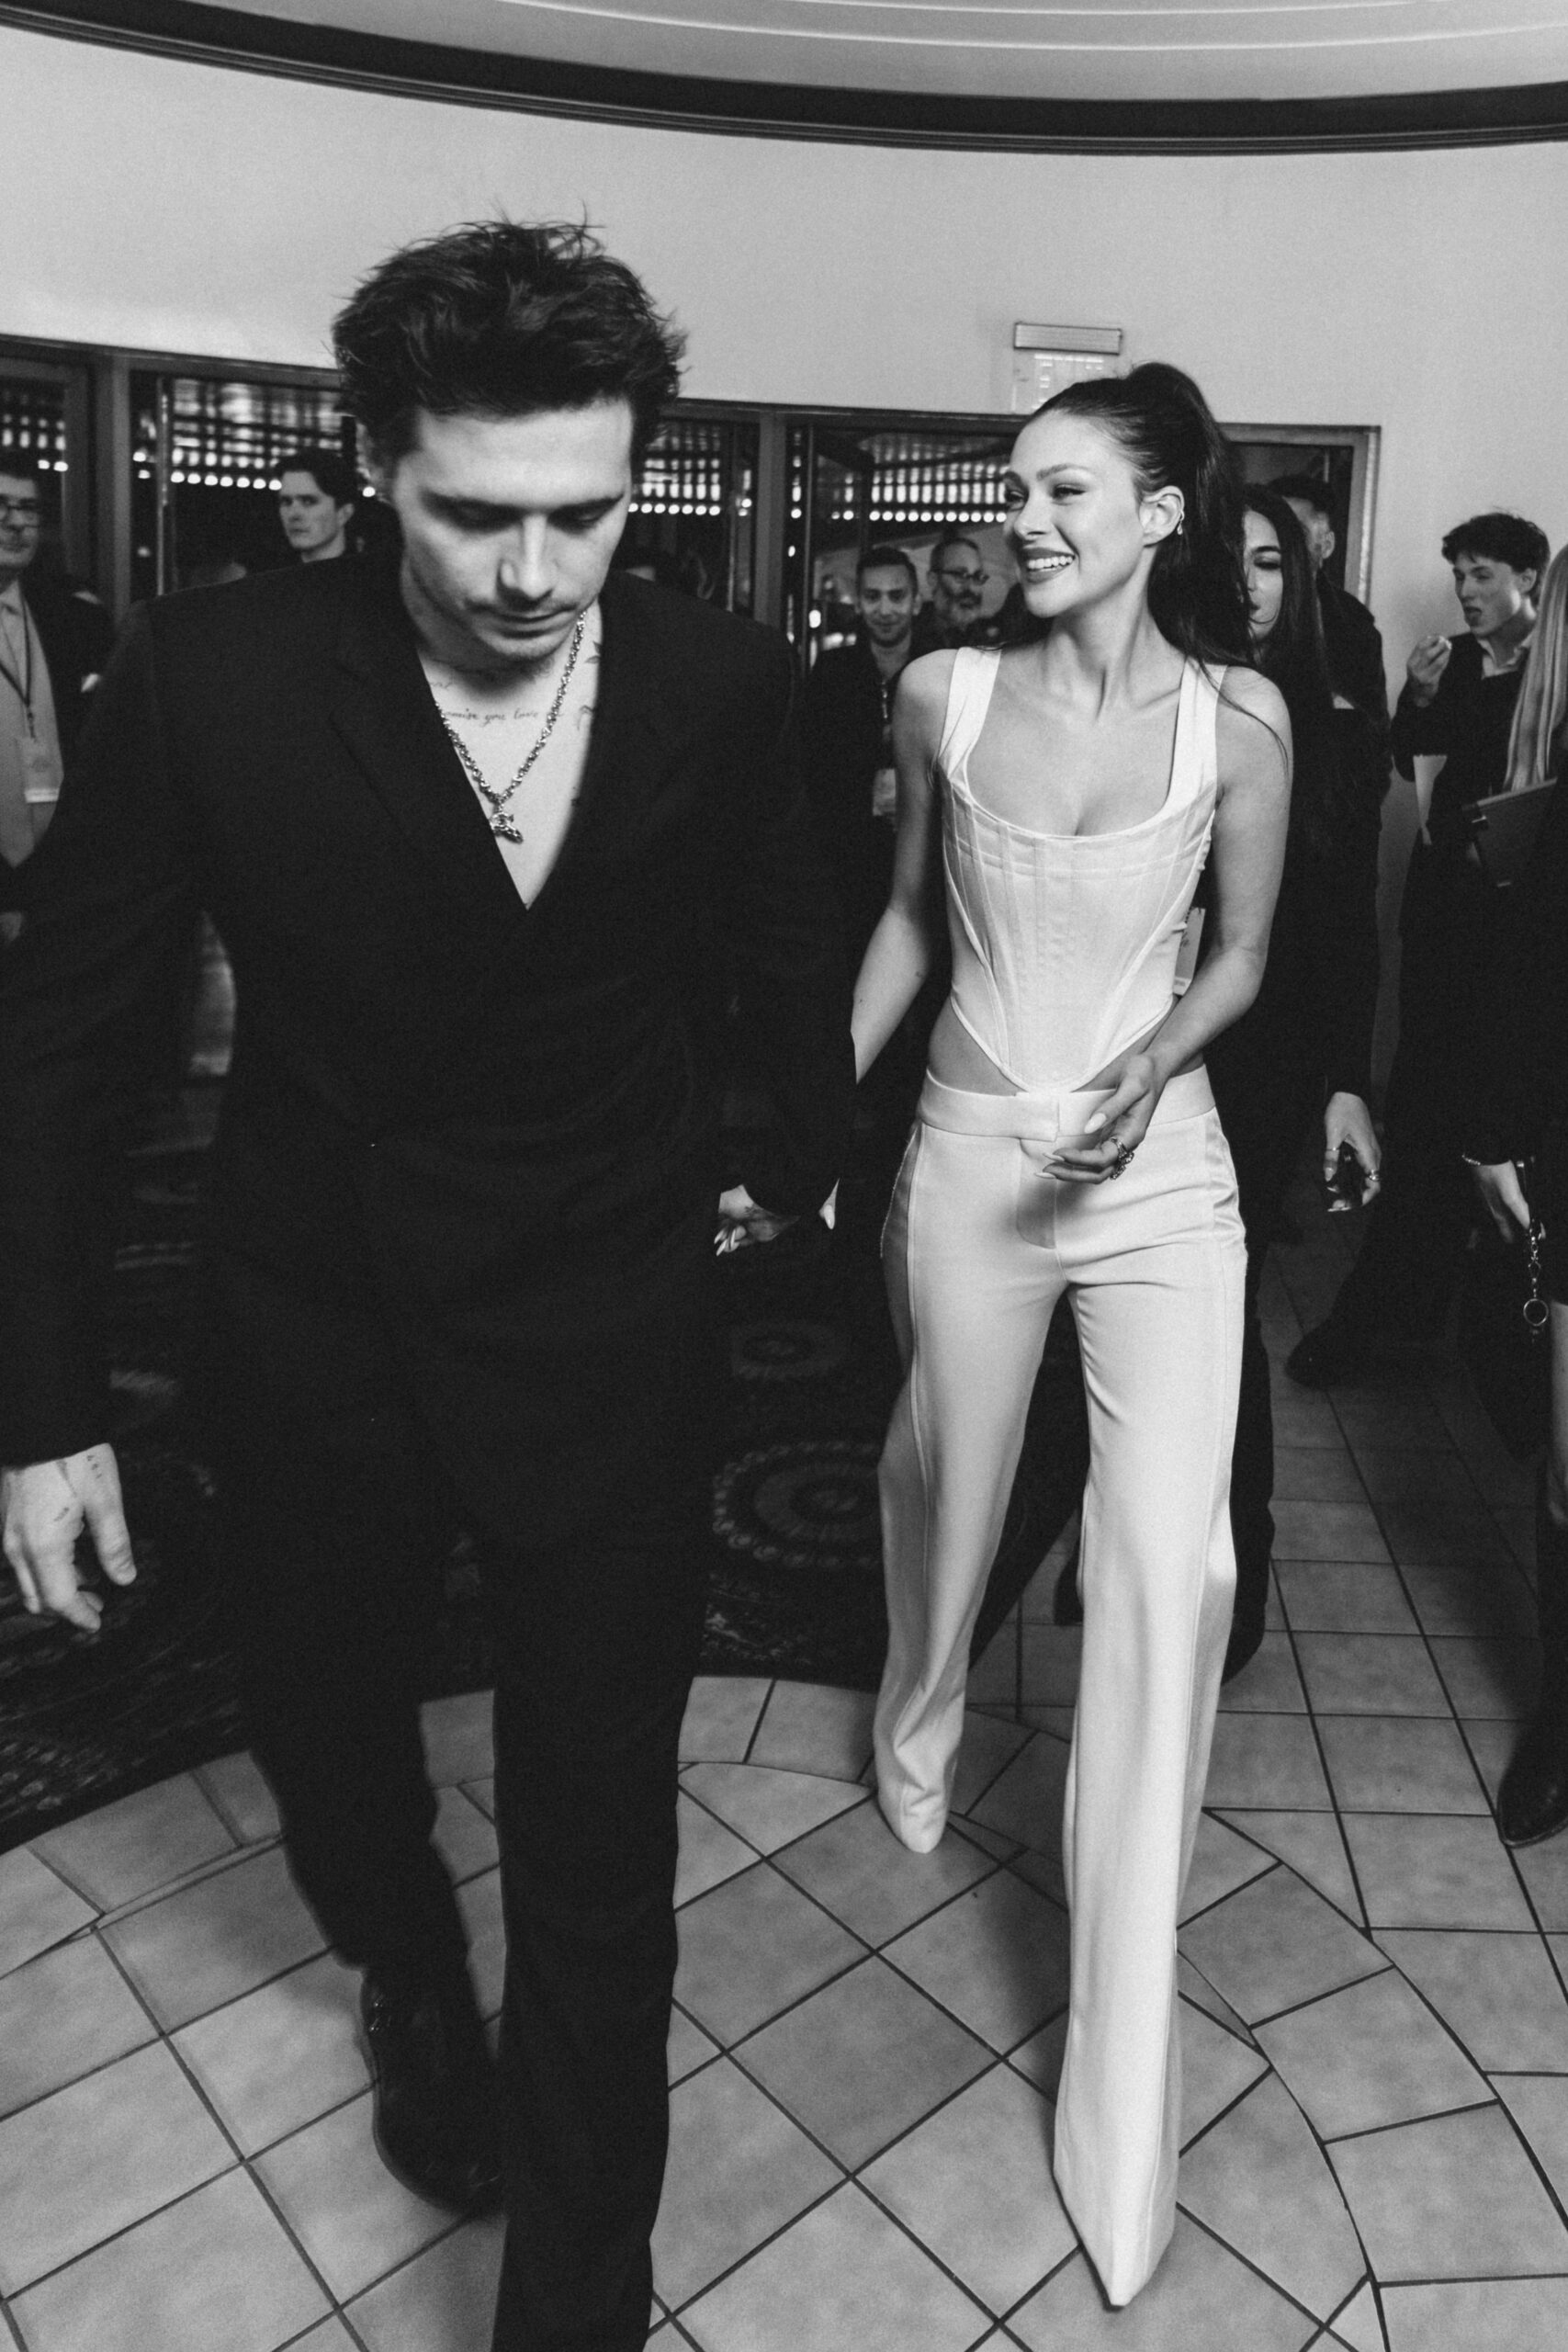
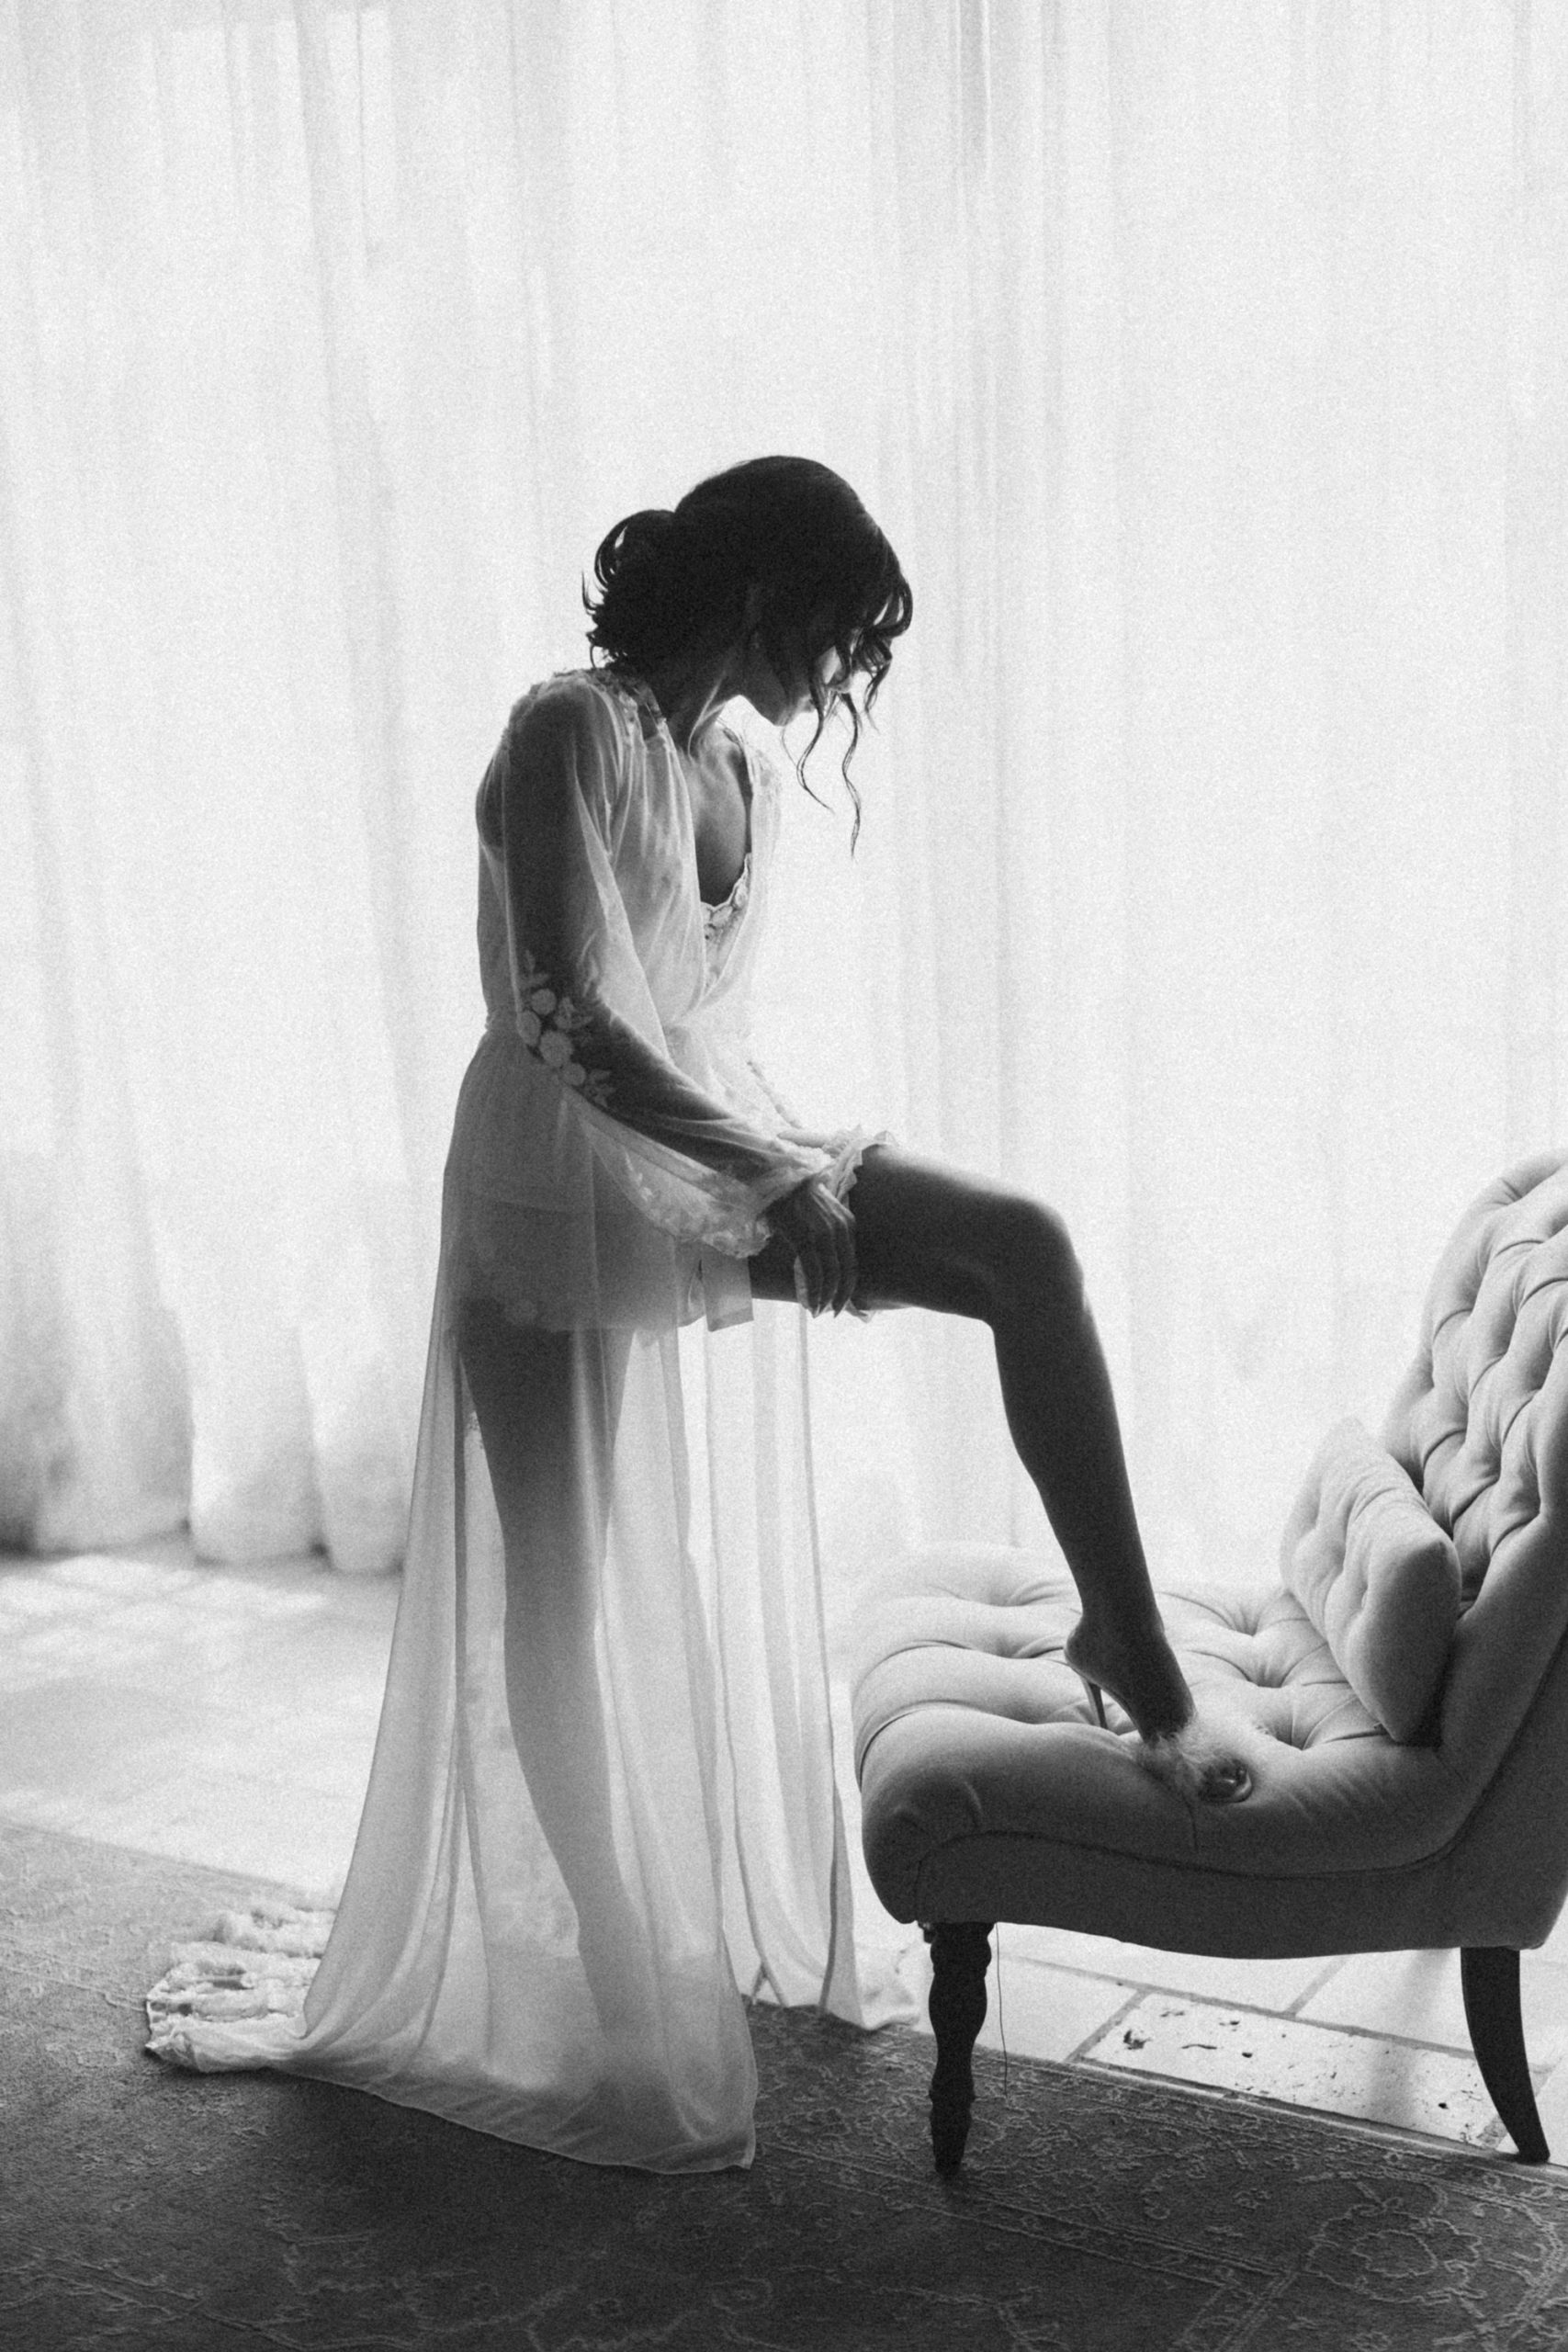
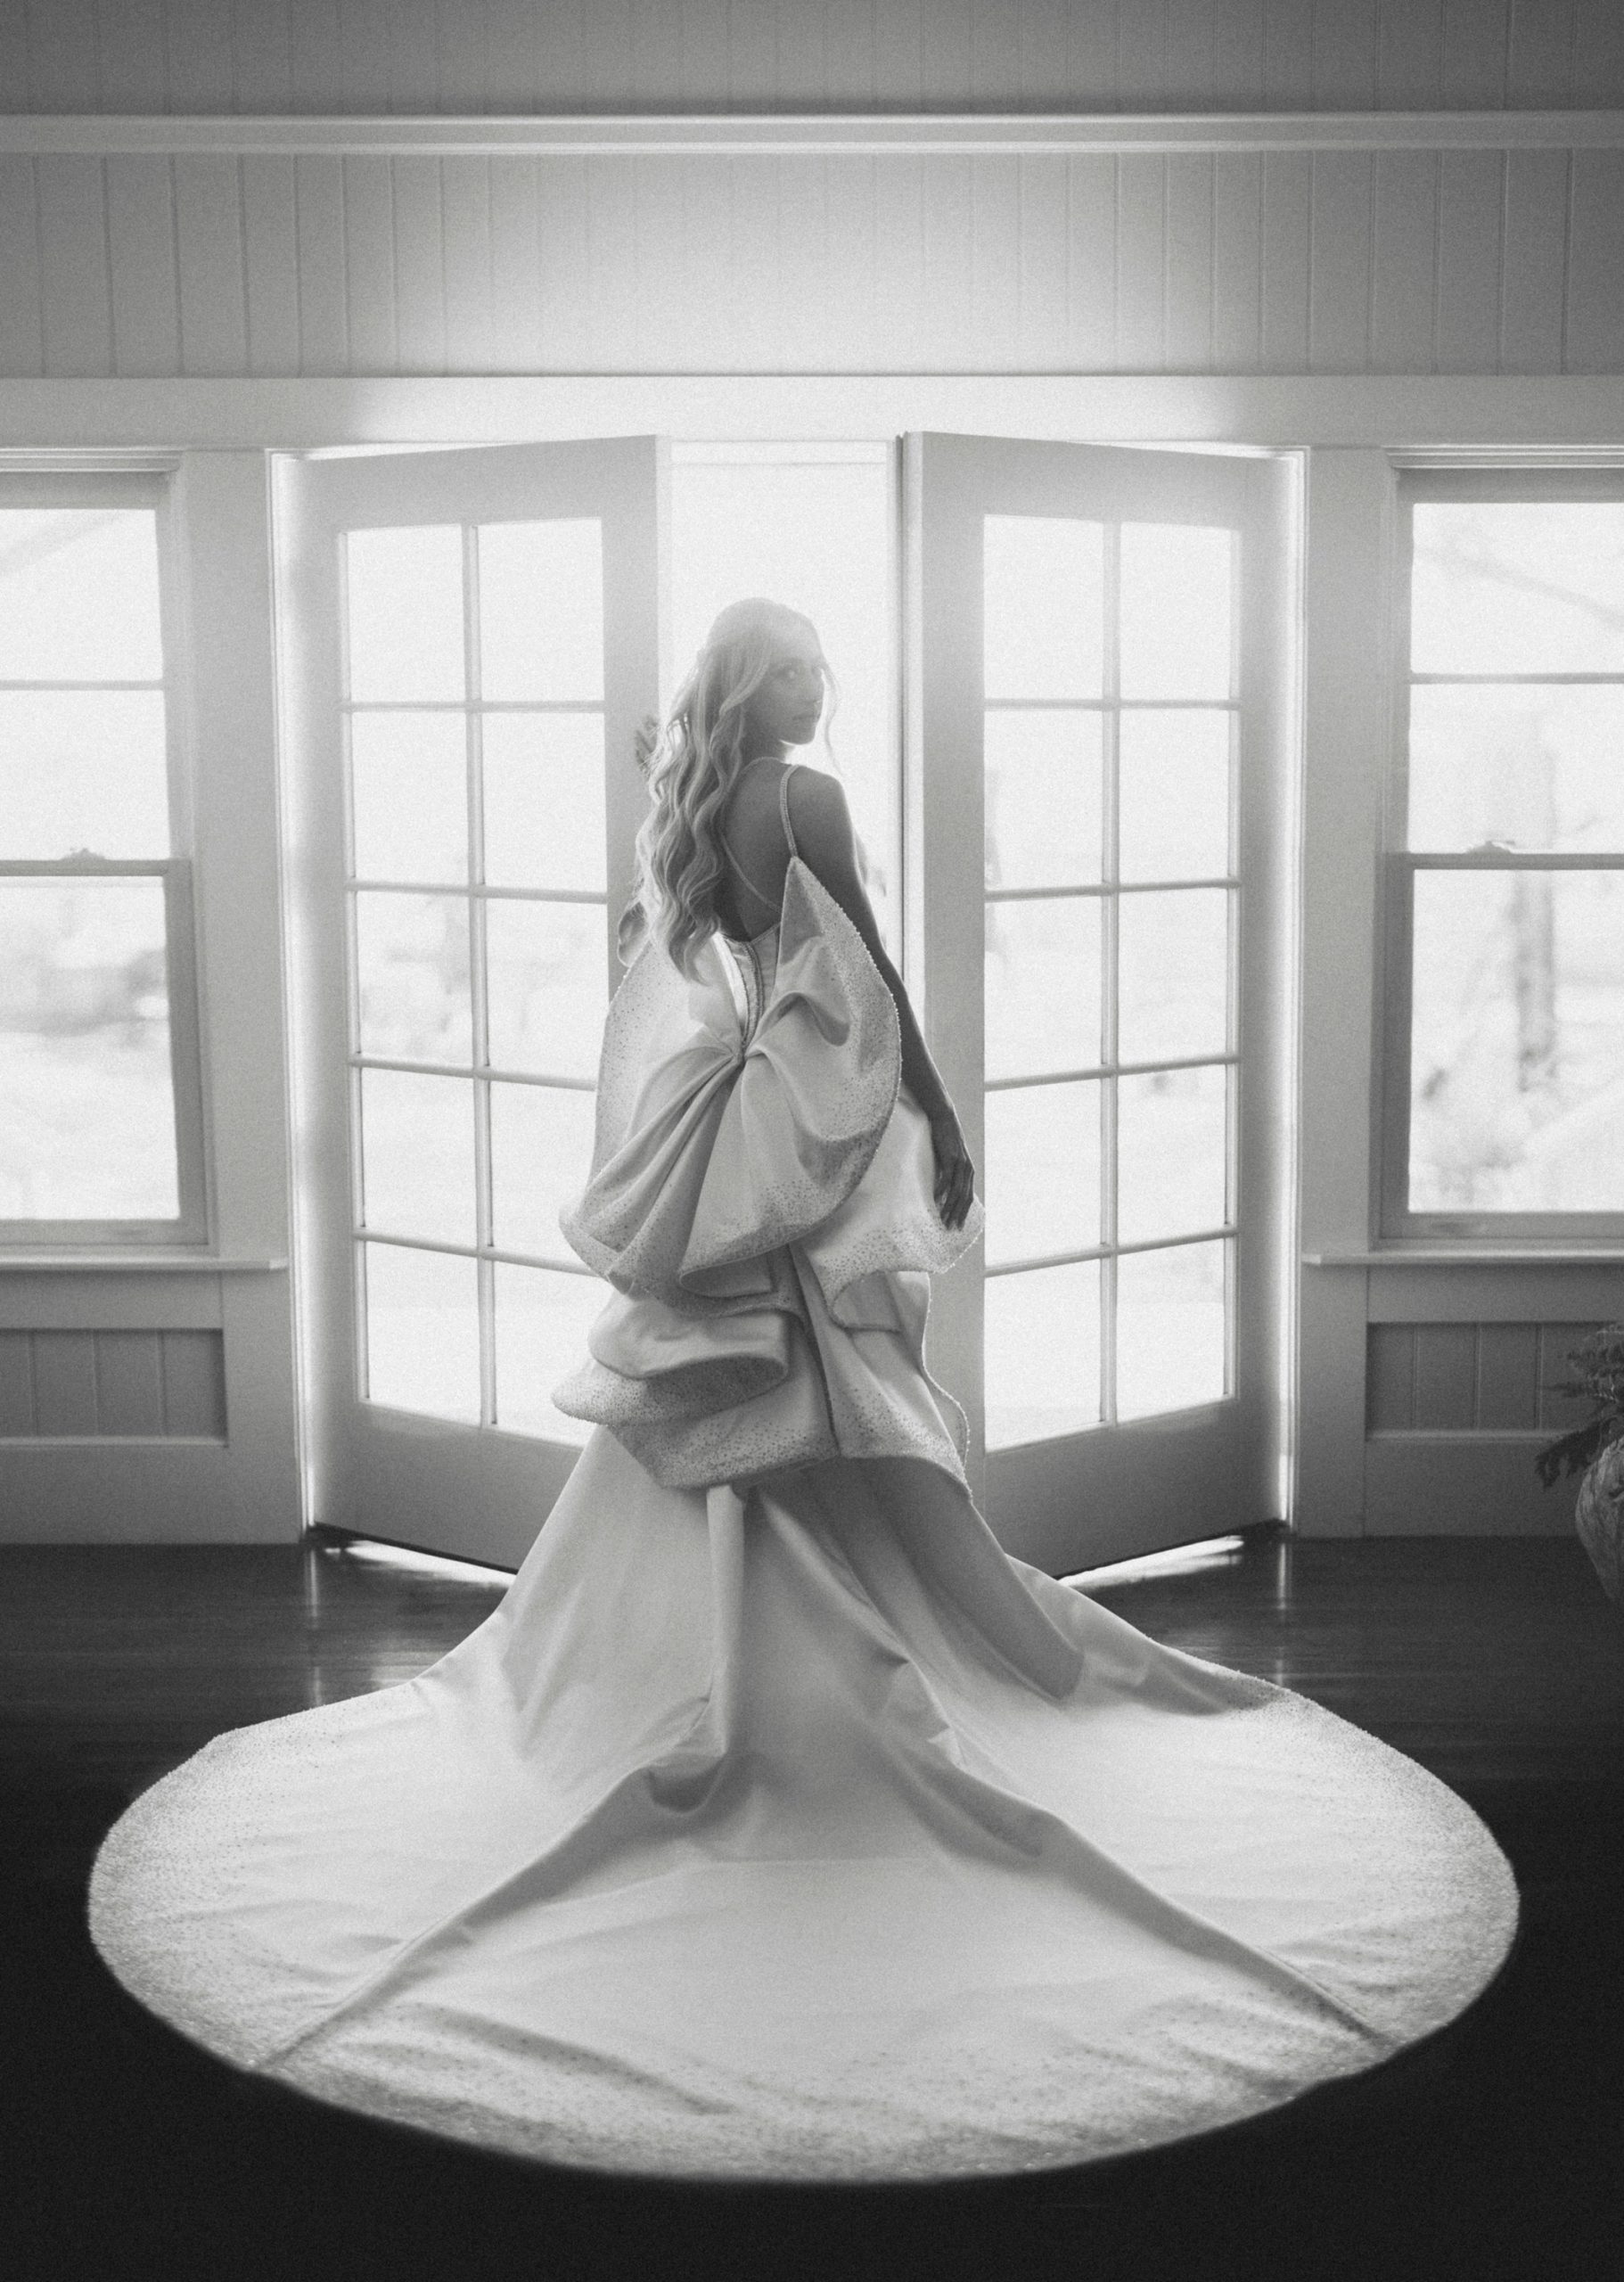
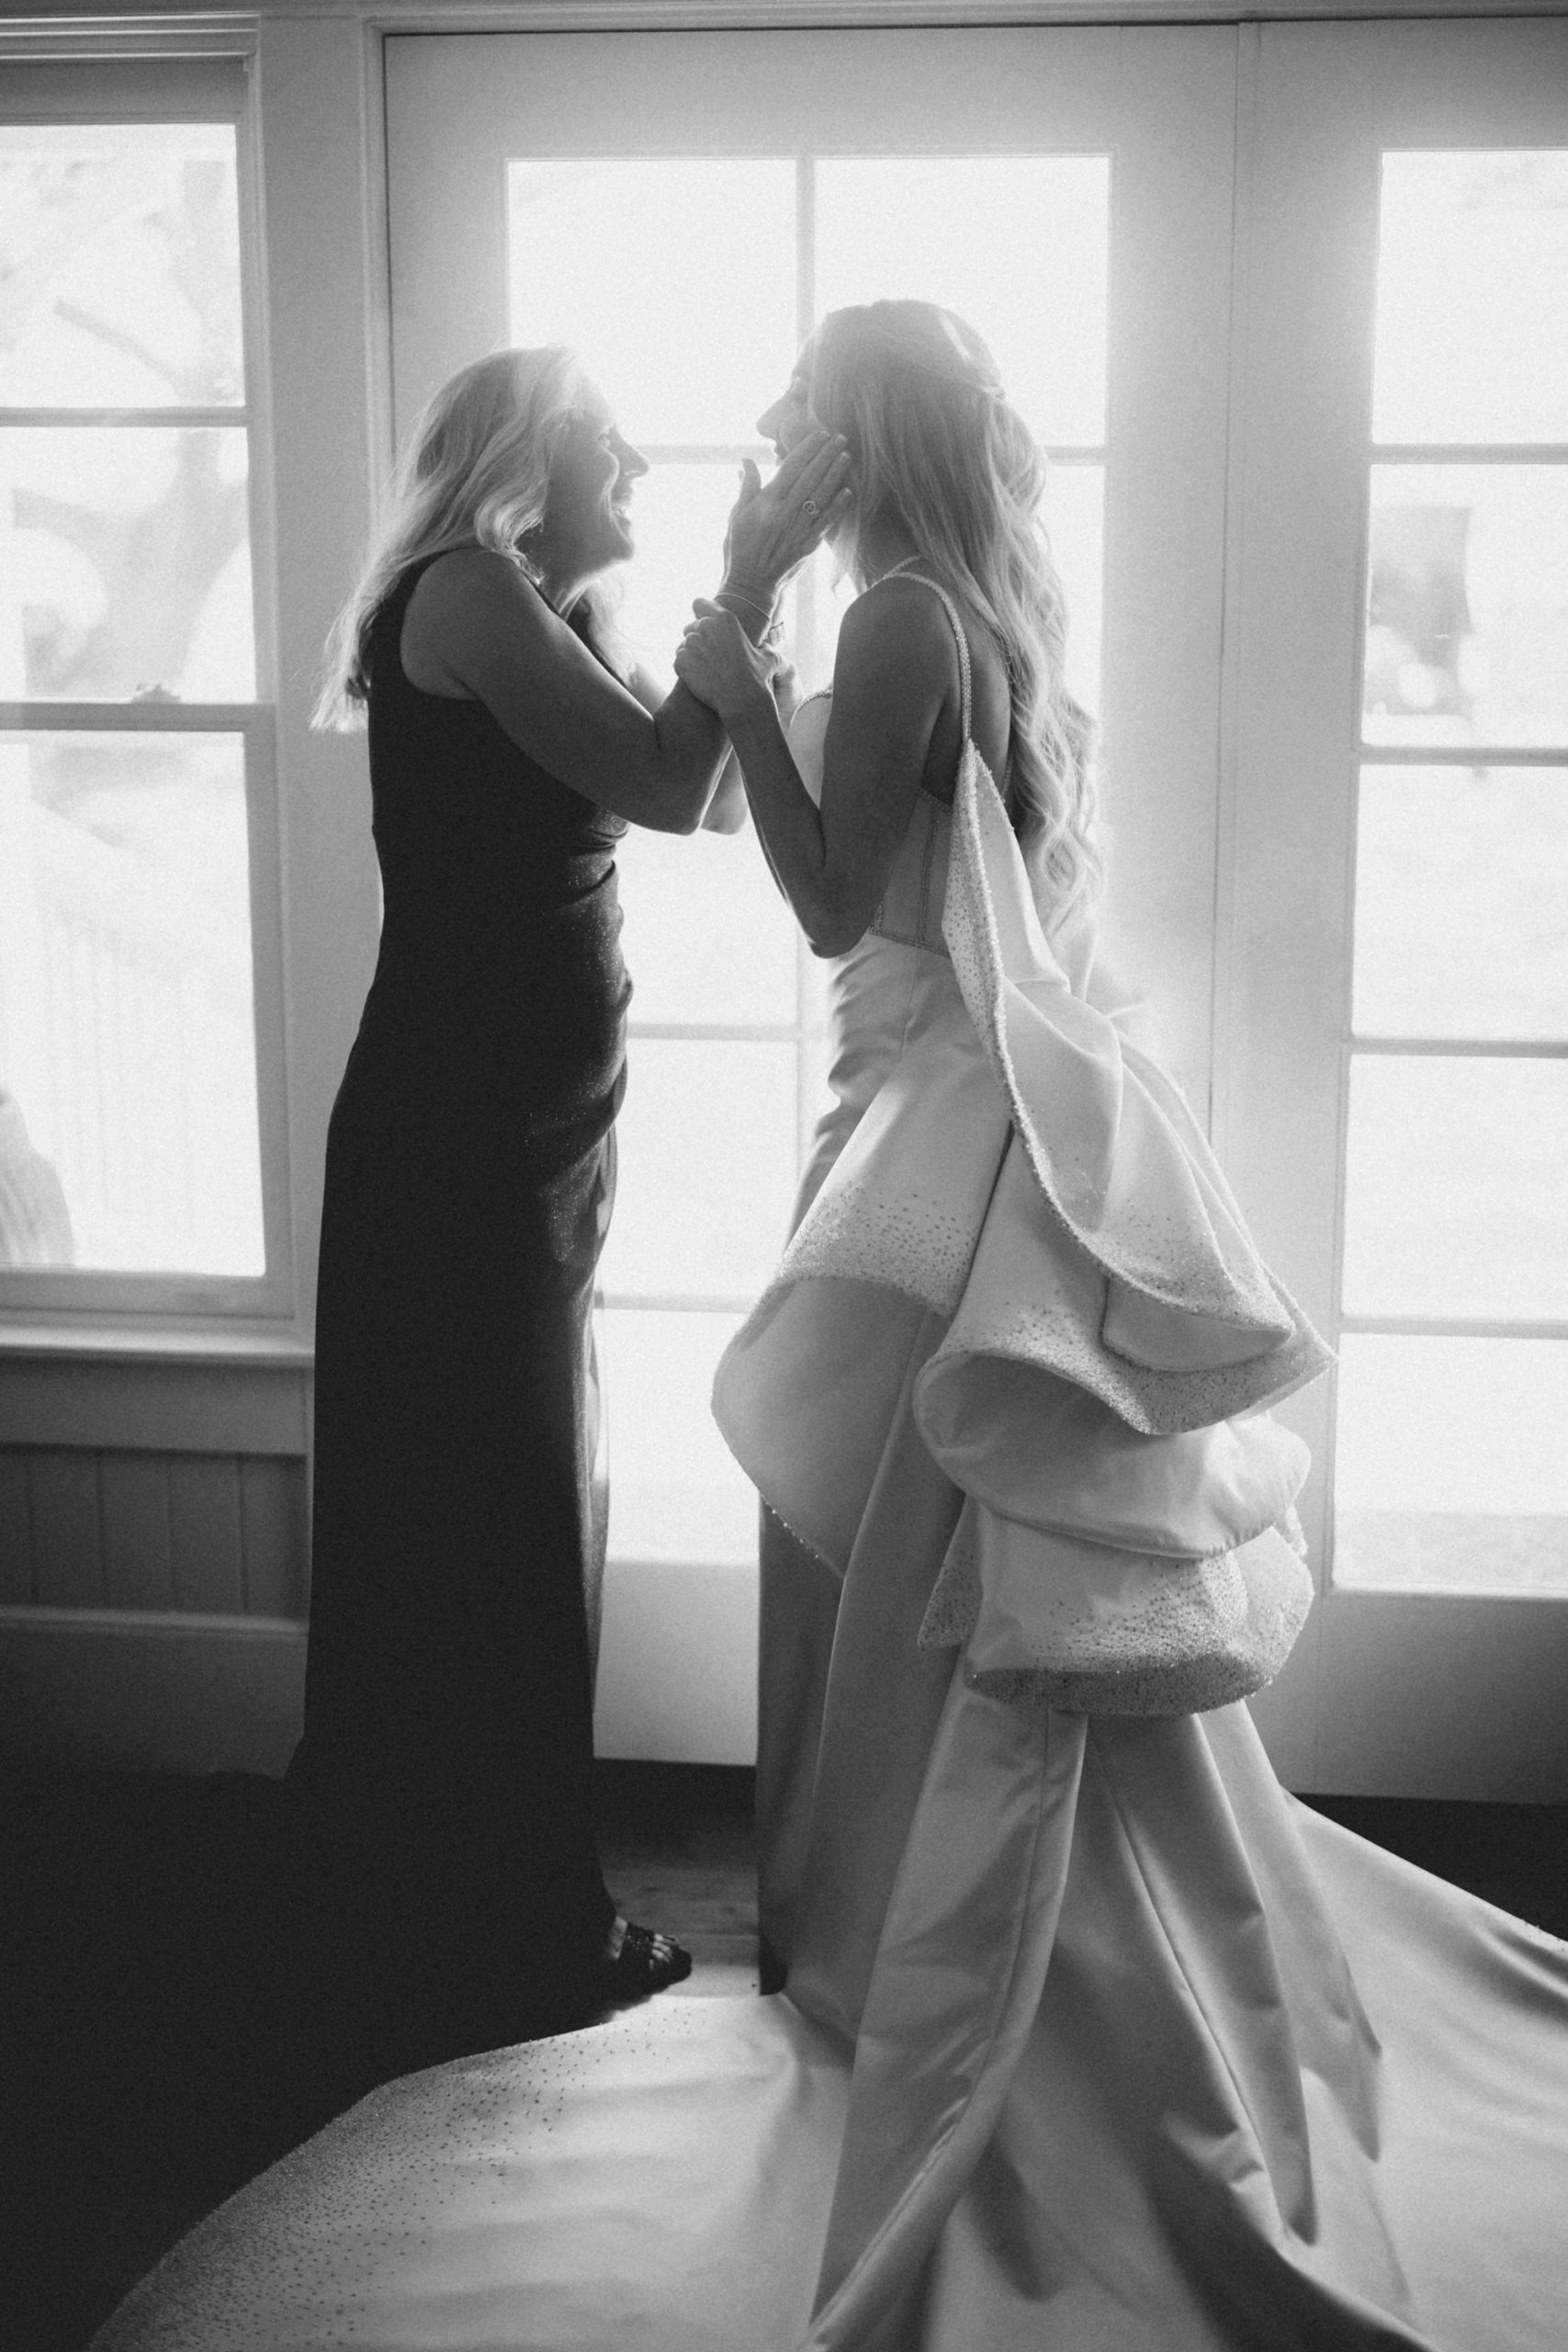
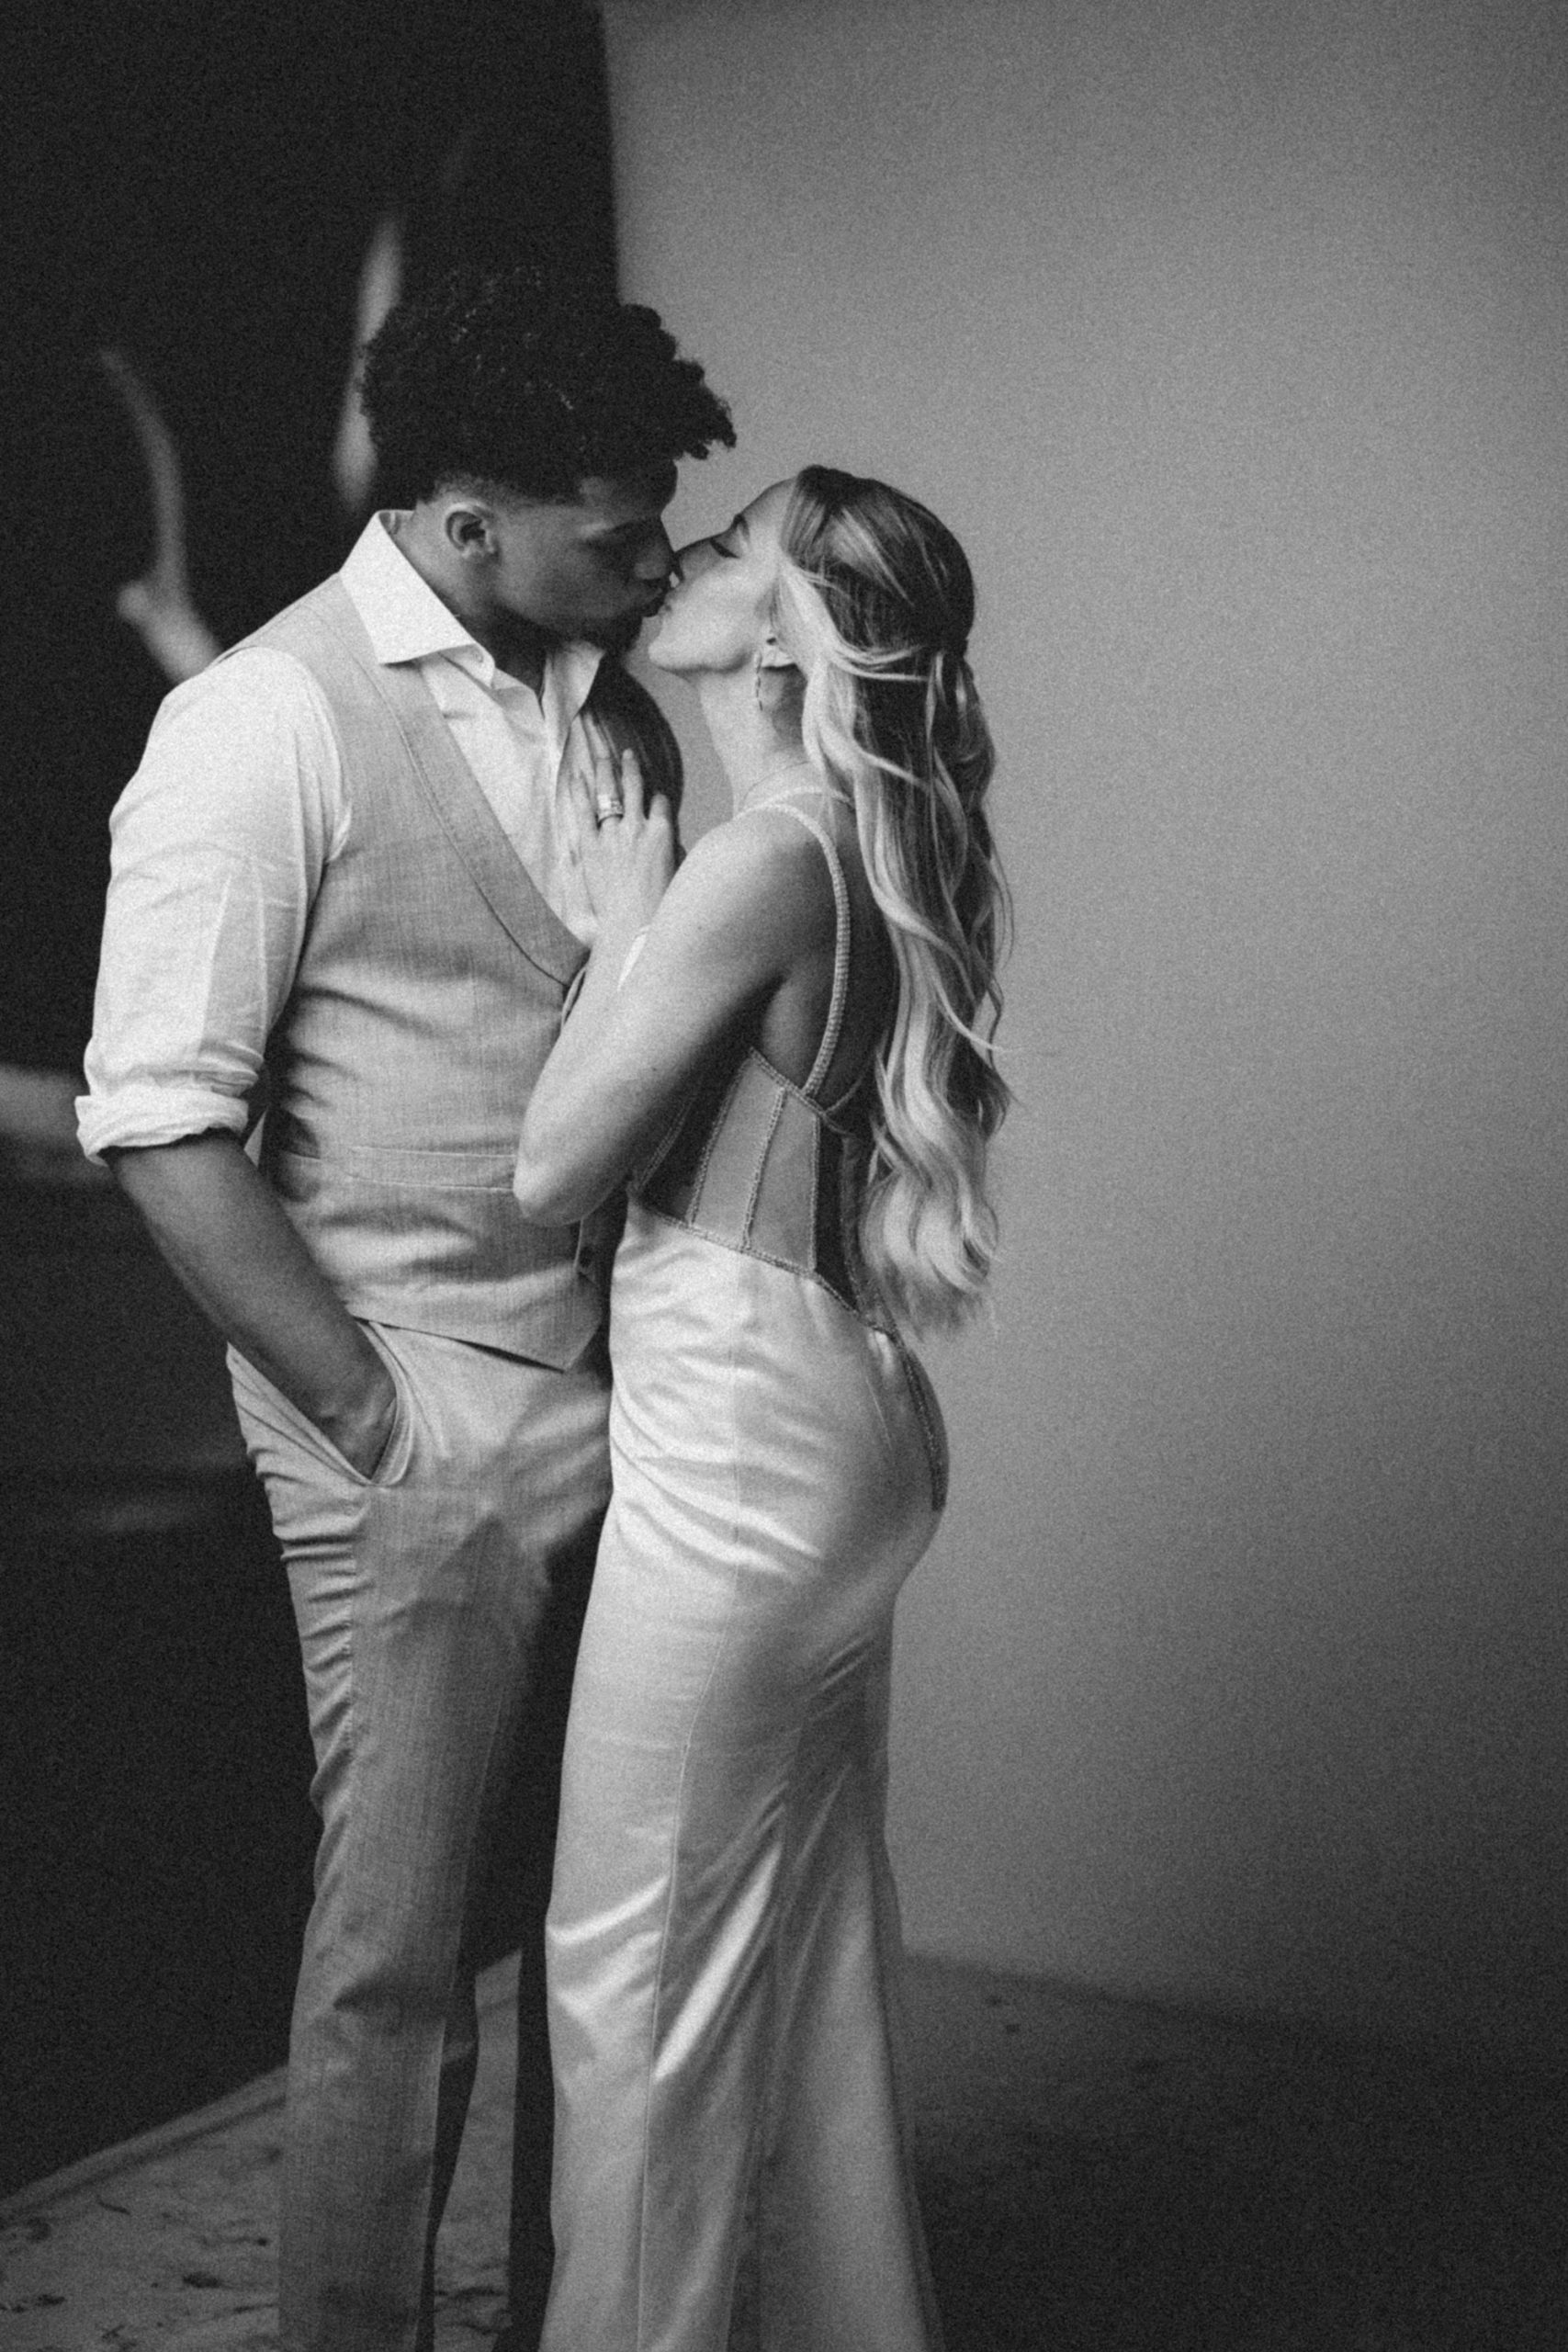
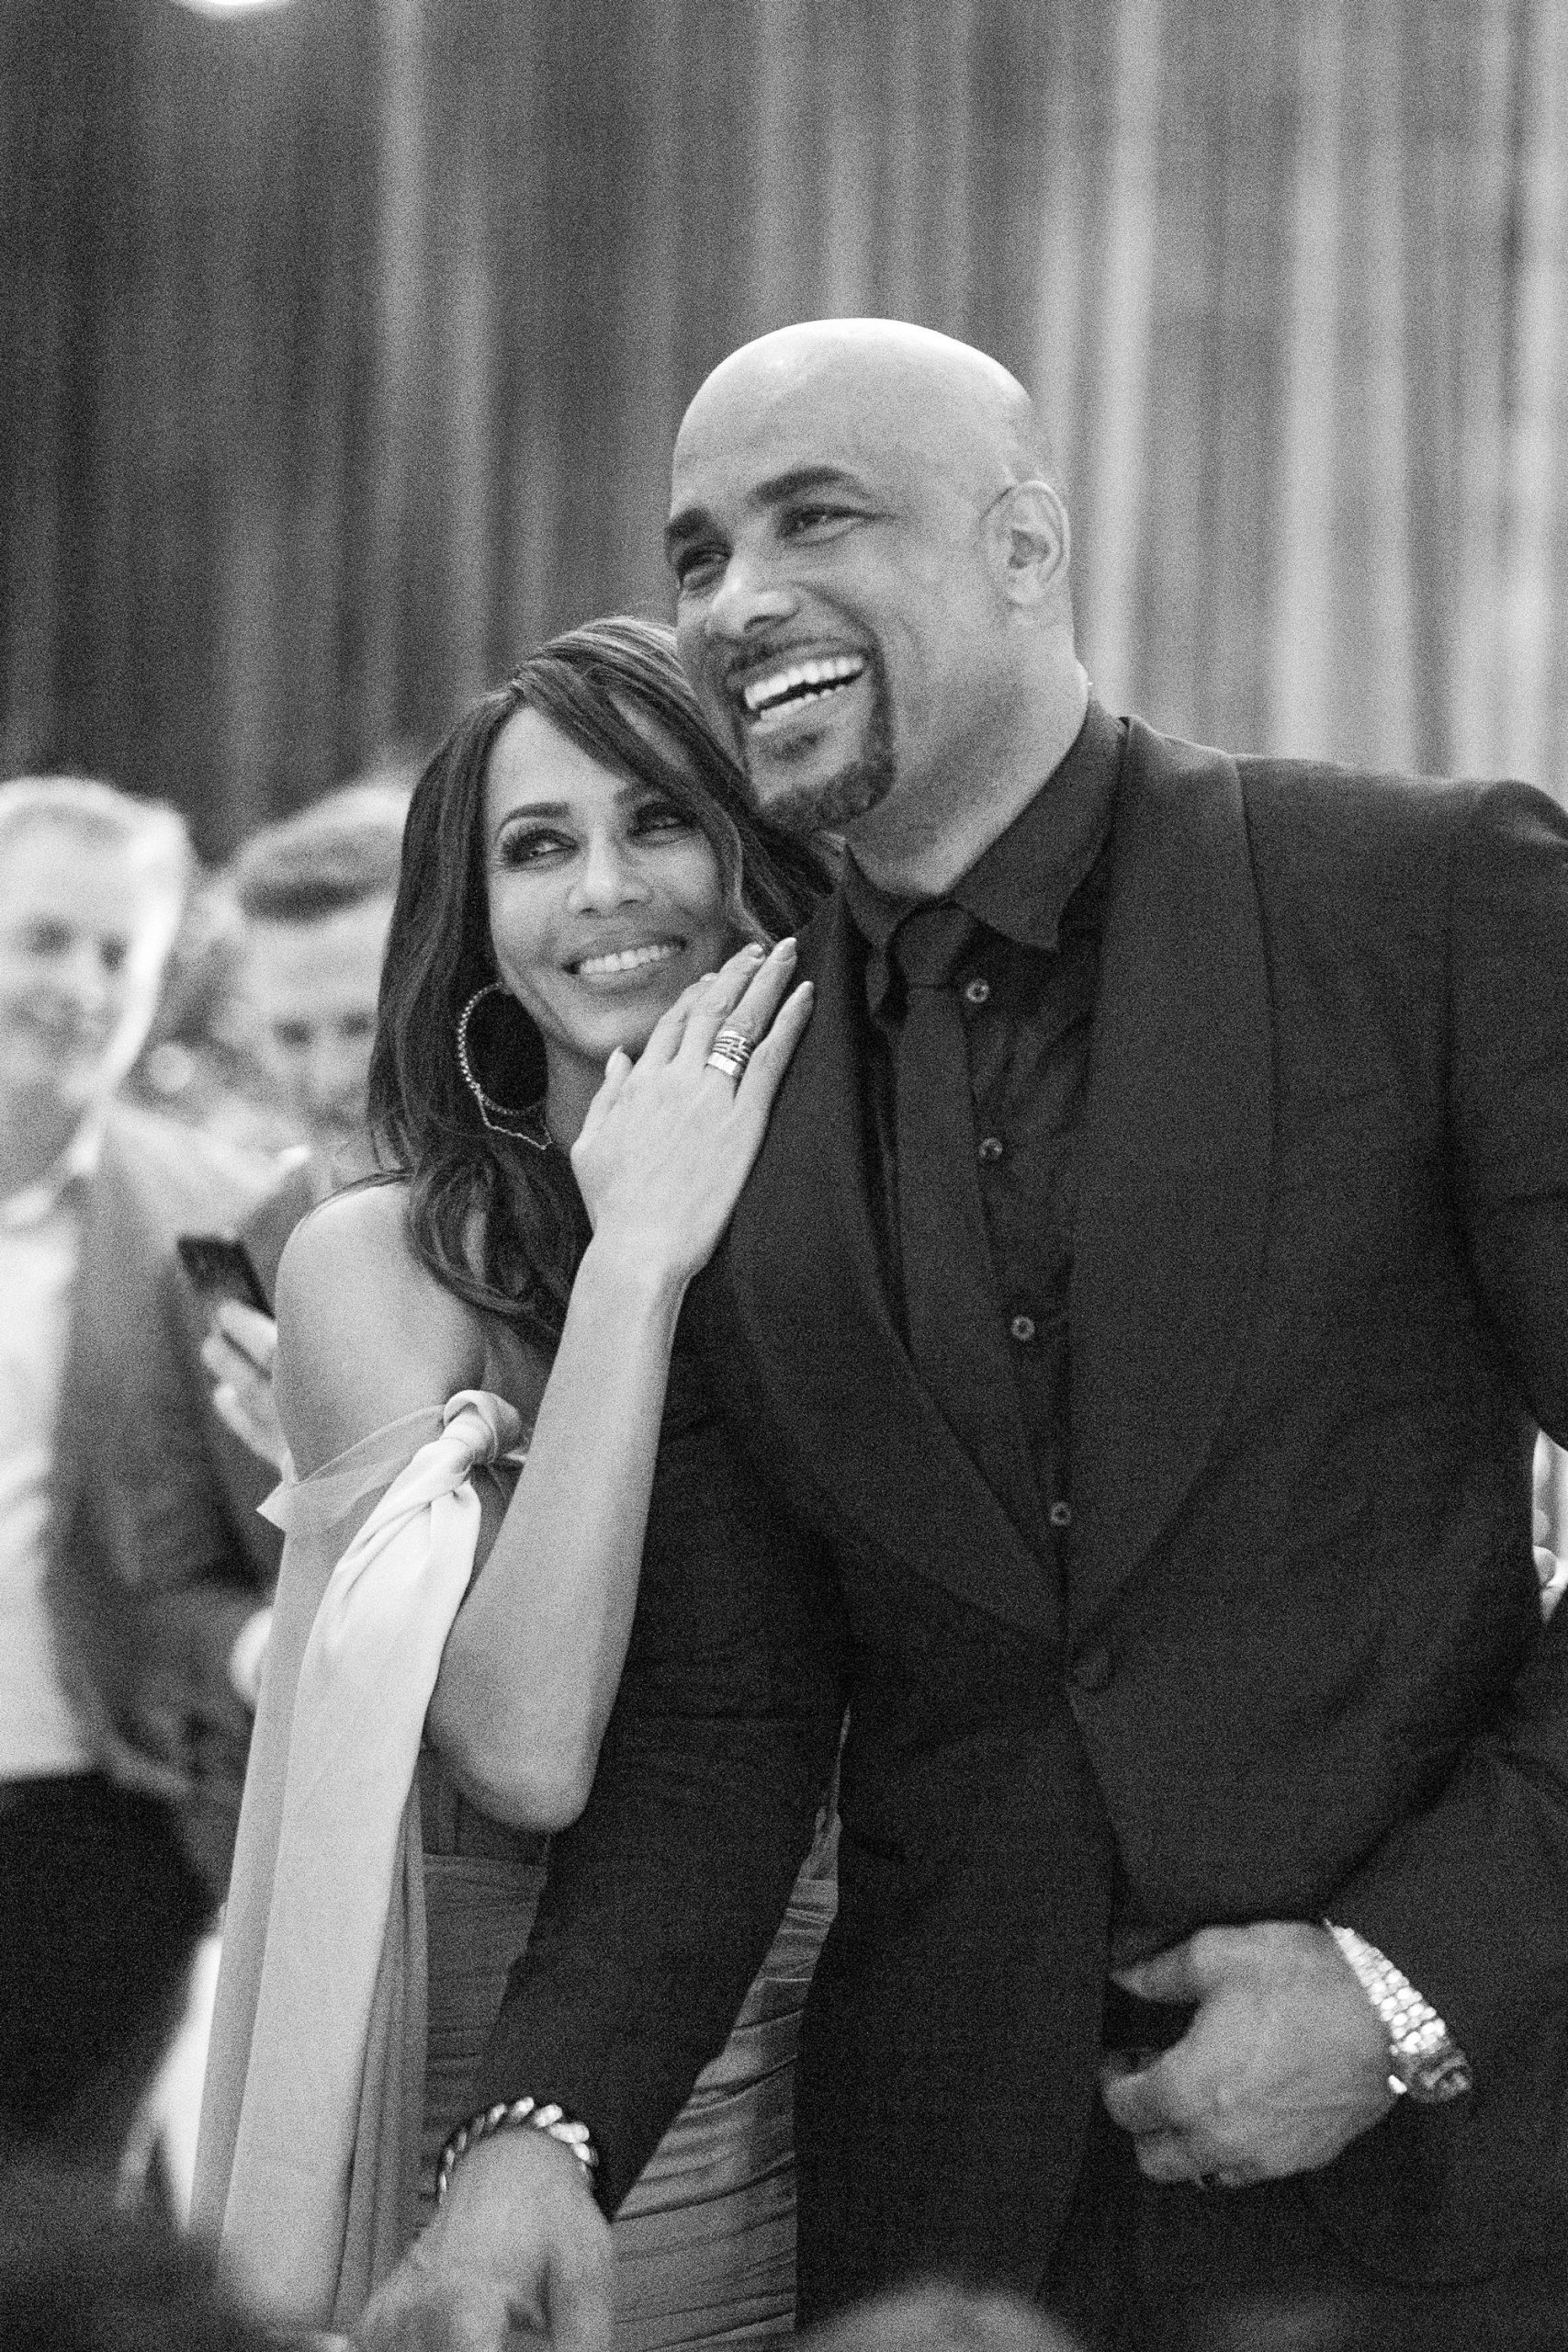
Black and White Images:
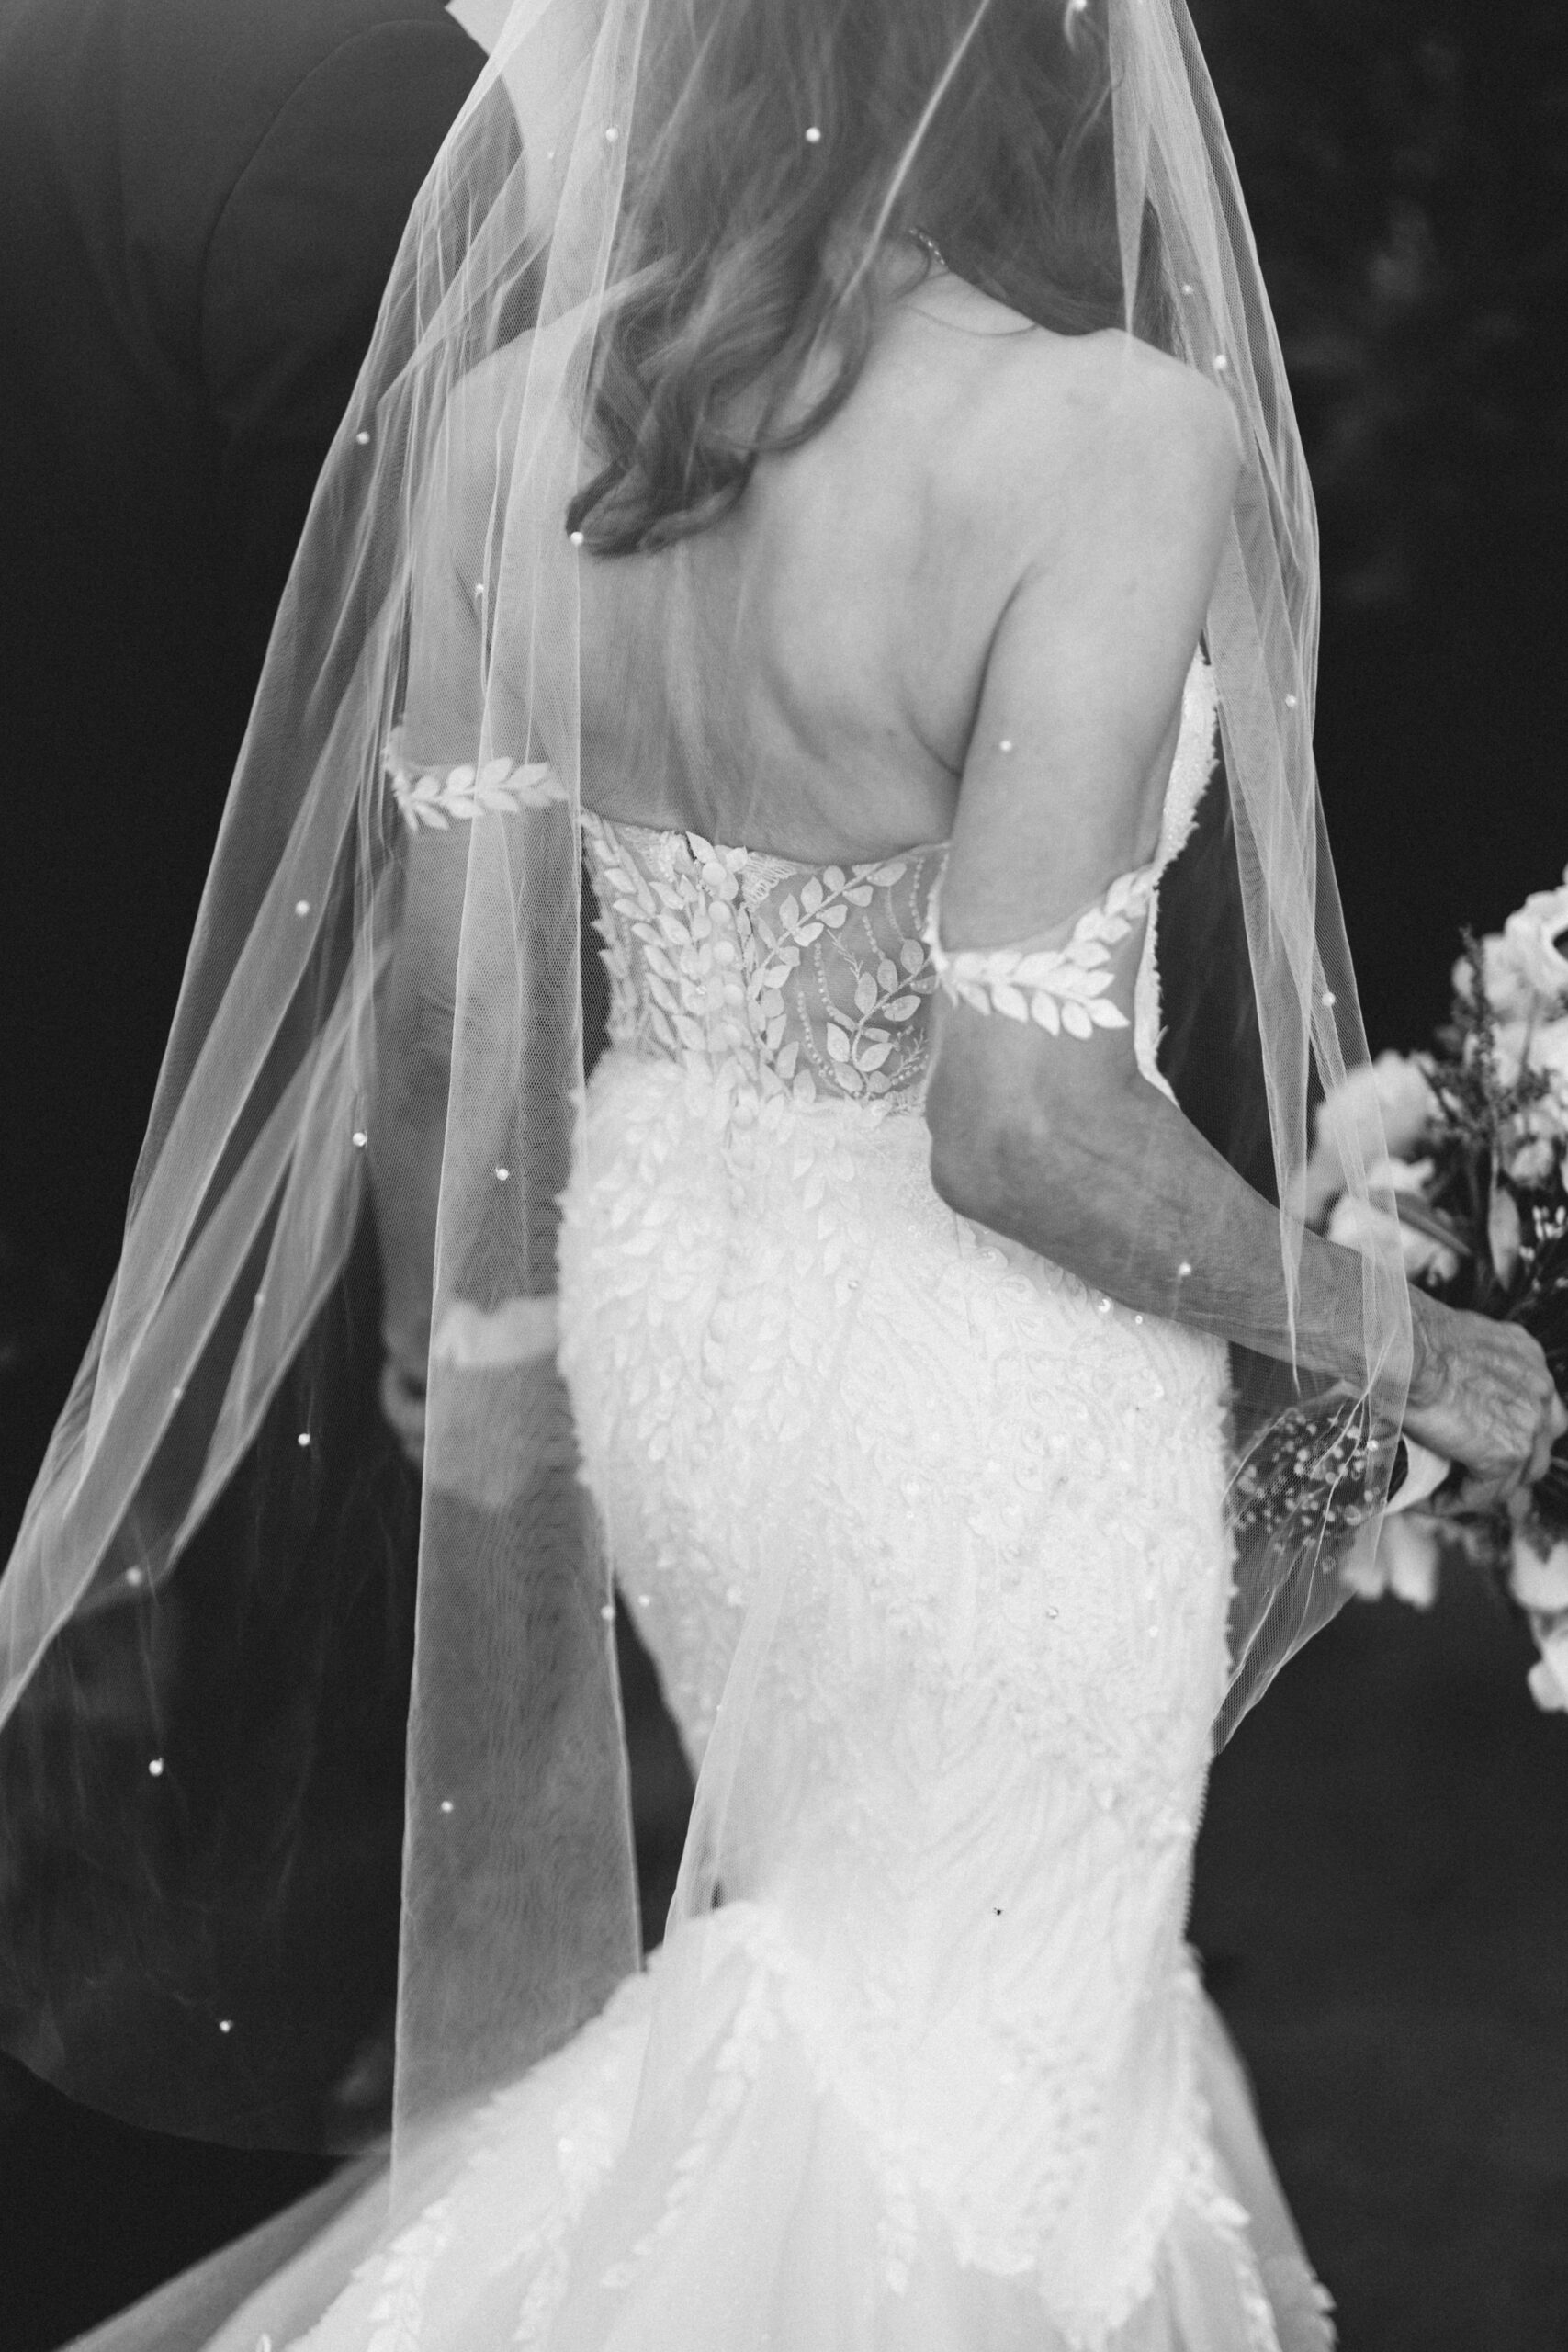
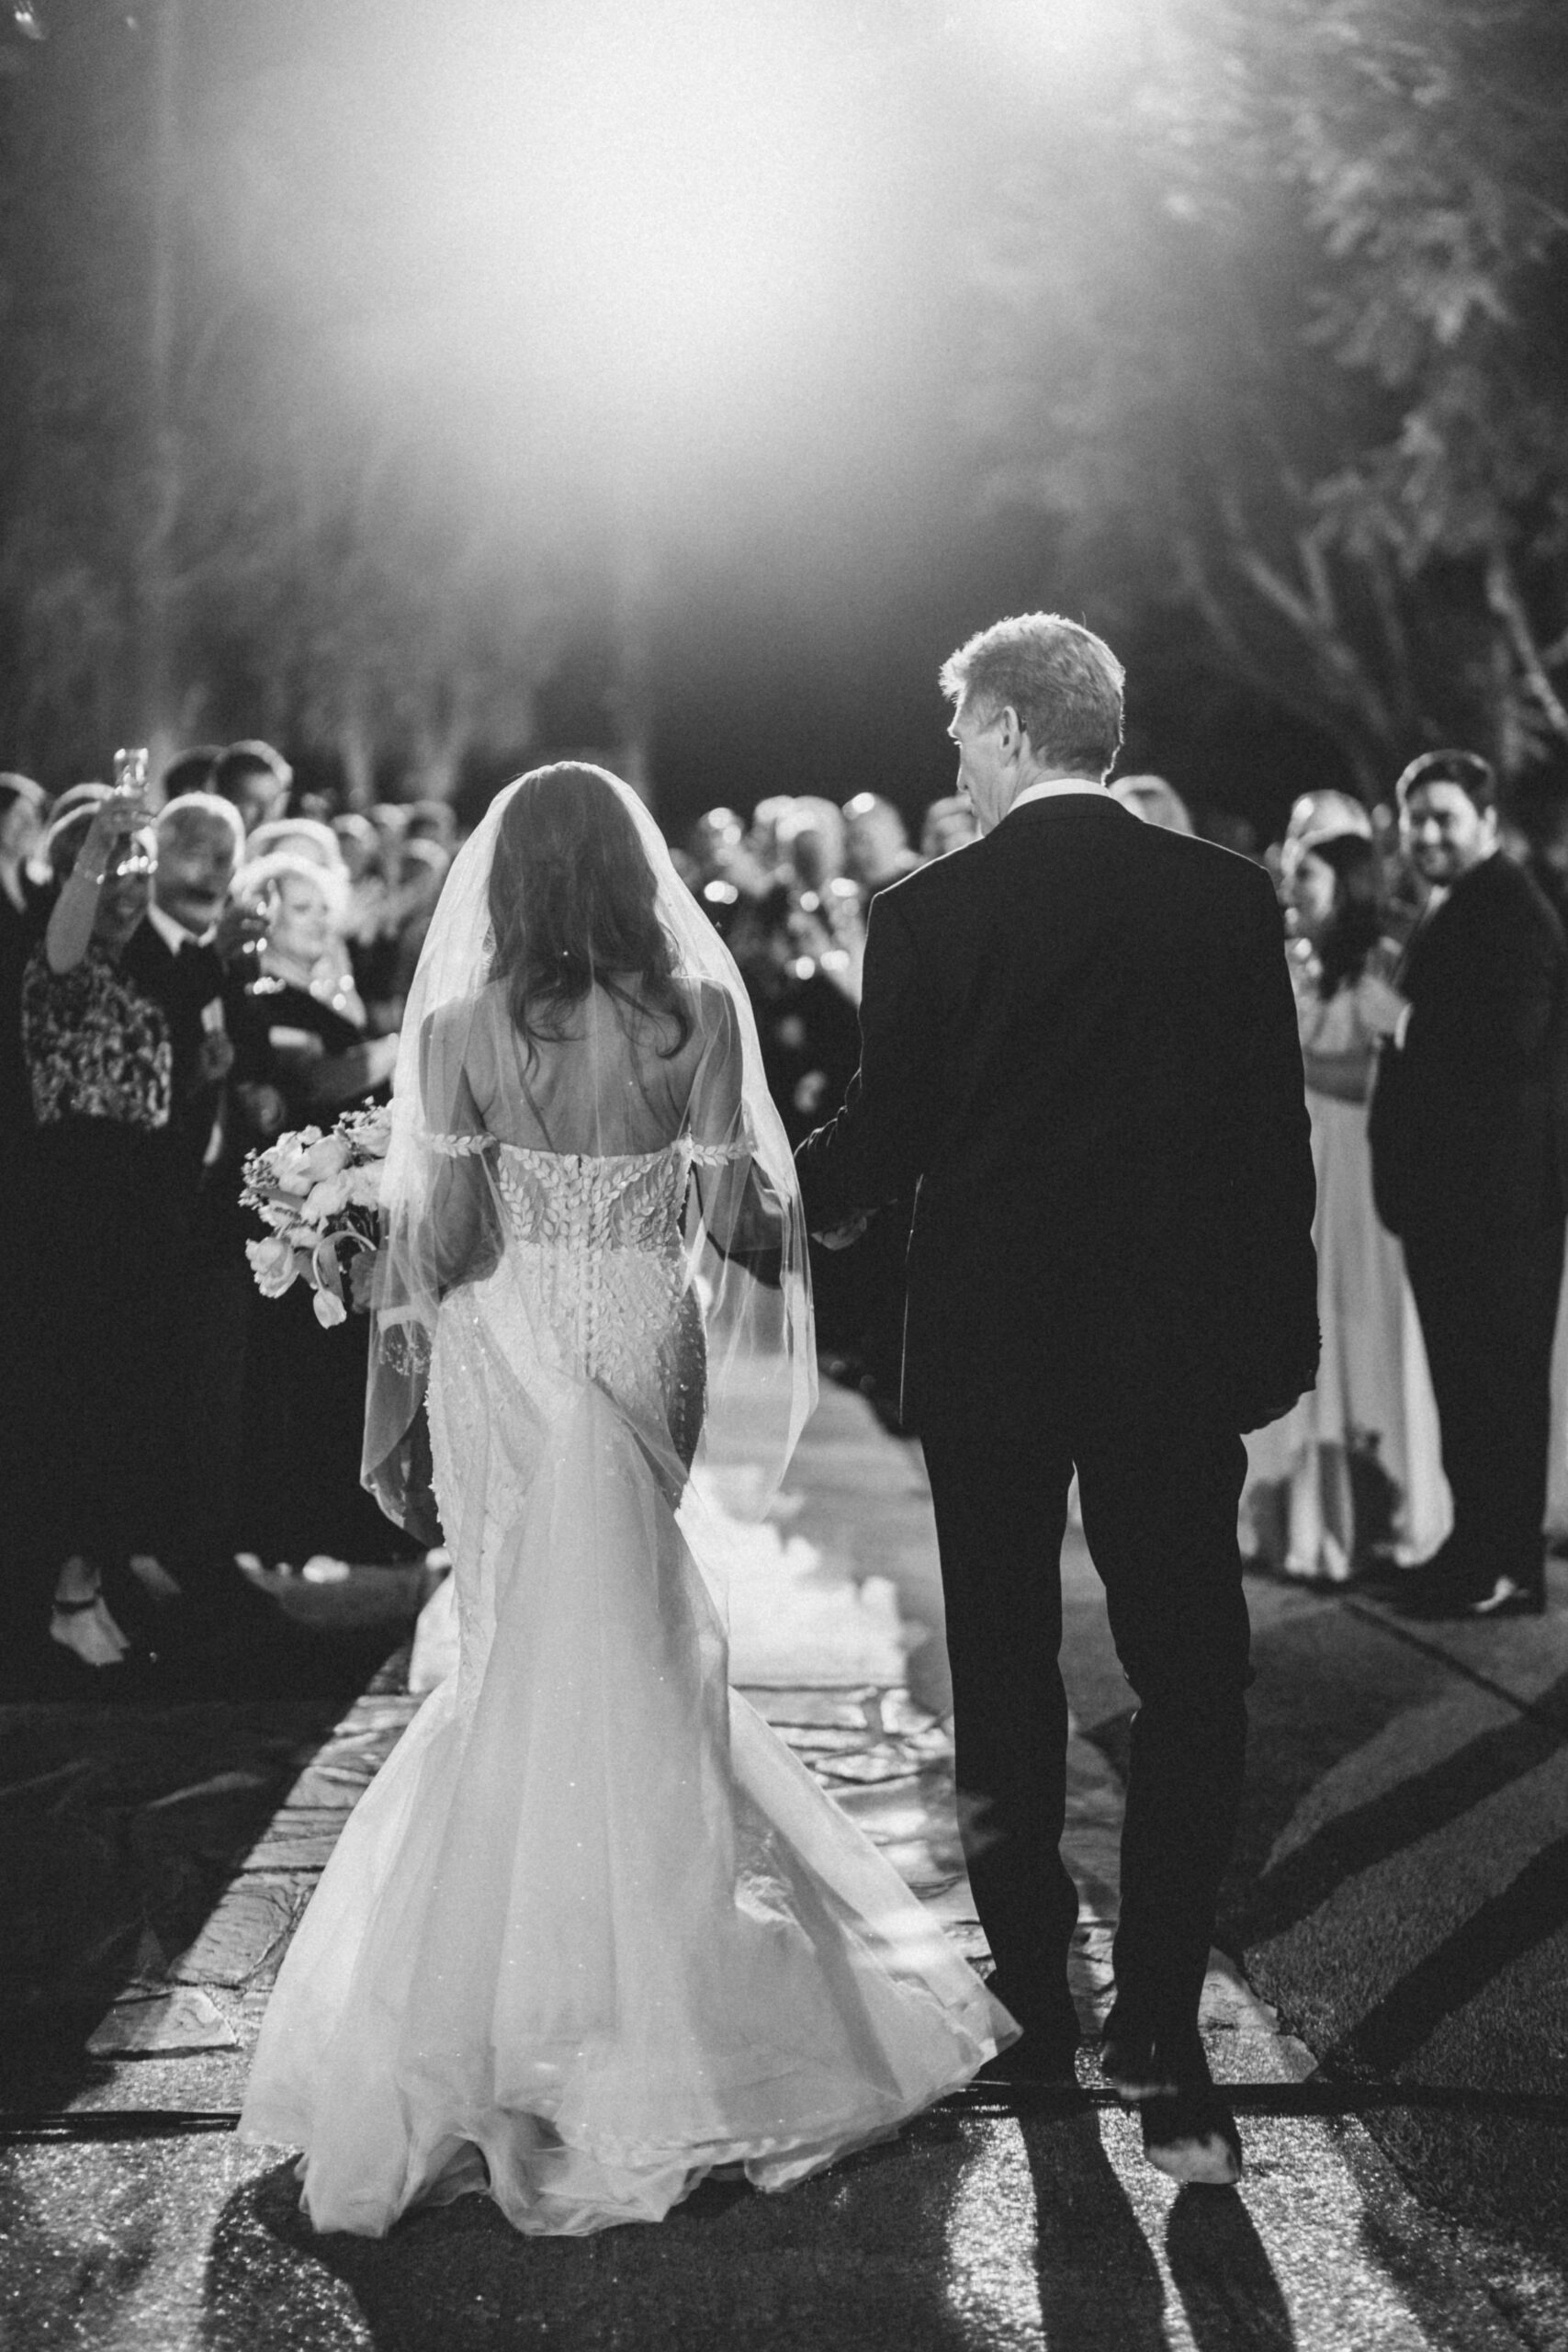
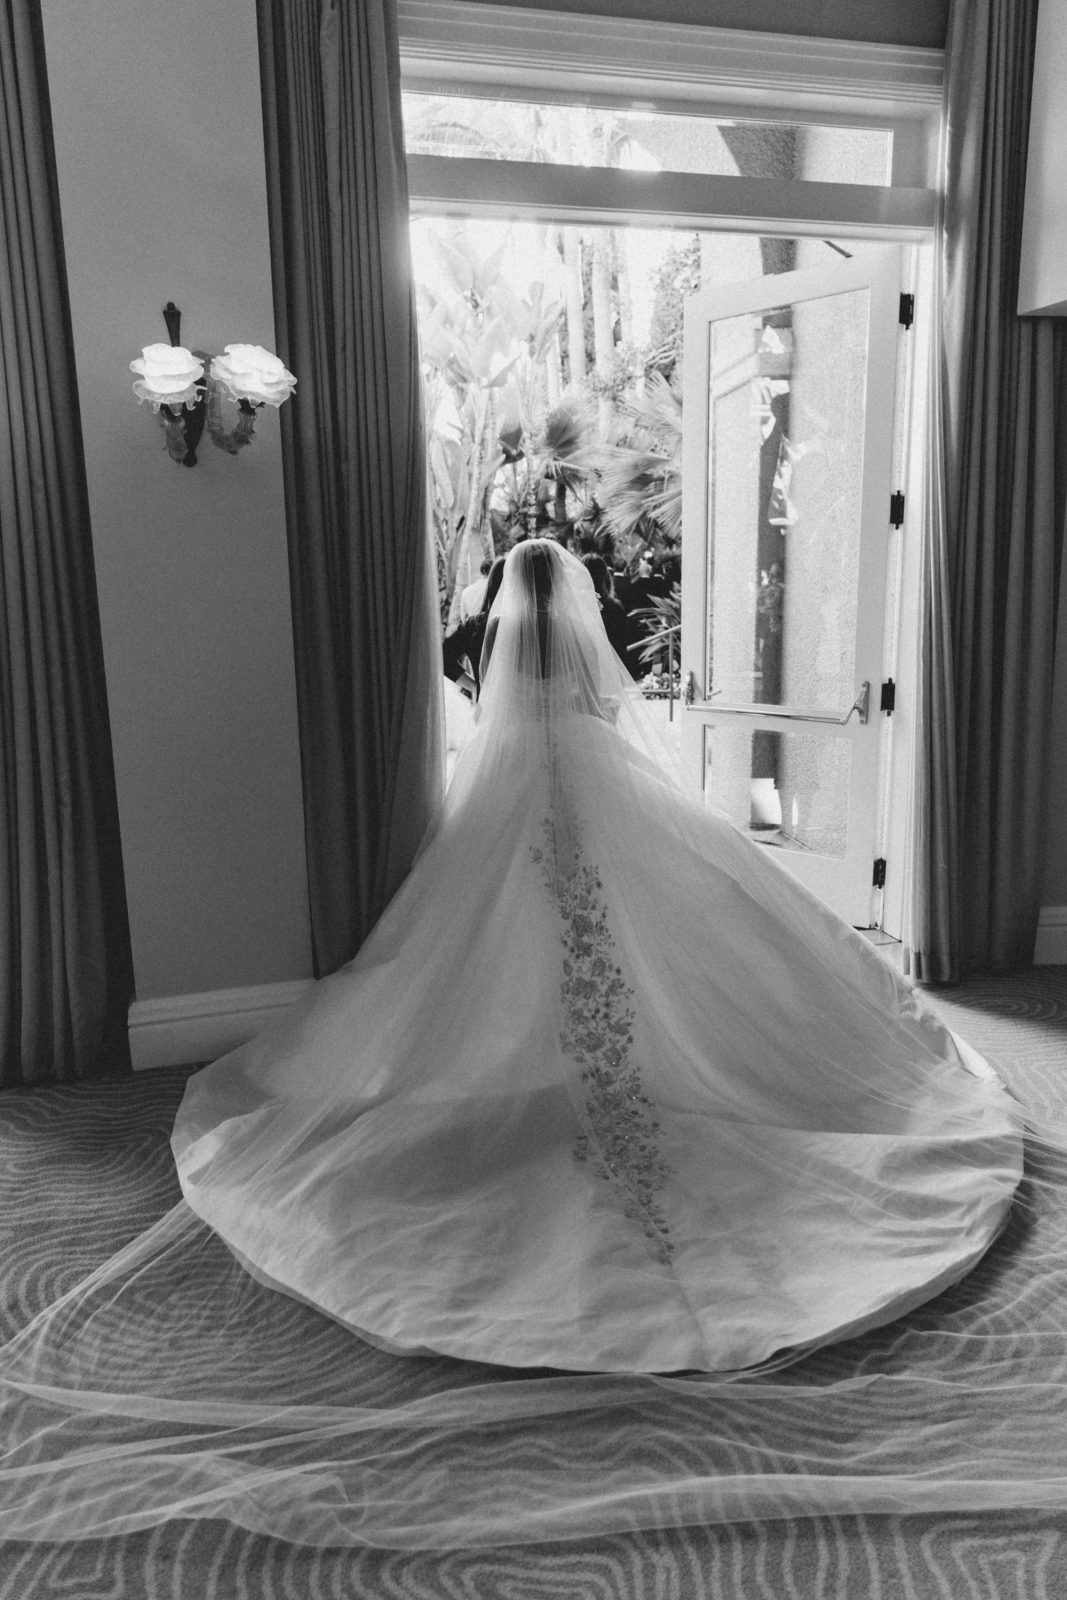
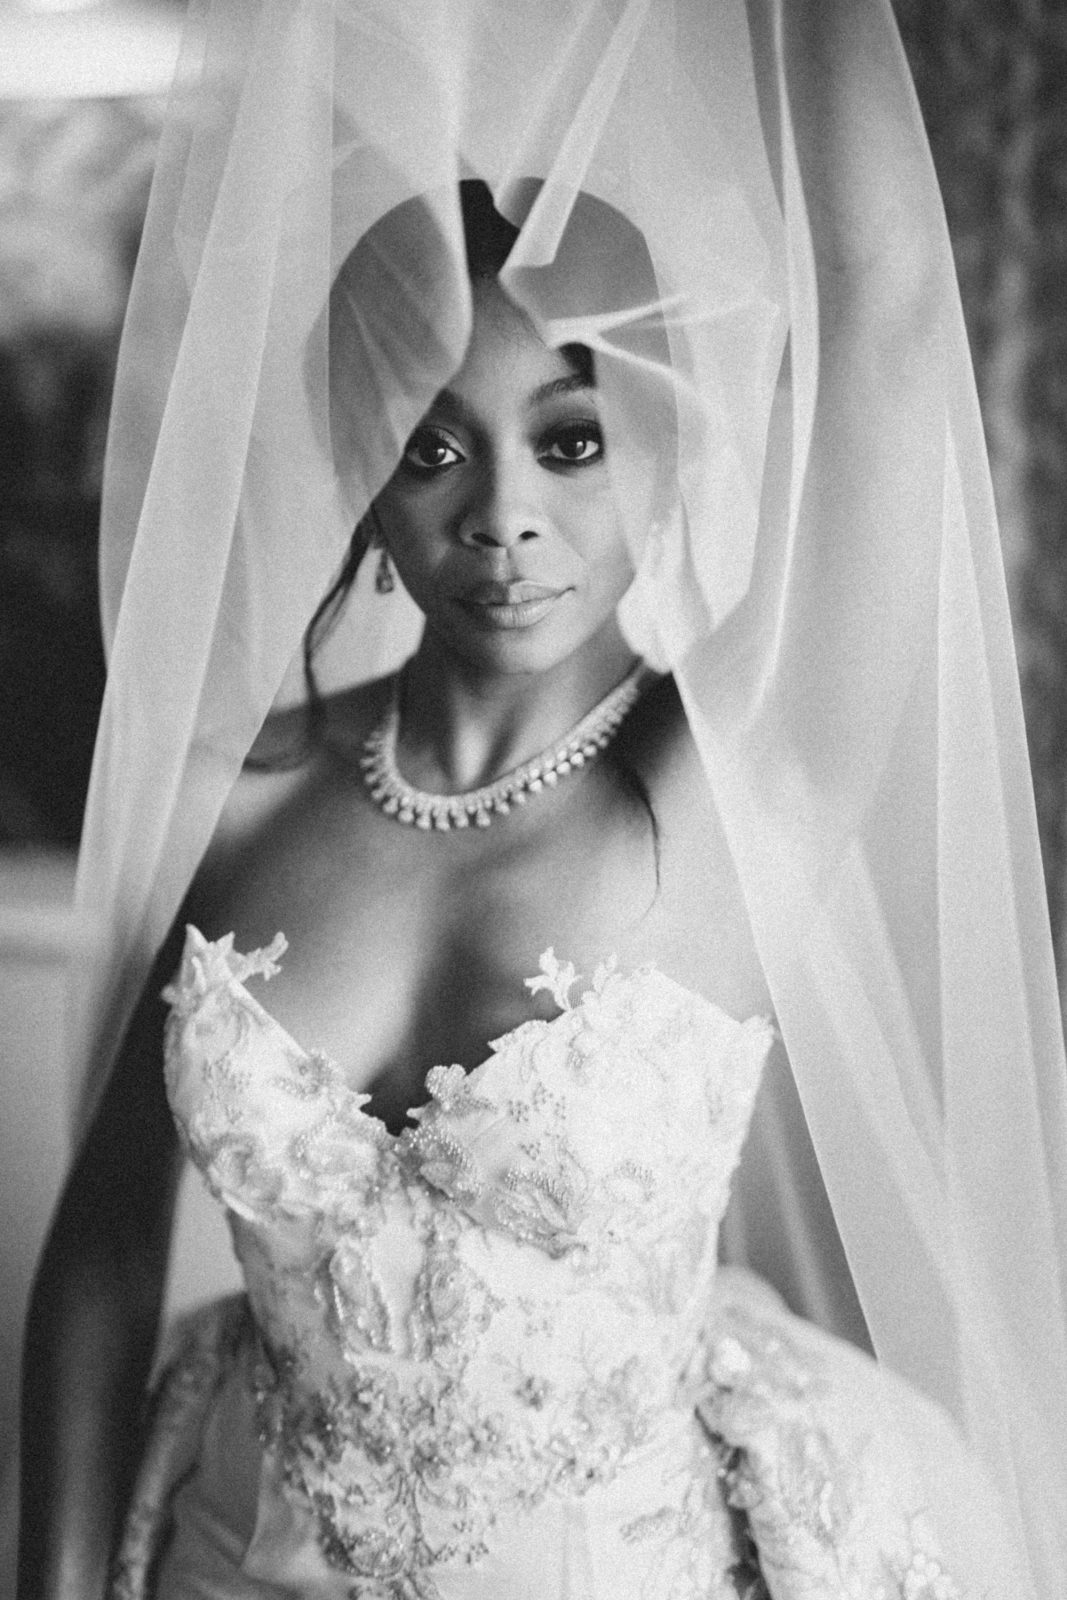
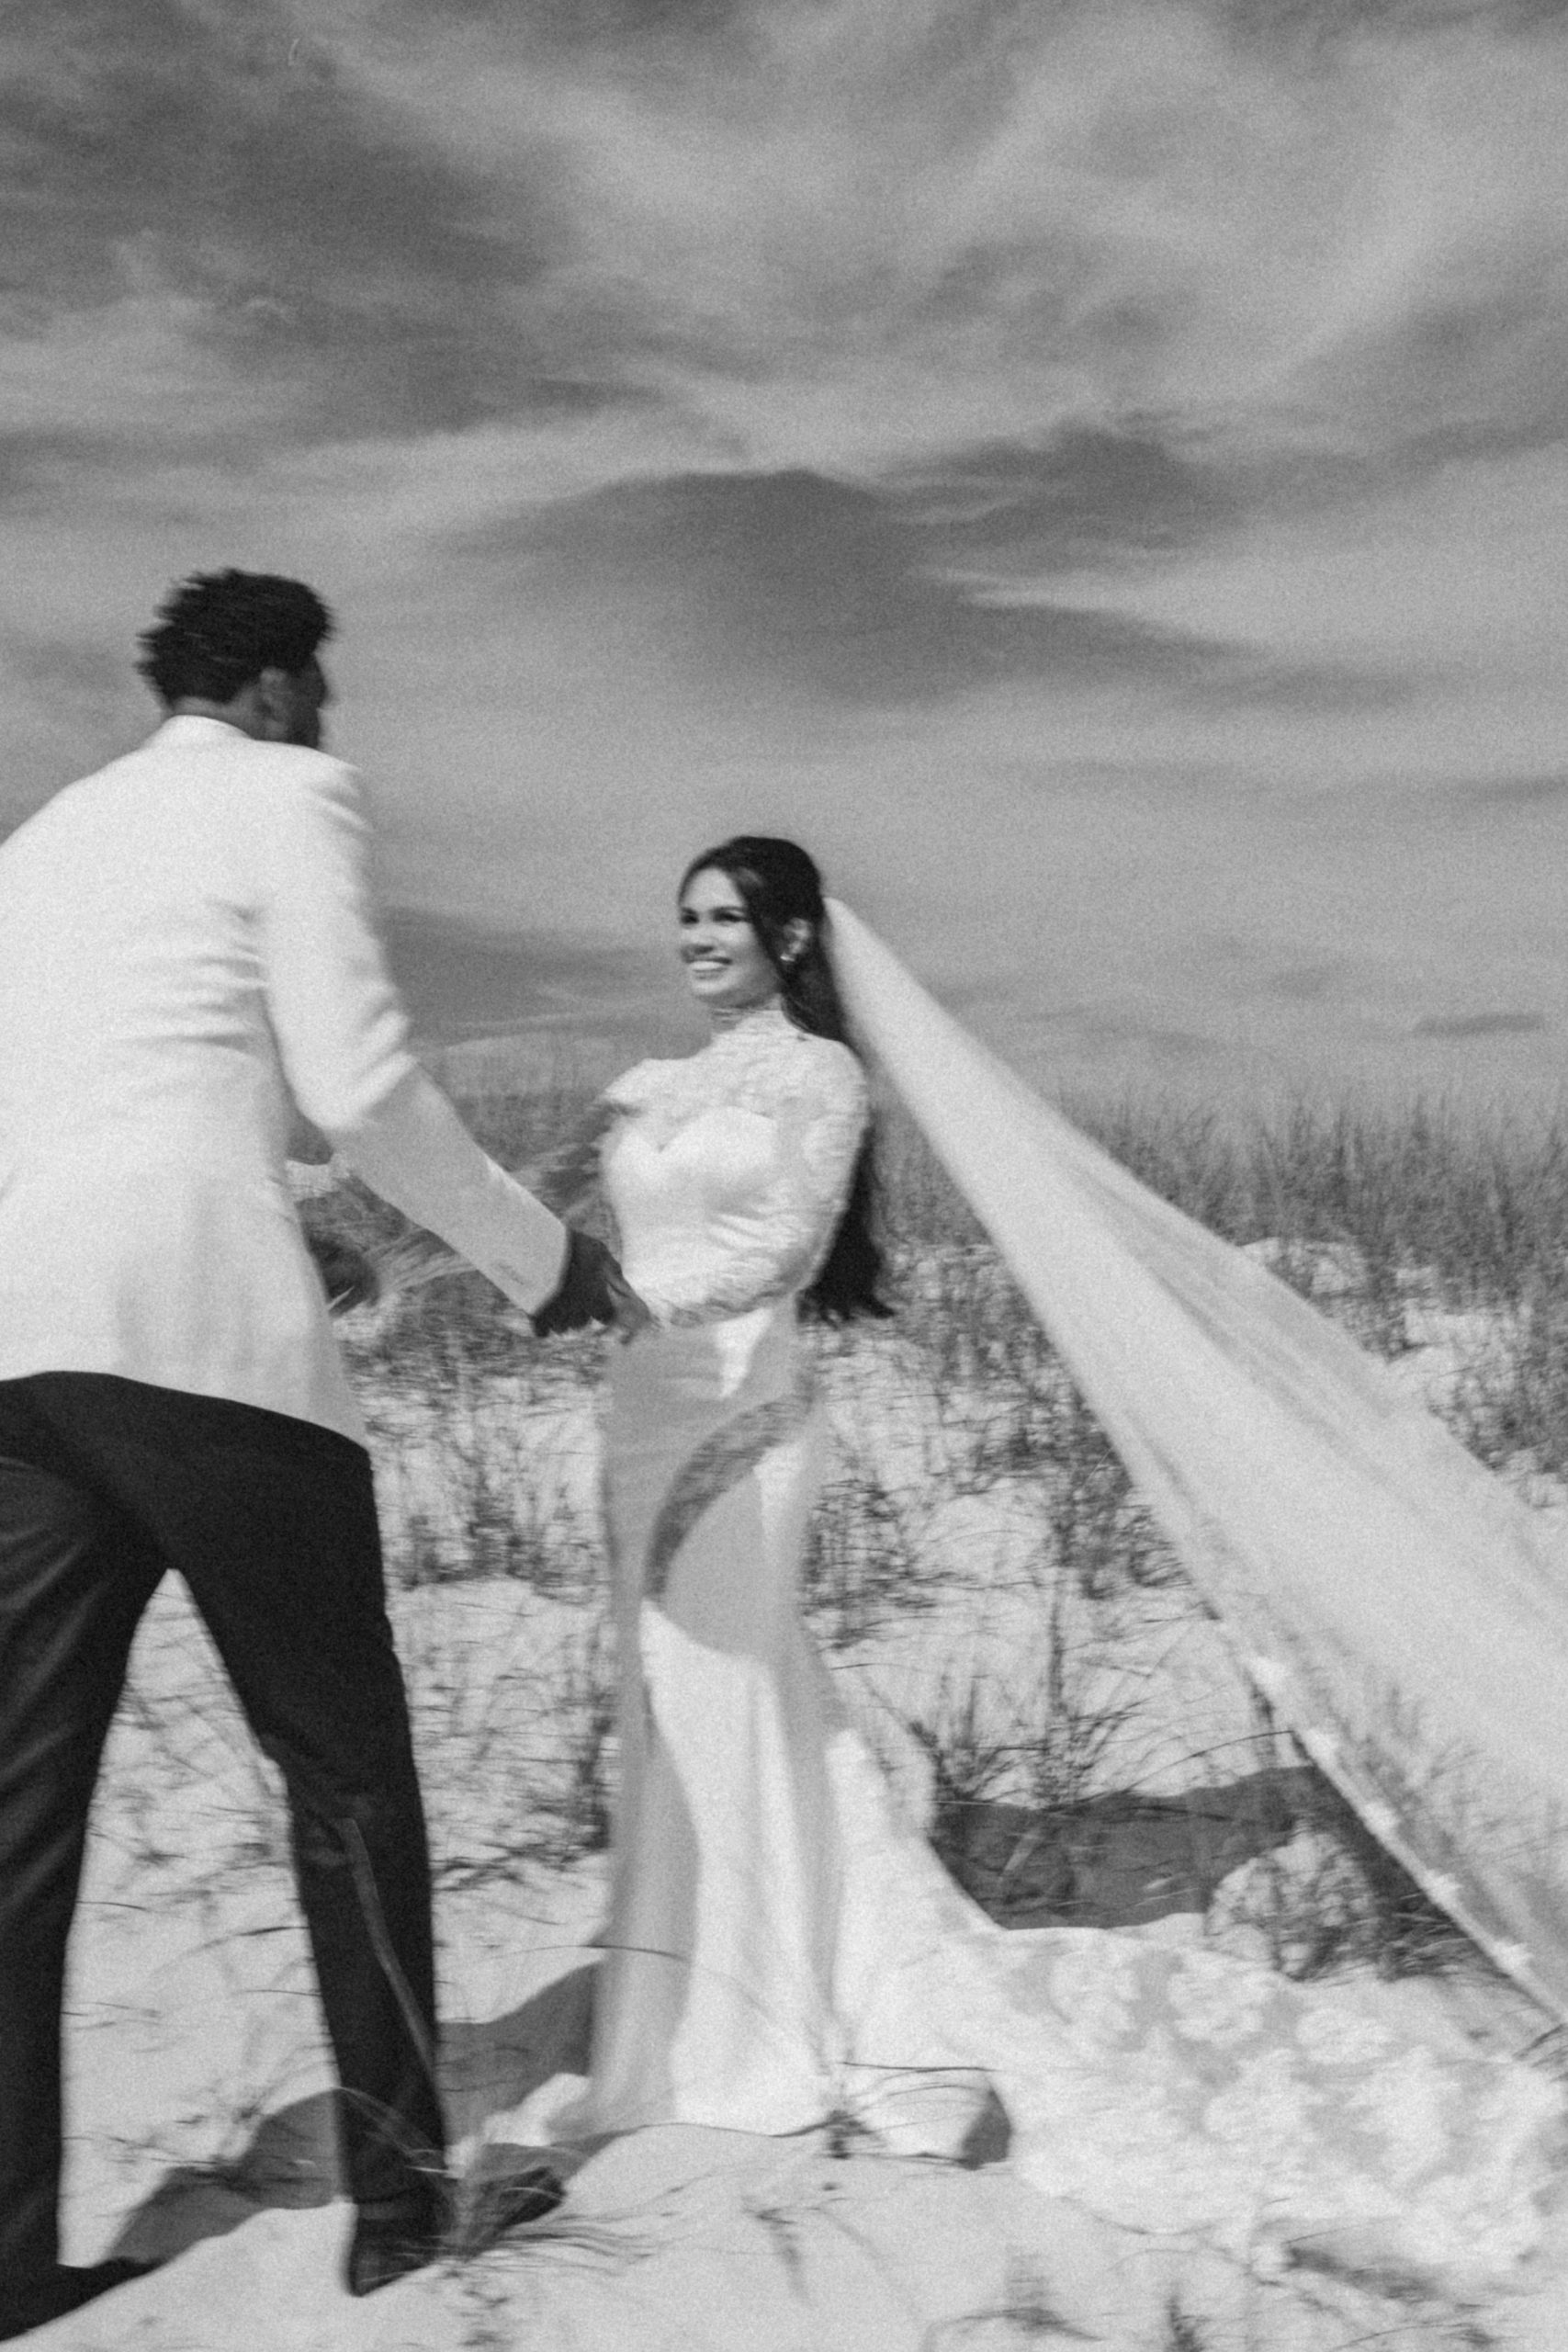
- We love good BW images. BW generally work best in simple, clean scenes. If you convert a photo to BW and view it as a thumbnail — if it still looks good as a thumbnail then it’ll be fine. But if you can’t tell what the image is as a thumbail, then it’s probasbly better to keep it color. There are always exceptions to this, but mostly follow this guide.
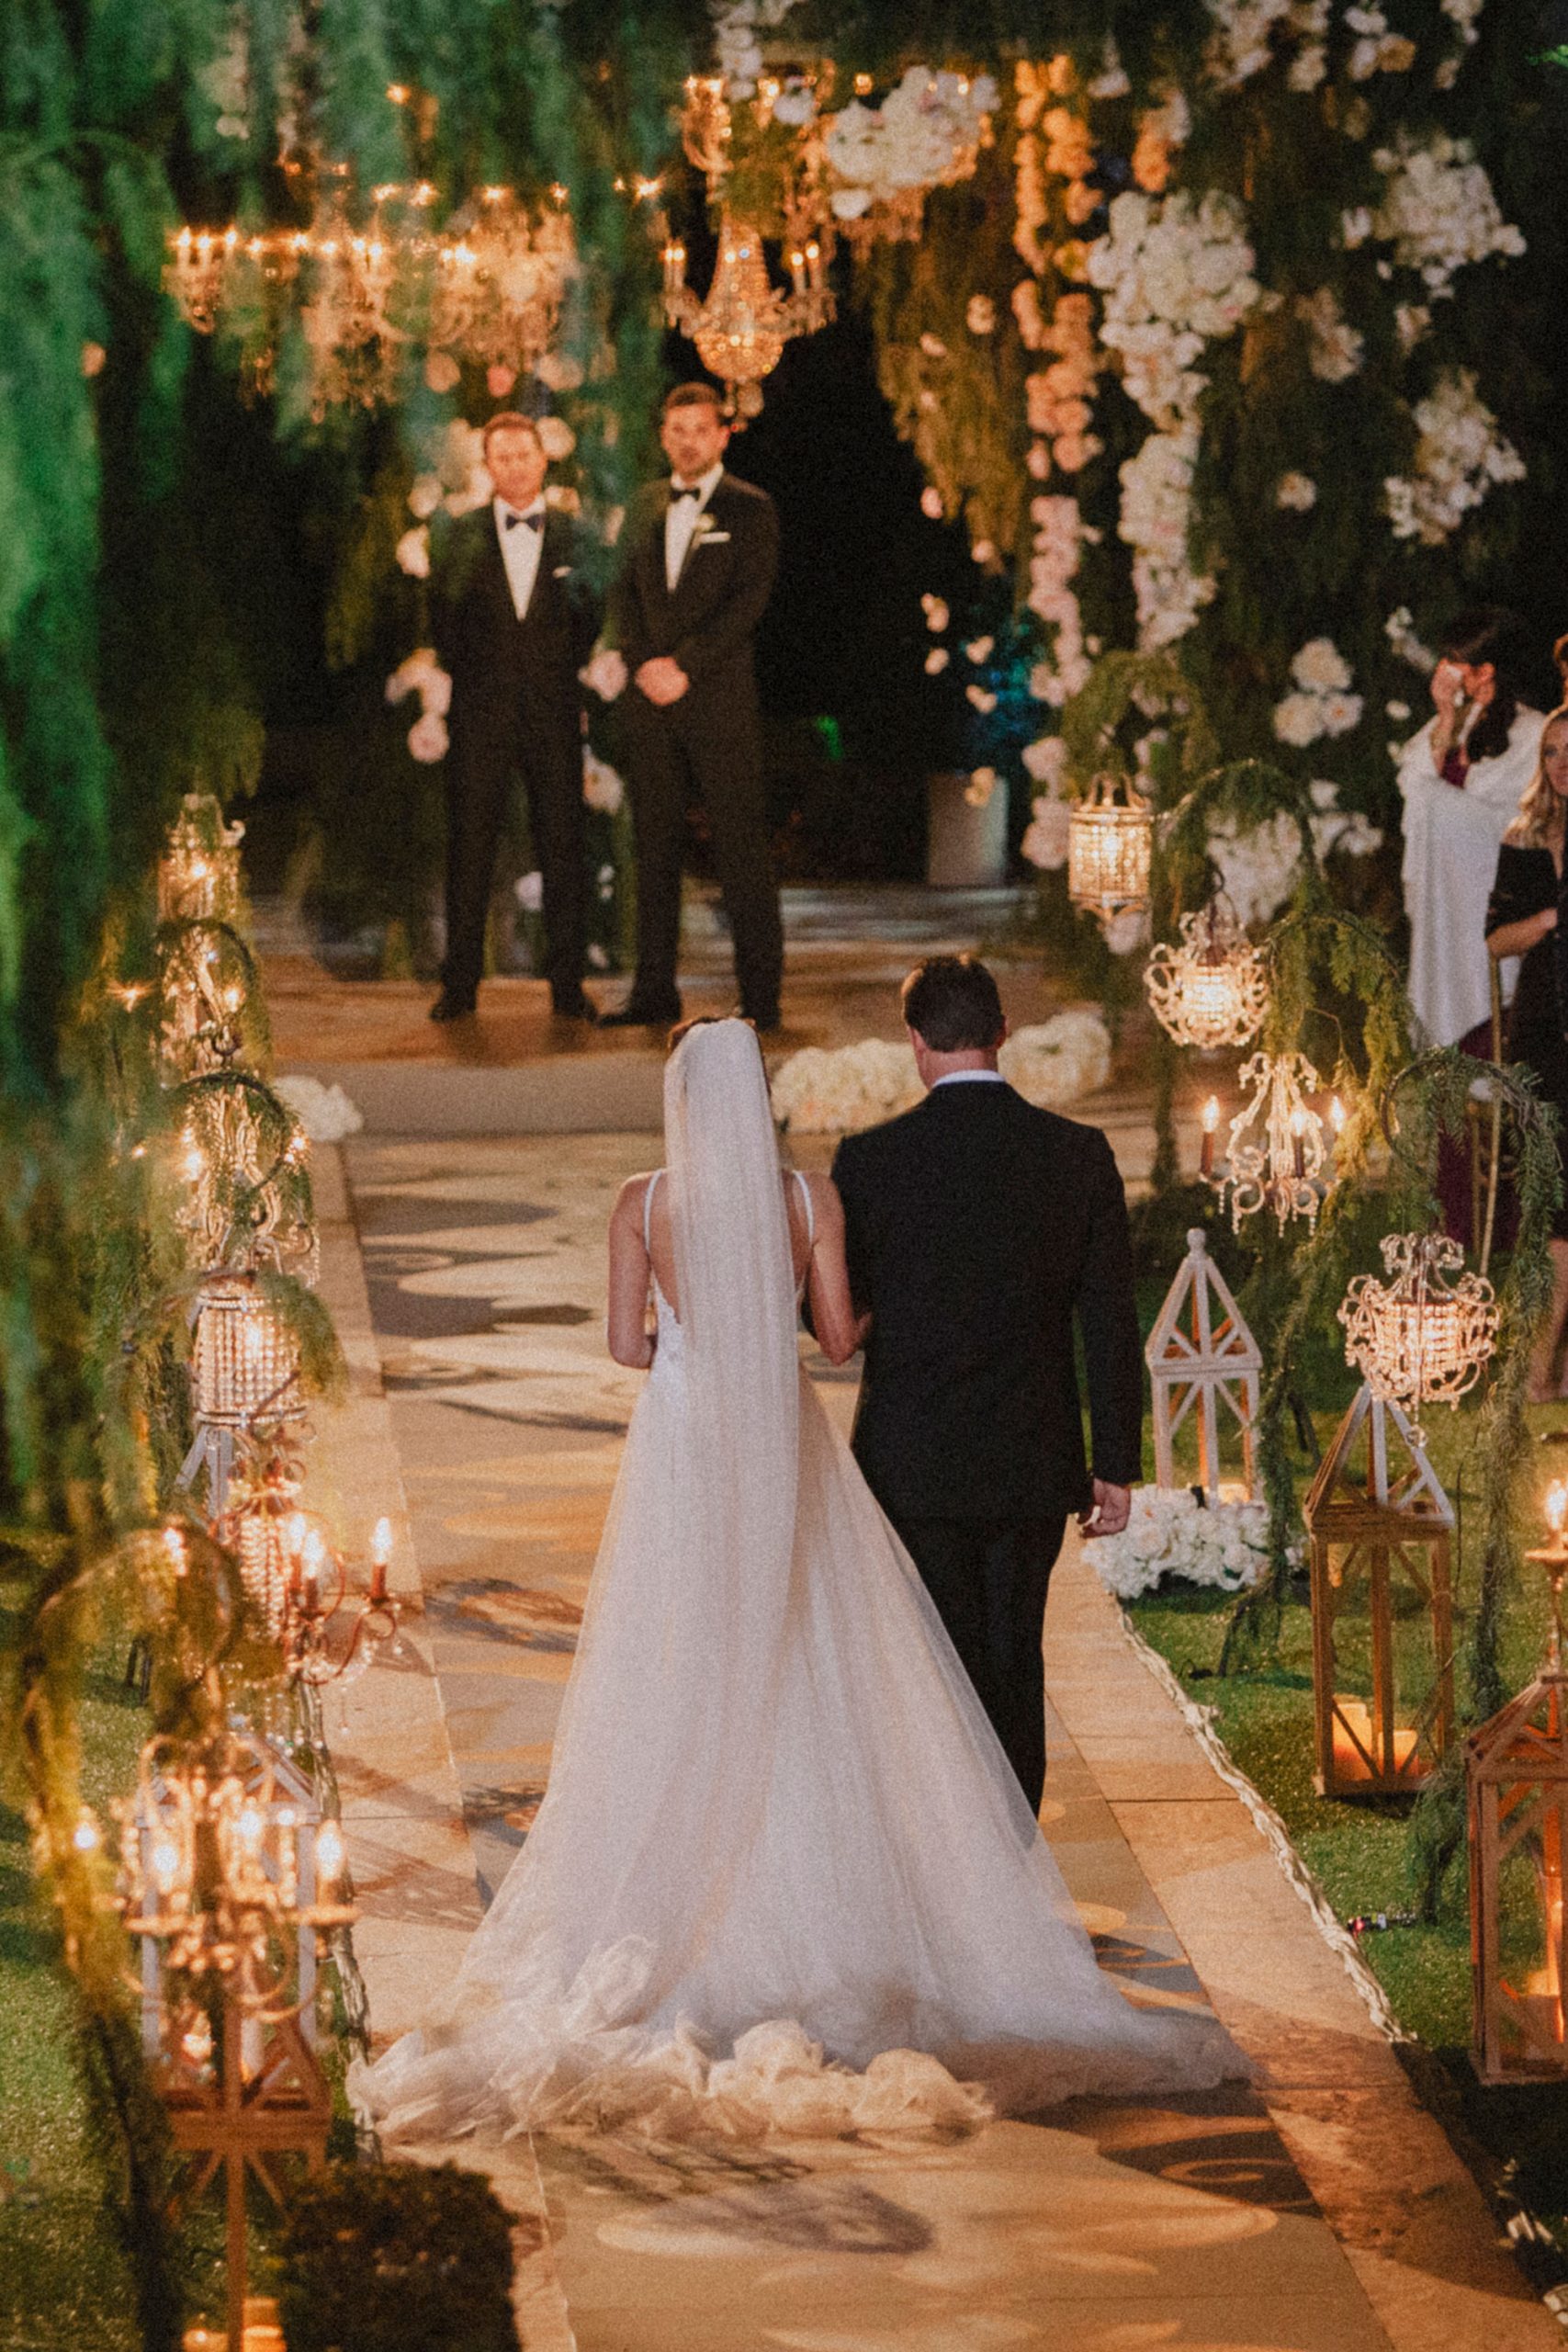
- BW in SERIES — if you convert one image from a scene to BW. Then concert all other from the same scene and same camera to BW also. It’s the similar idea as to shooting BW Film. You have 36 shots of BW film and all 36 will be BW from that camera. It’s OK to to have color from other cameras. Mainly we do not like where there is a BW photo then a color version of the same/similar scene.
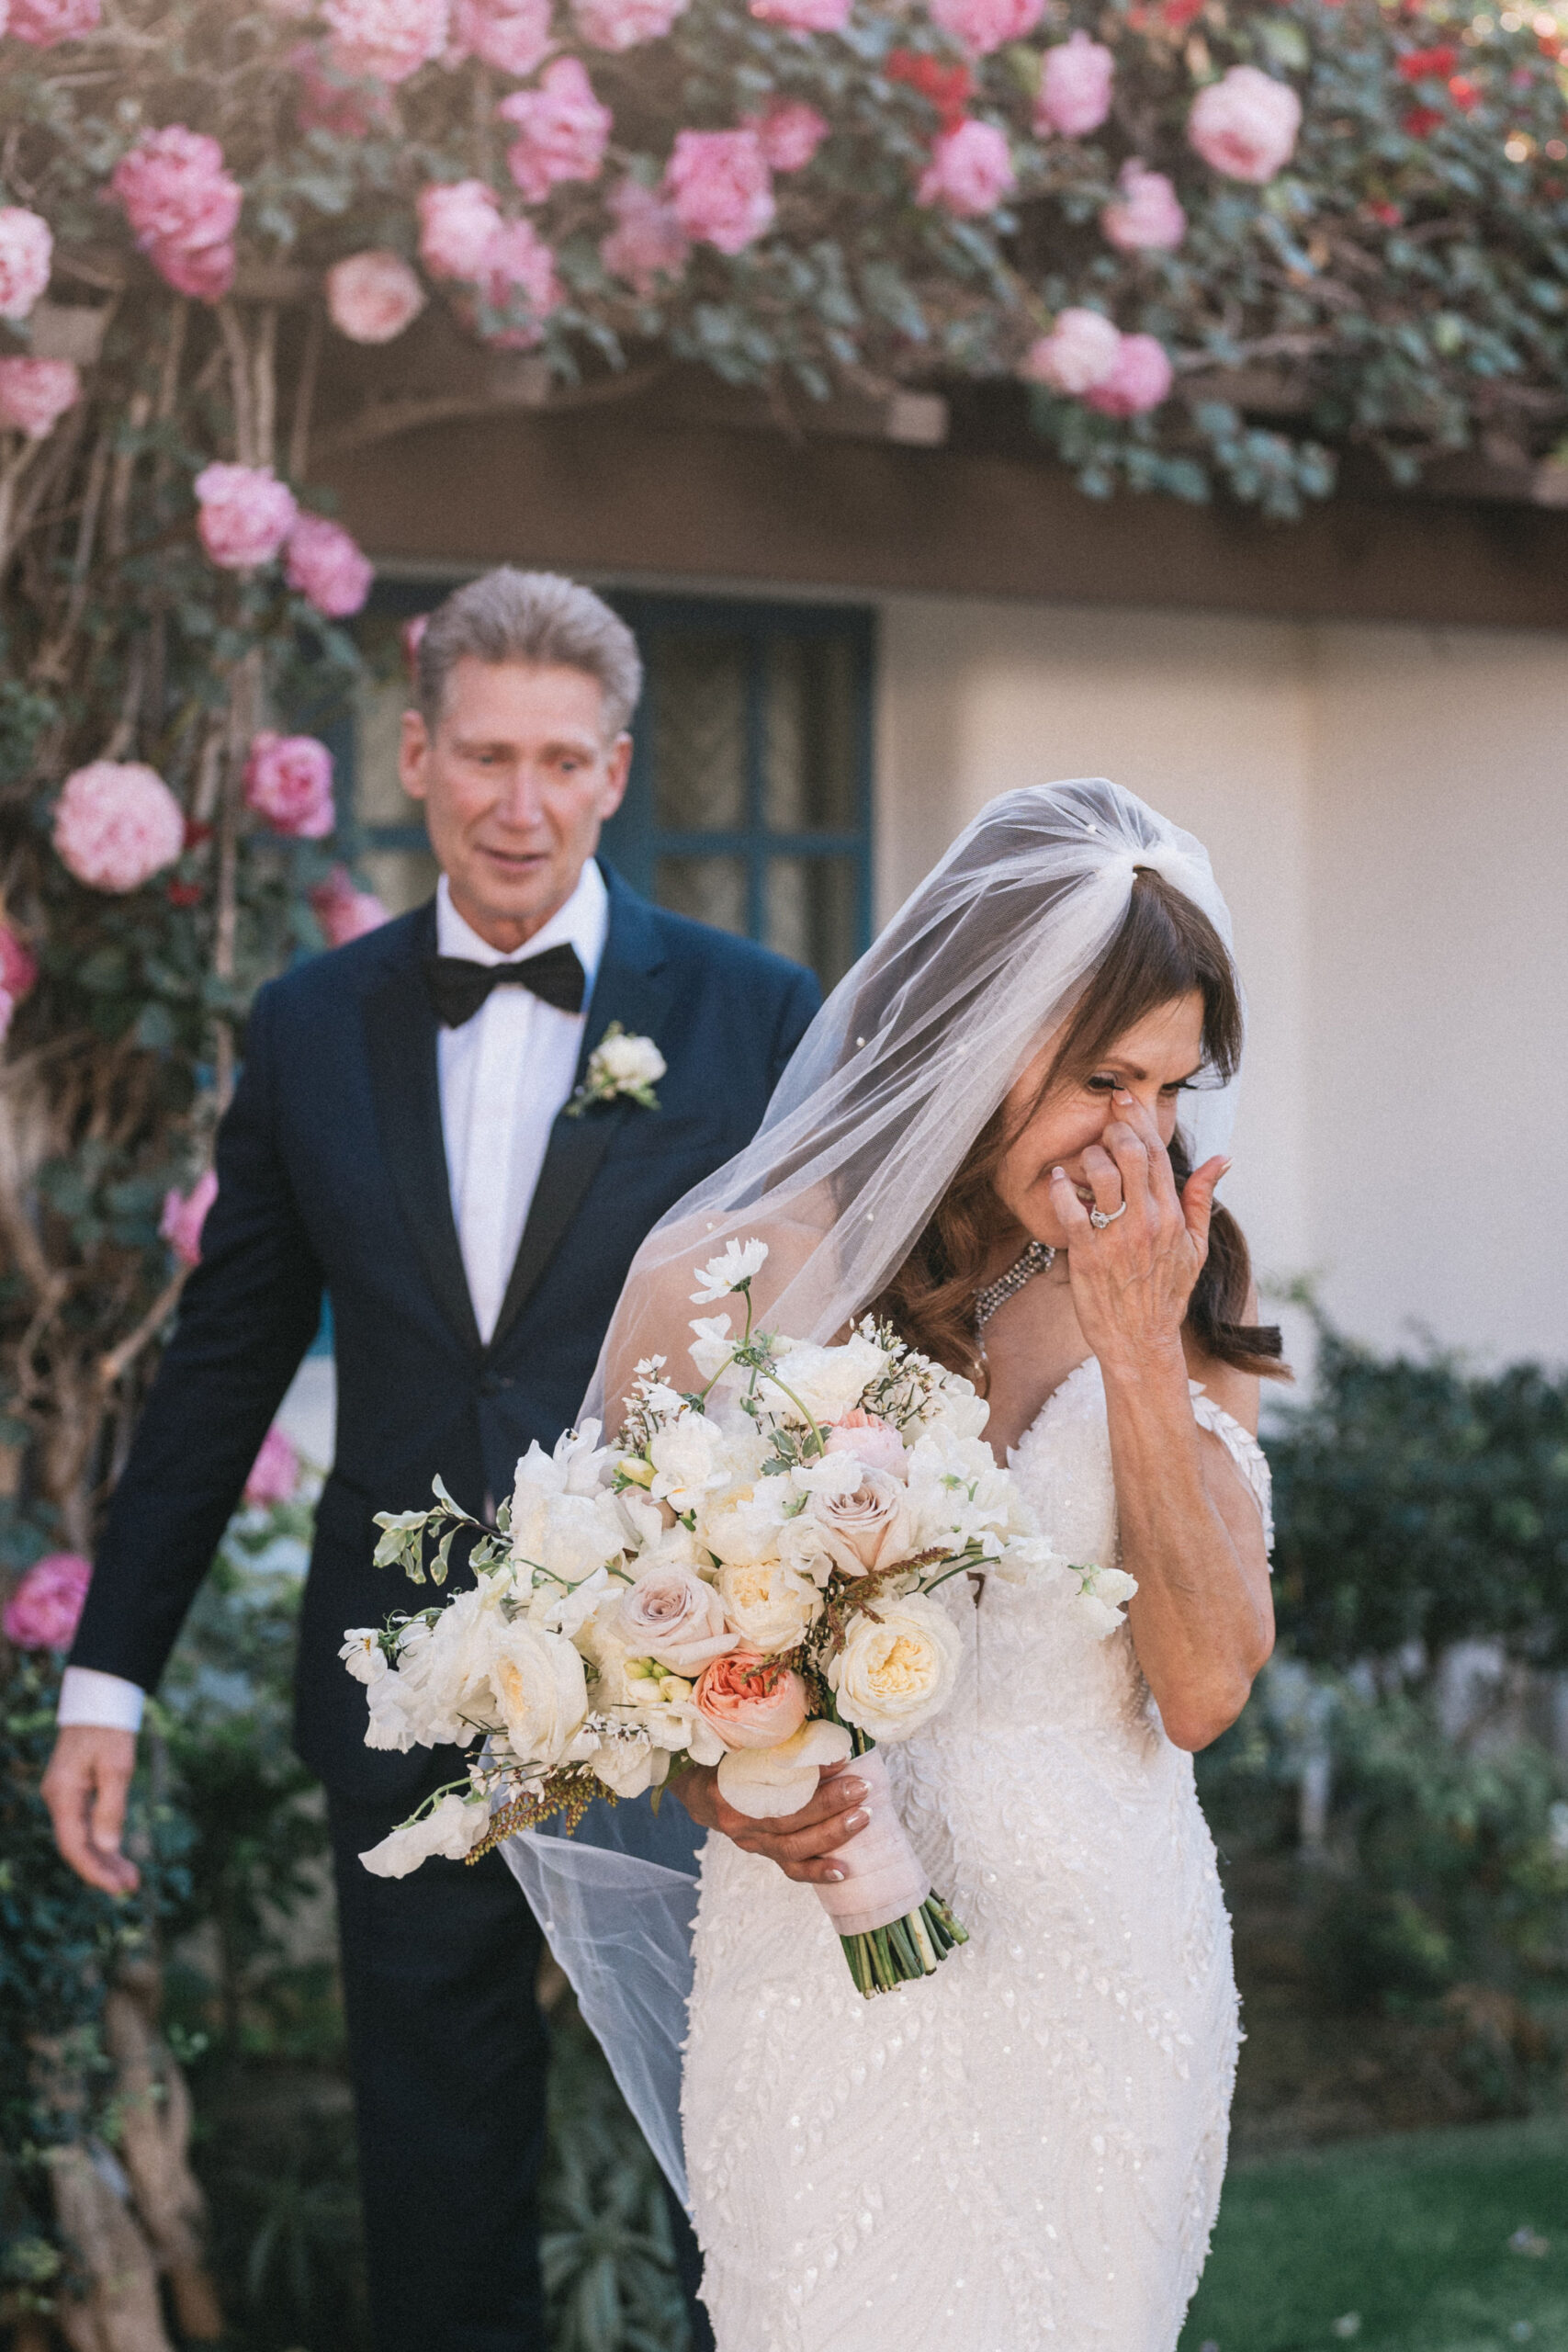
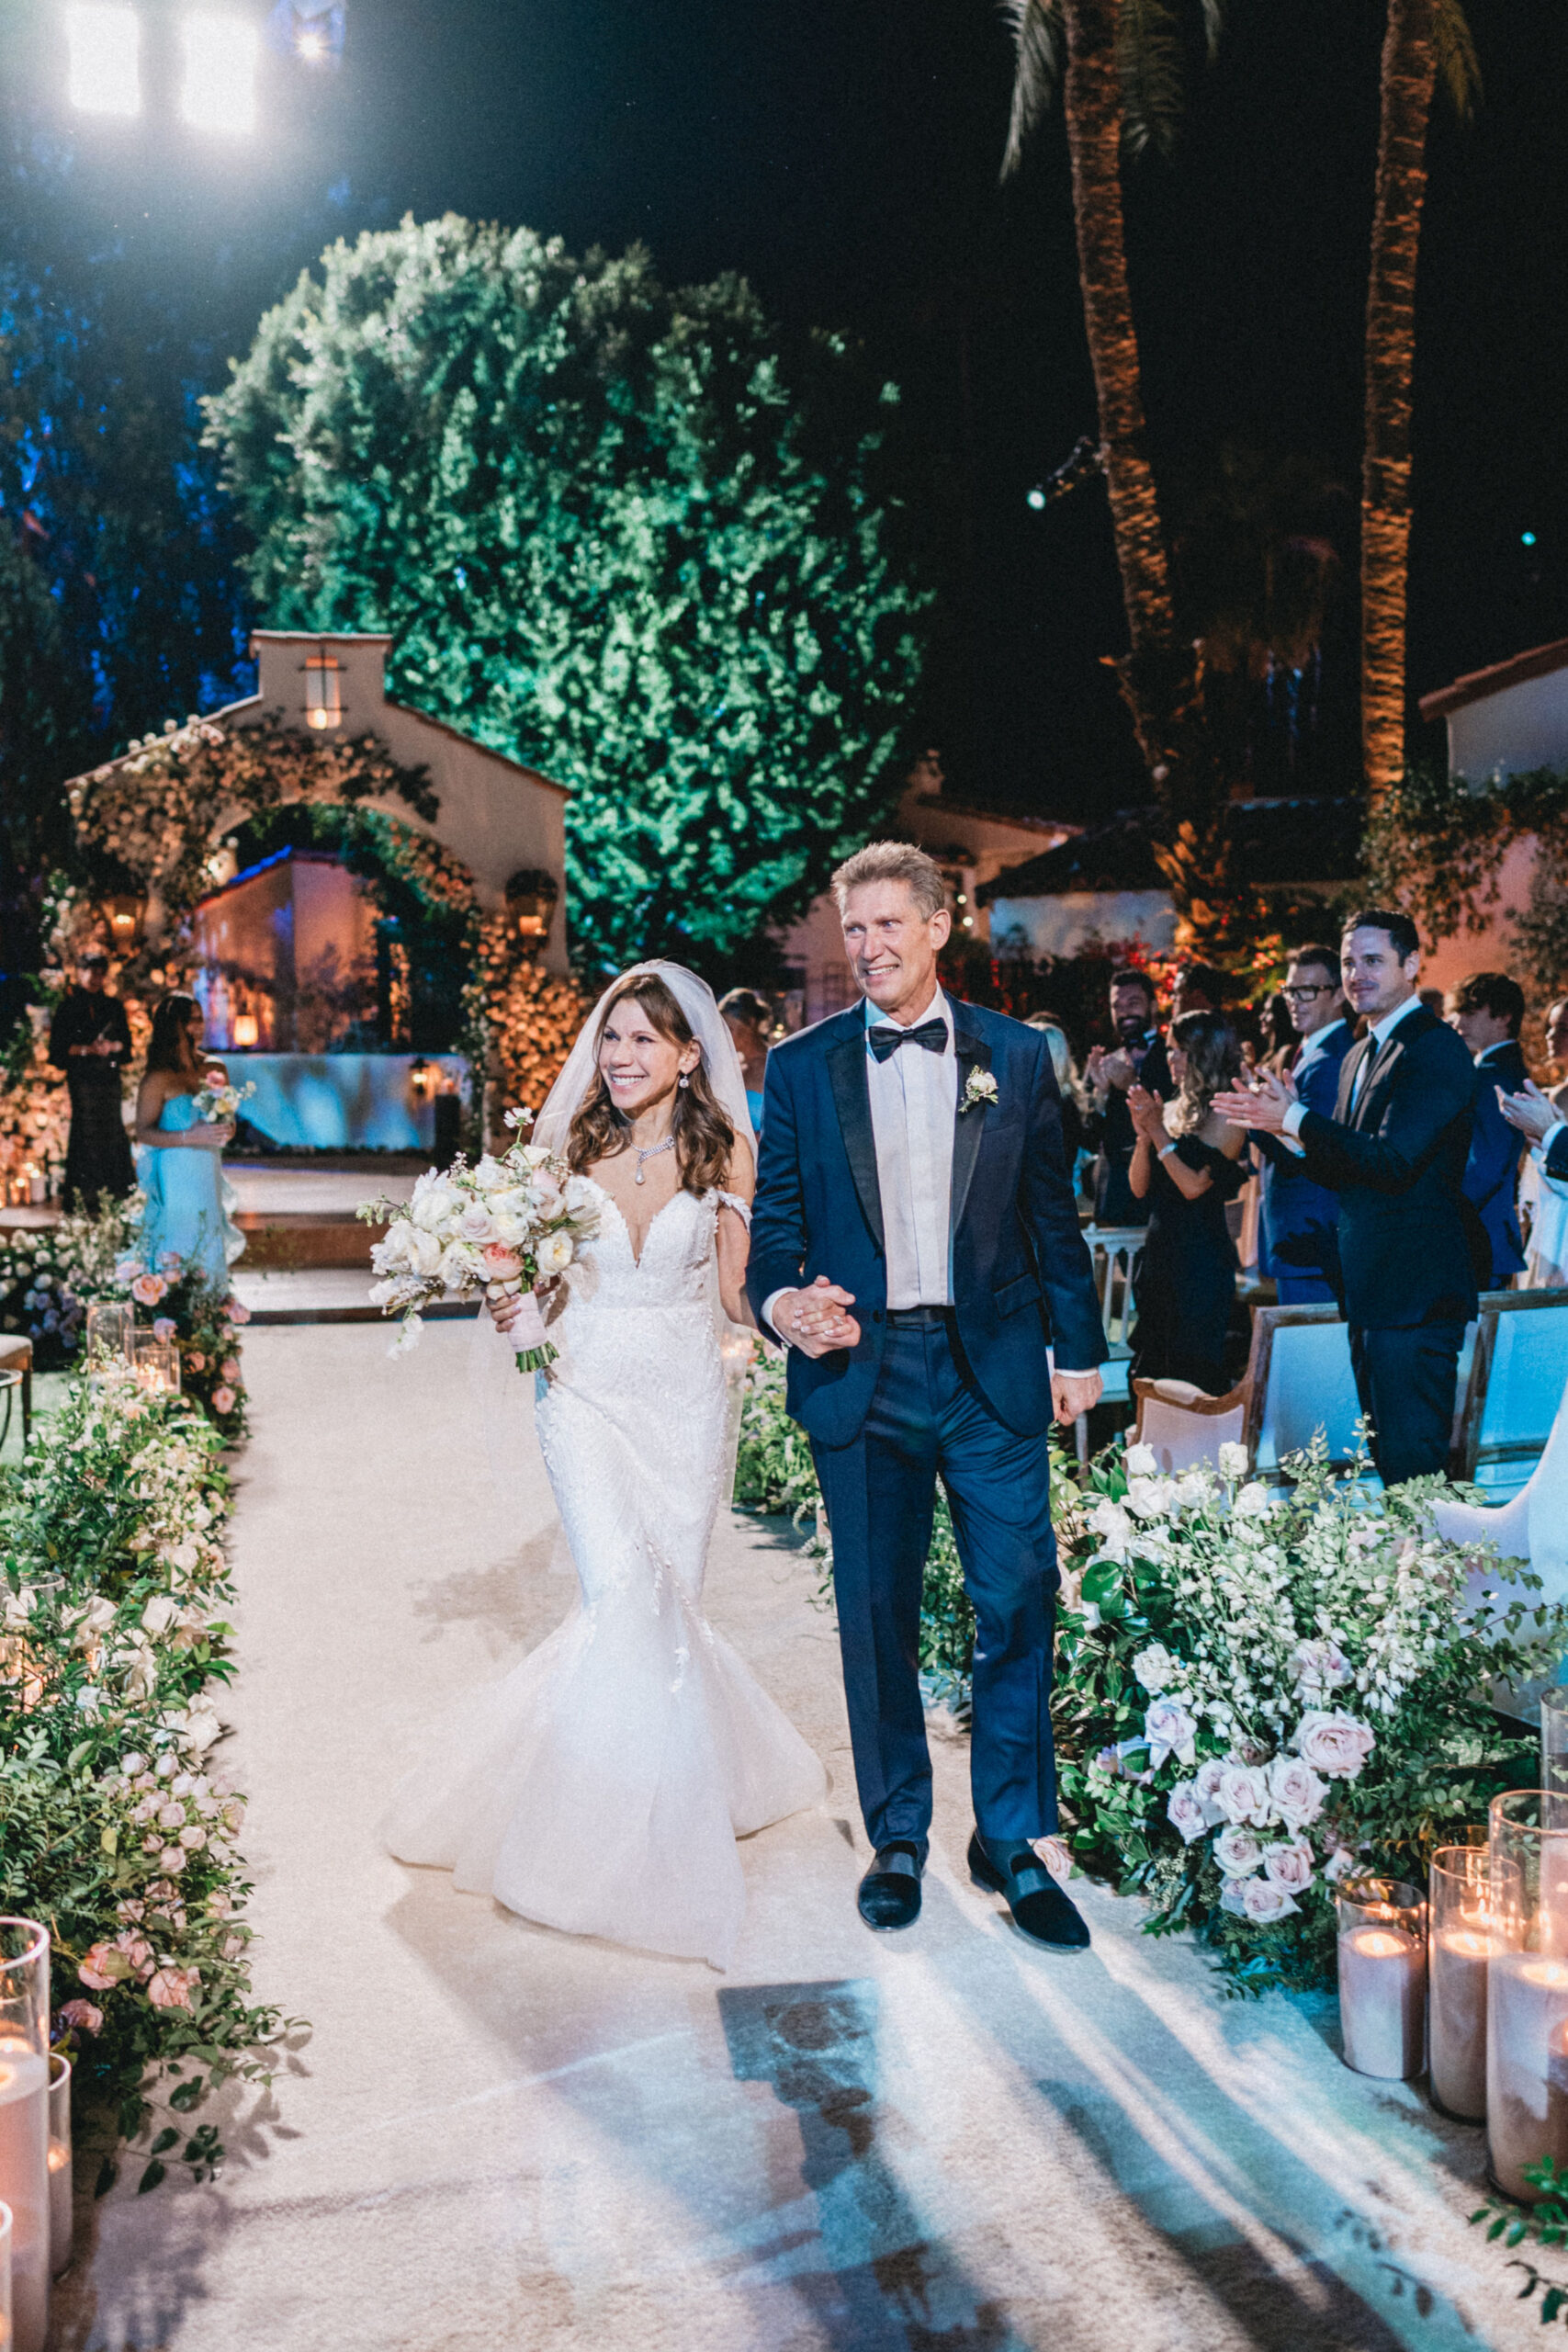
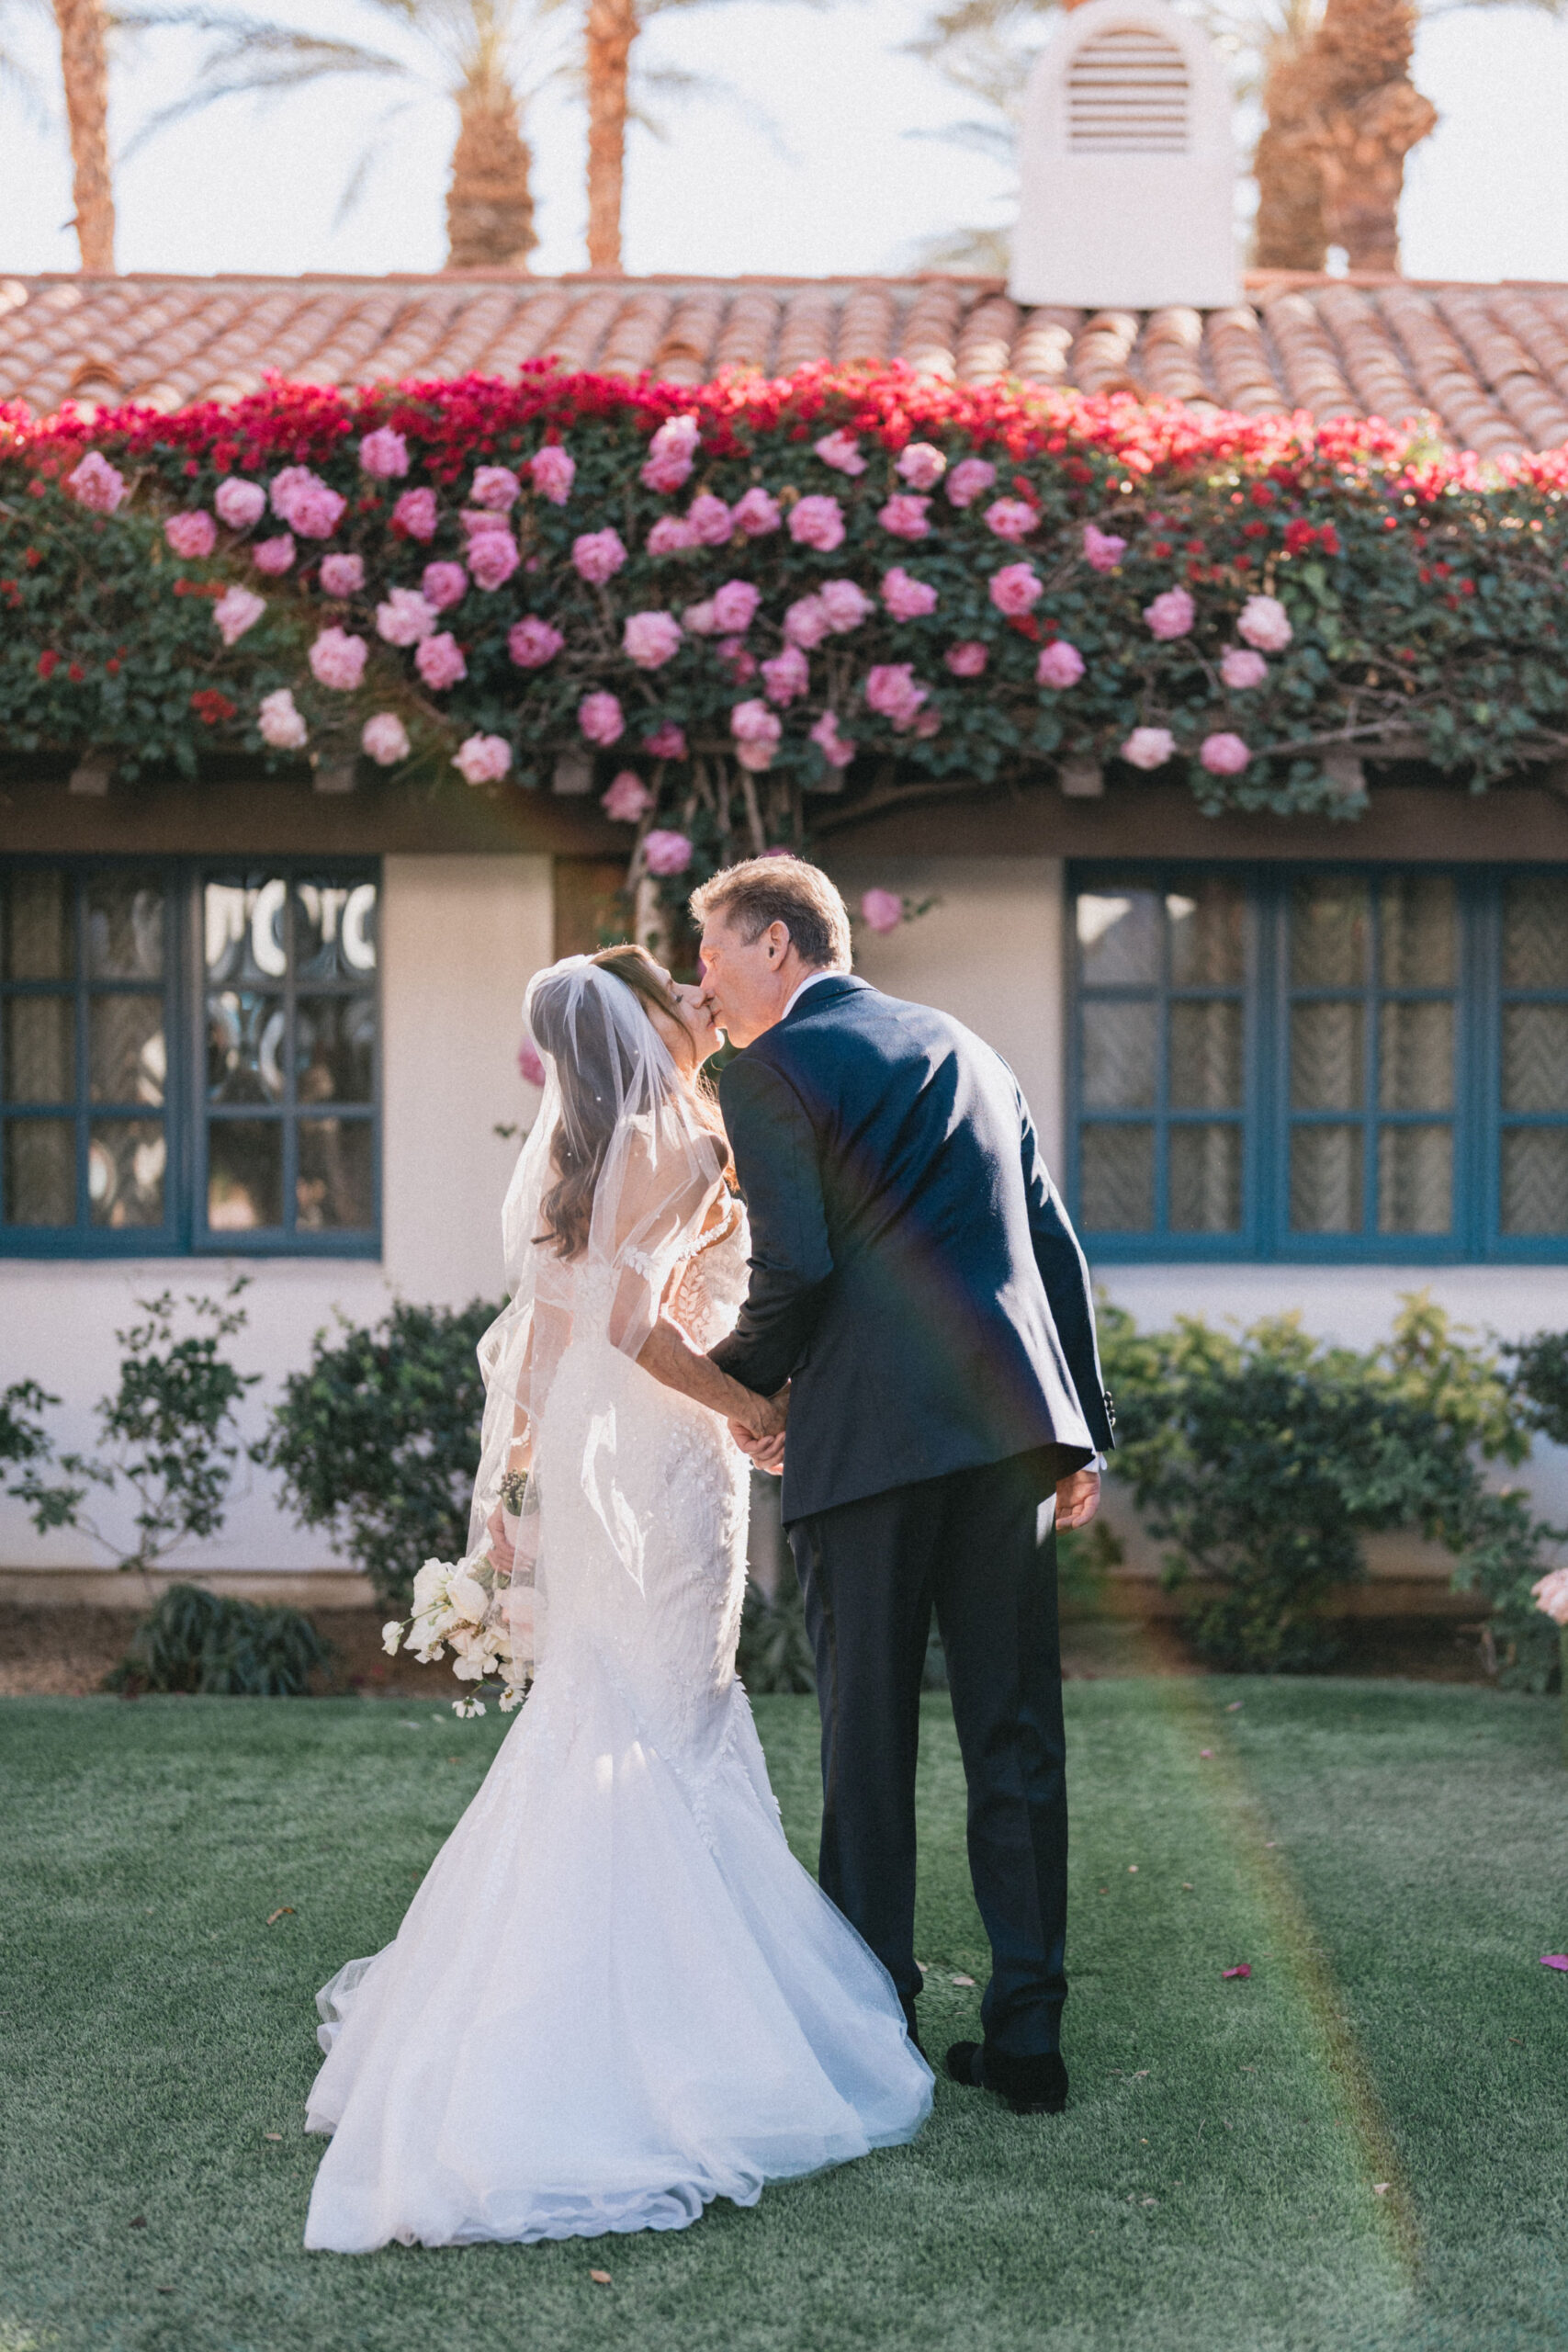
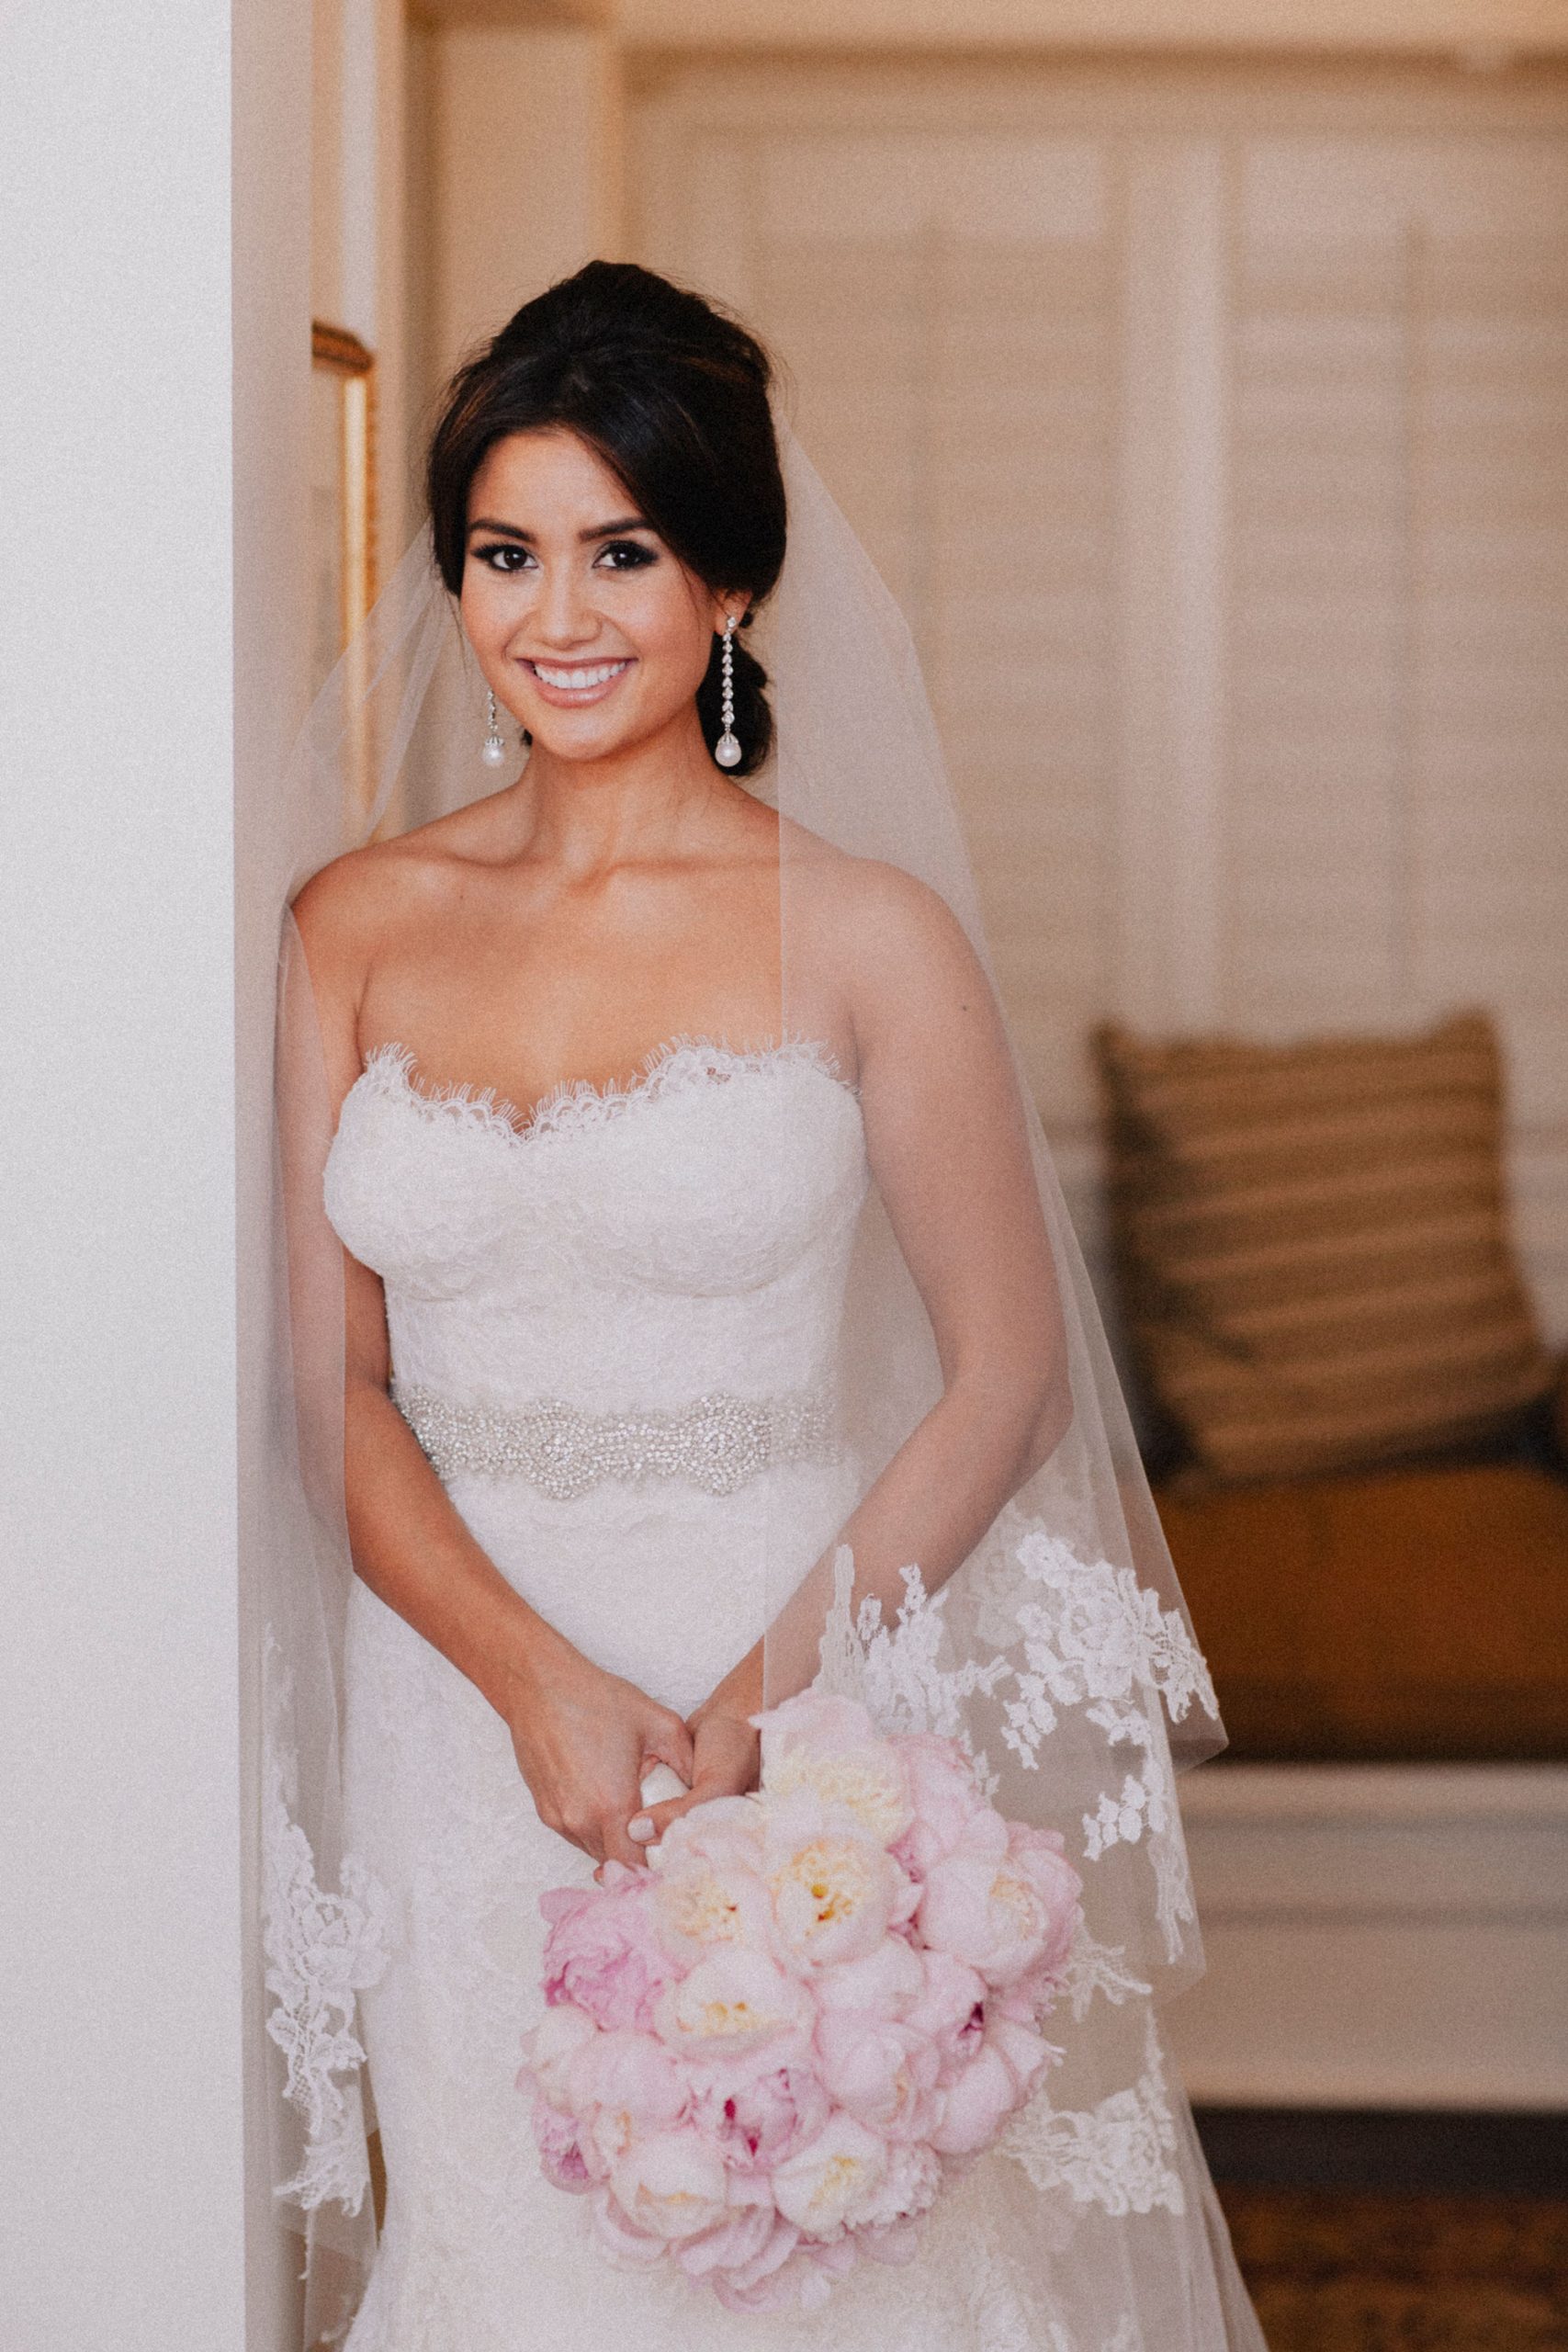
- COLOR
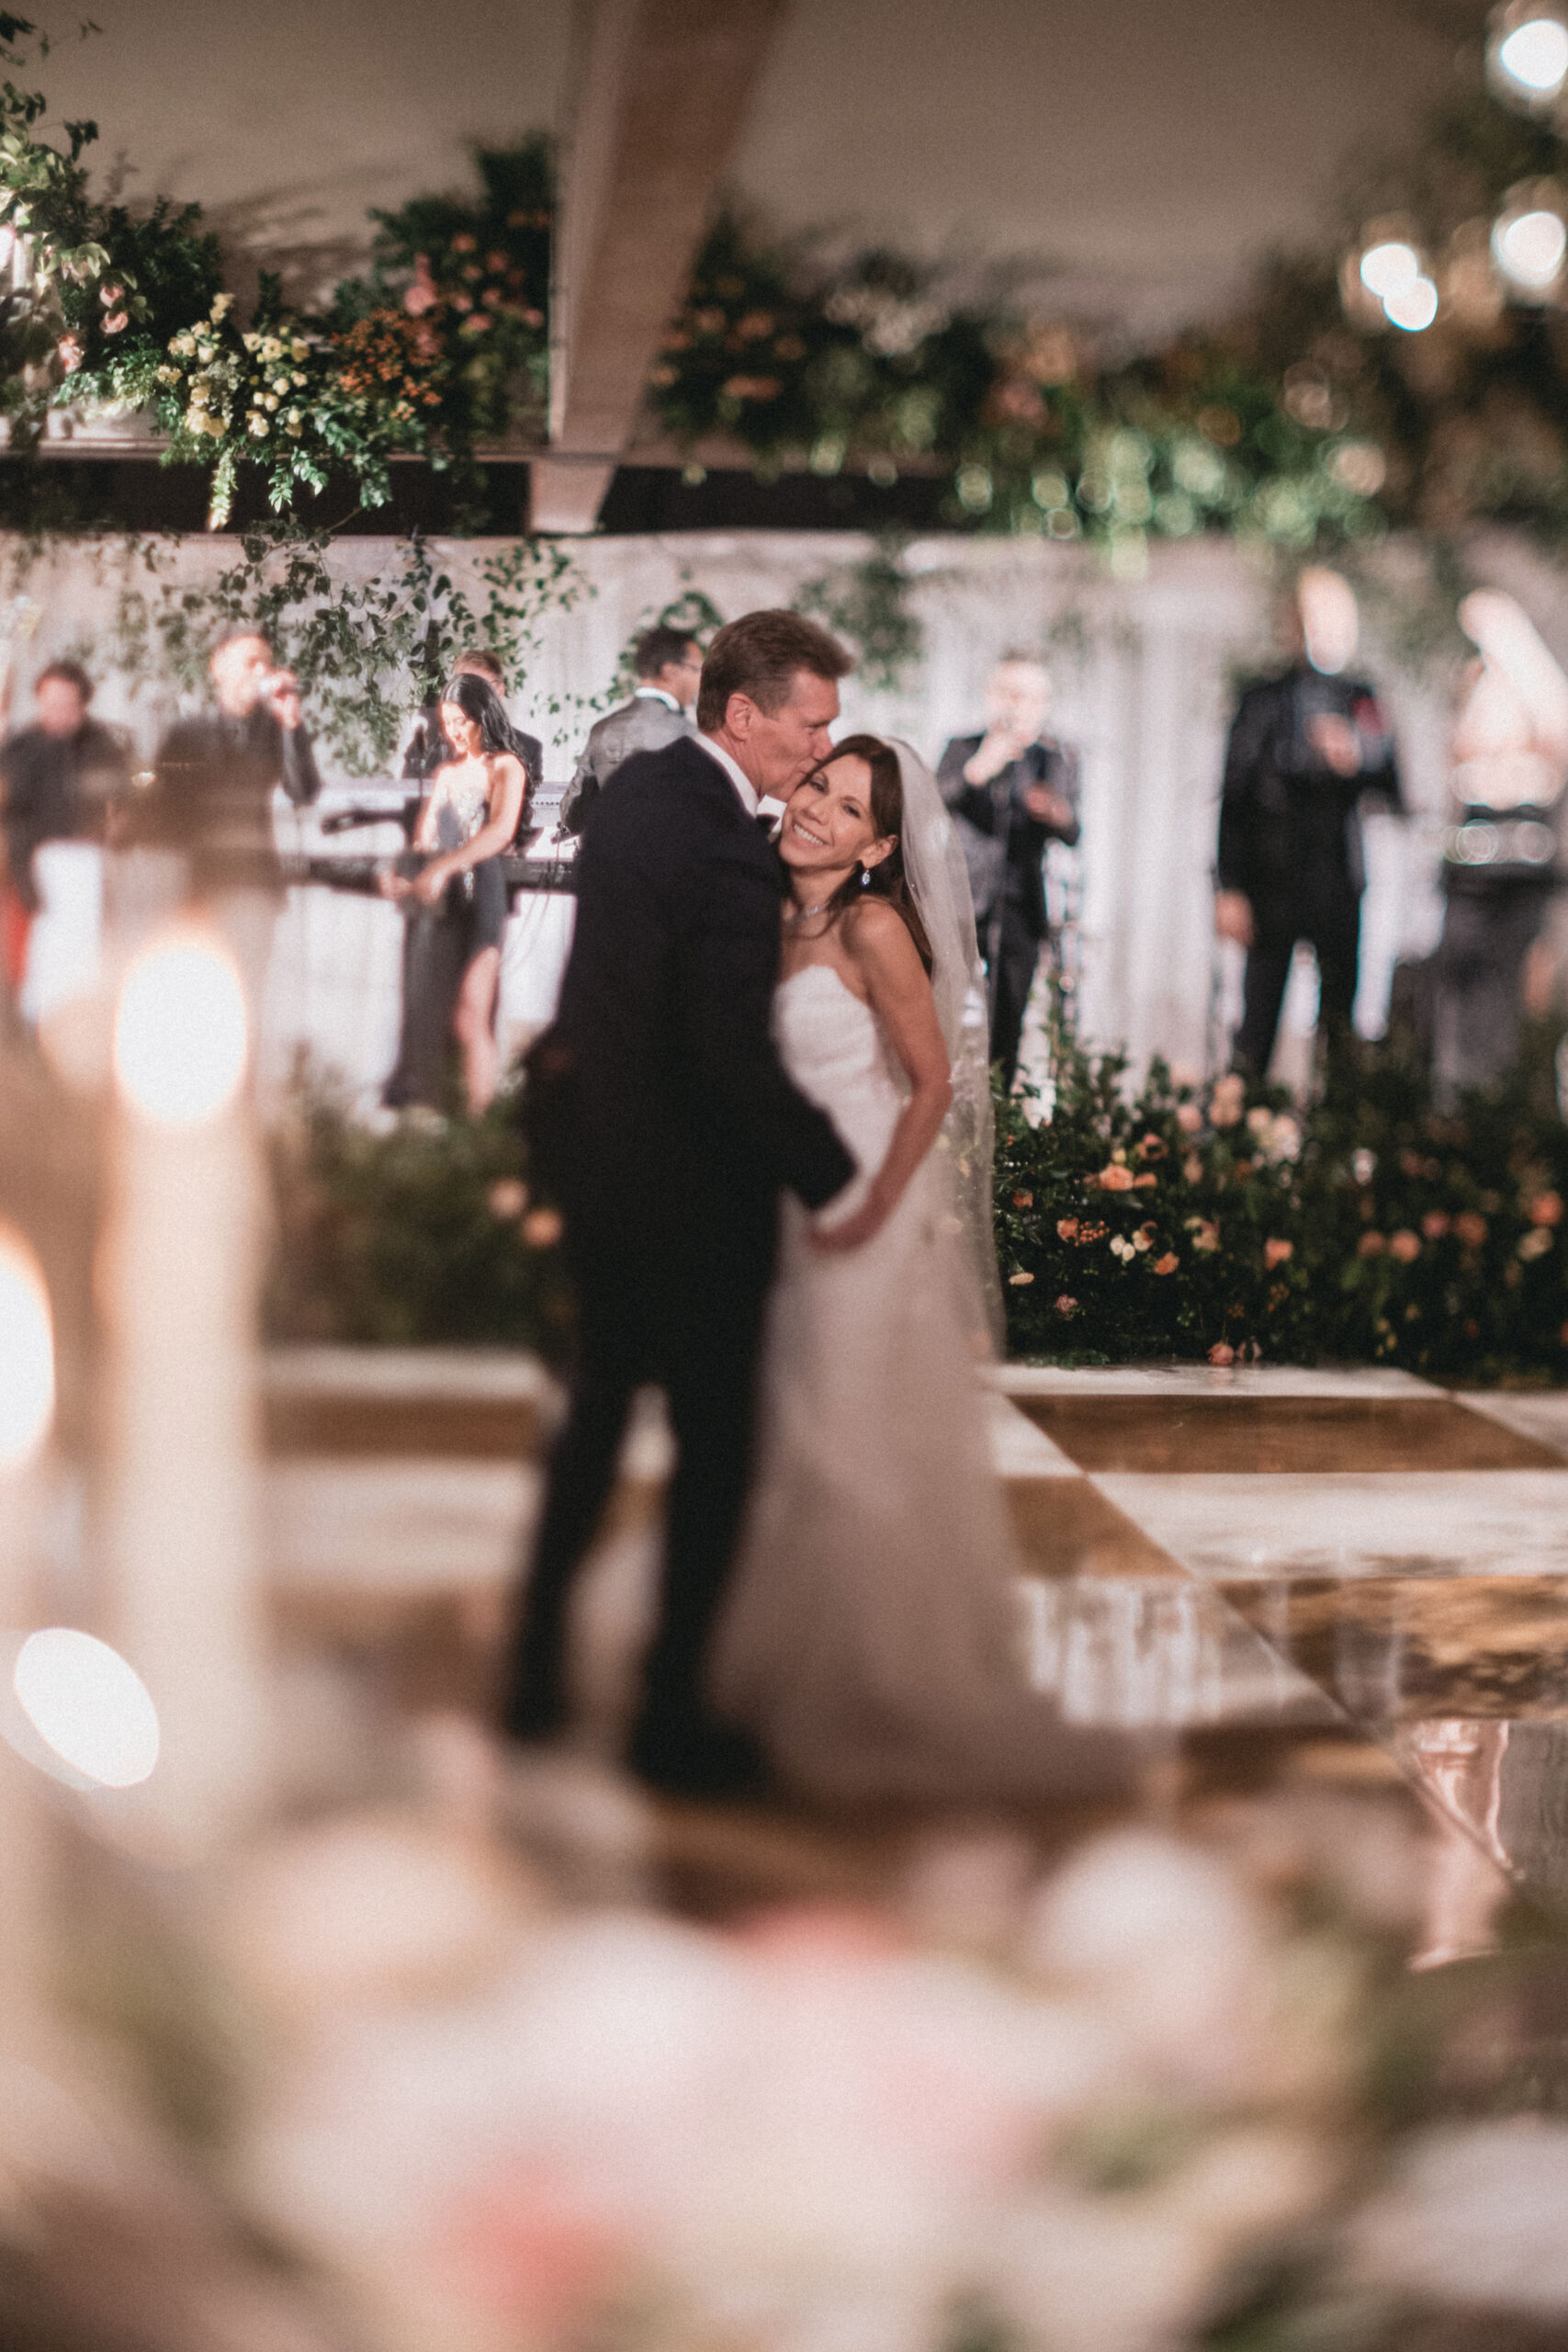
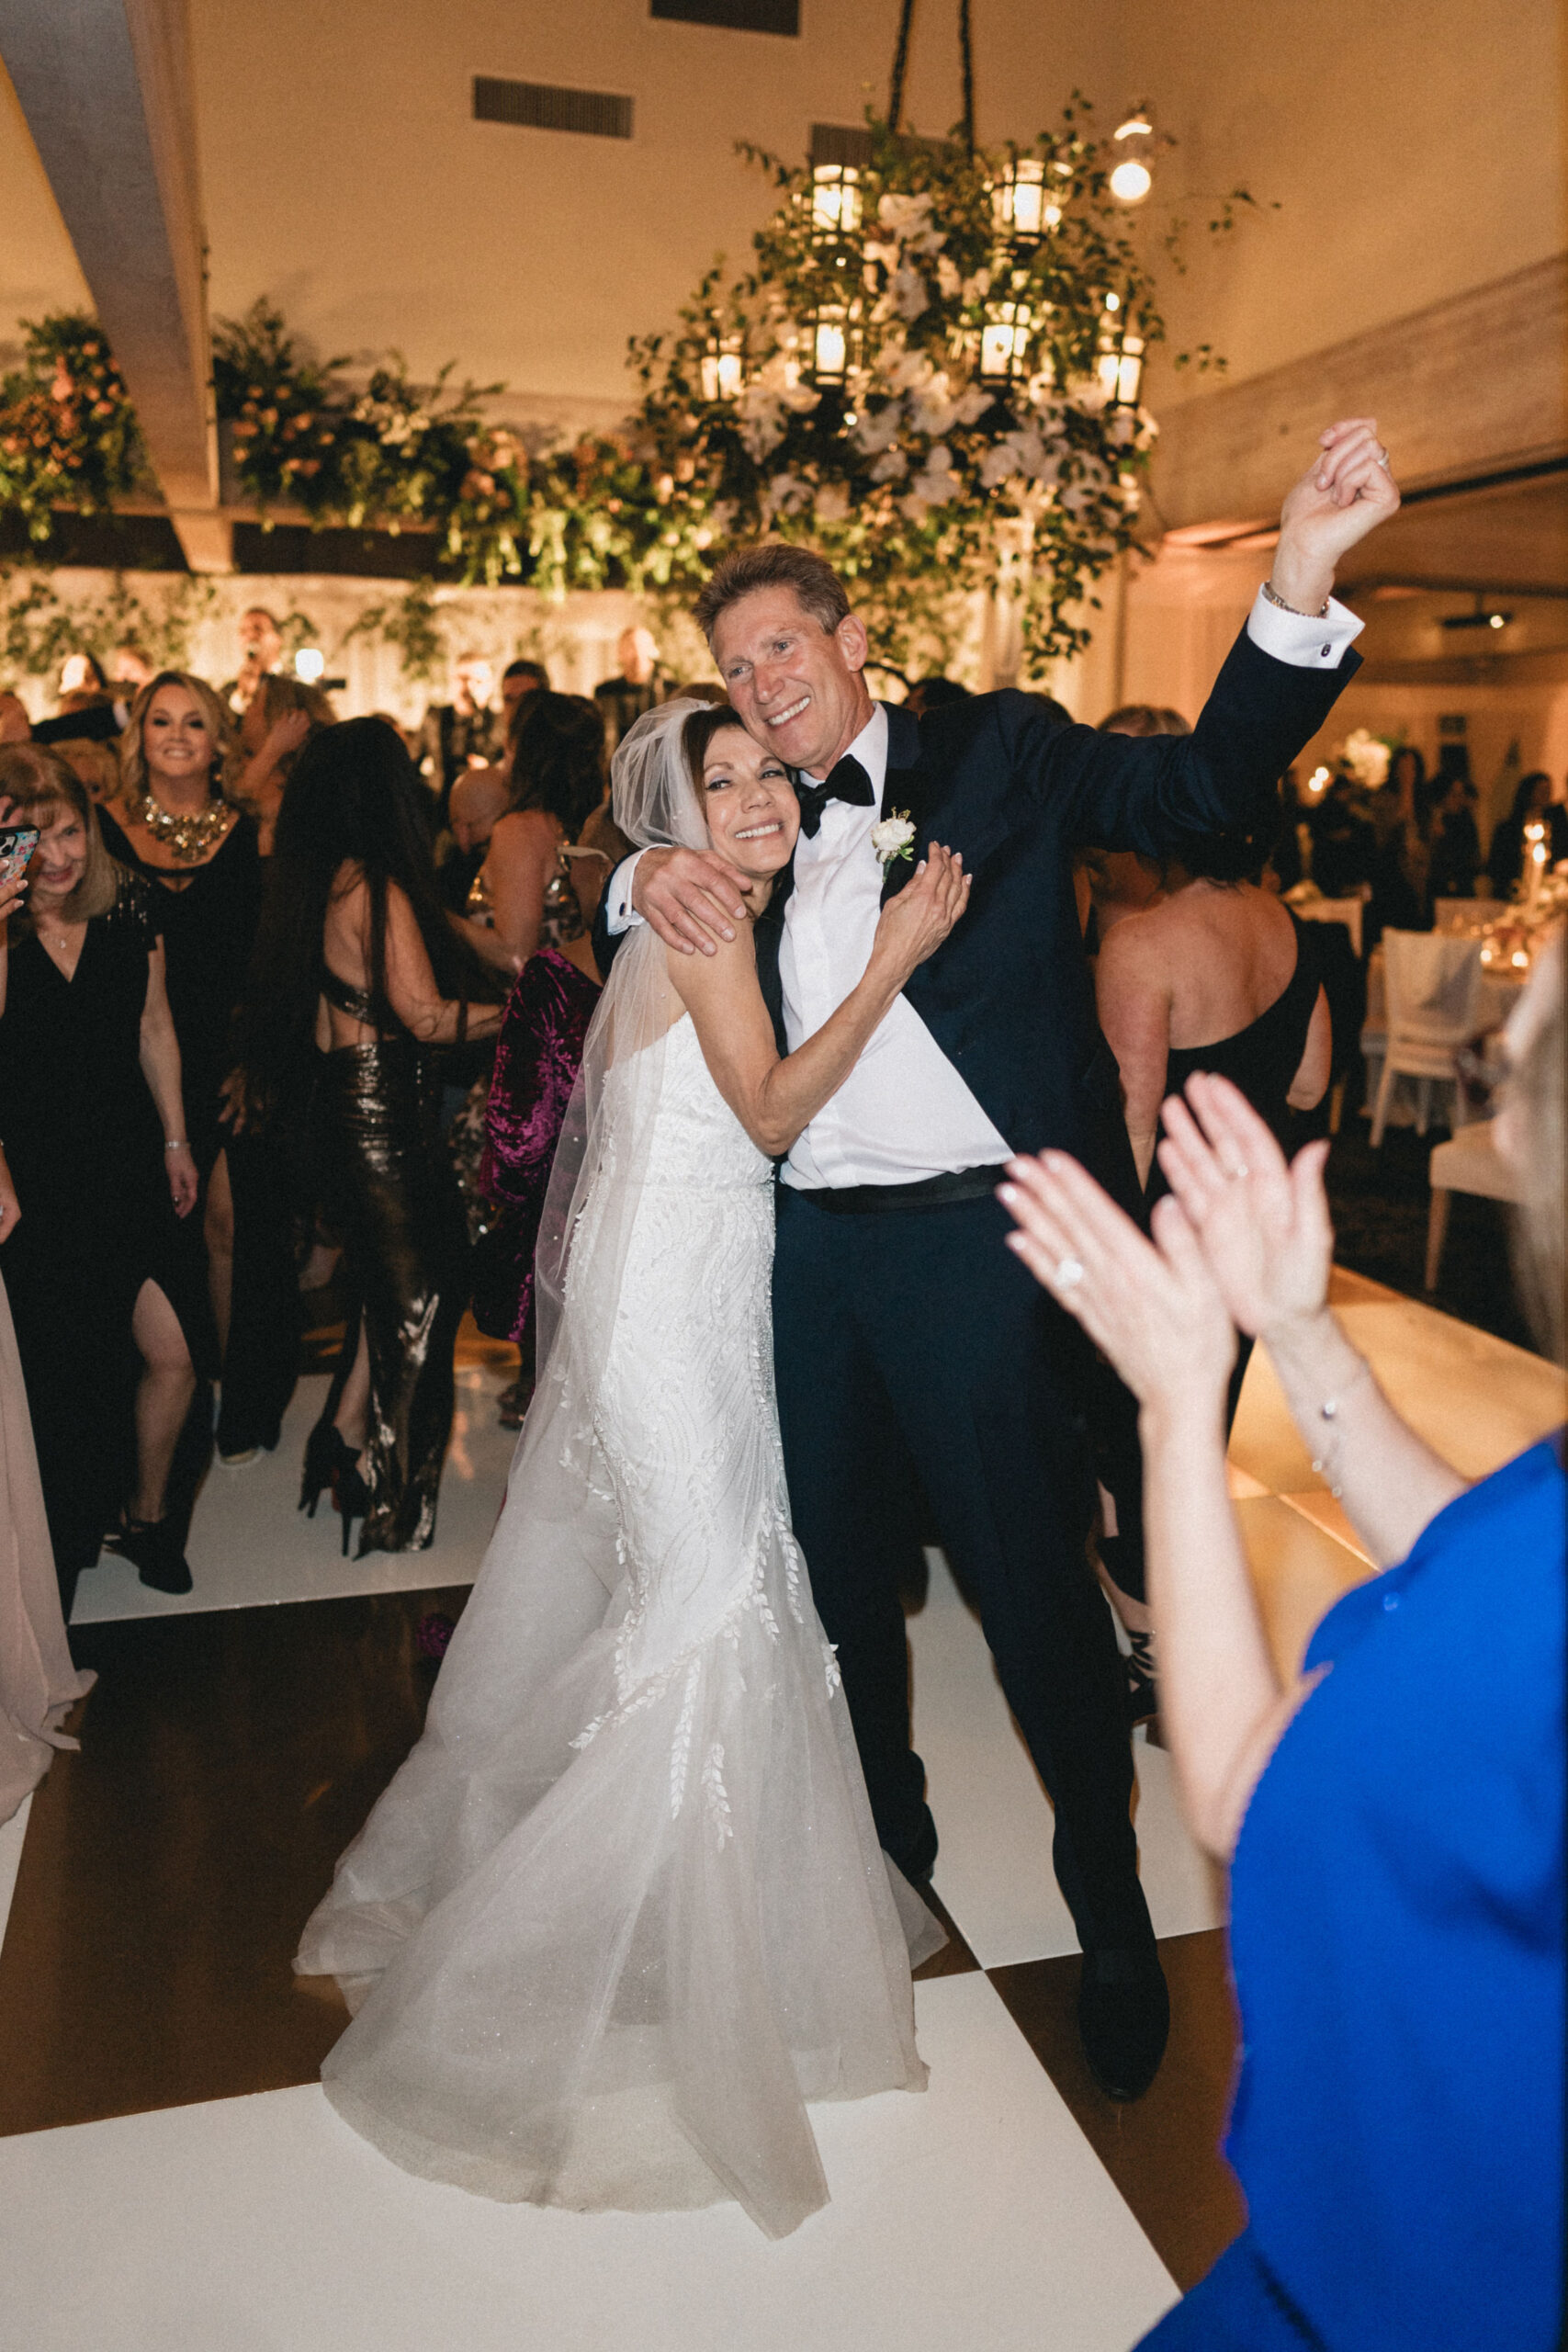
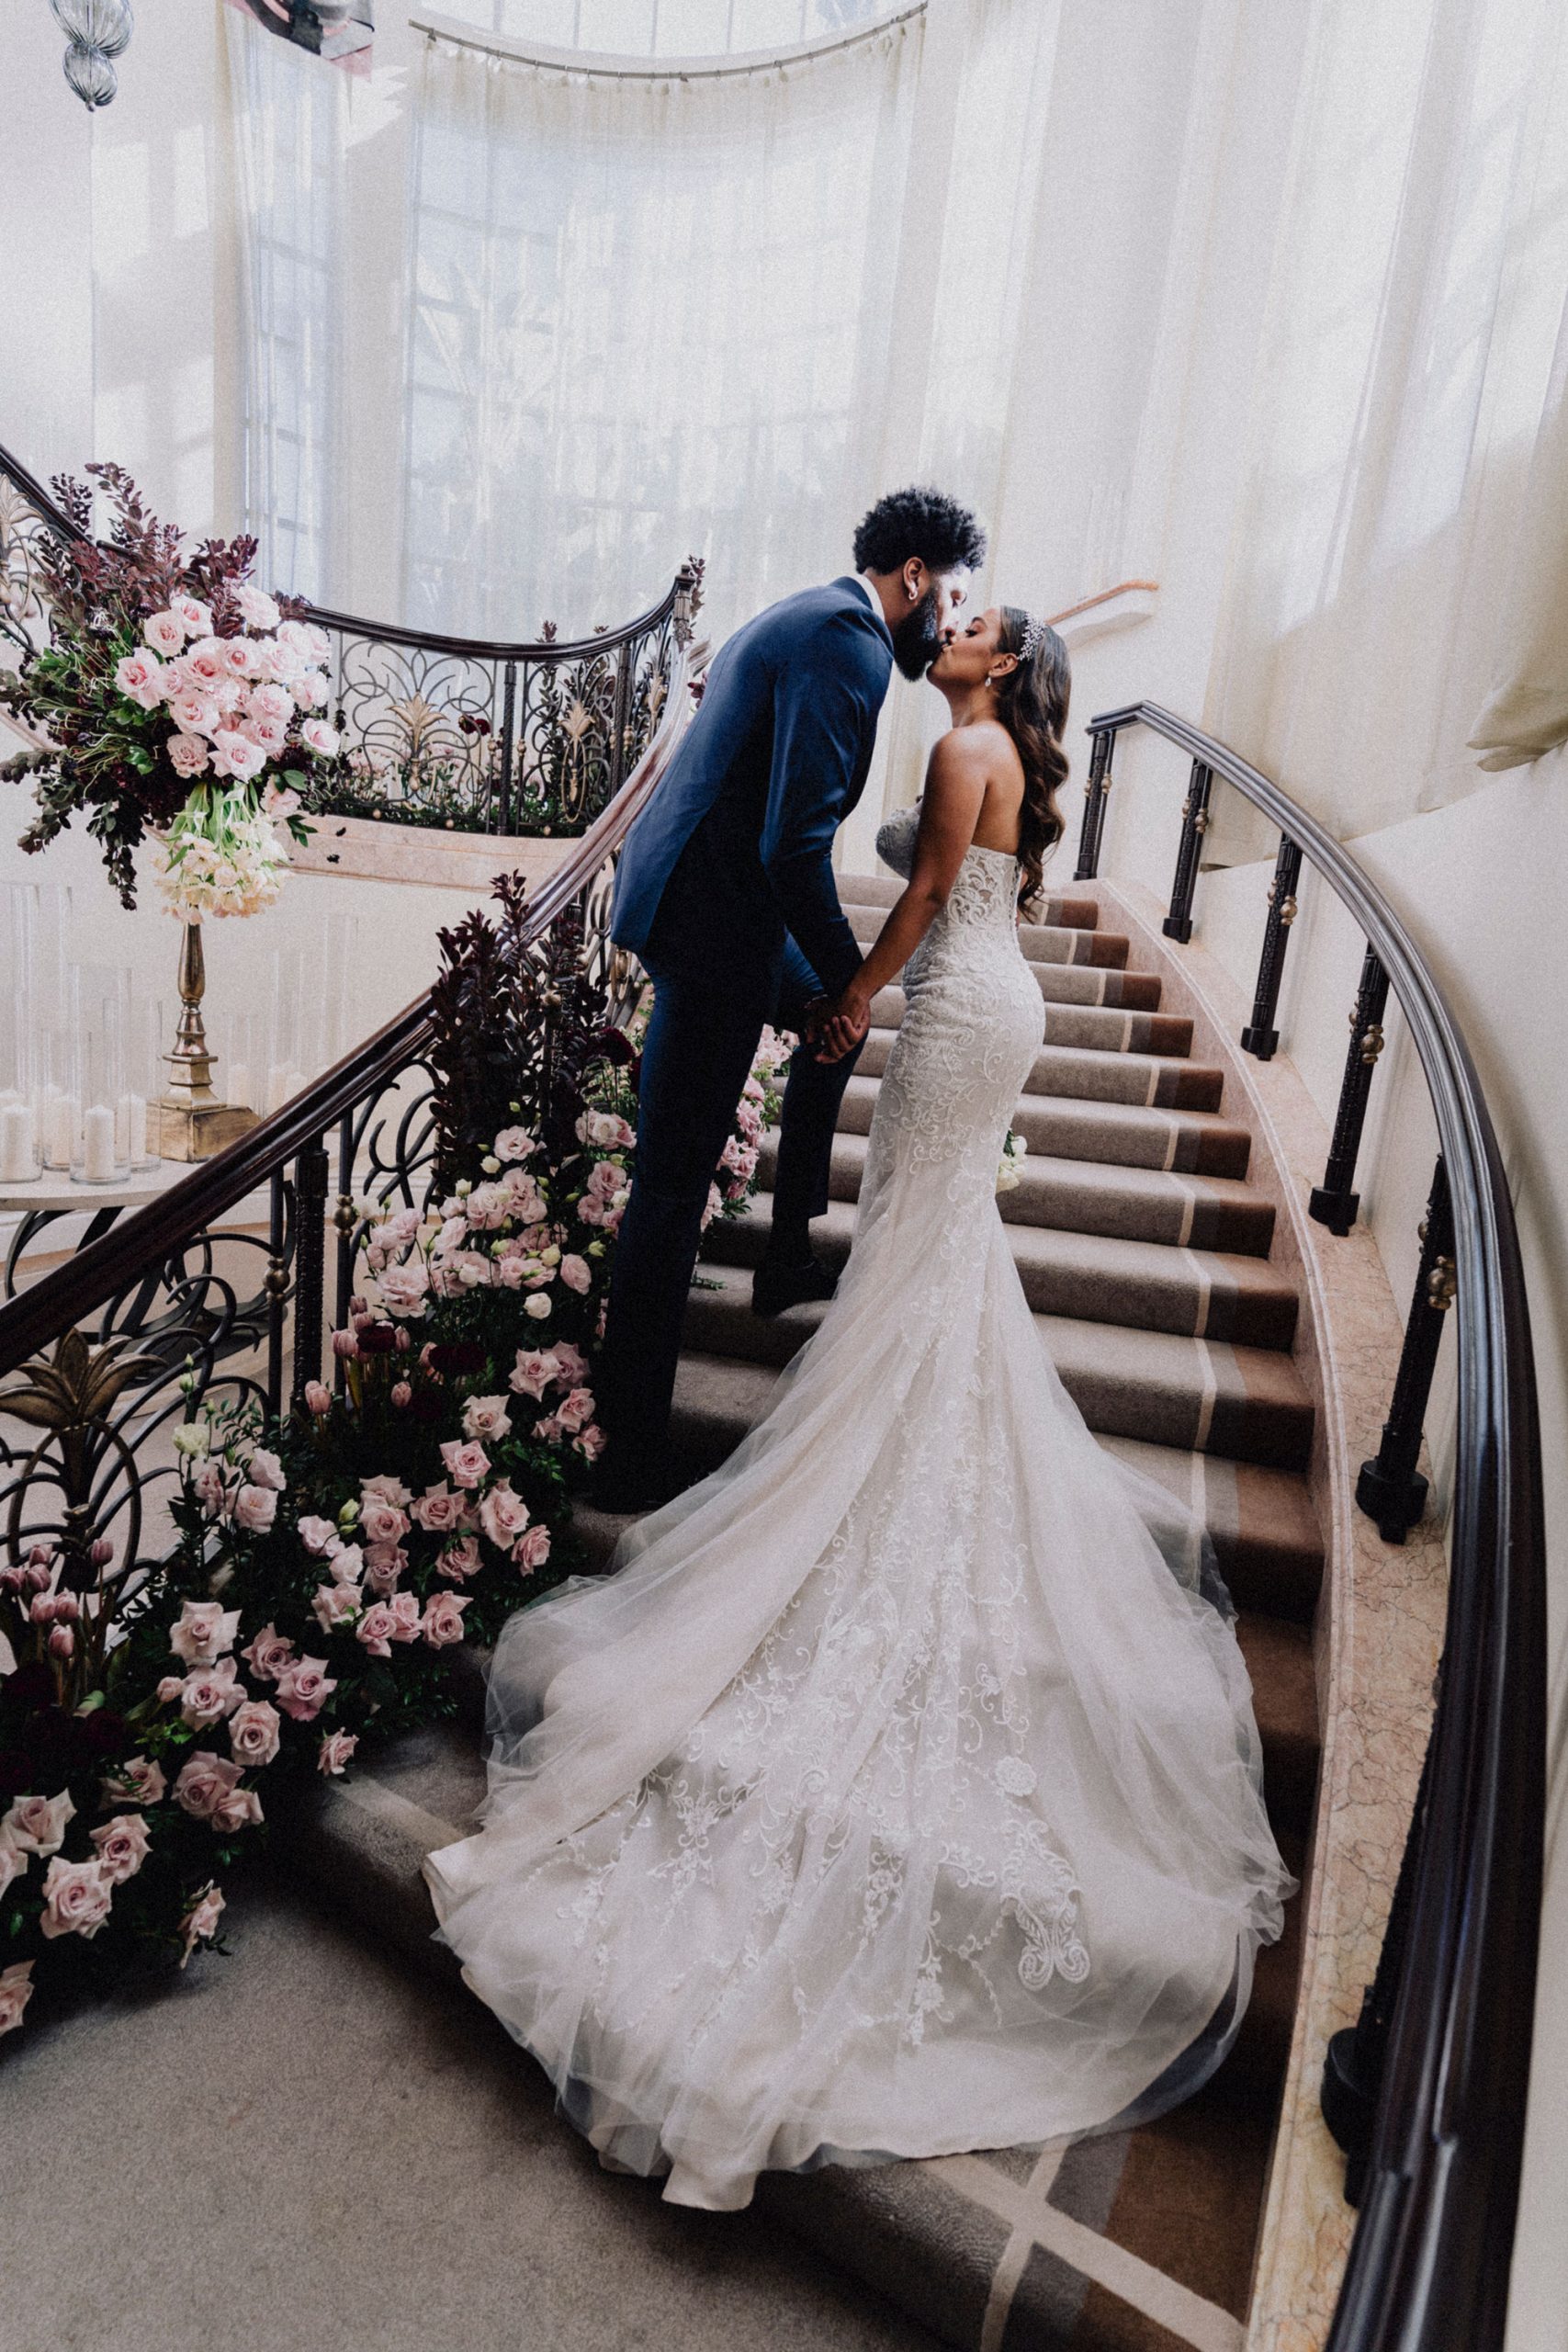
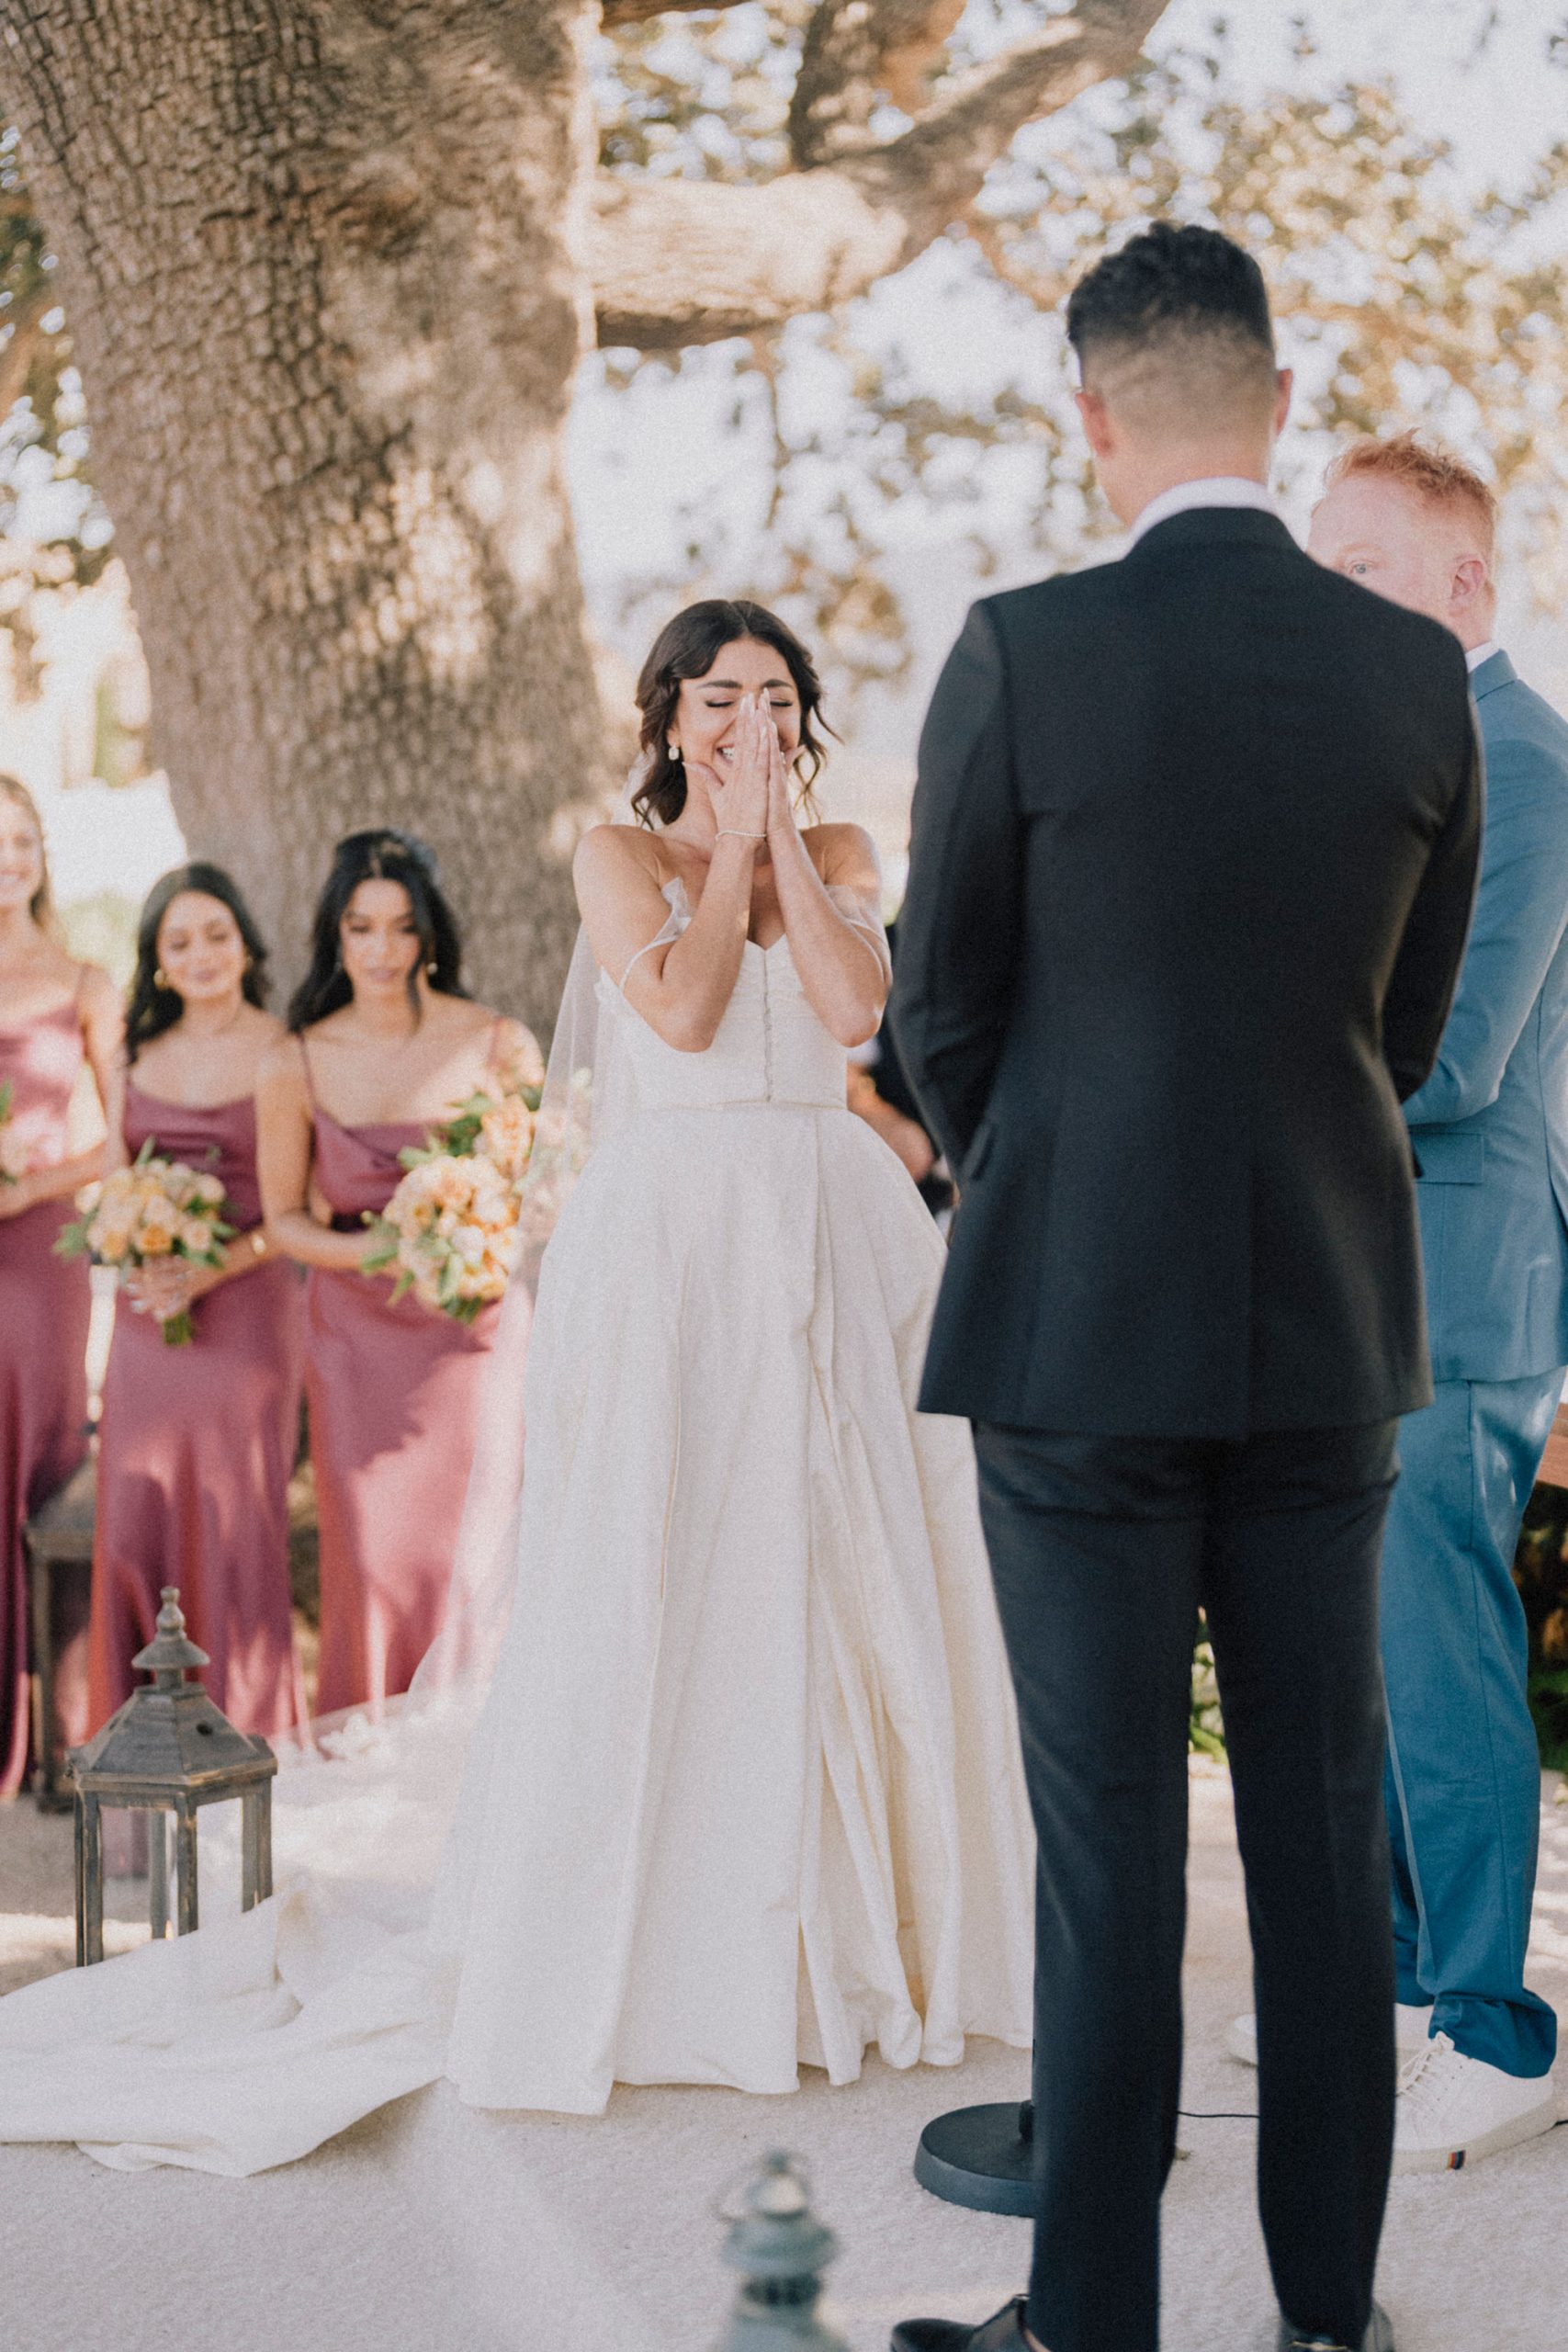
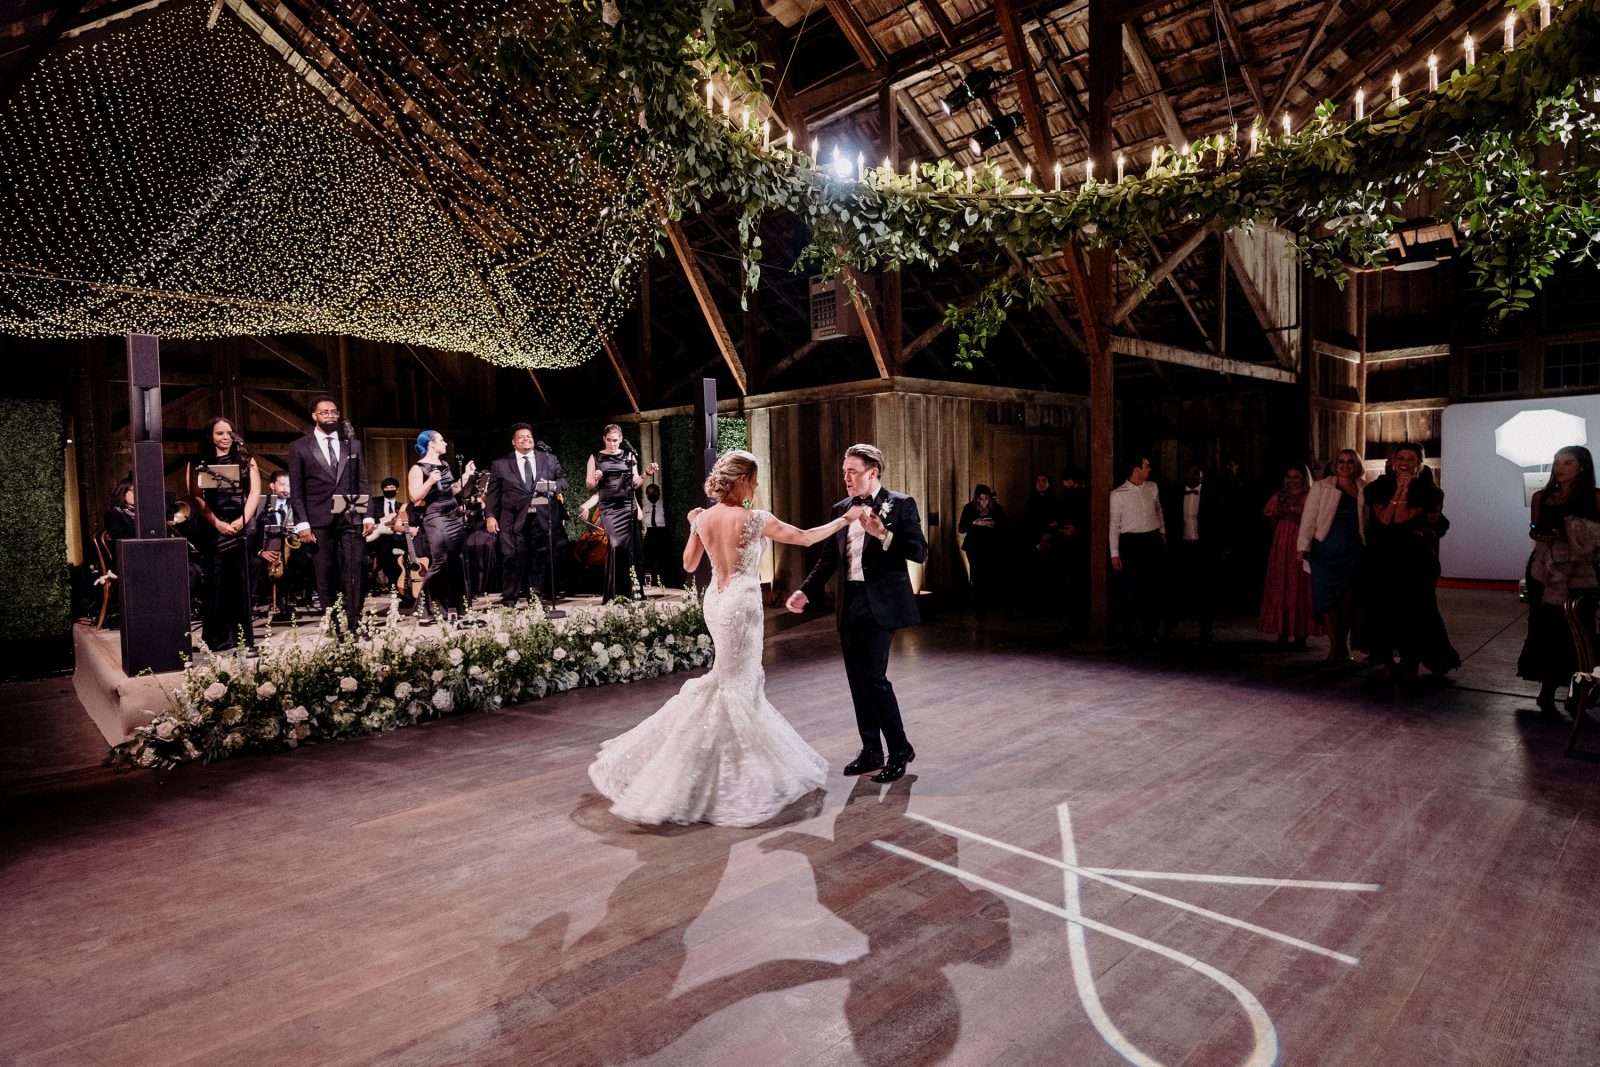
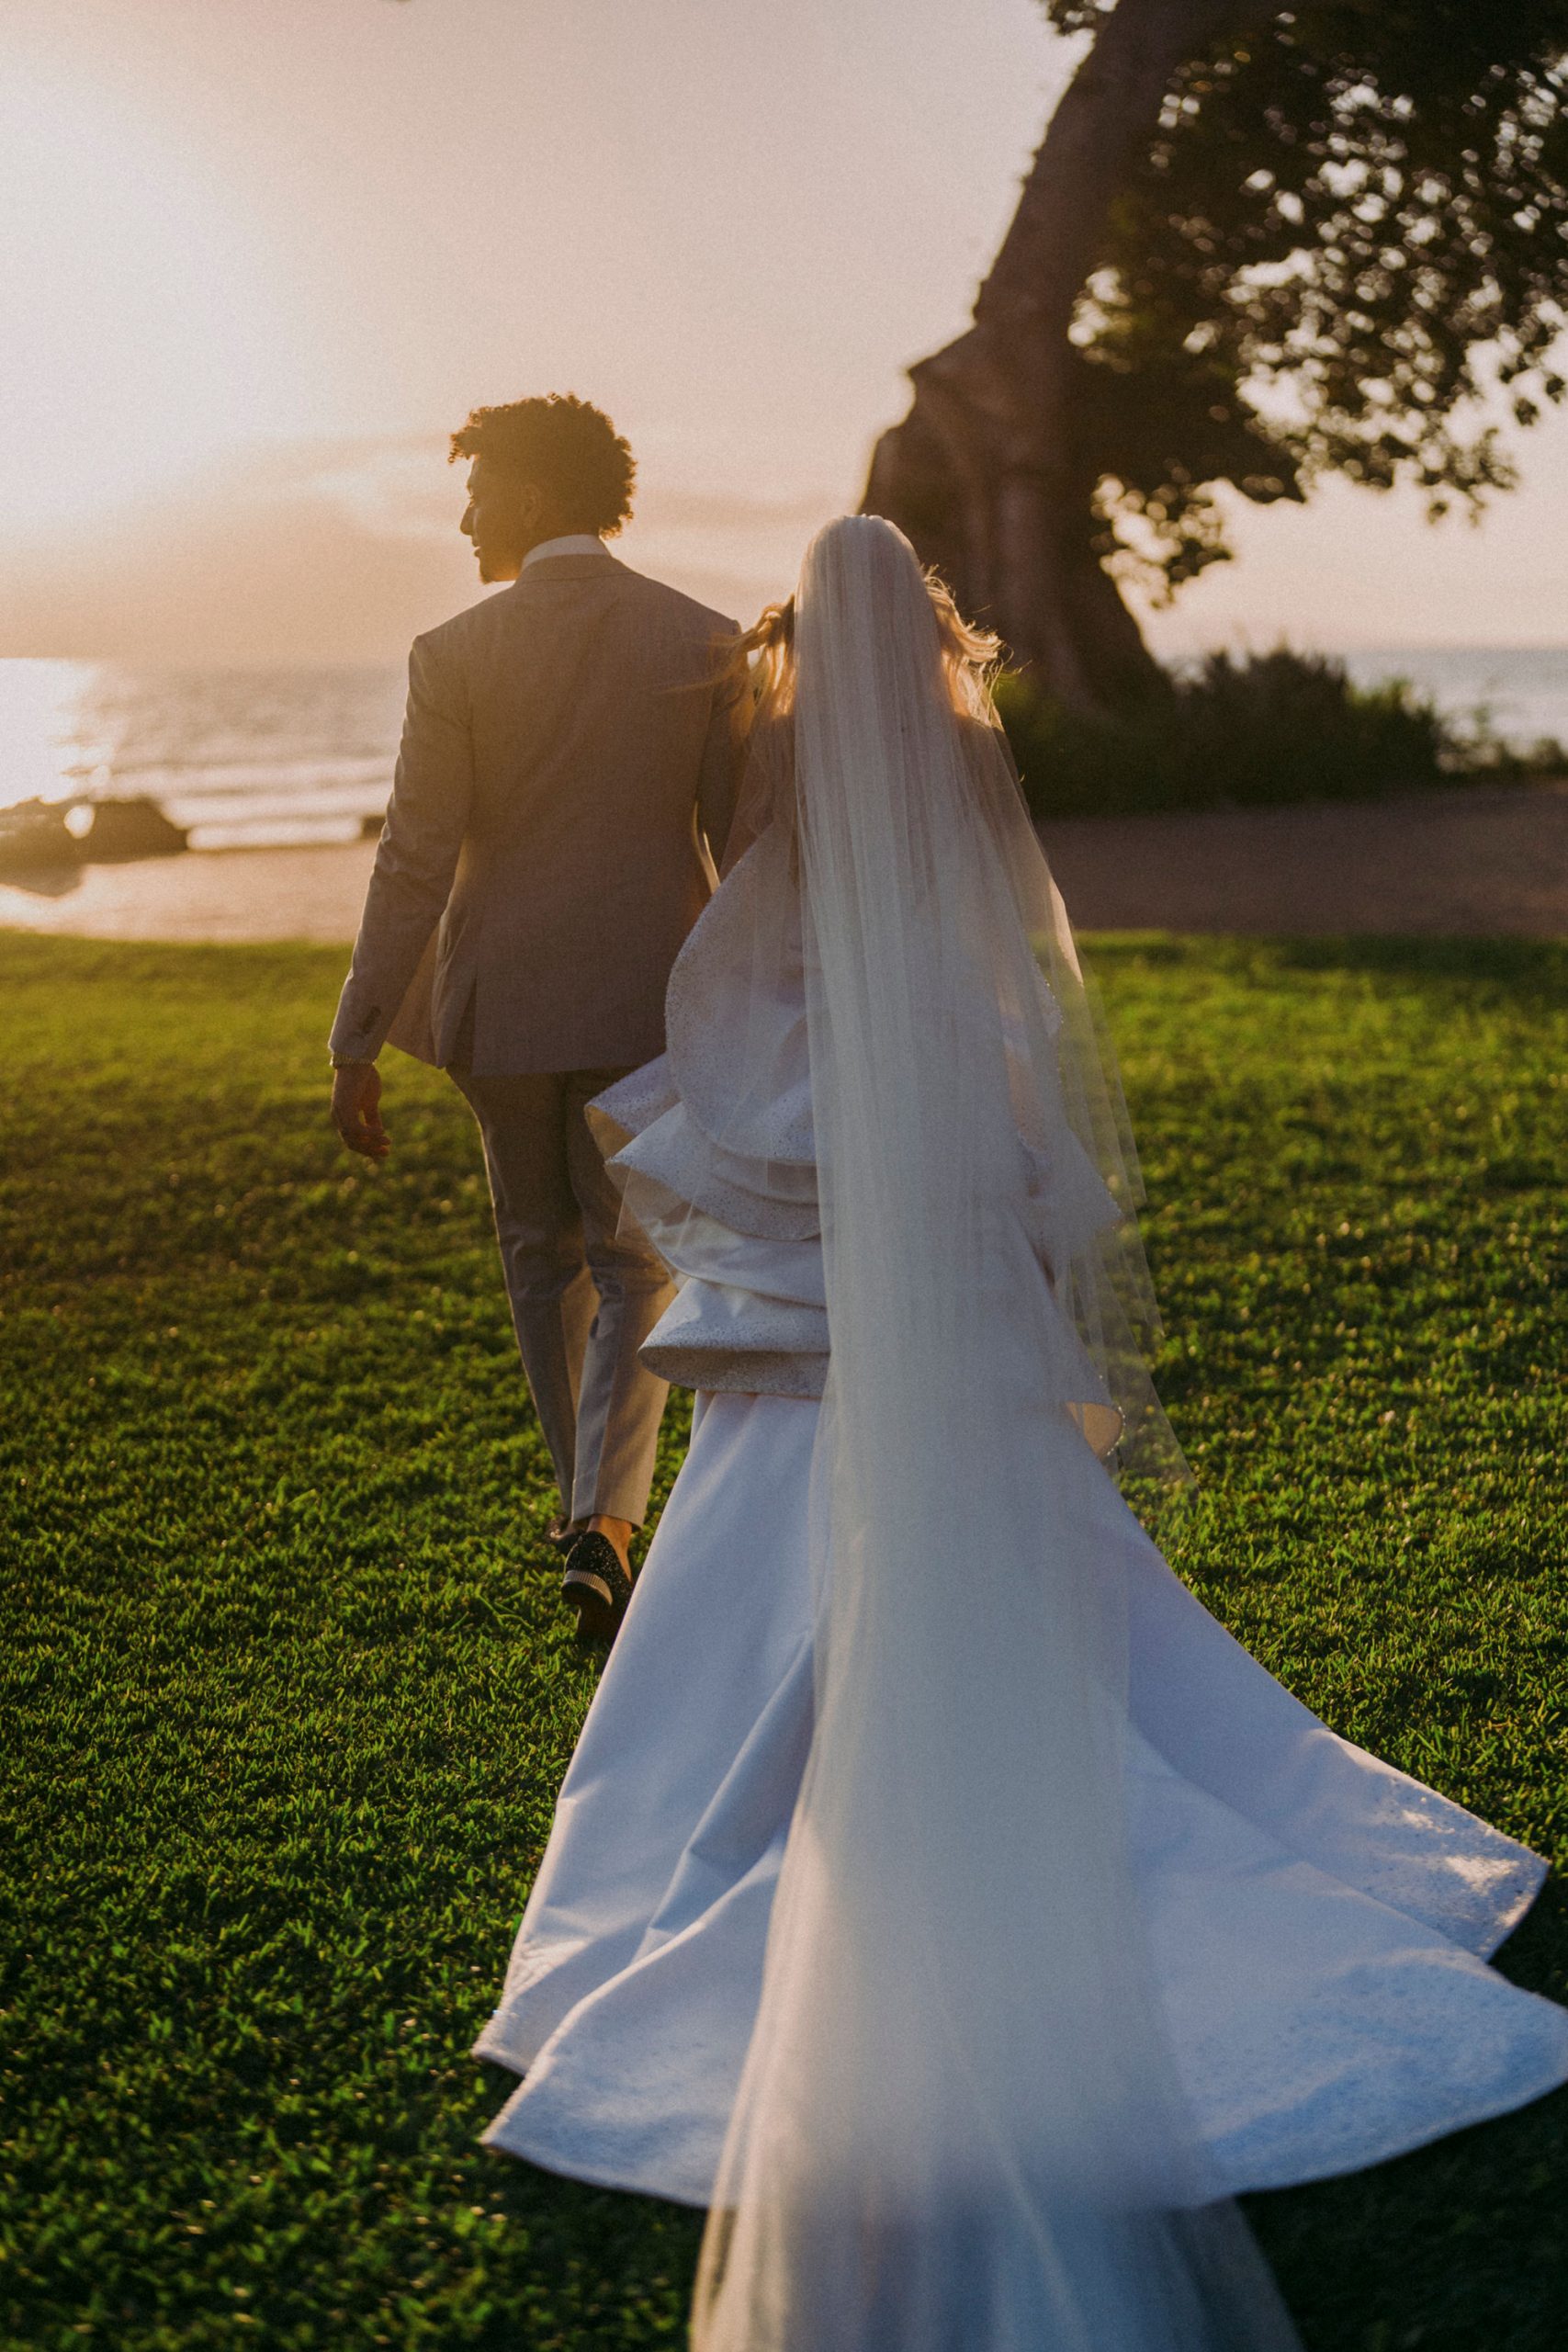
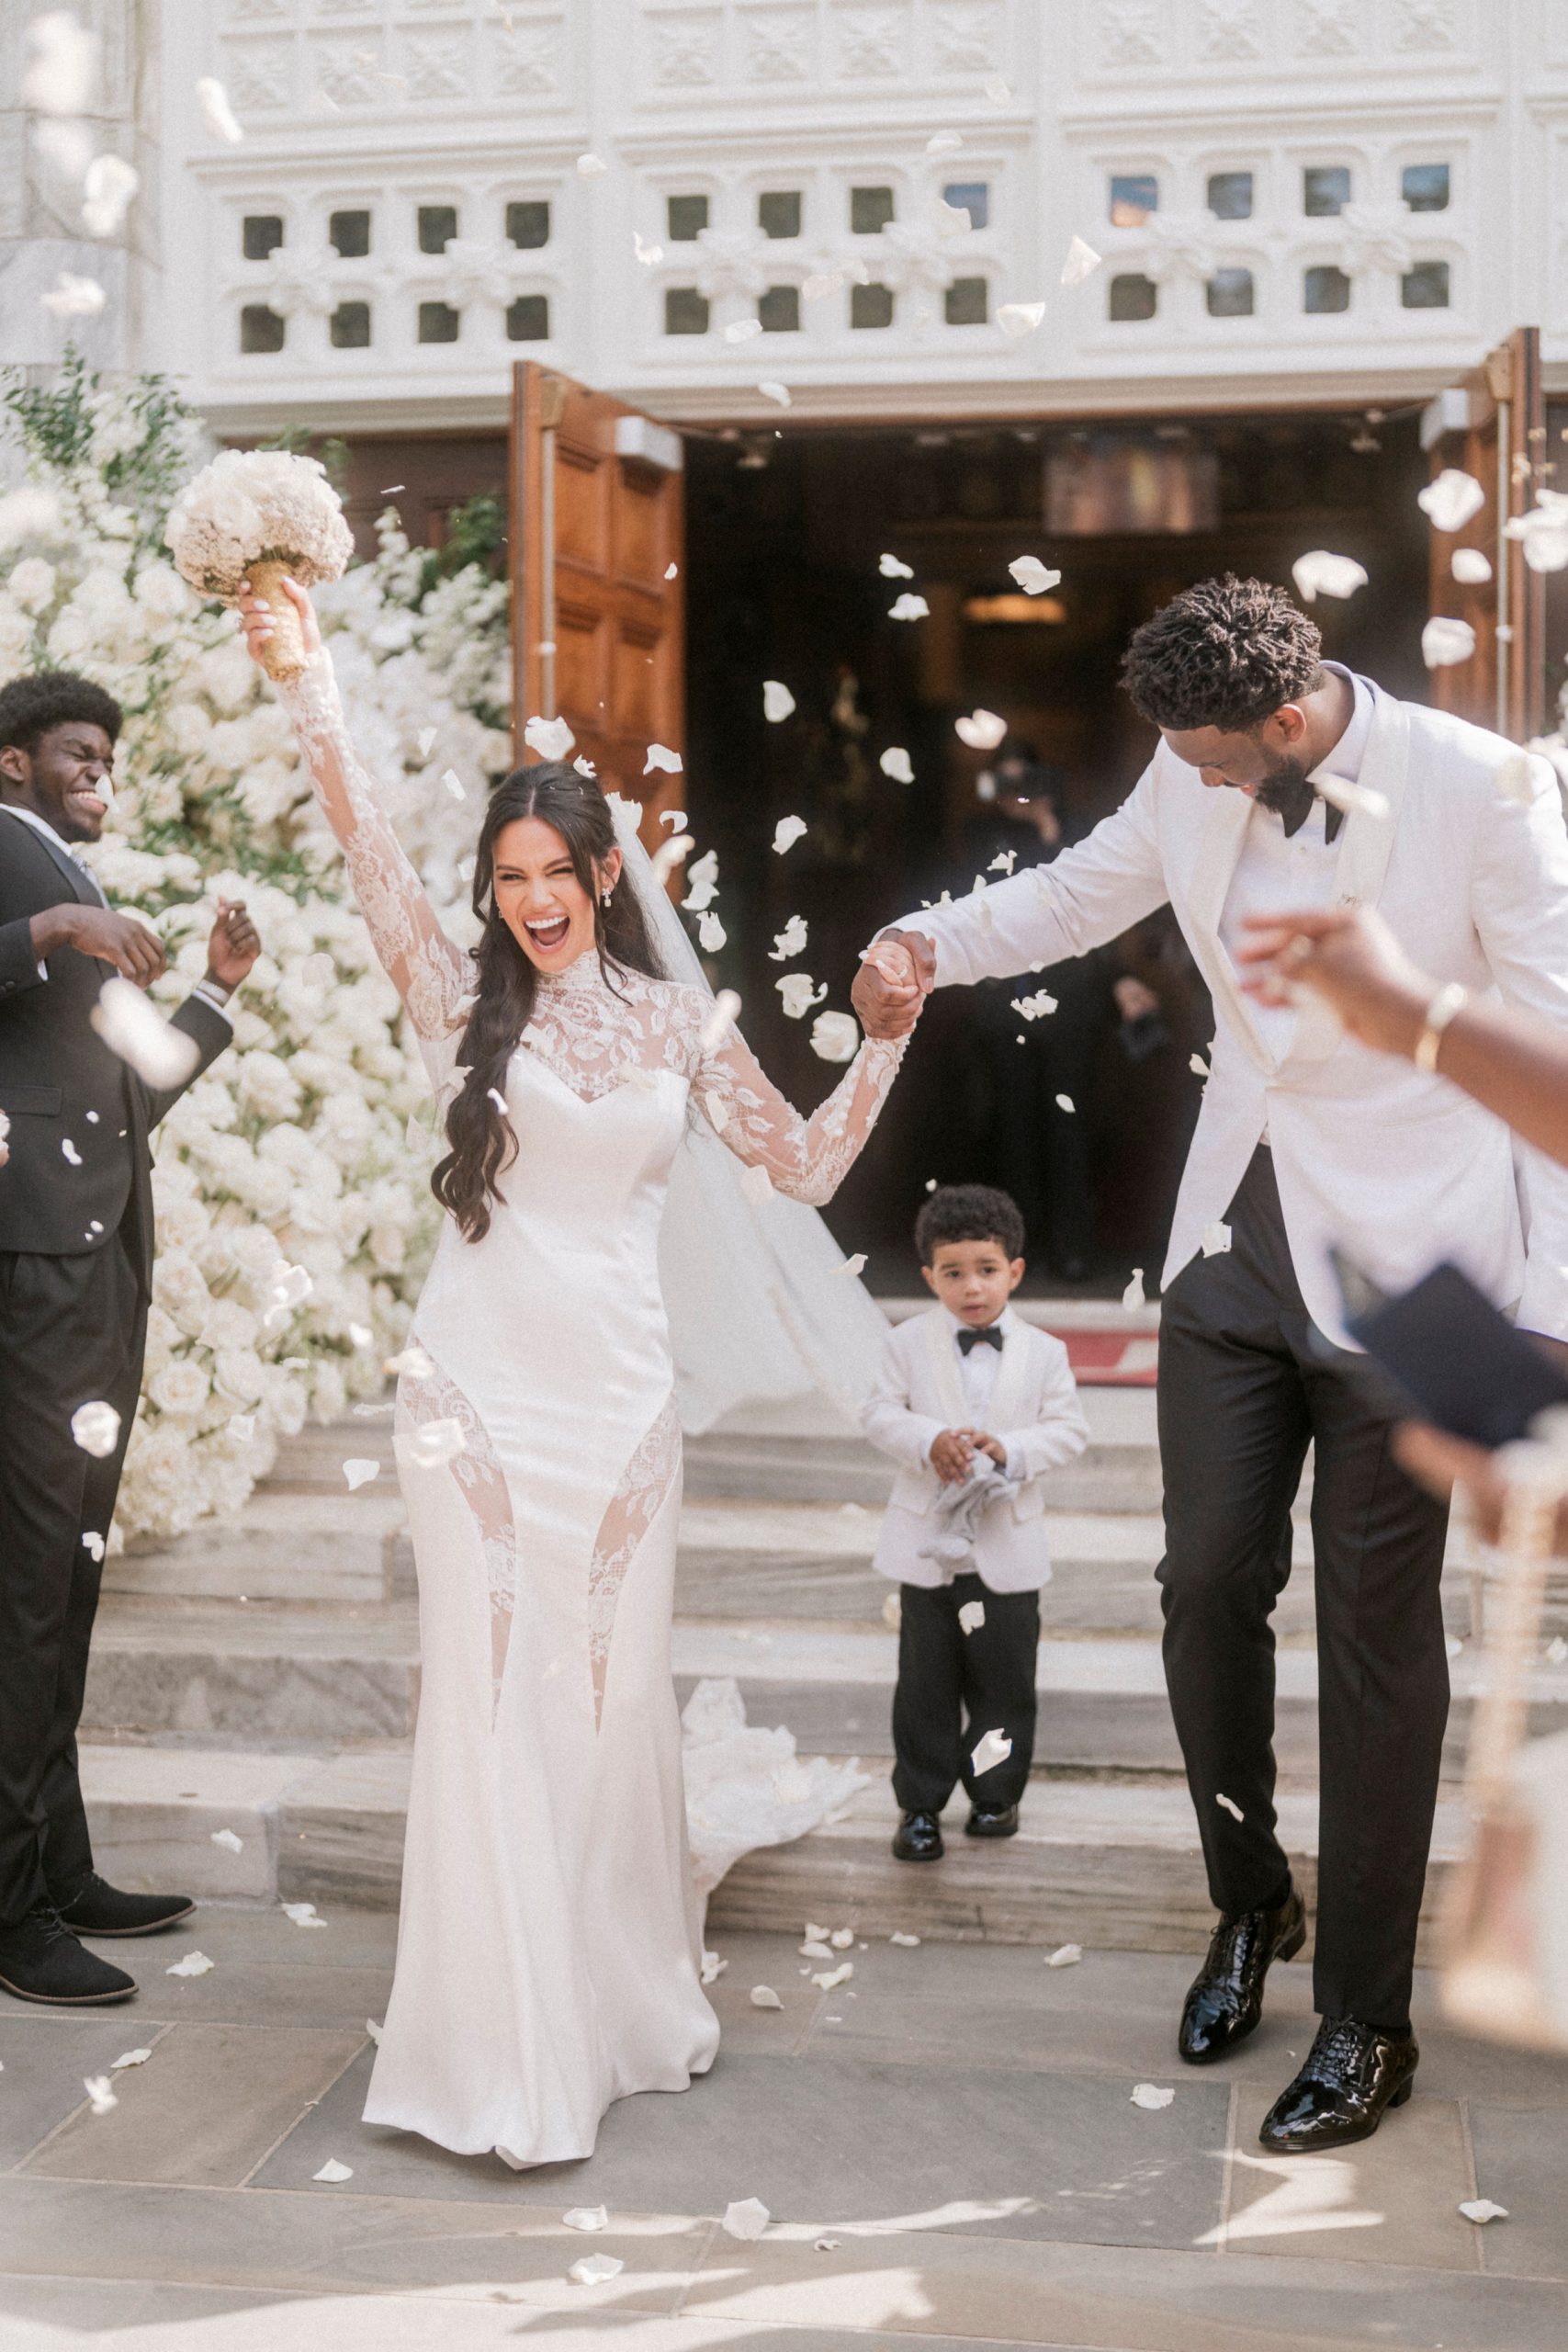
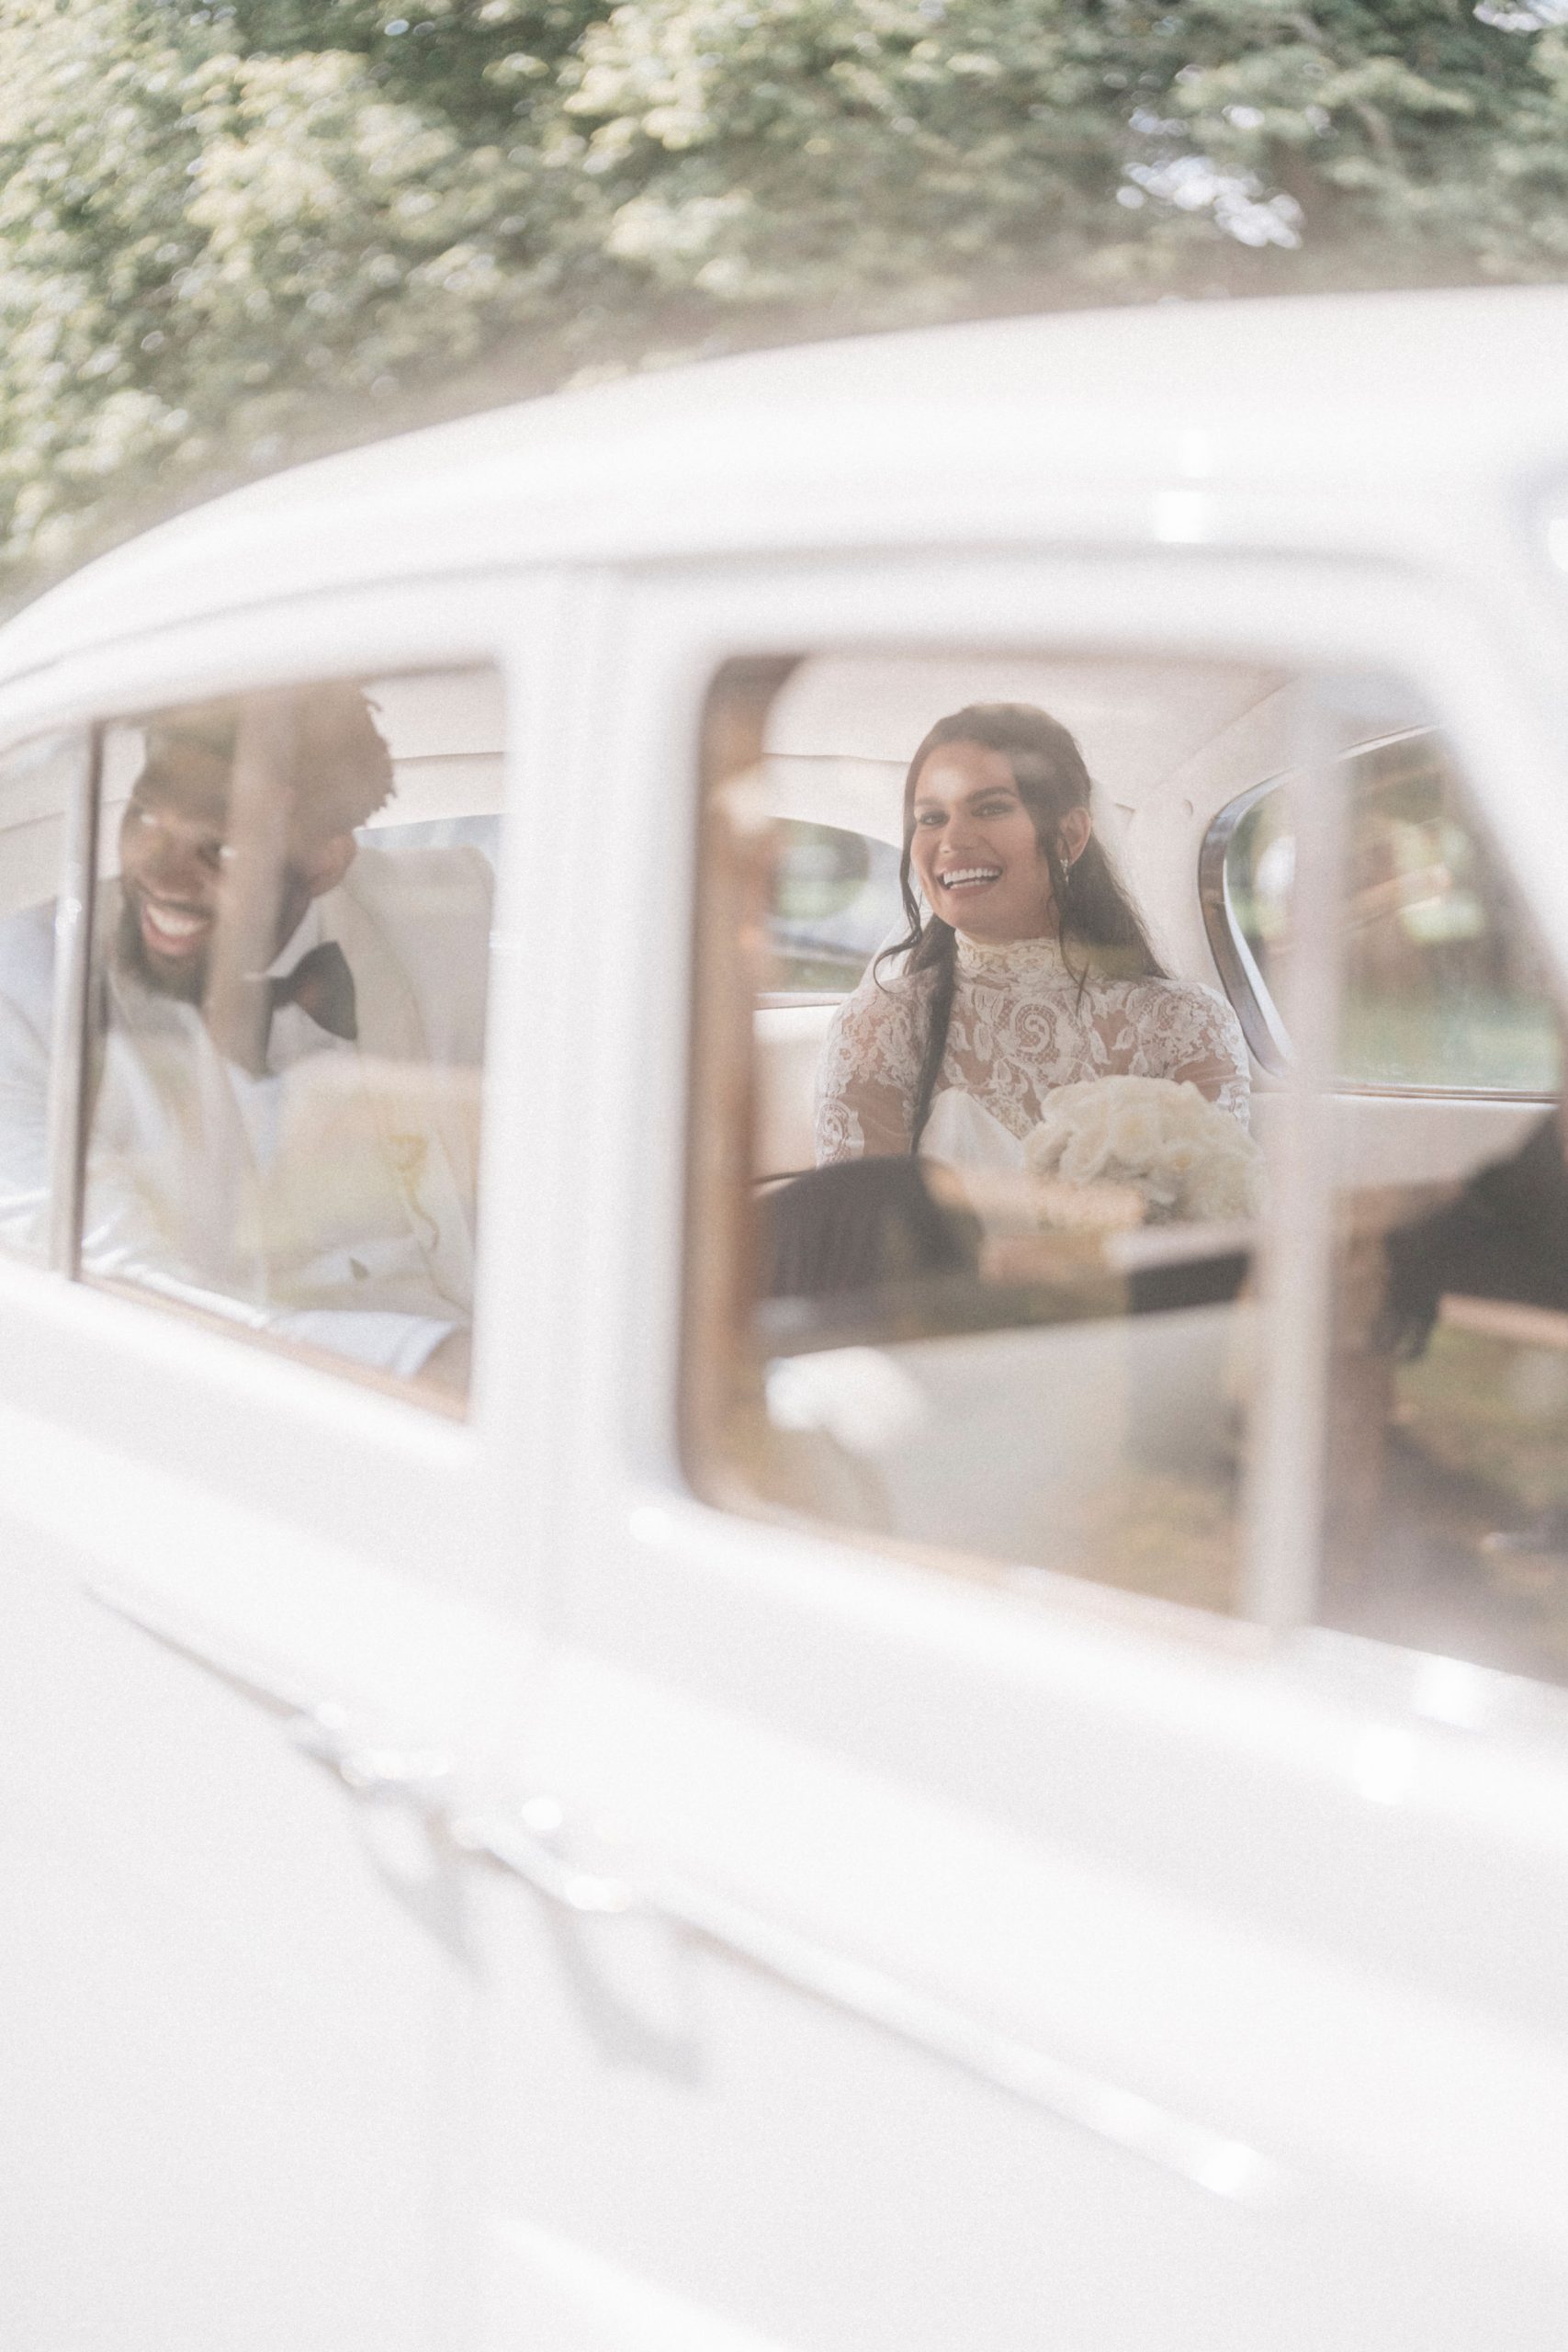
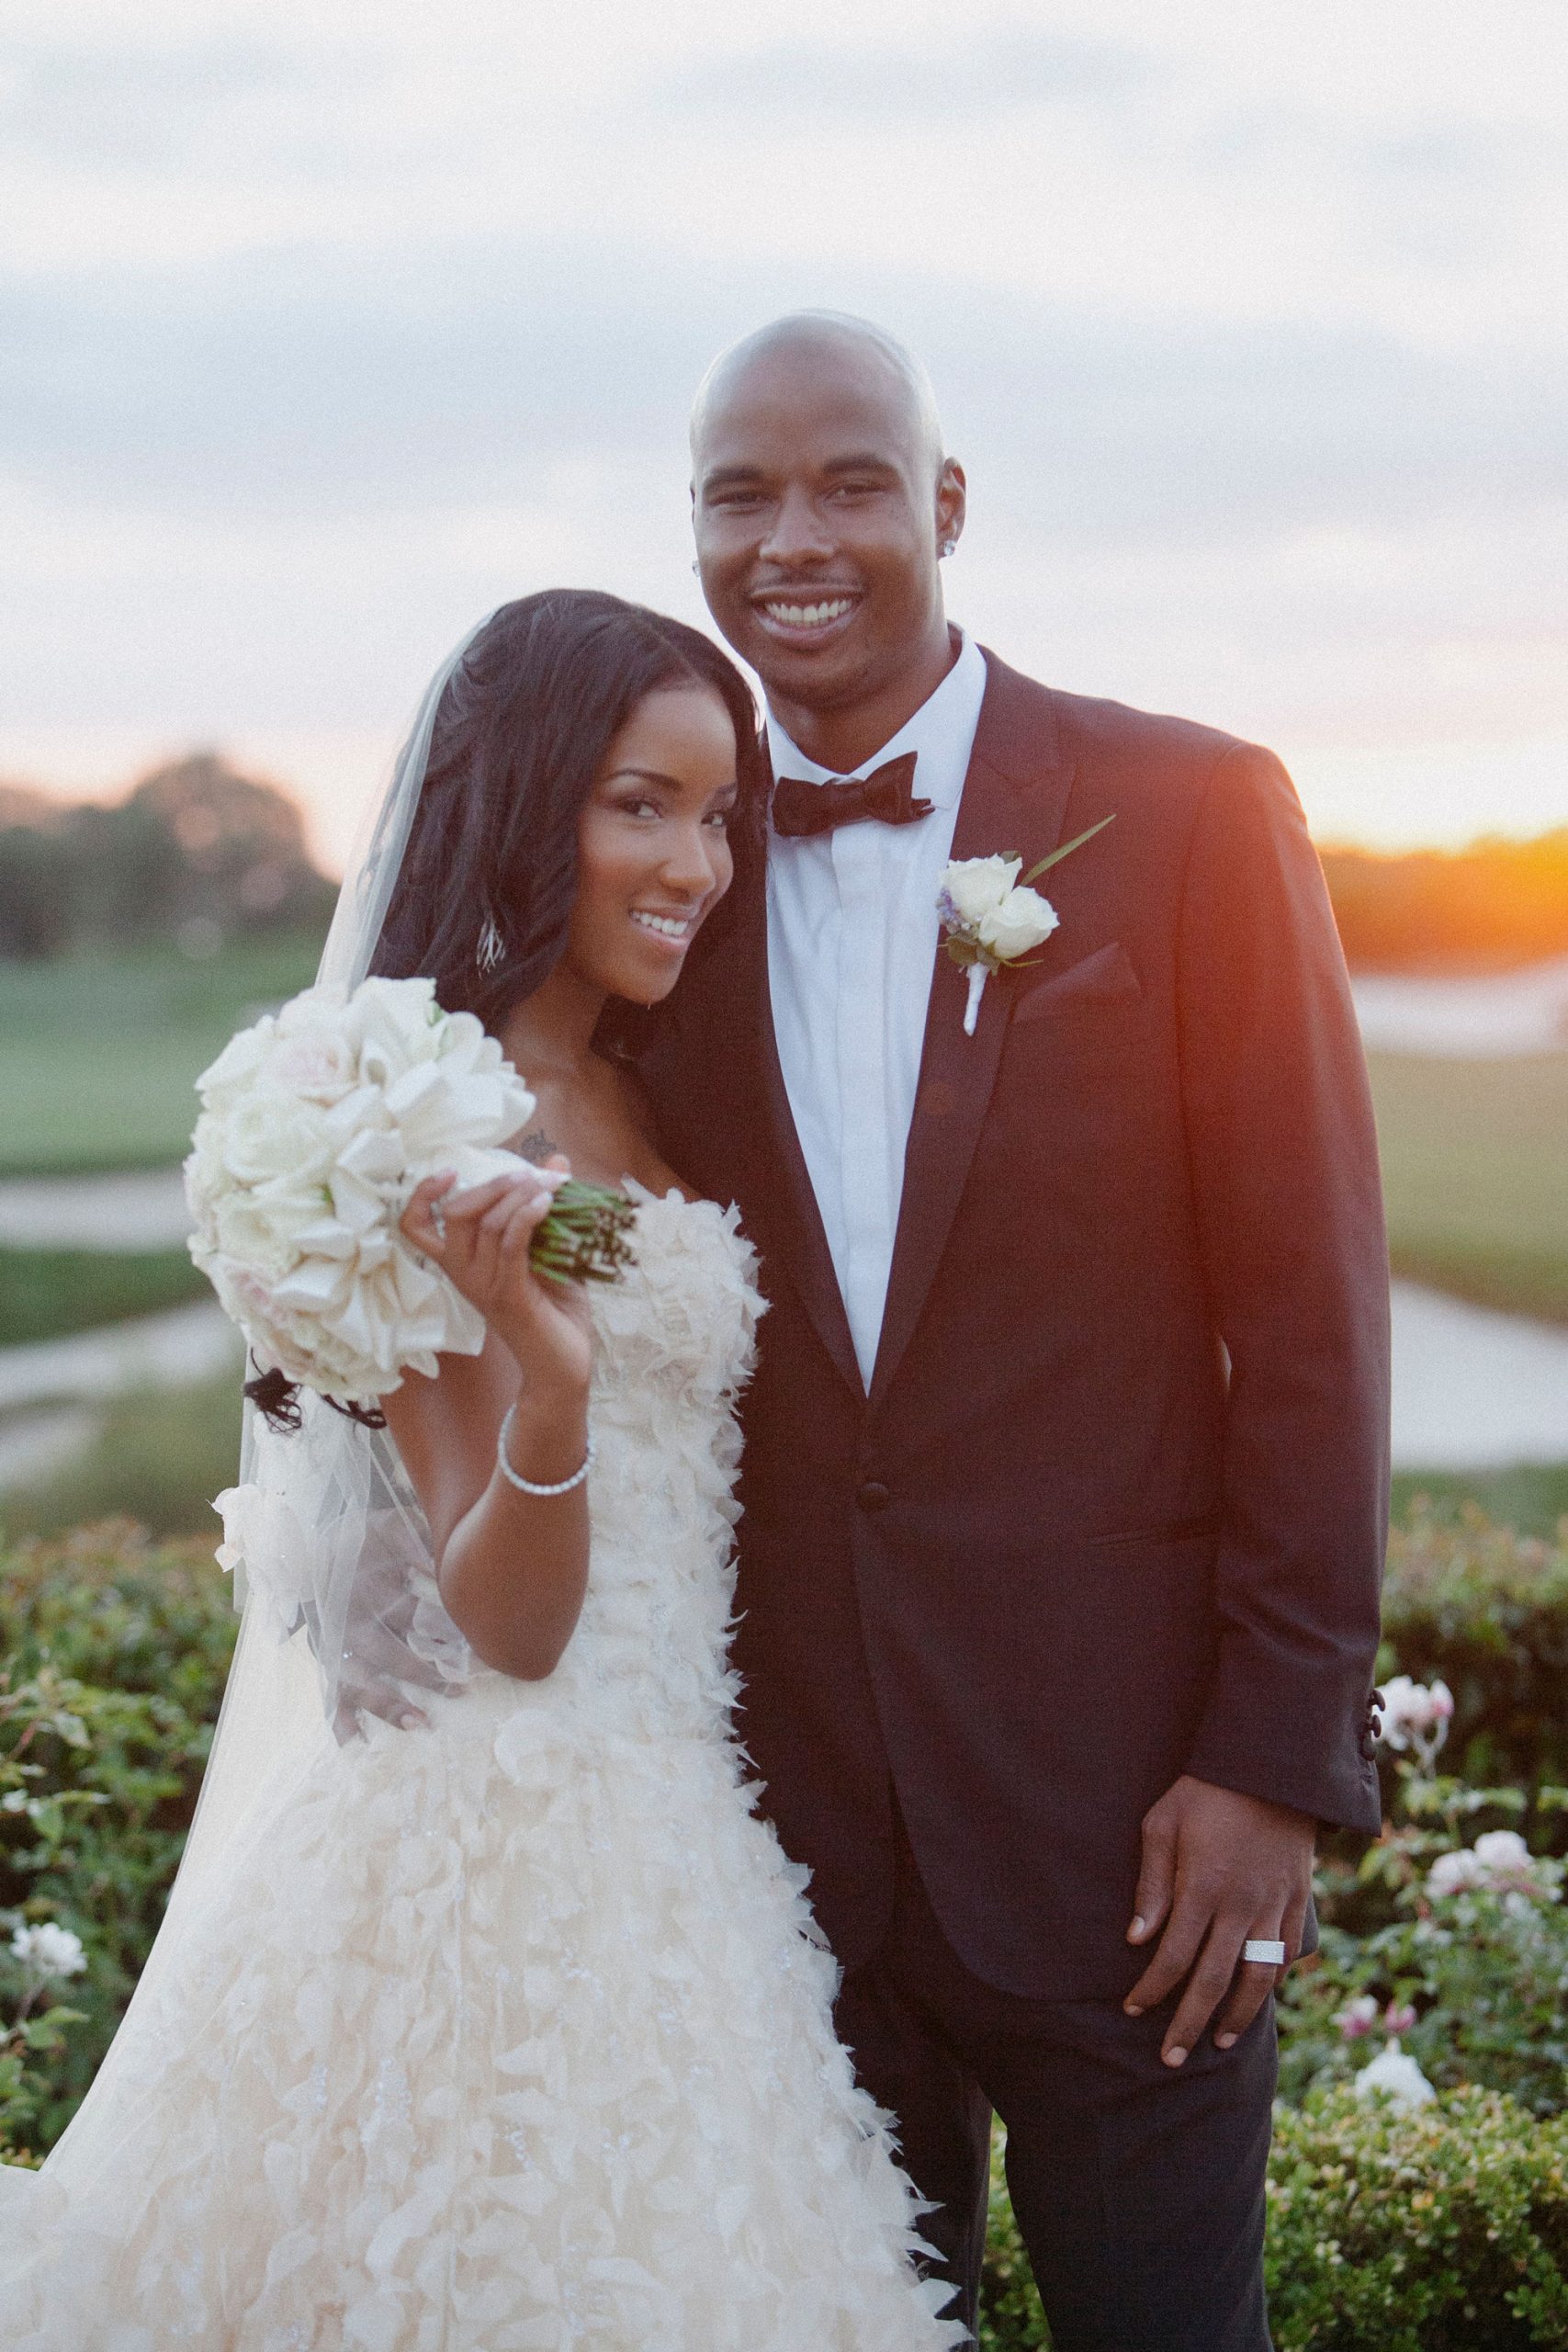
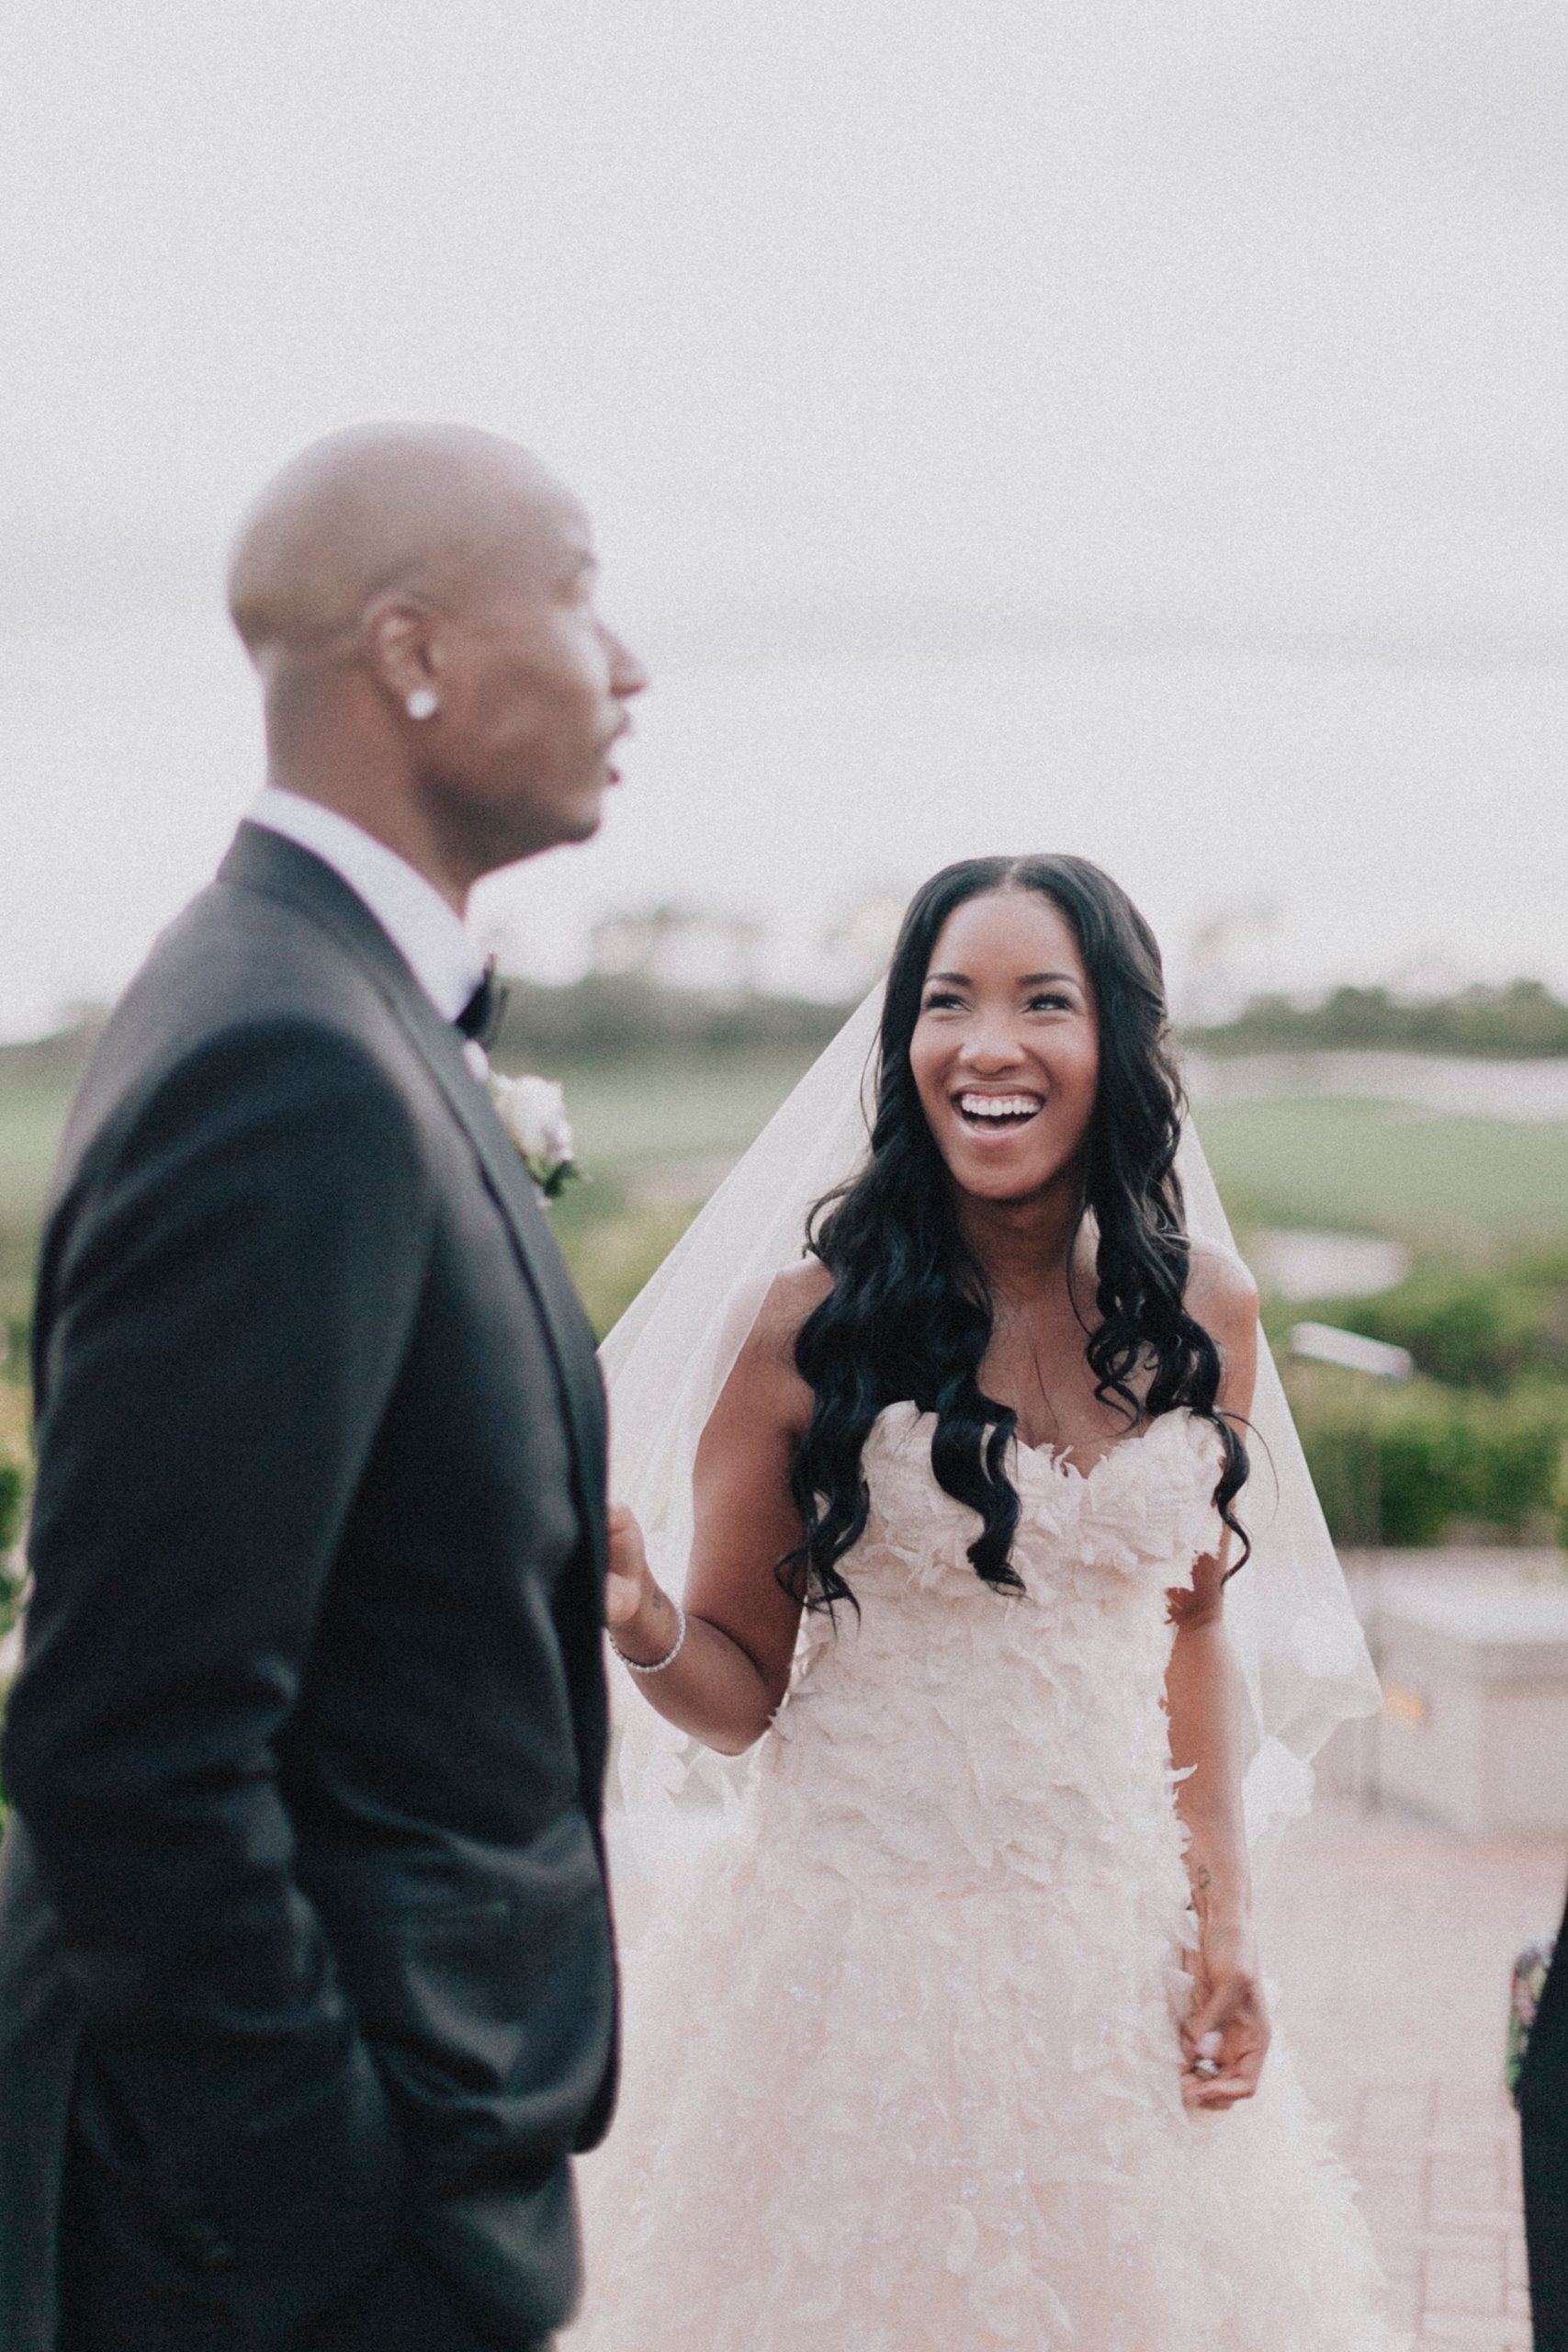
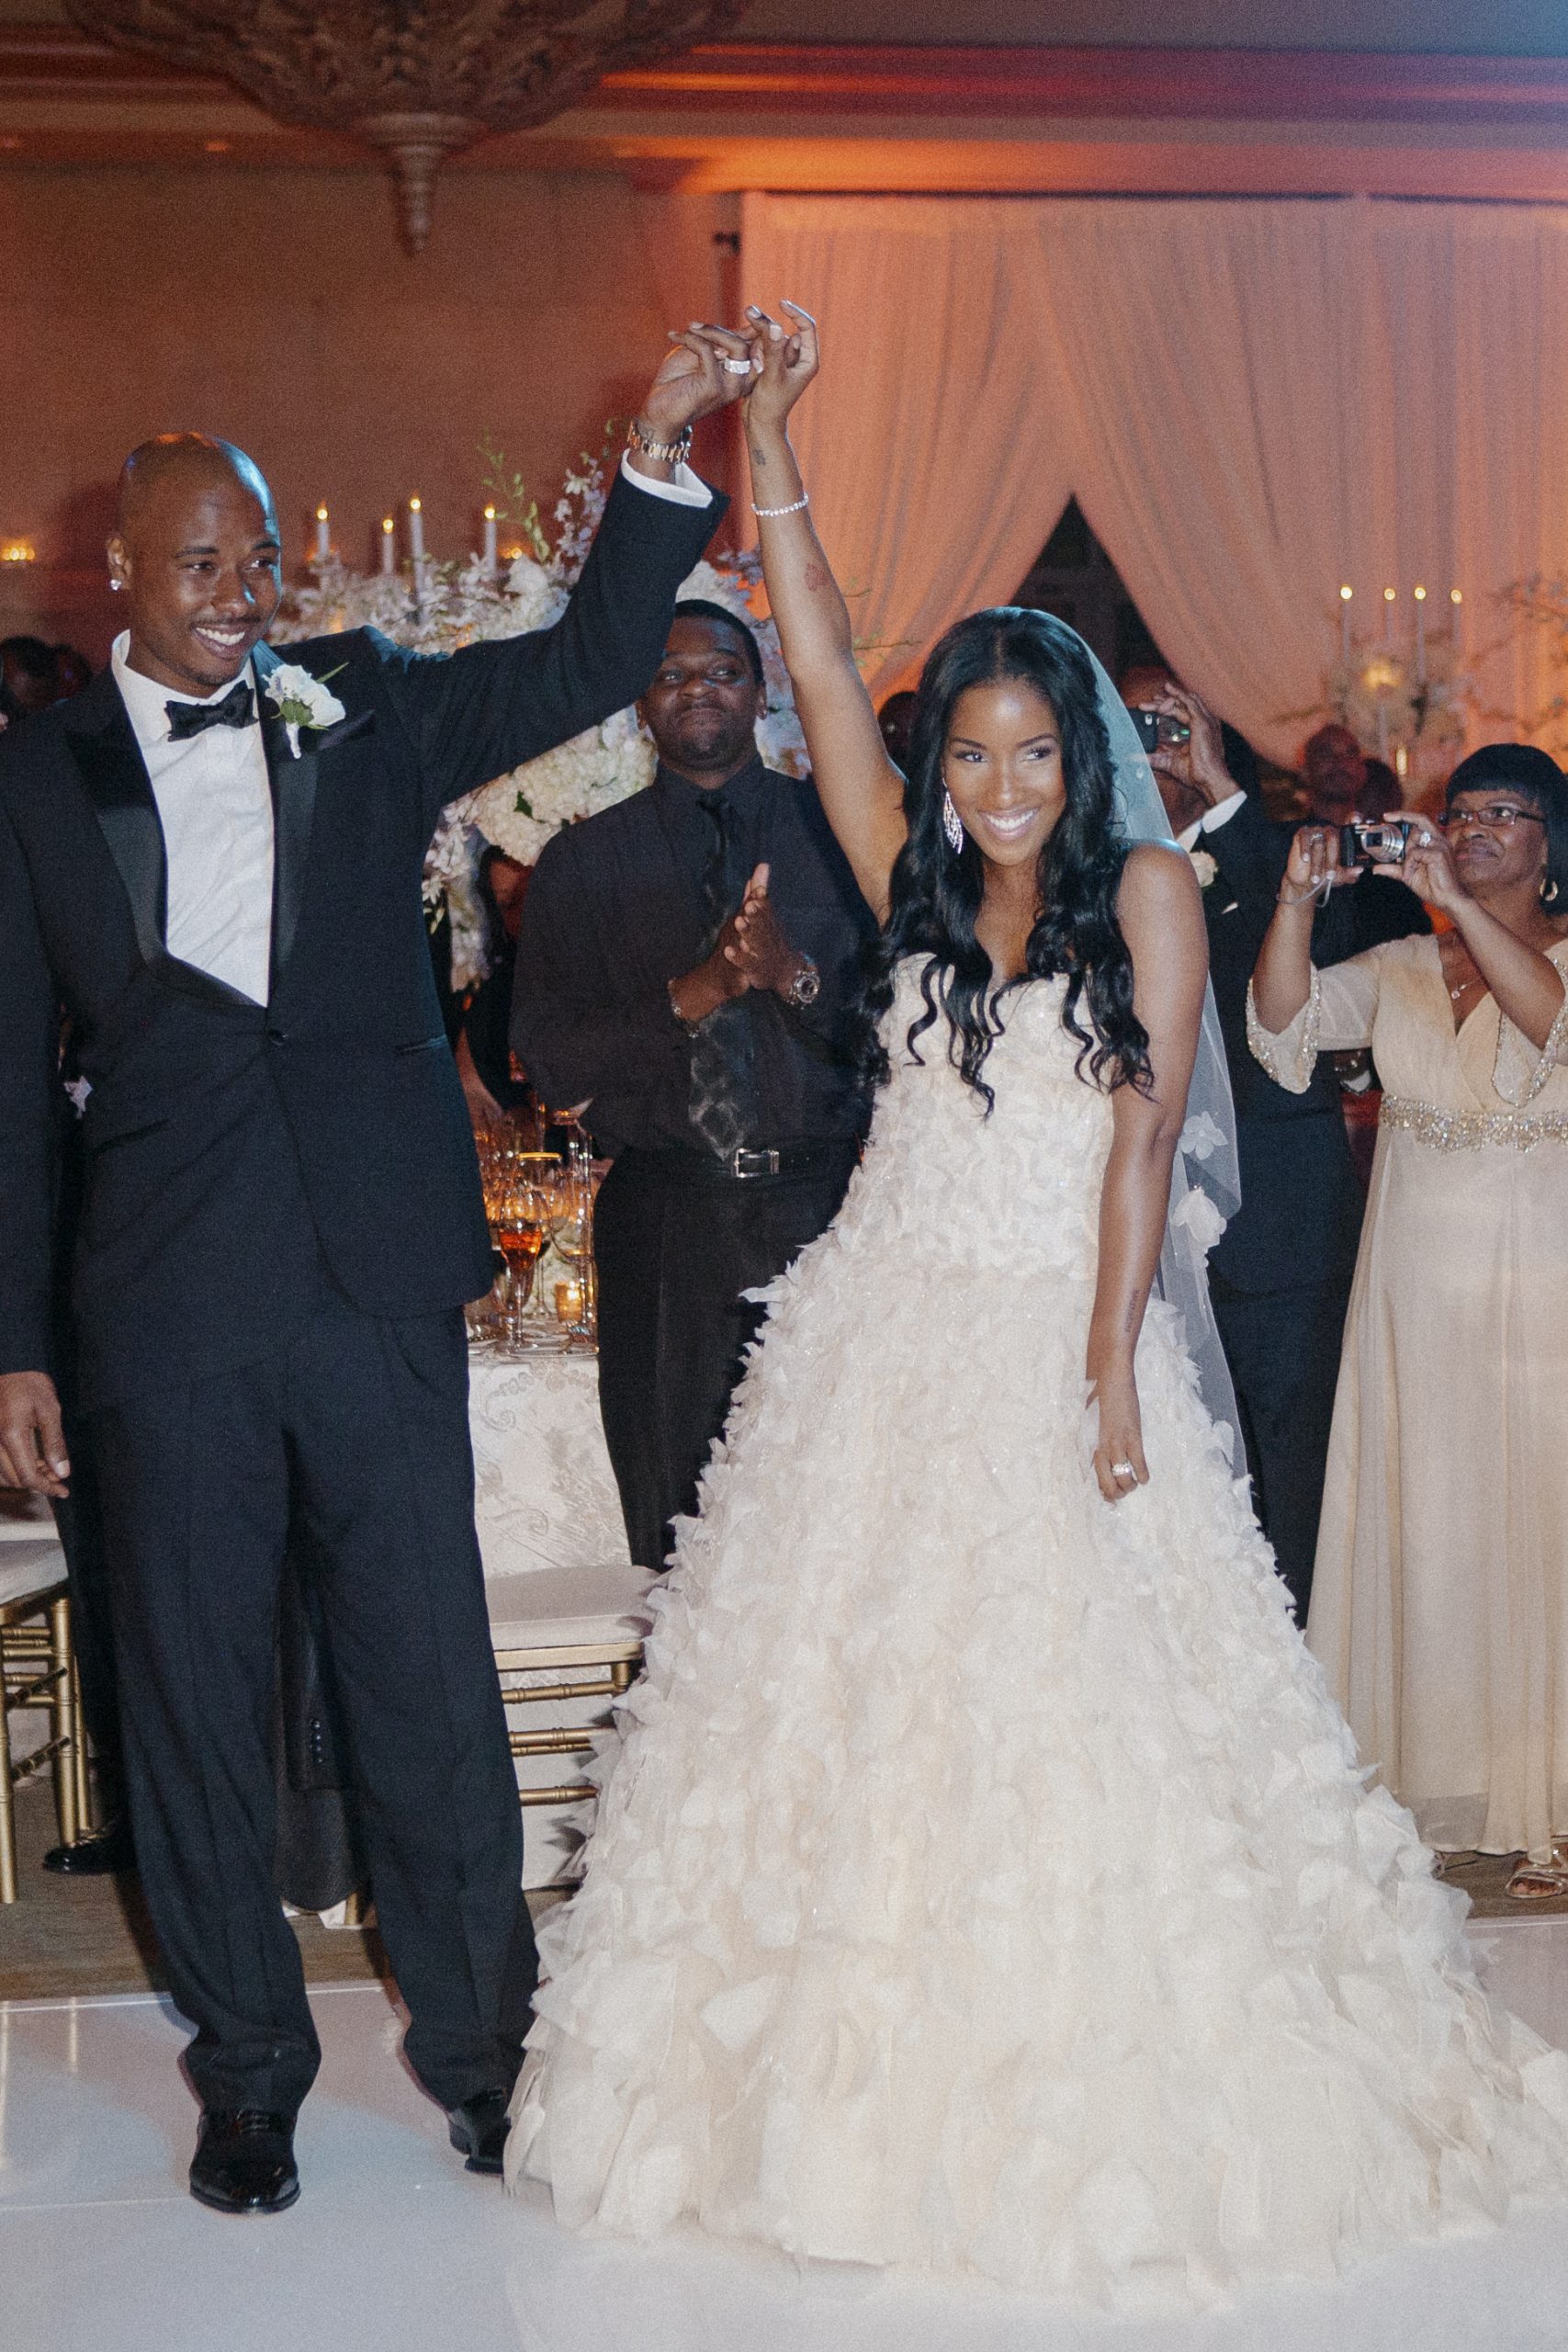
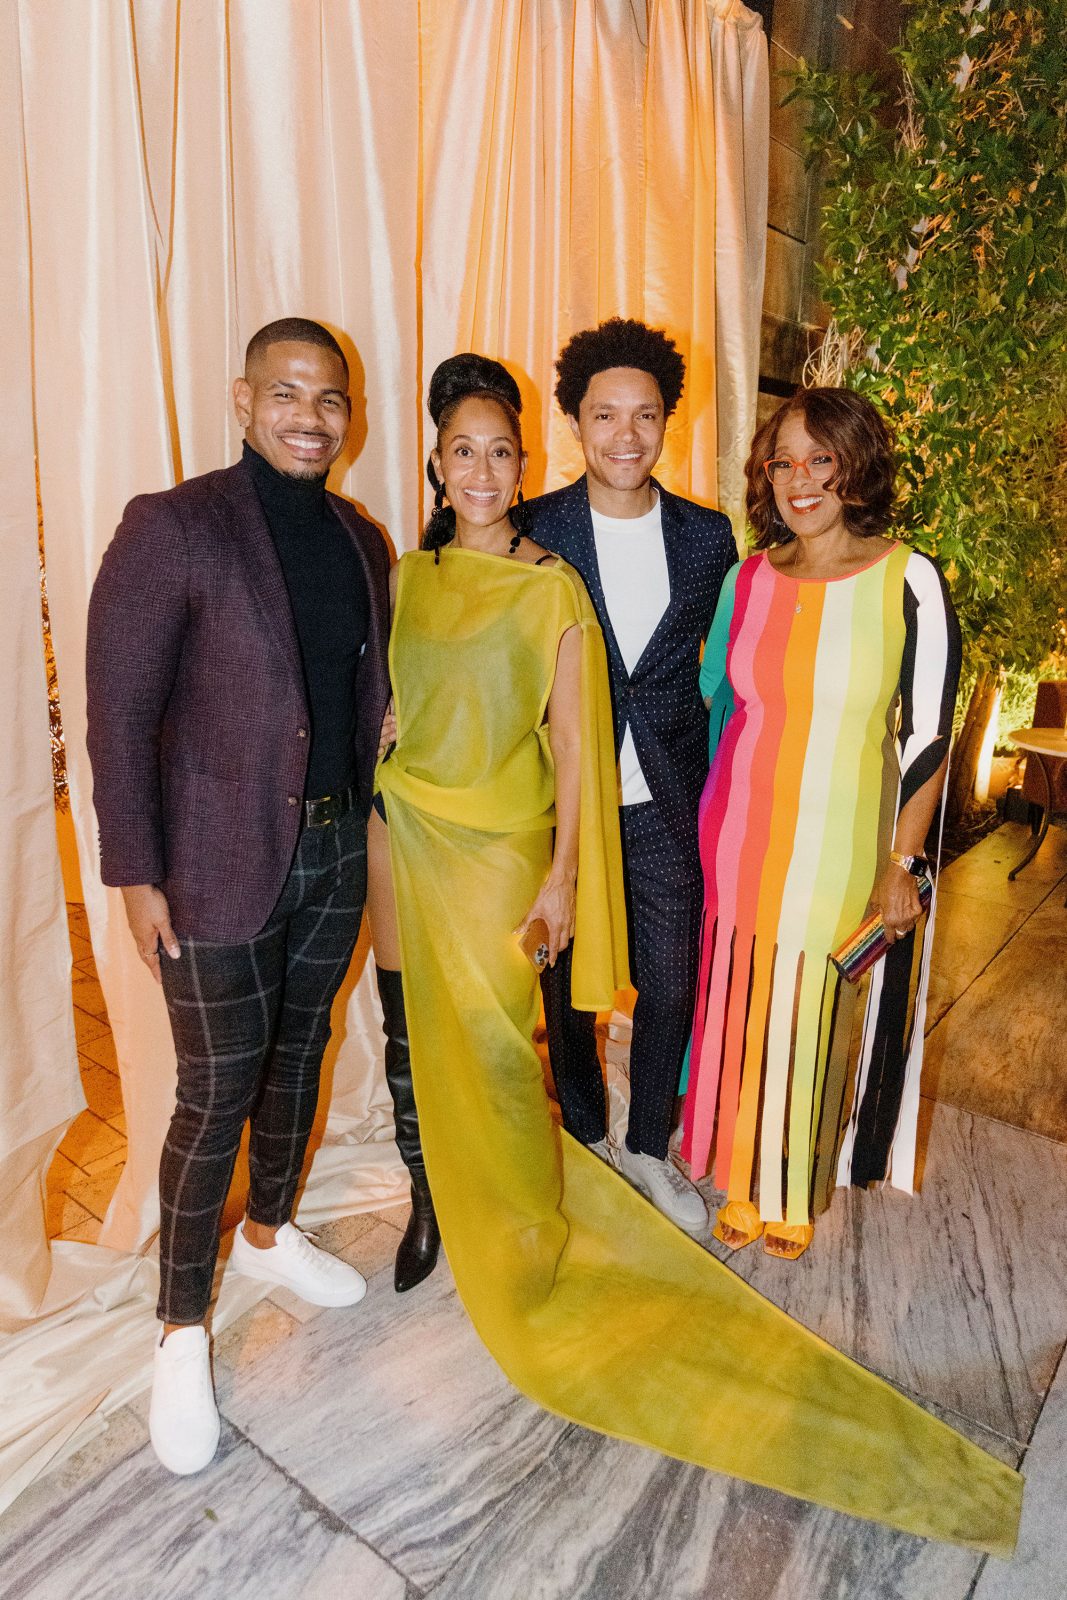
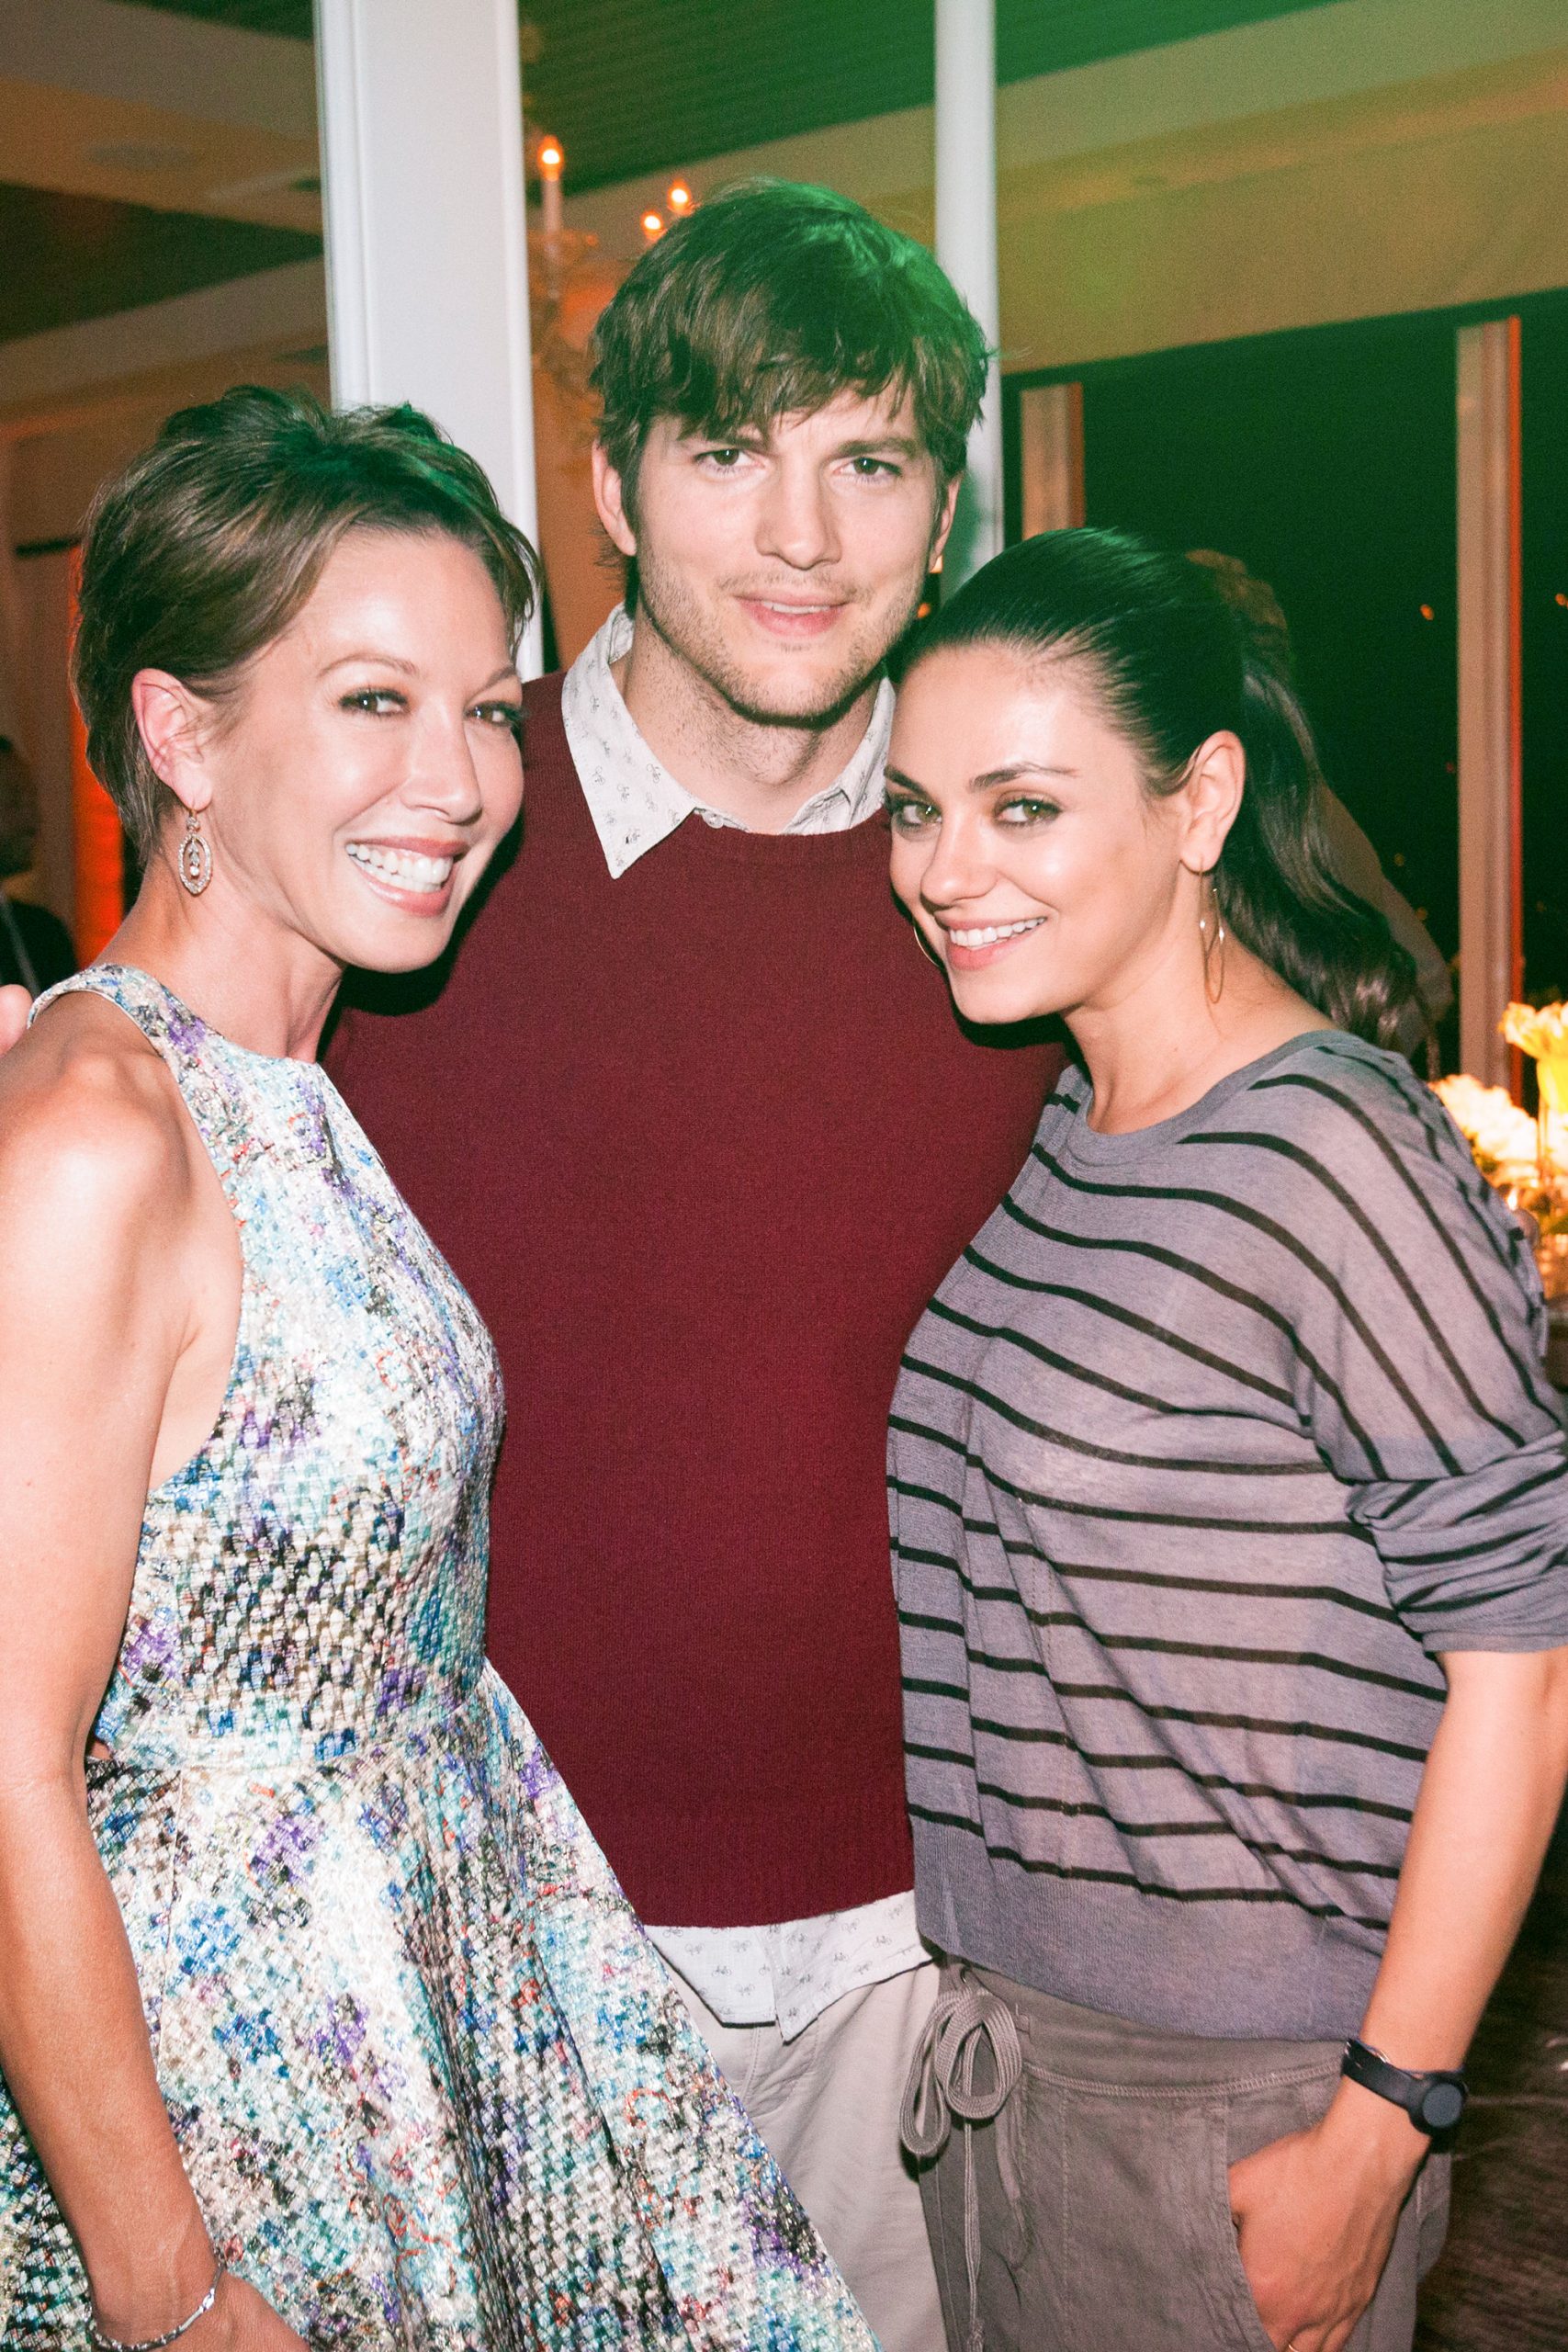
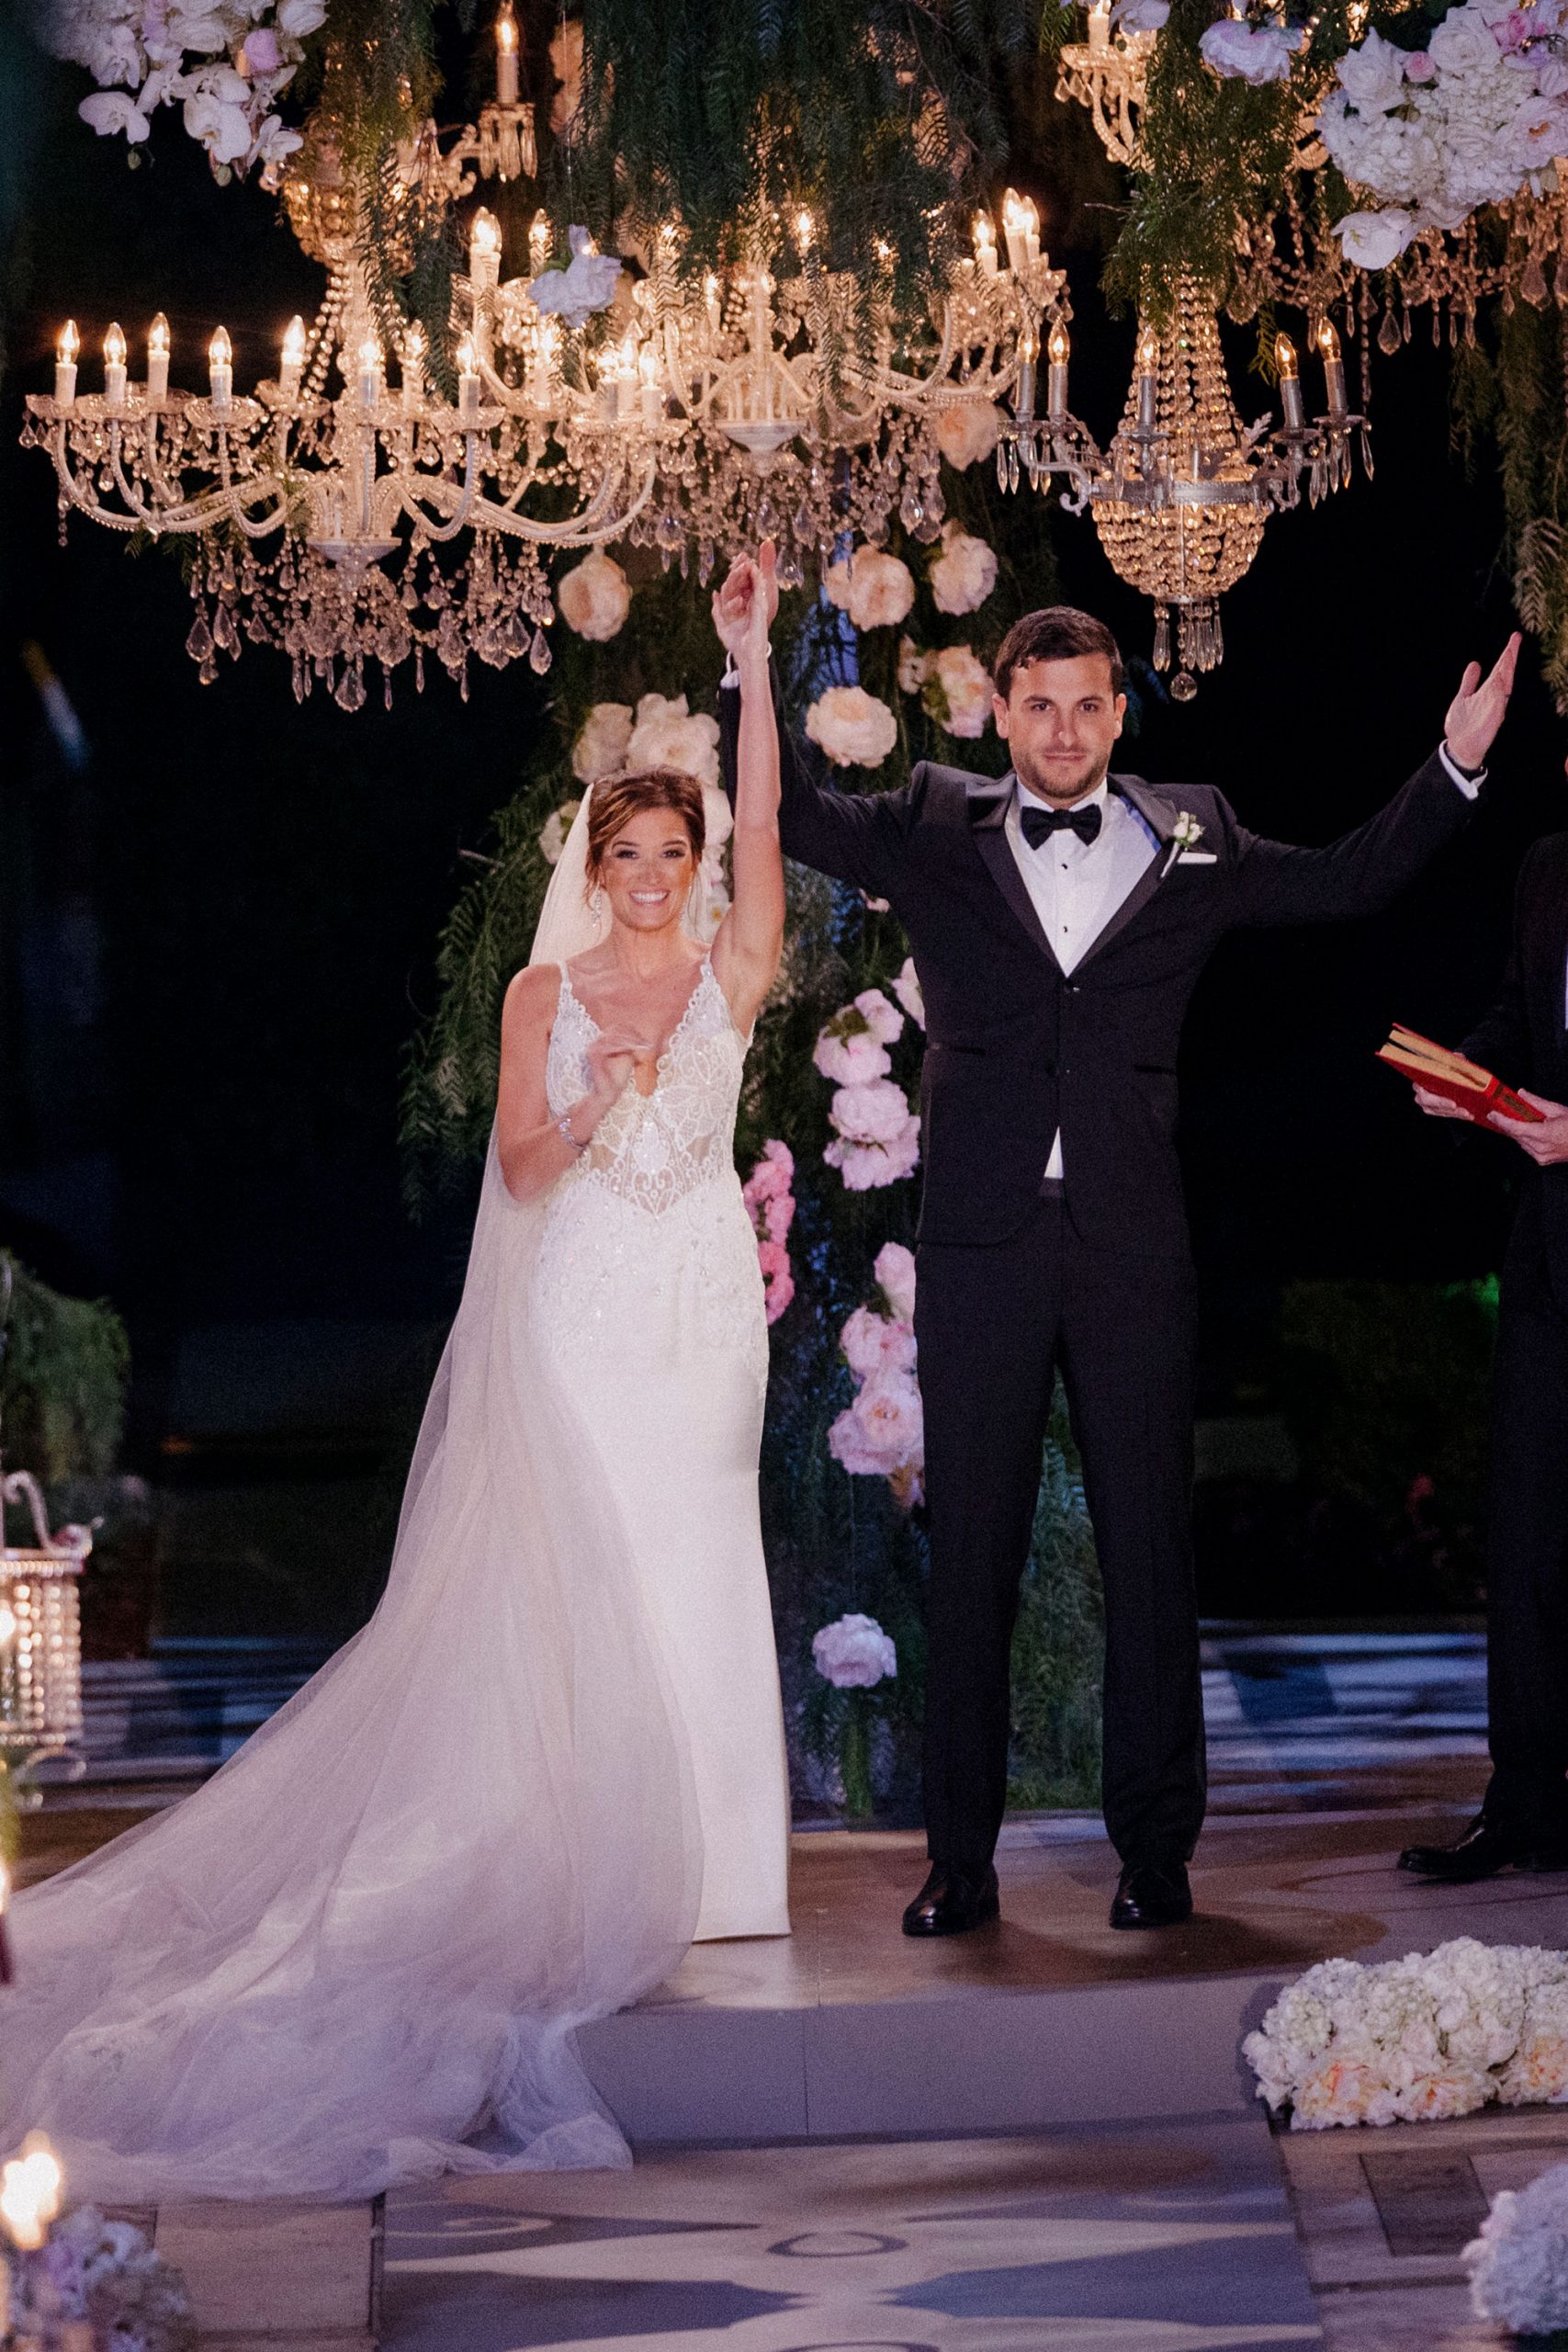
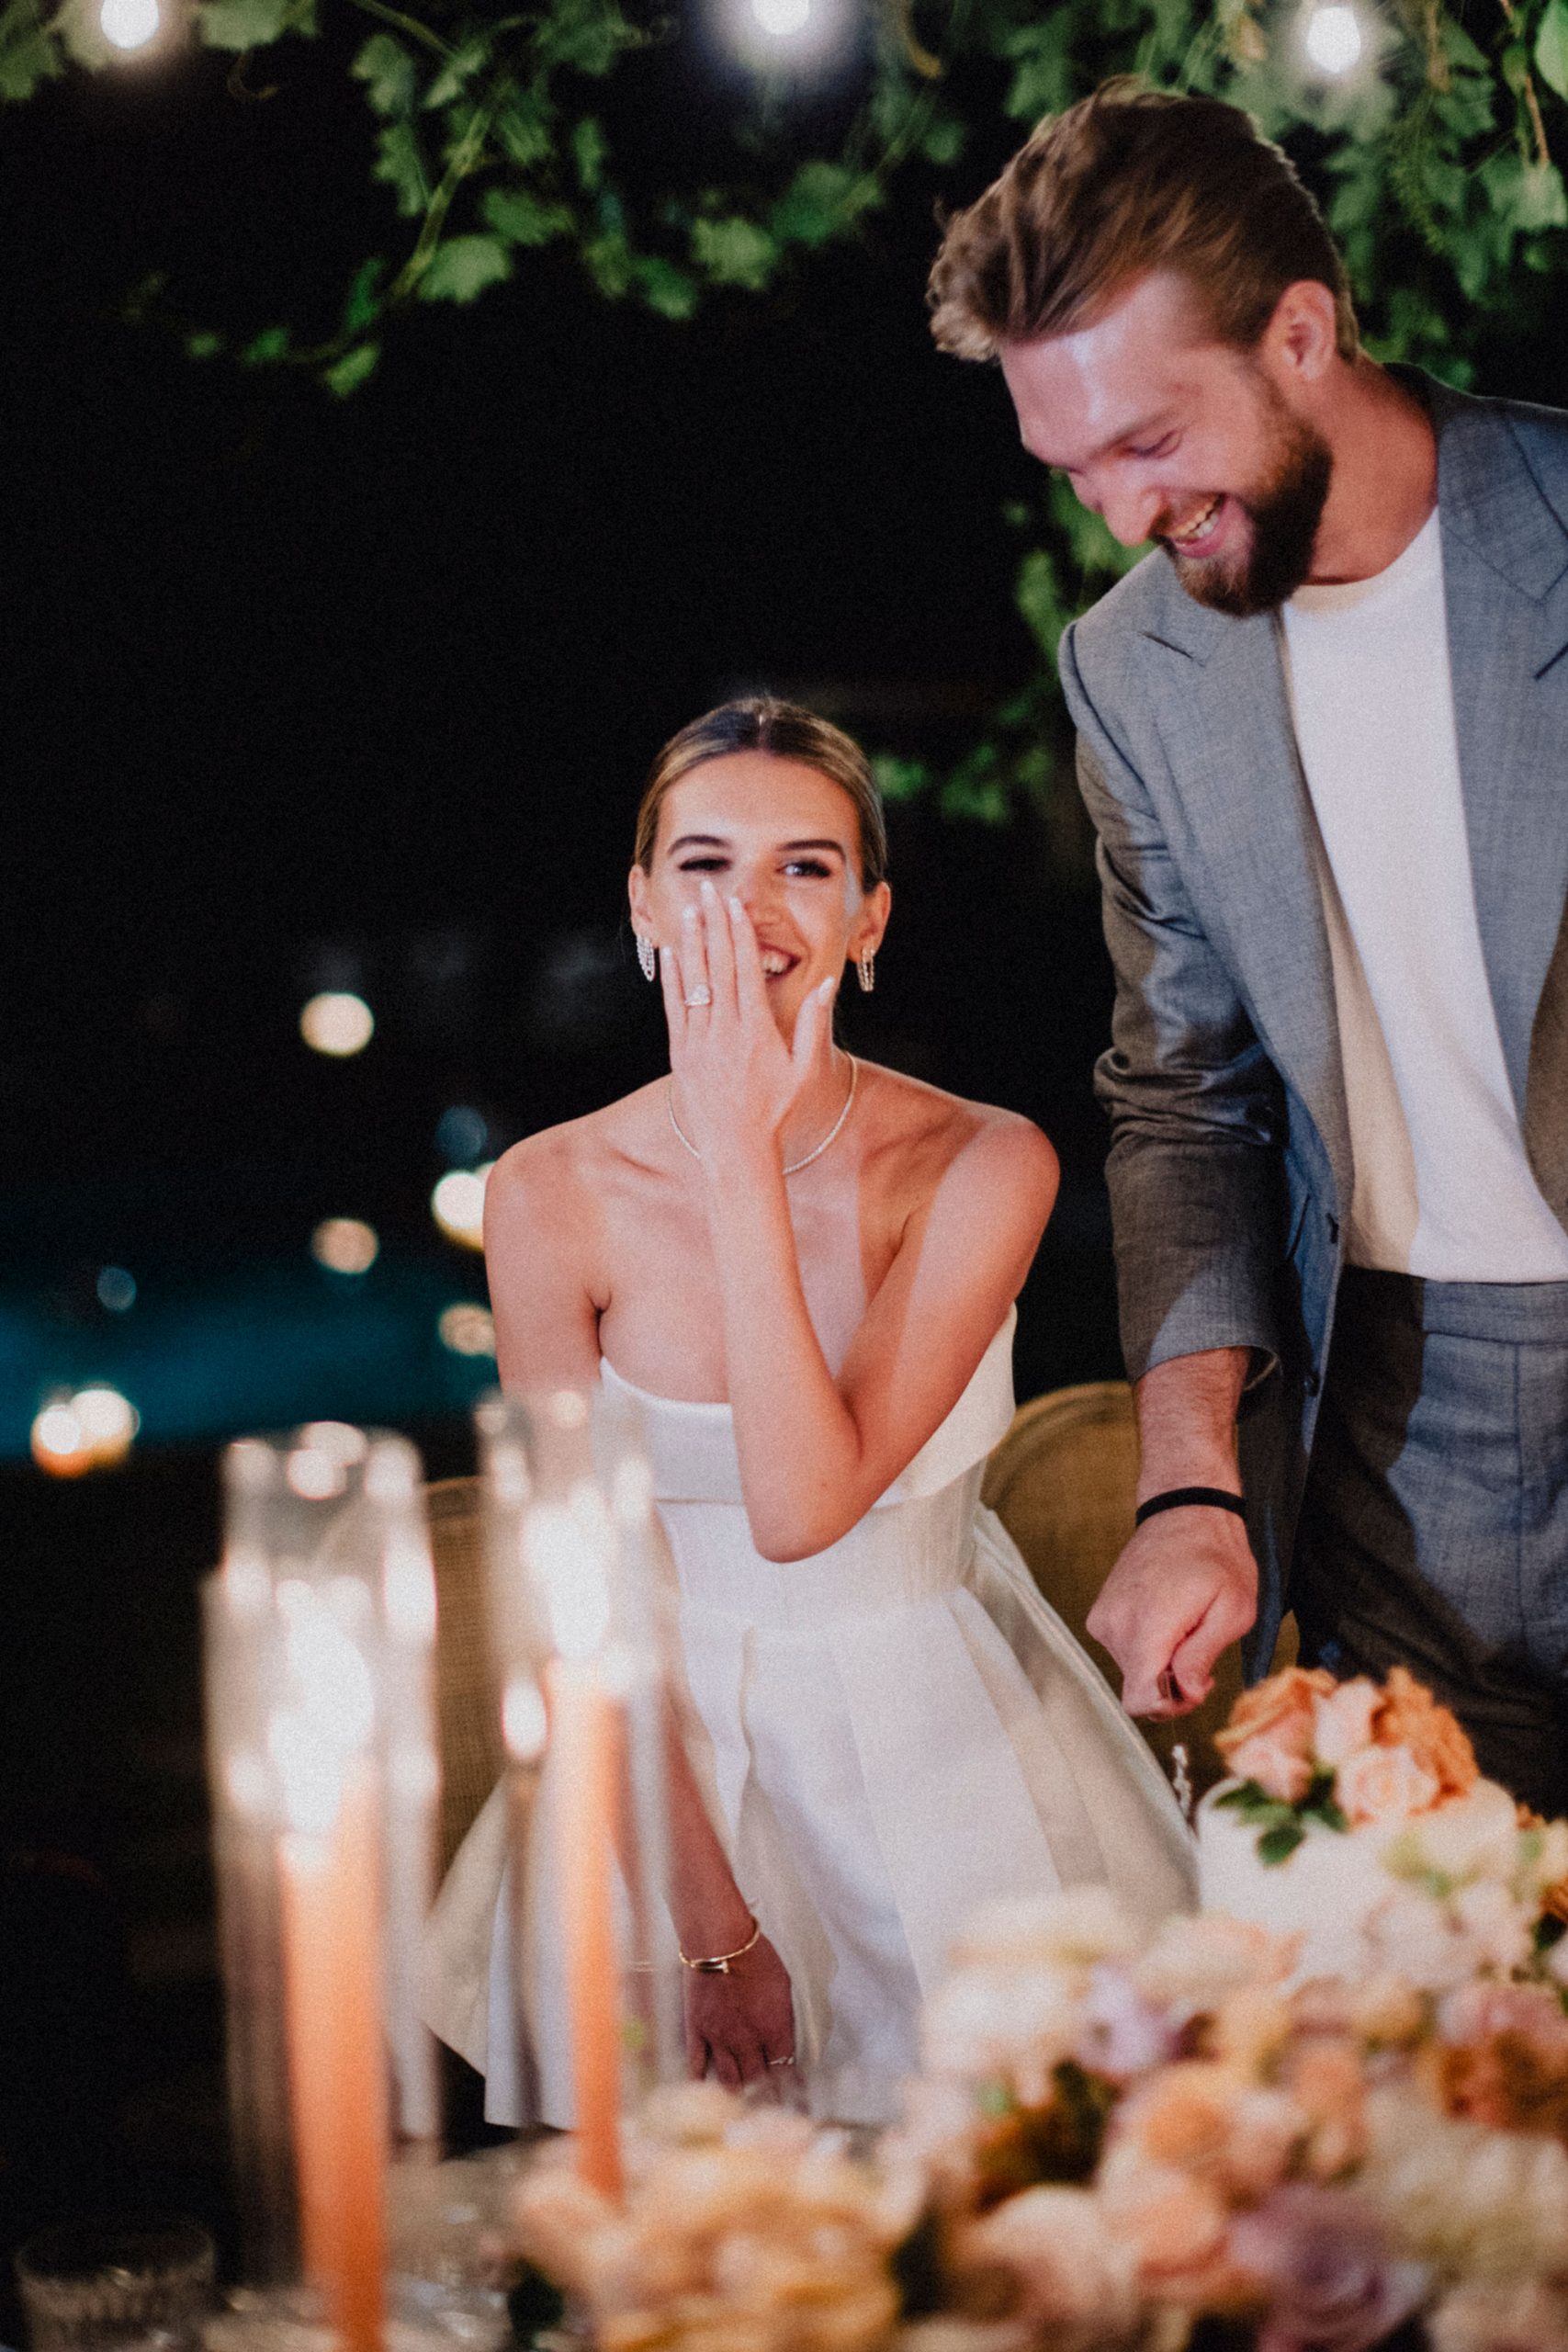
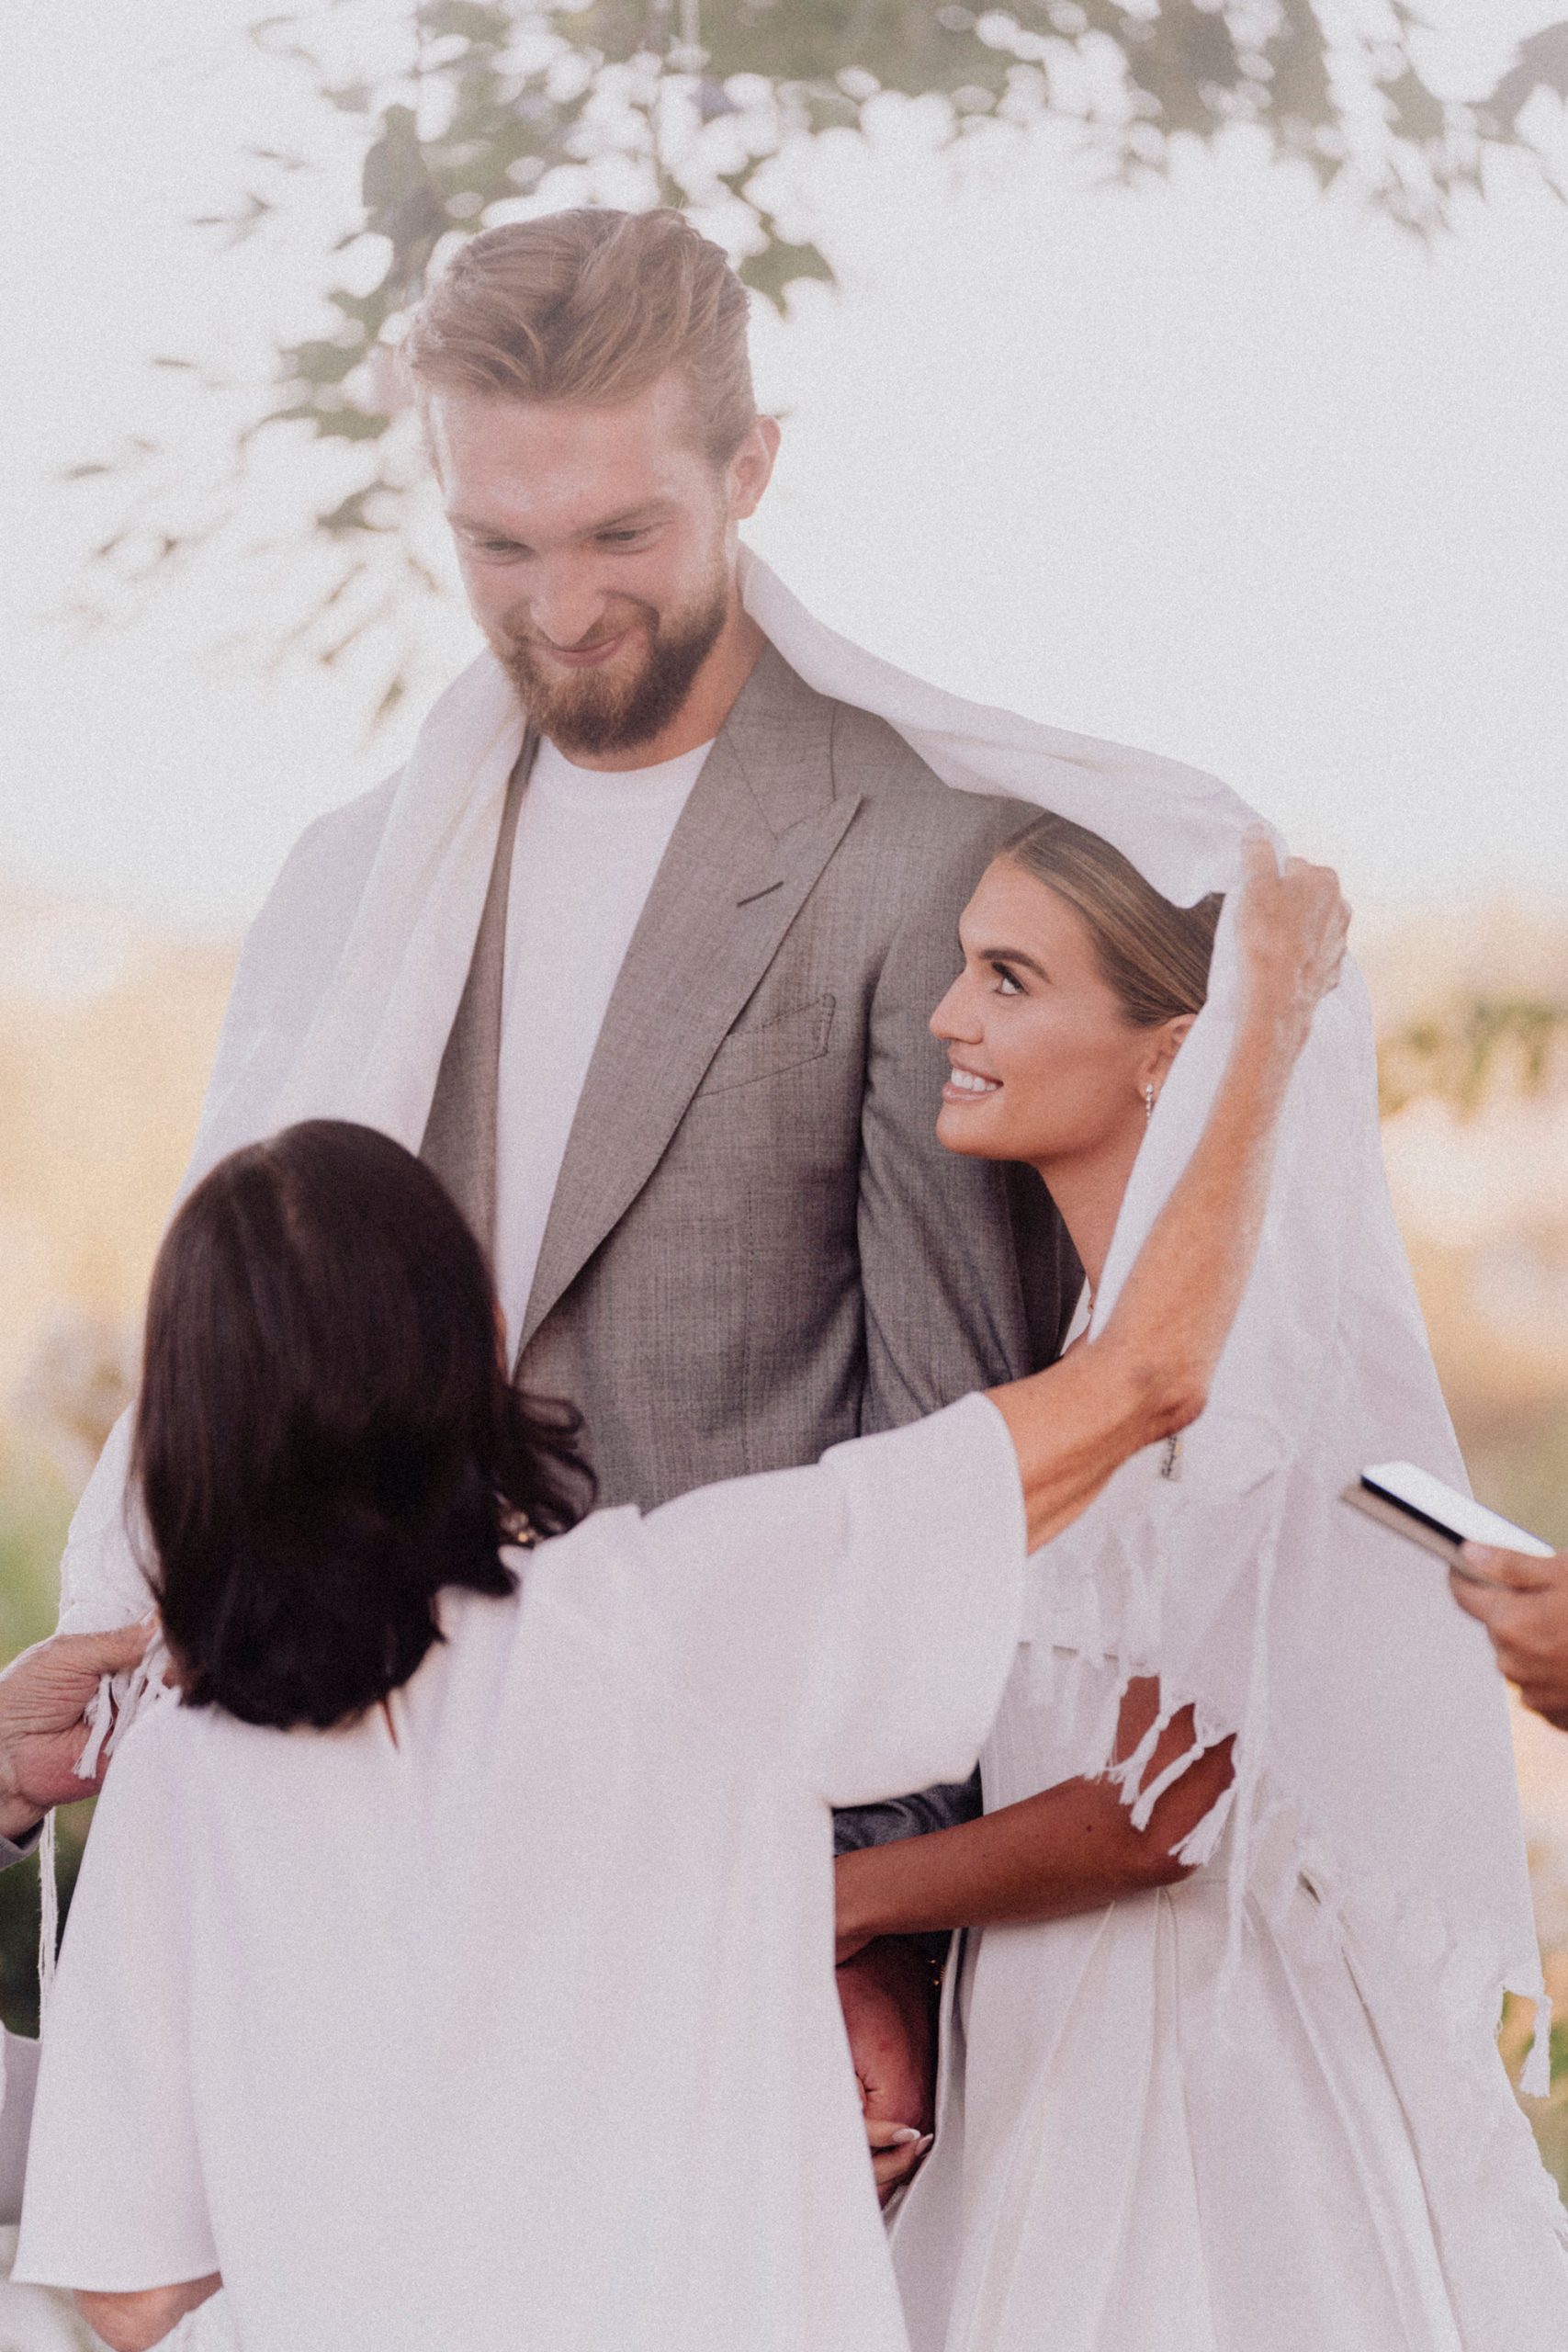
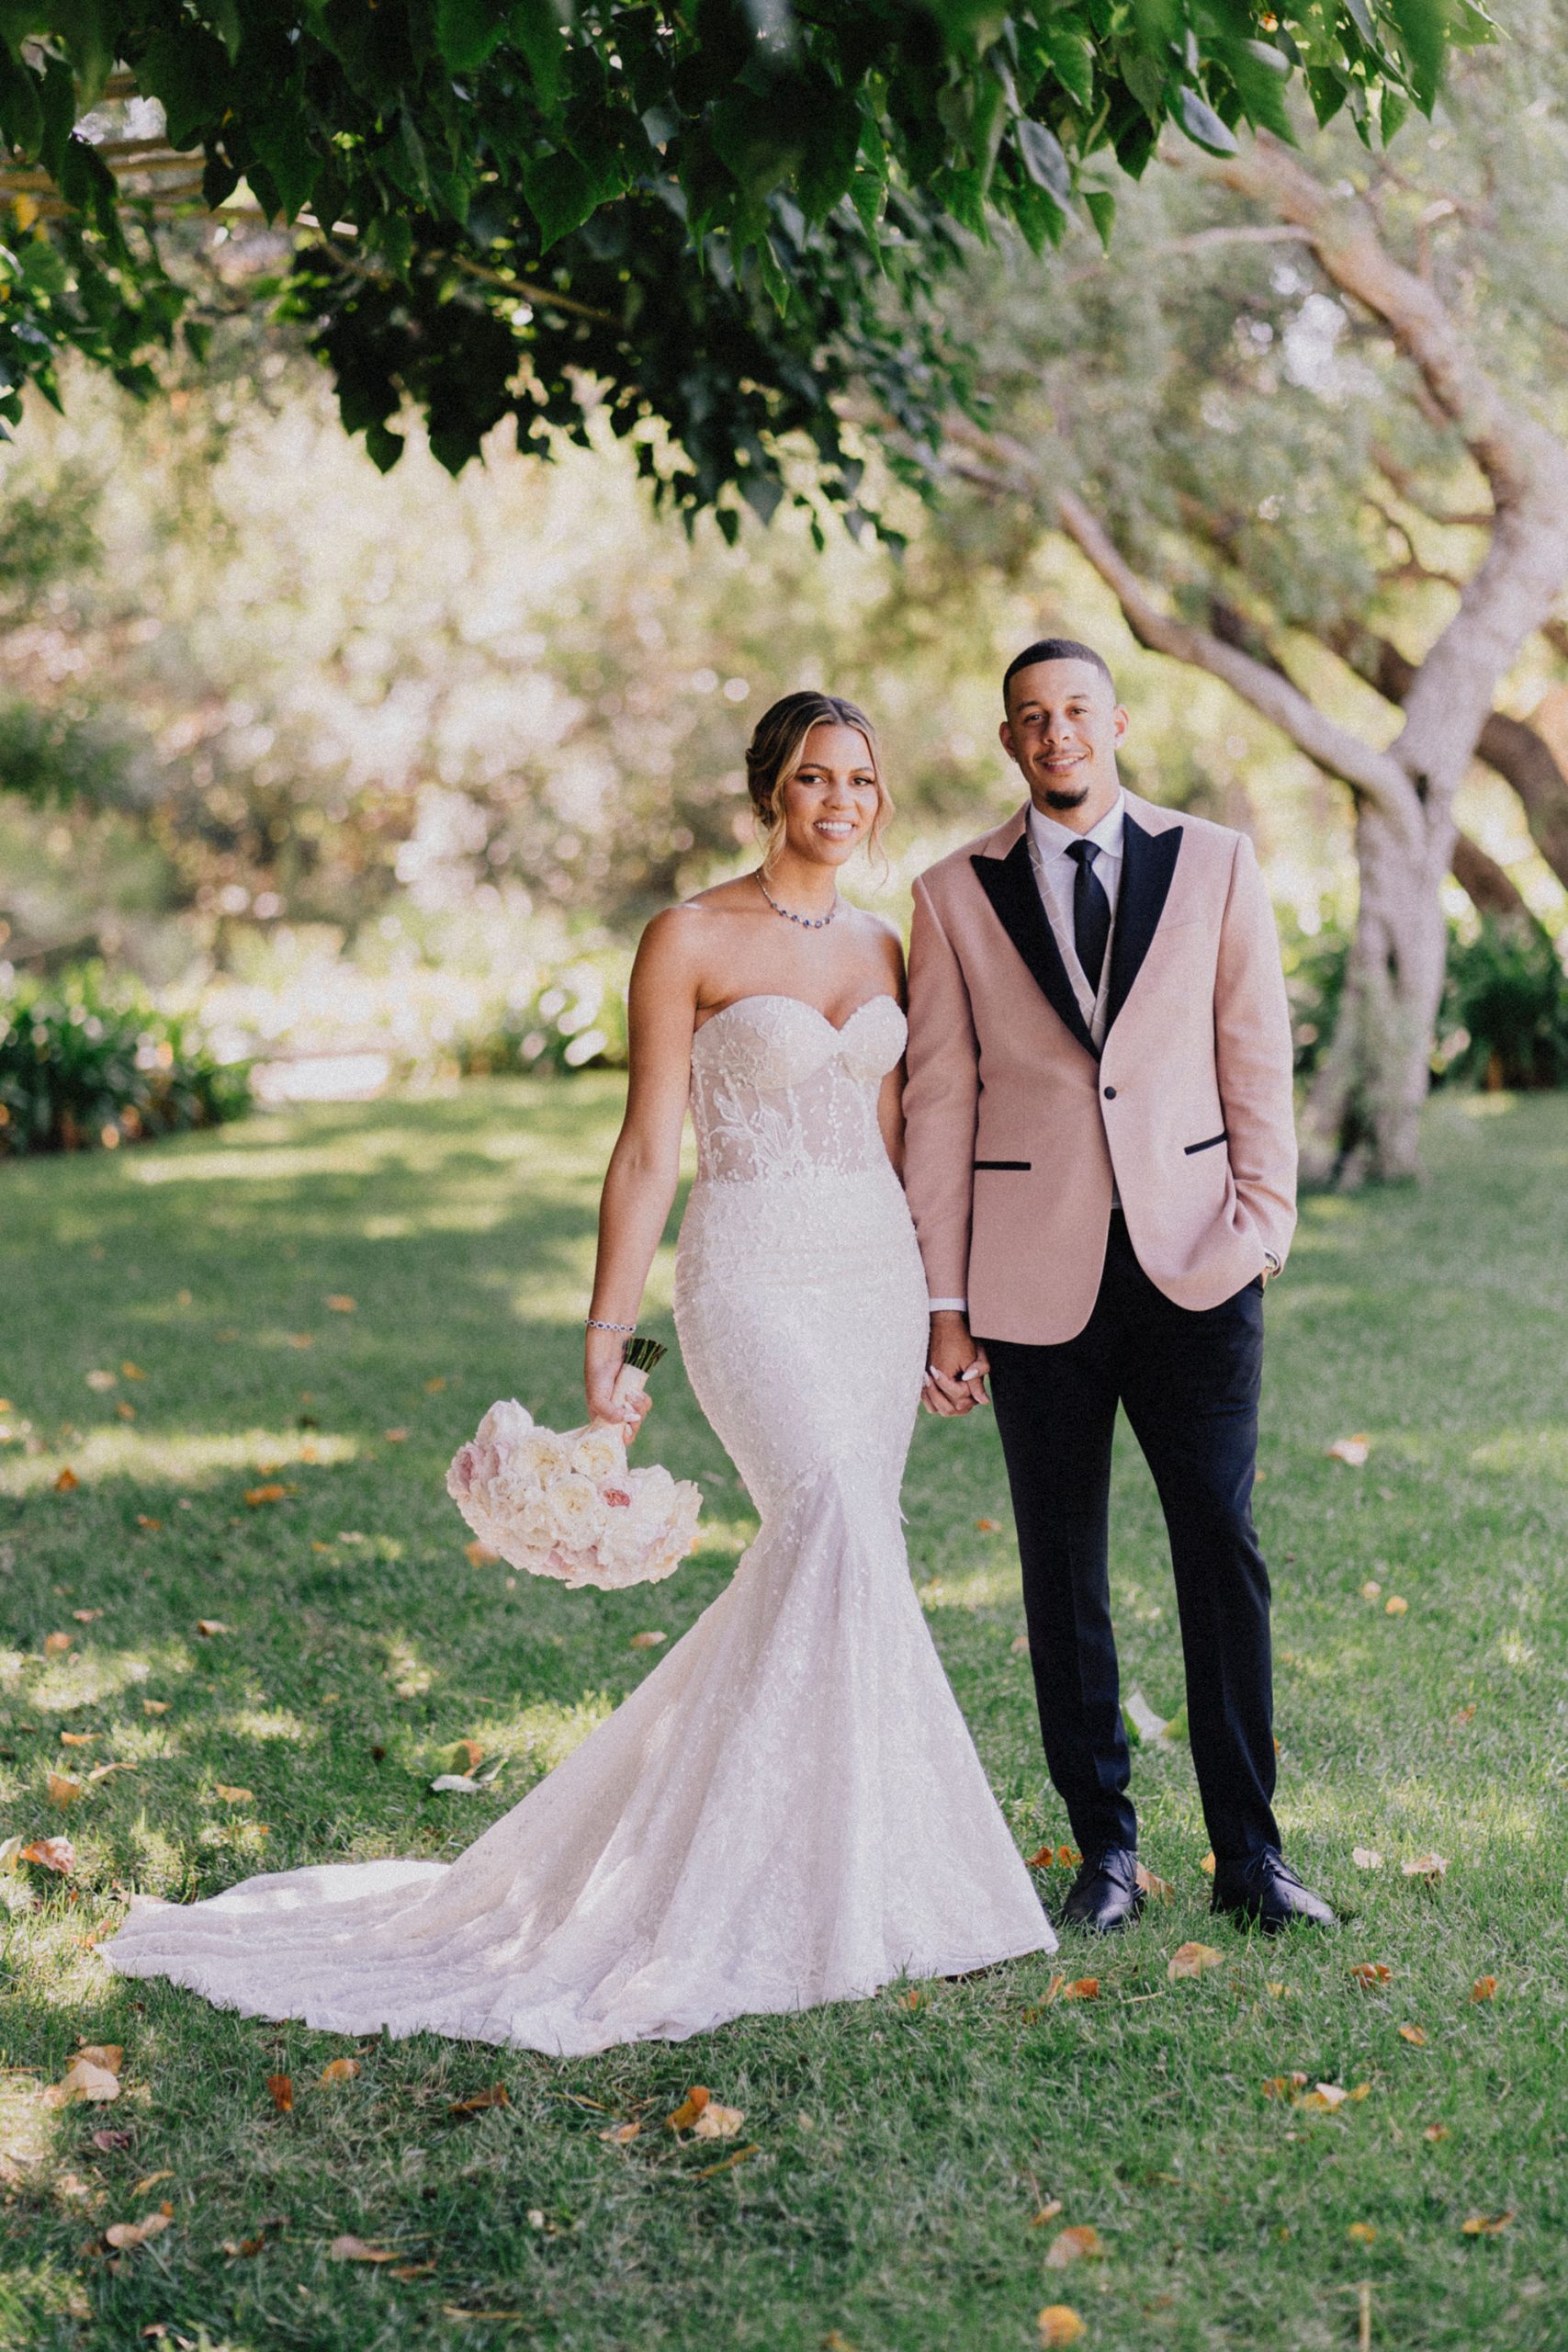
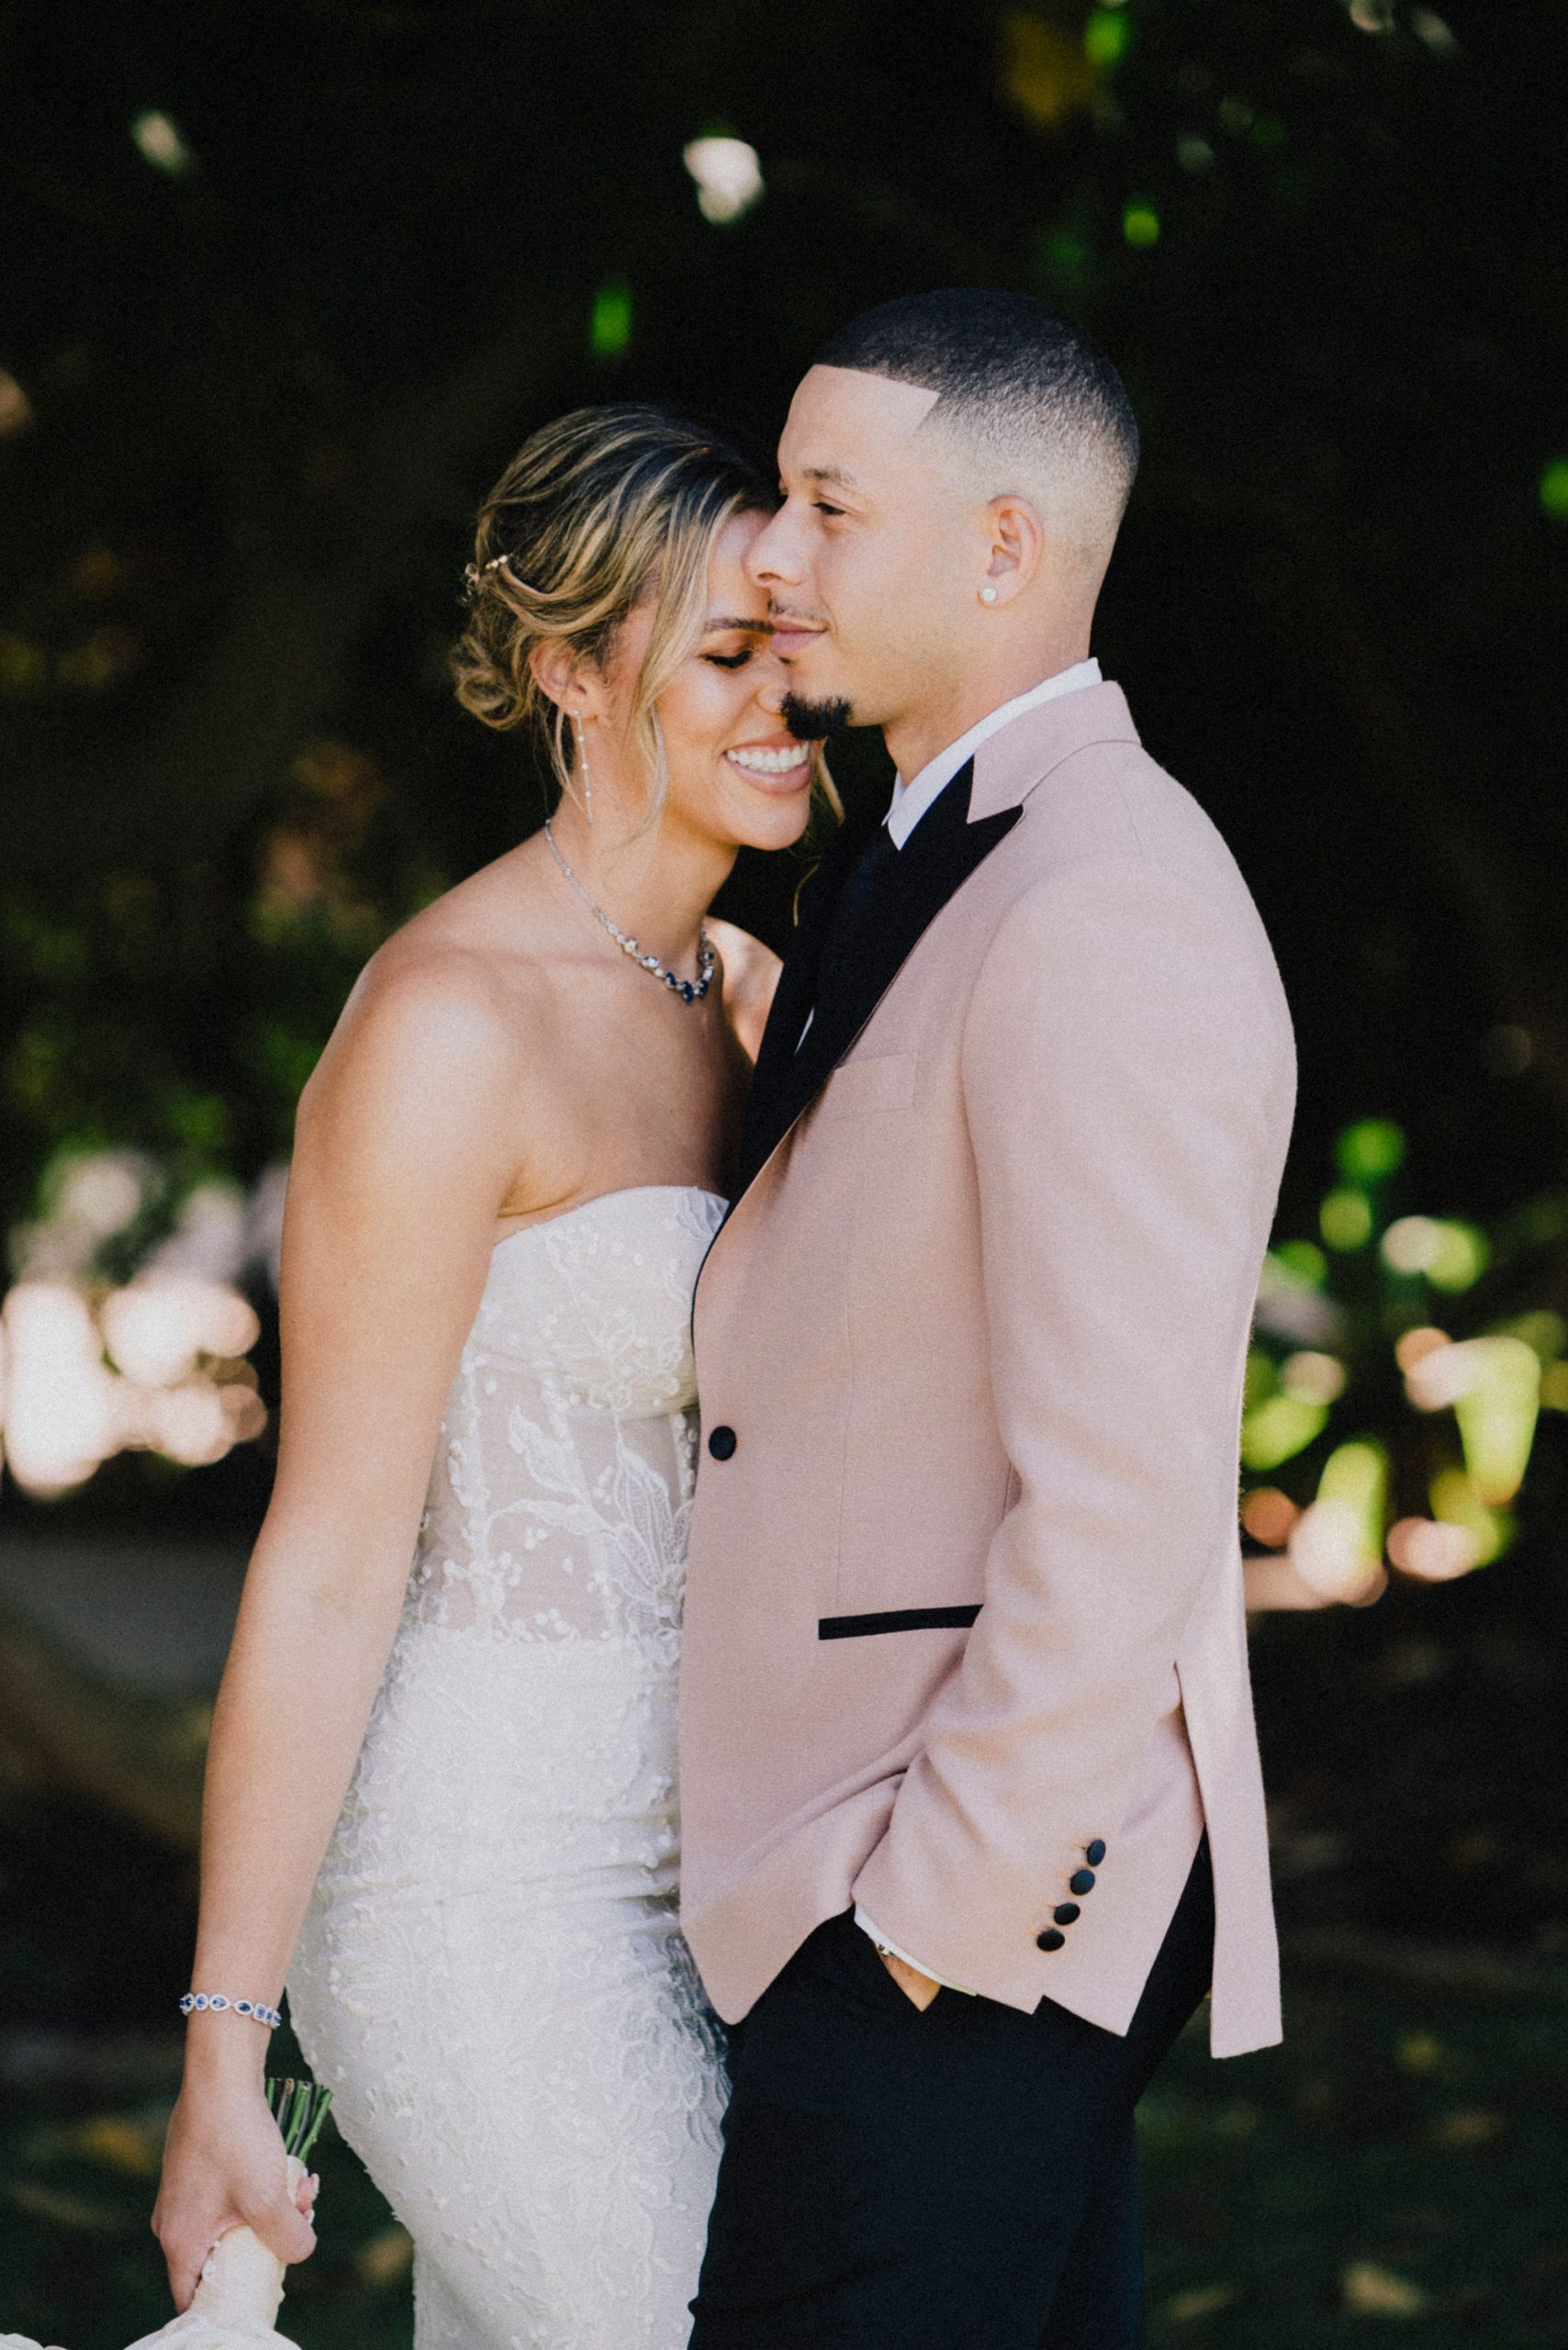
- Guests looking at the camera and smiling.
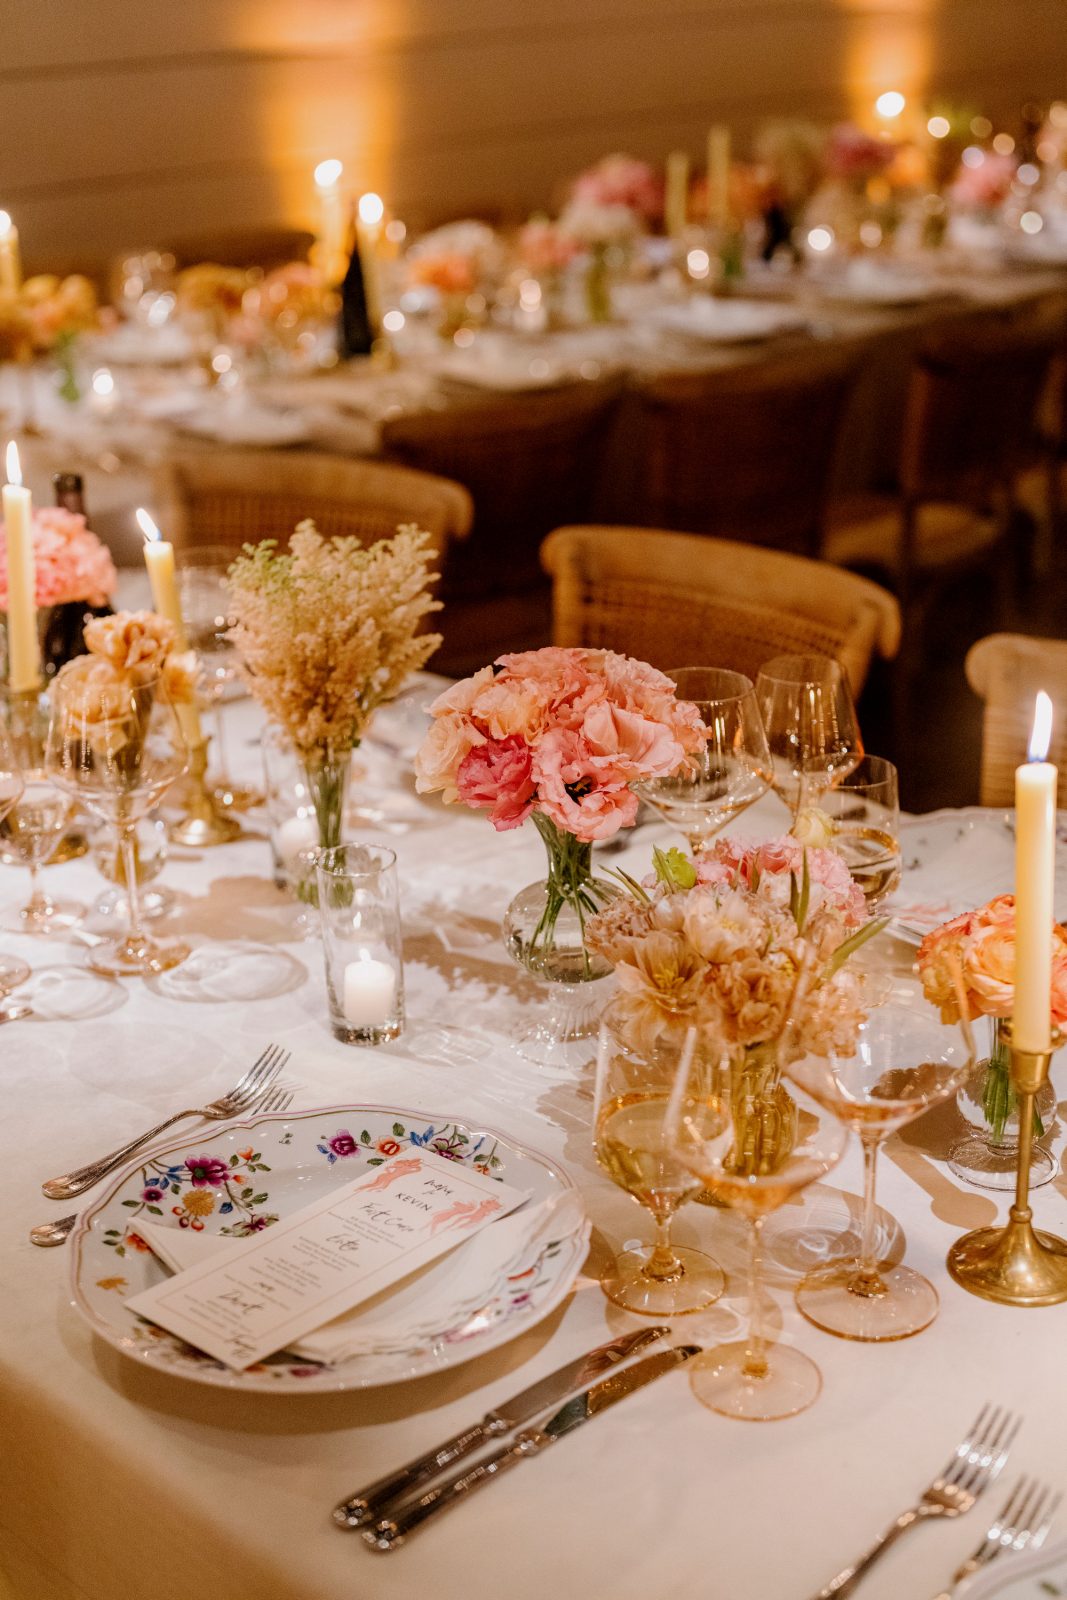
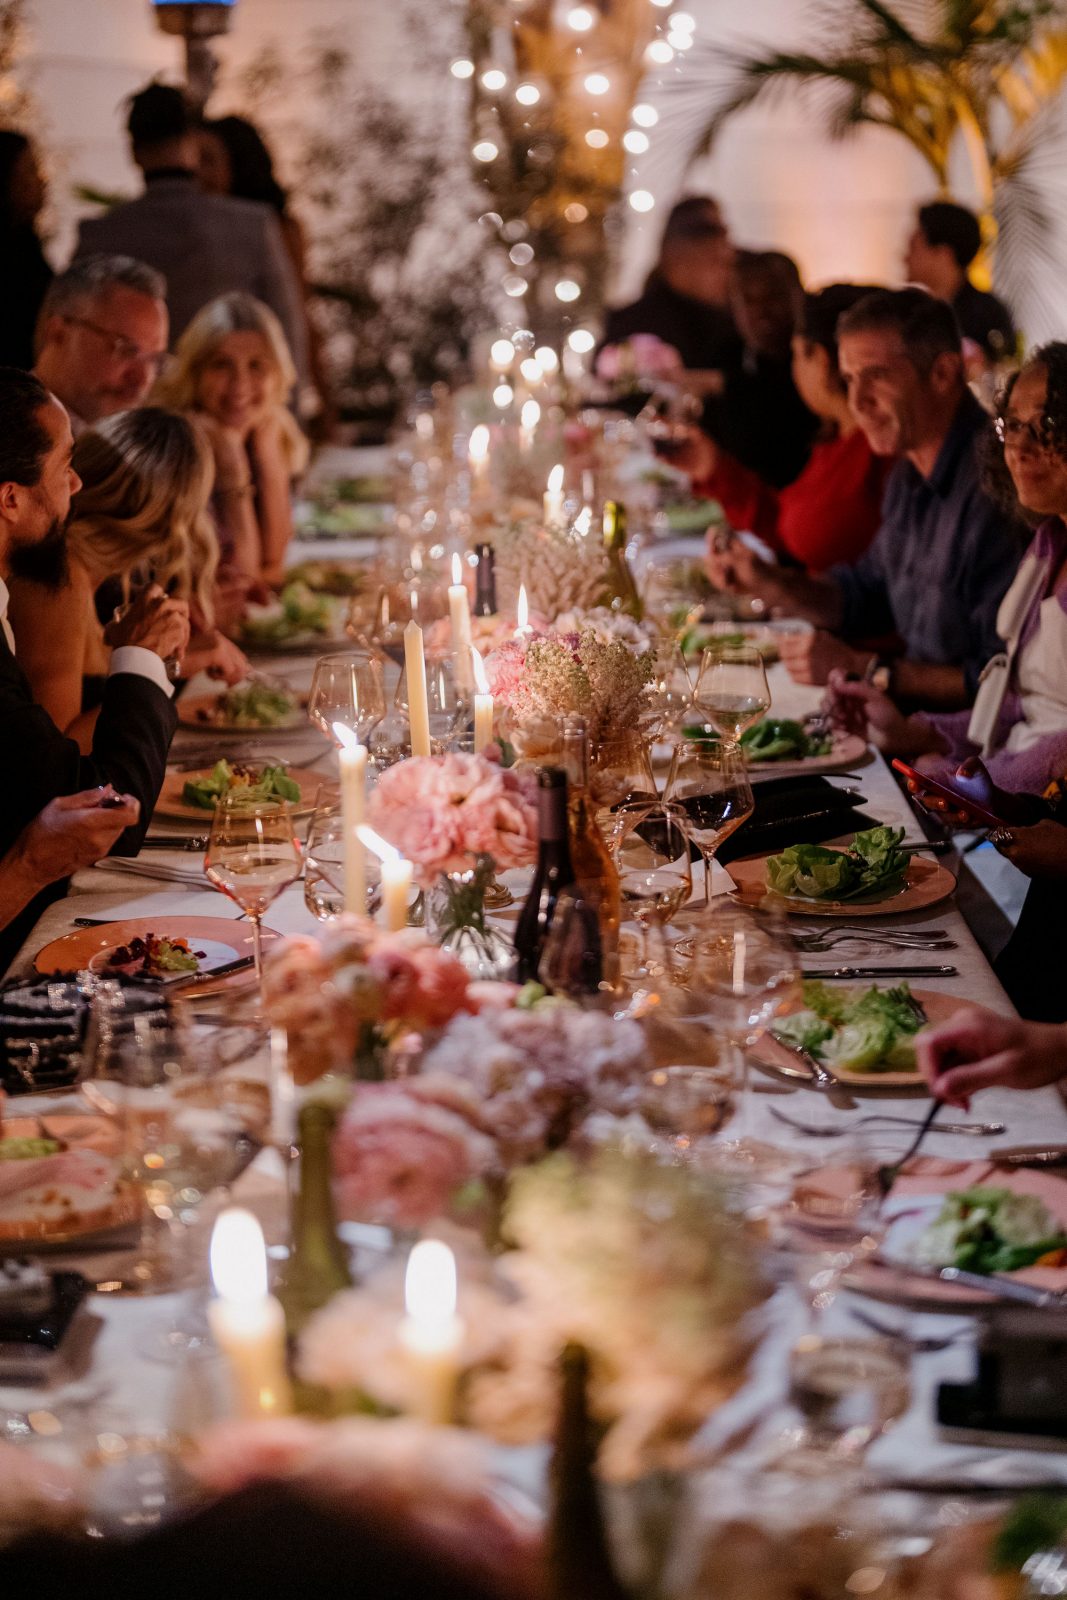
- Decor photos (no people)
- Certain decor~ish photos, even when people are present.
- Family photos.
- Wedding Party/Bridal Party photos.
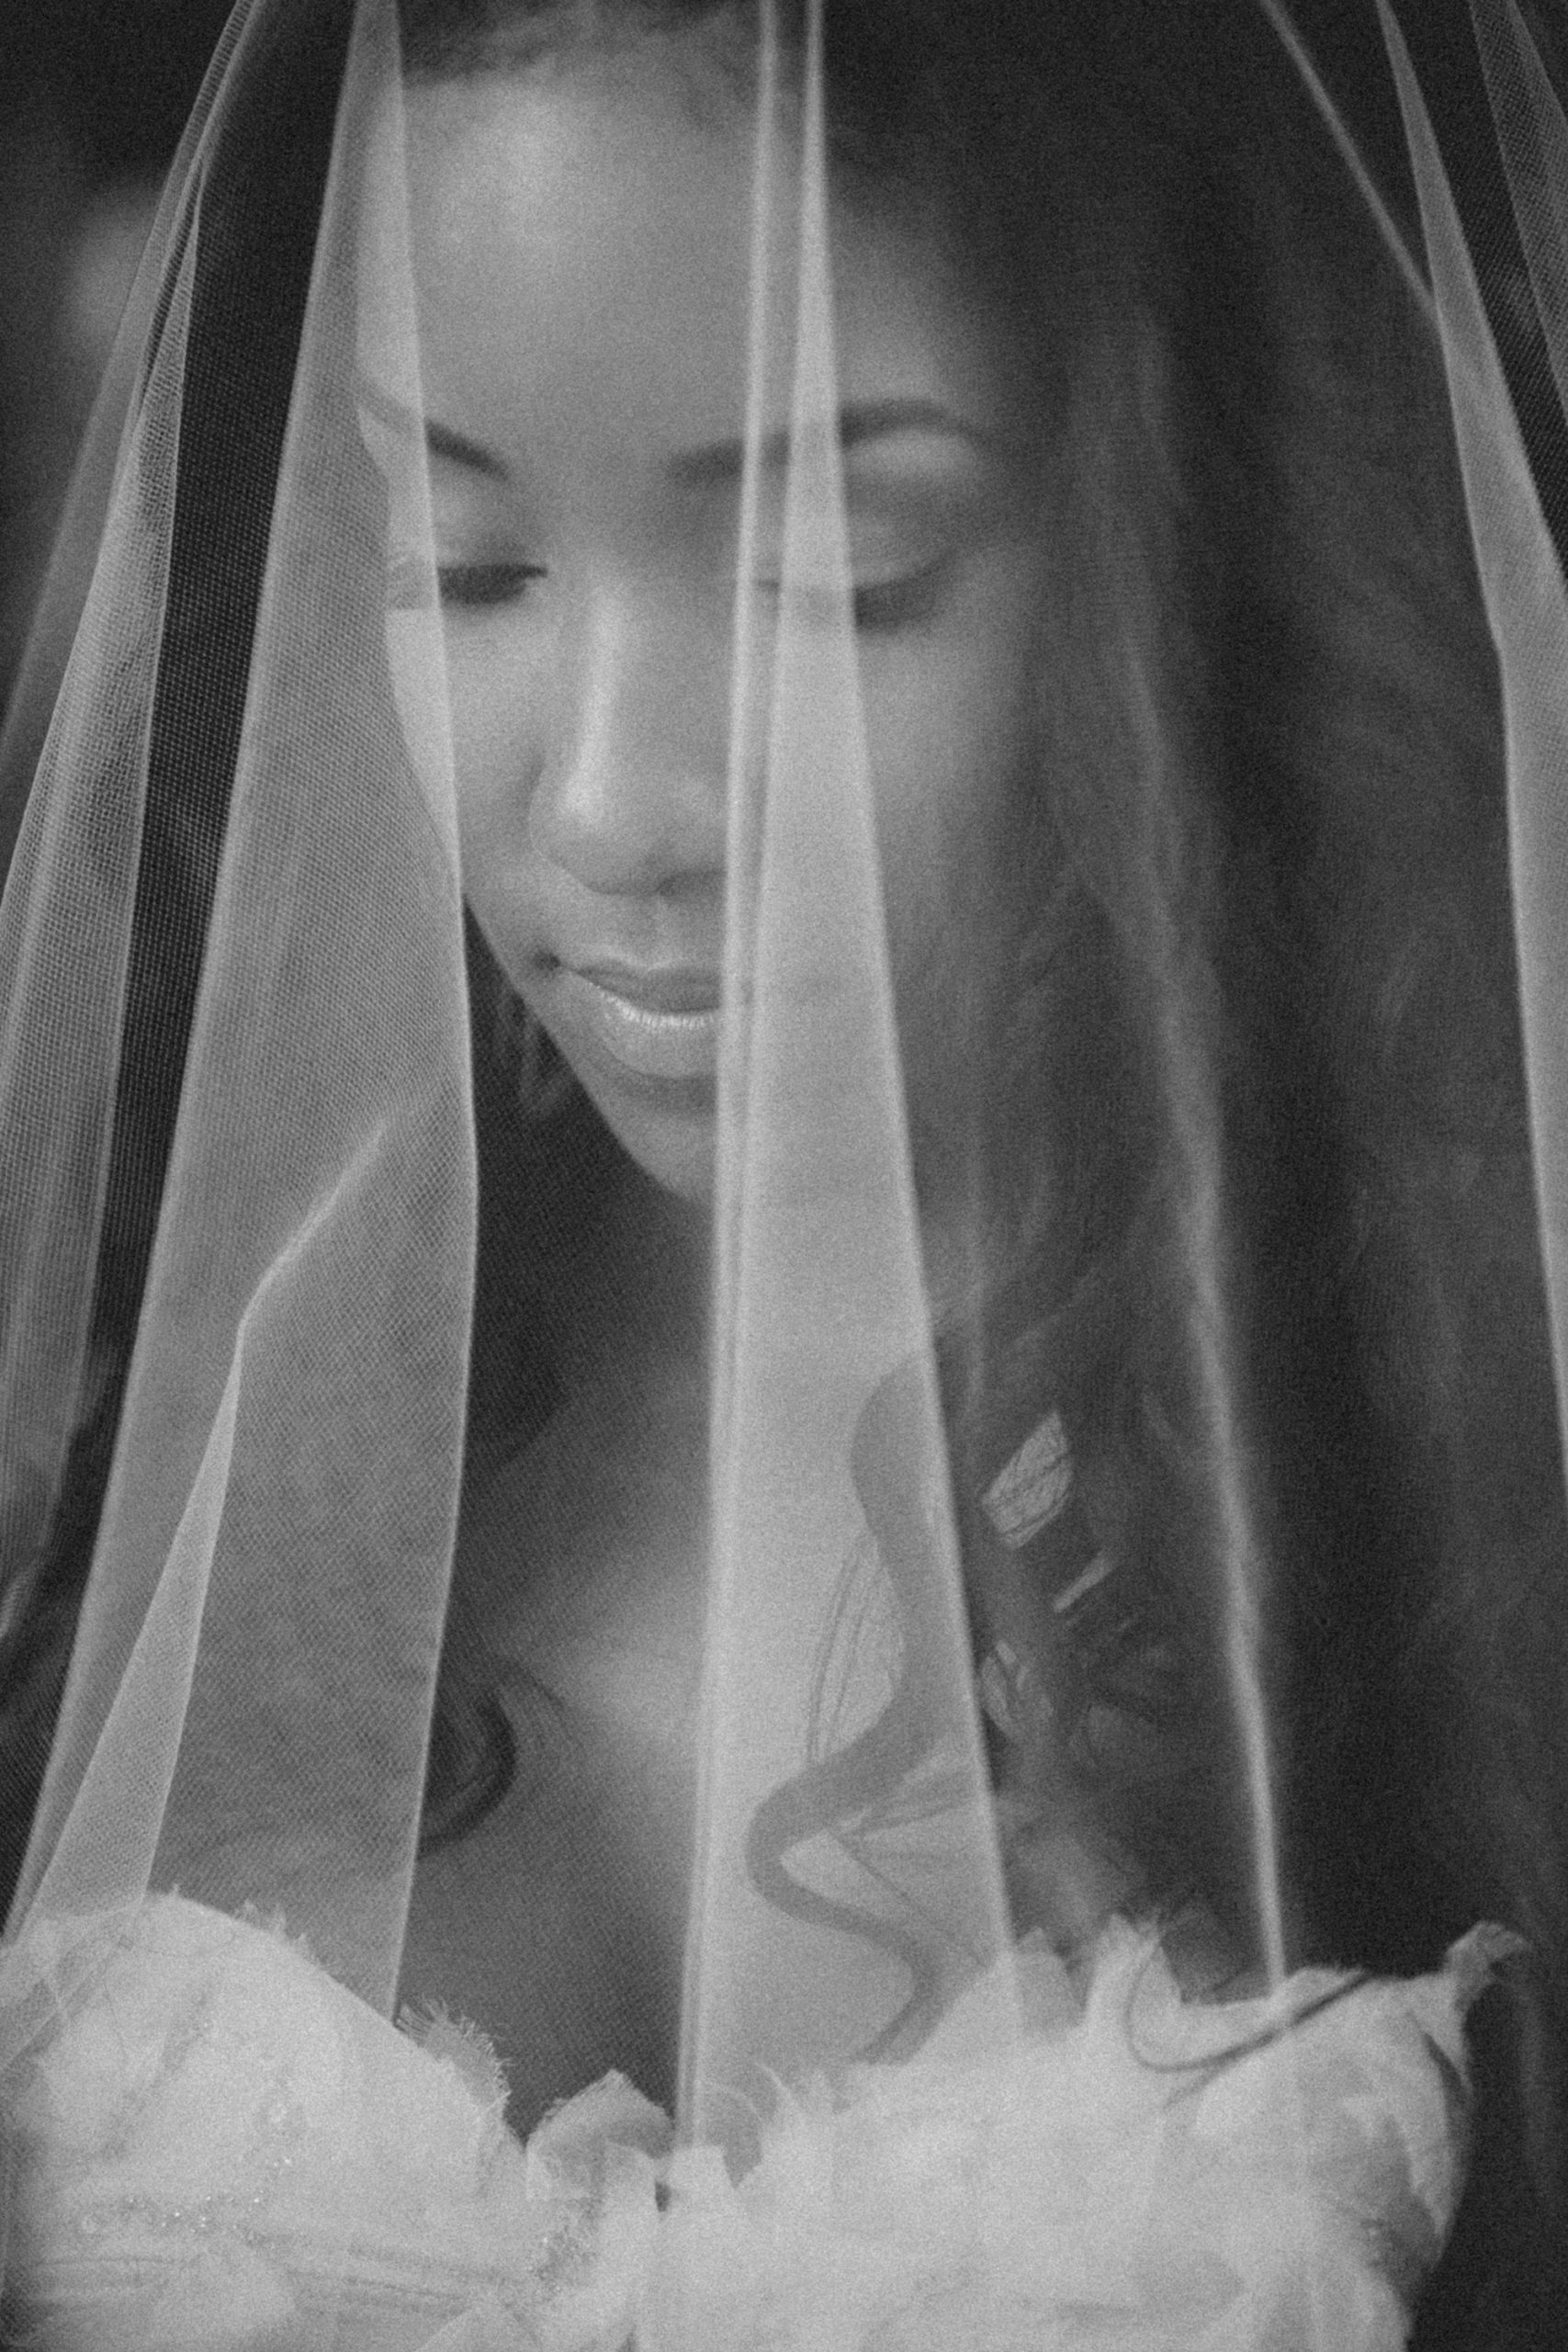
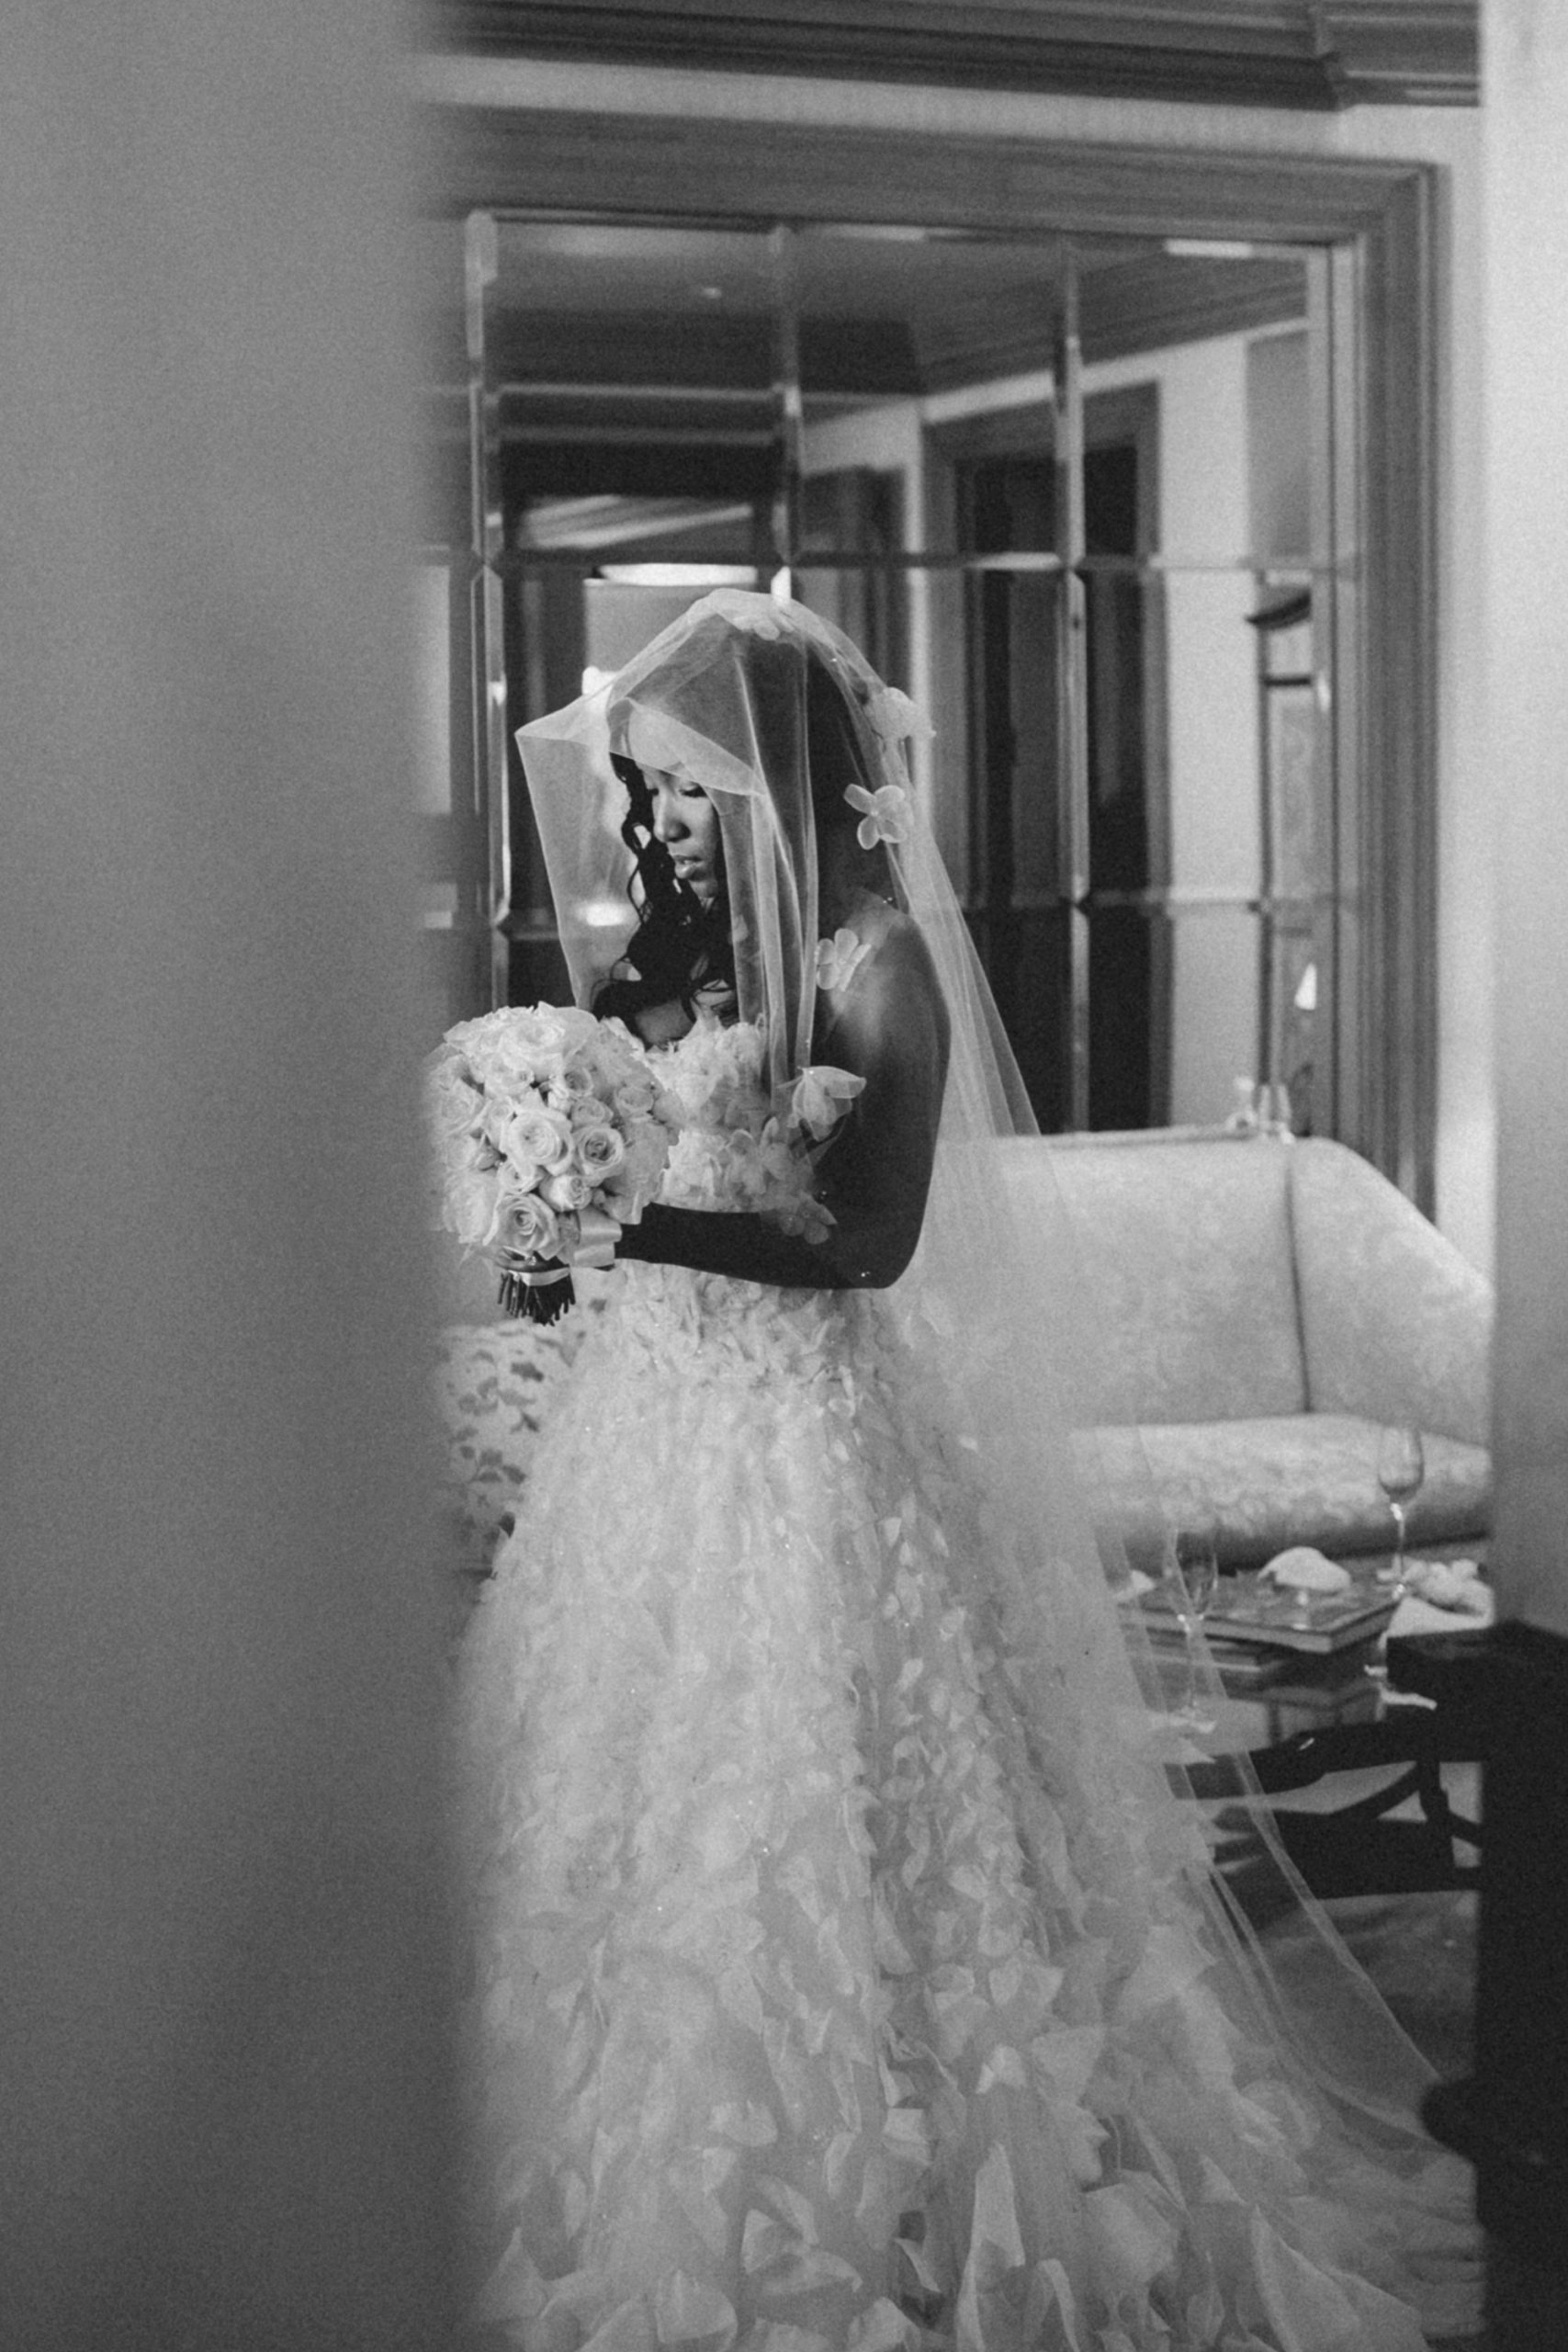
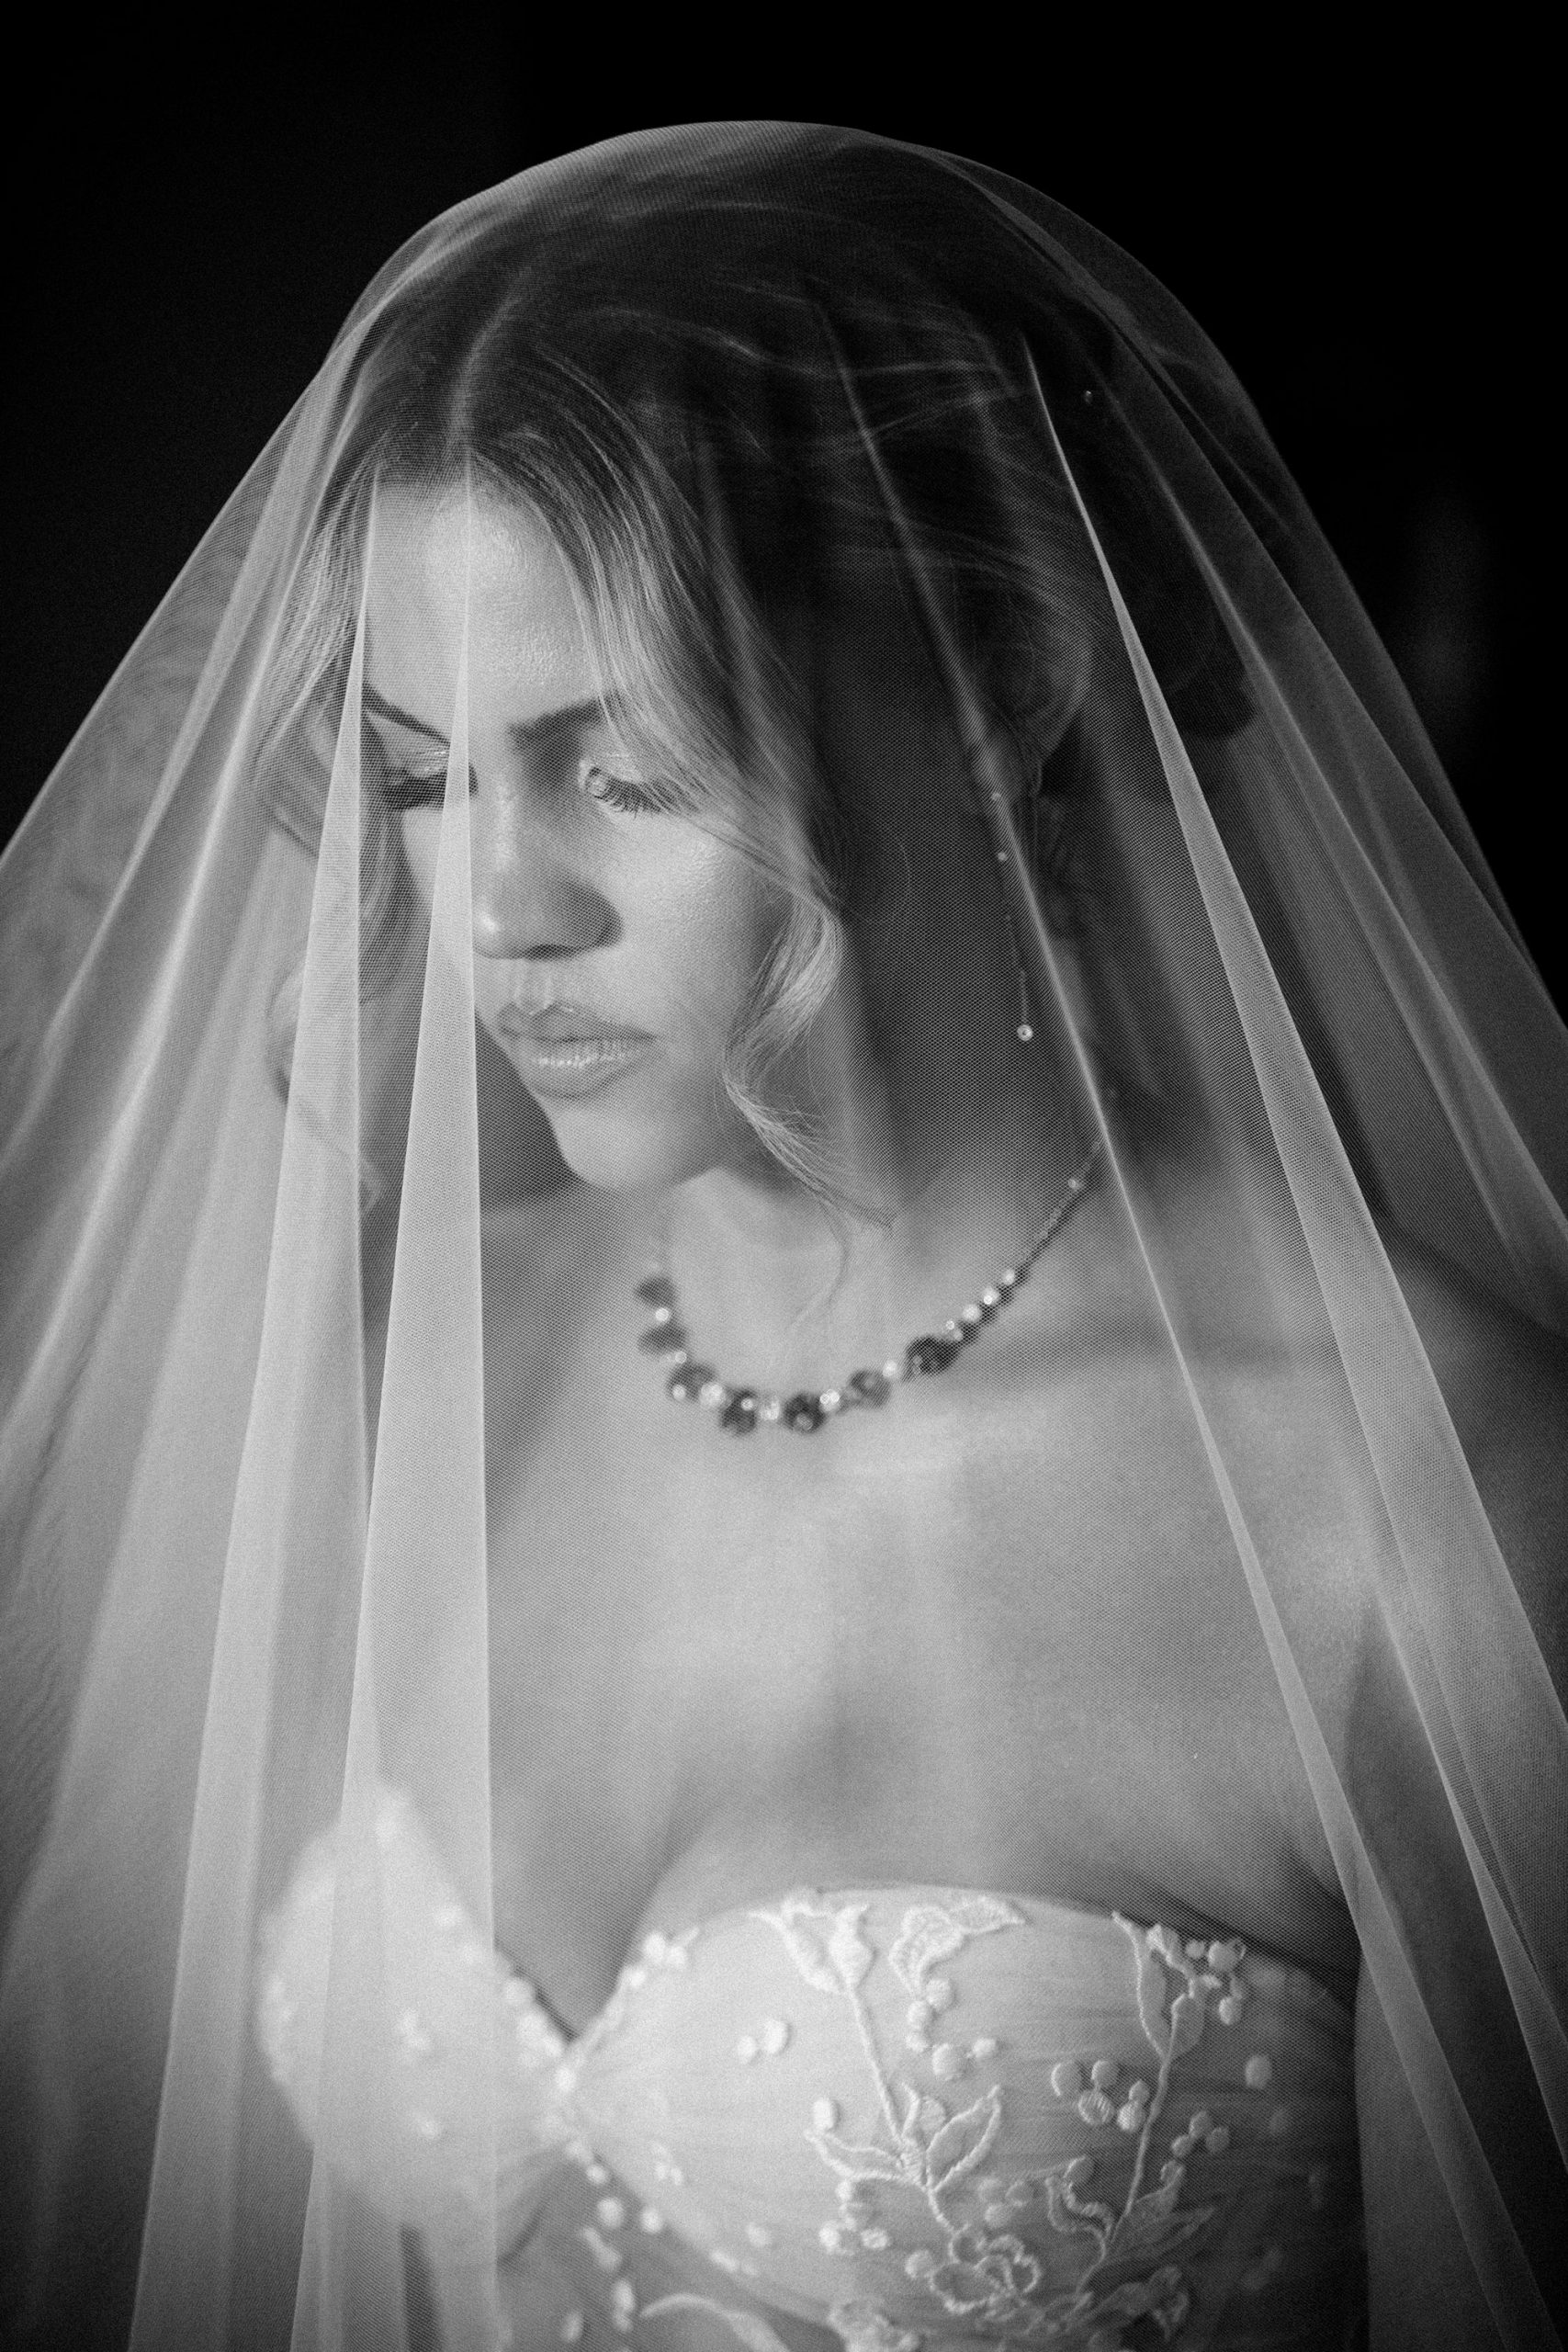
- BW
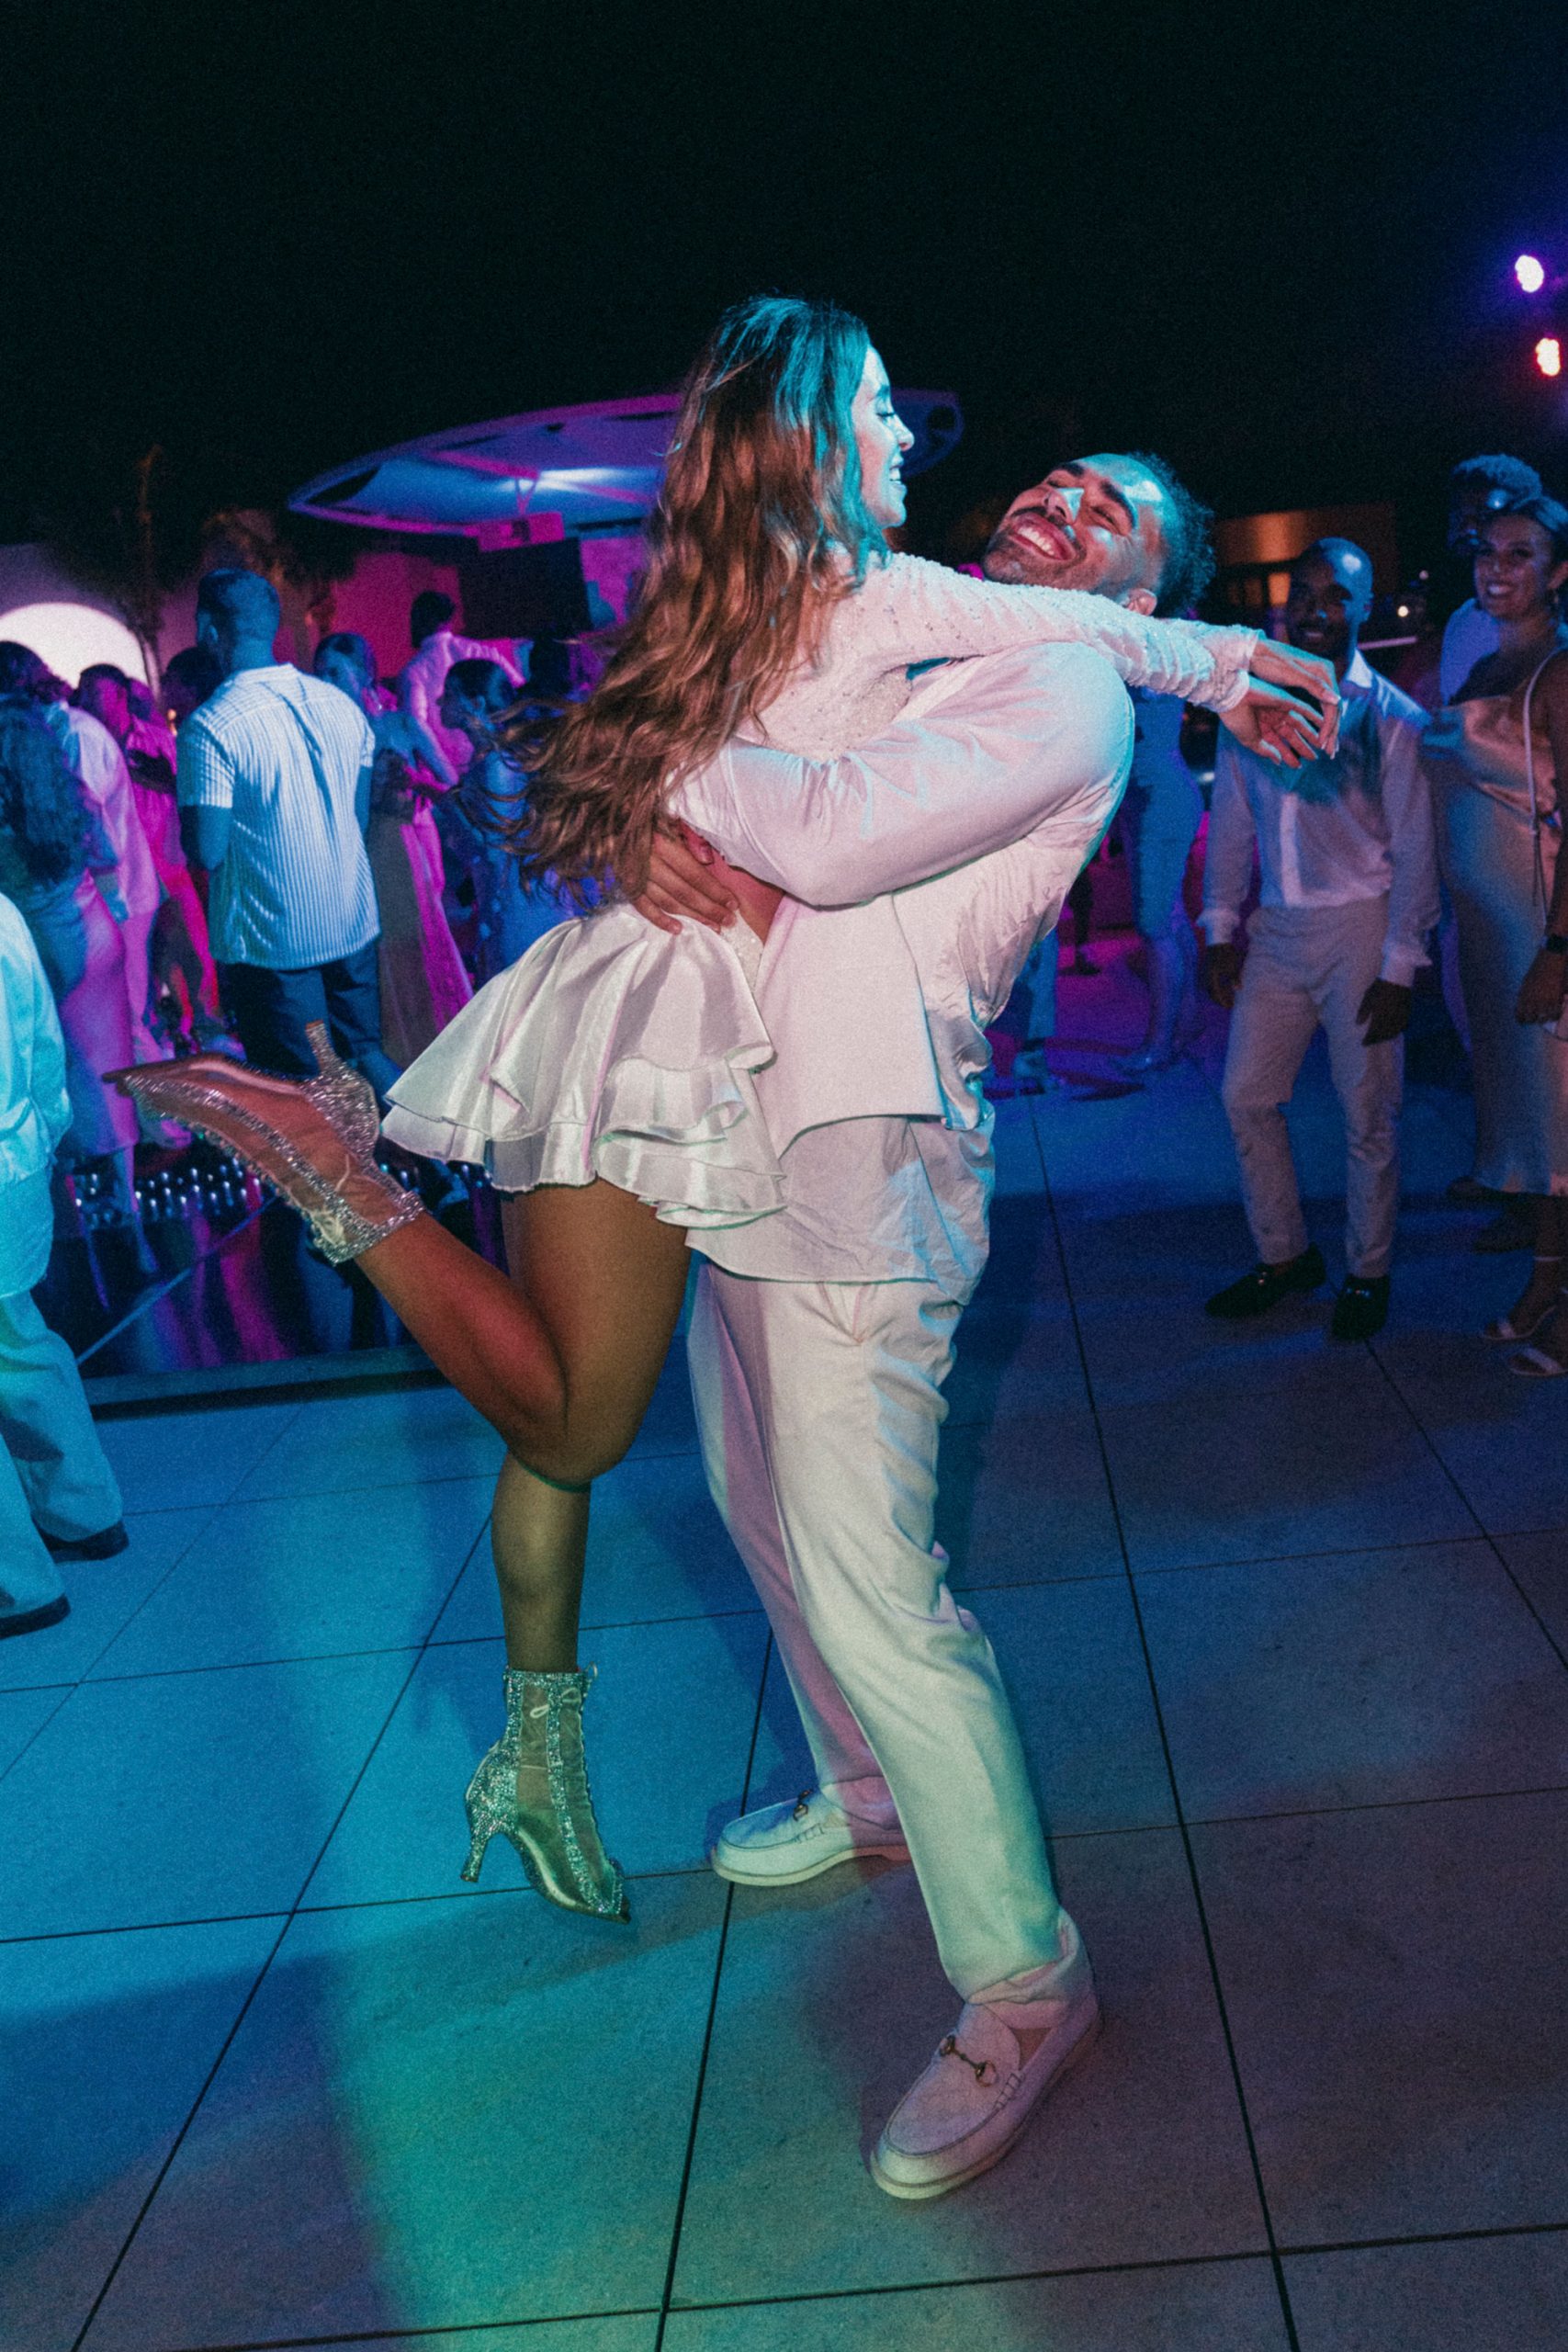
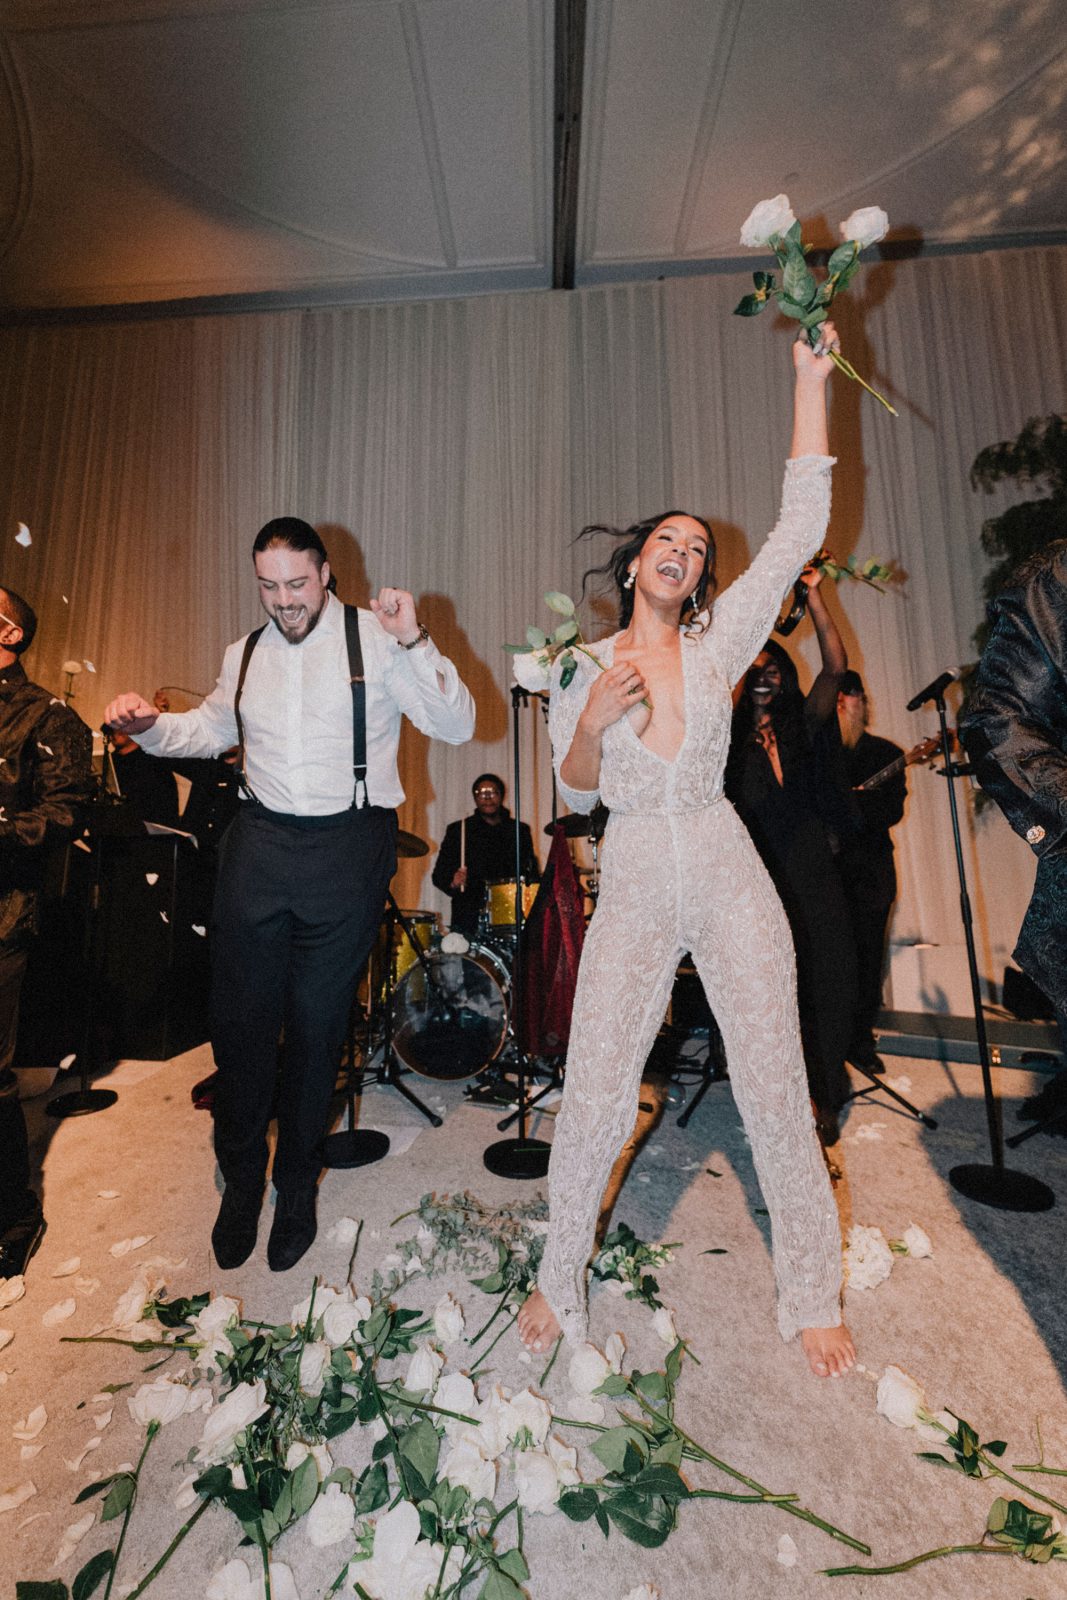
- Guests dancing, unless it’s a colorful scene, then keep color.
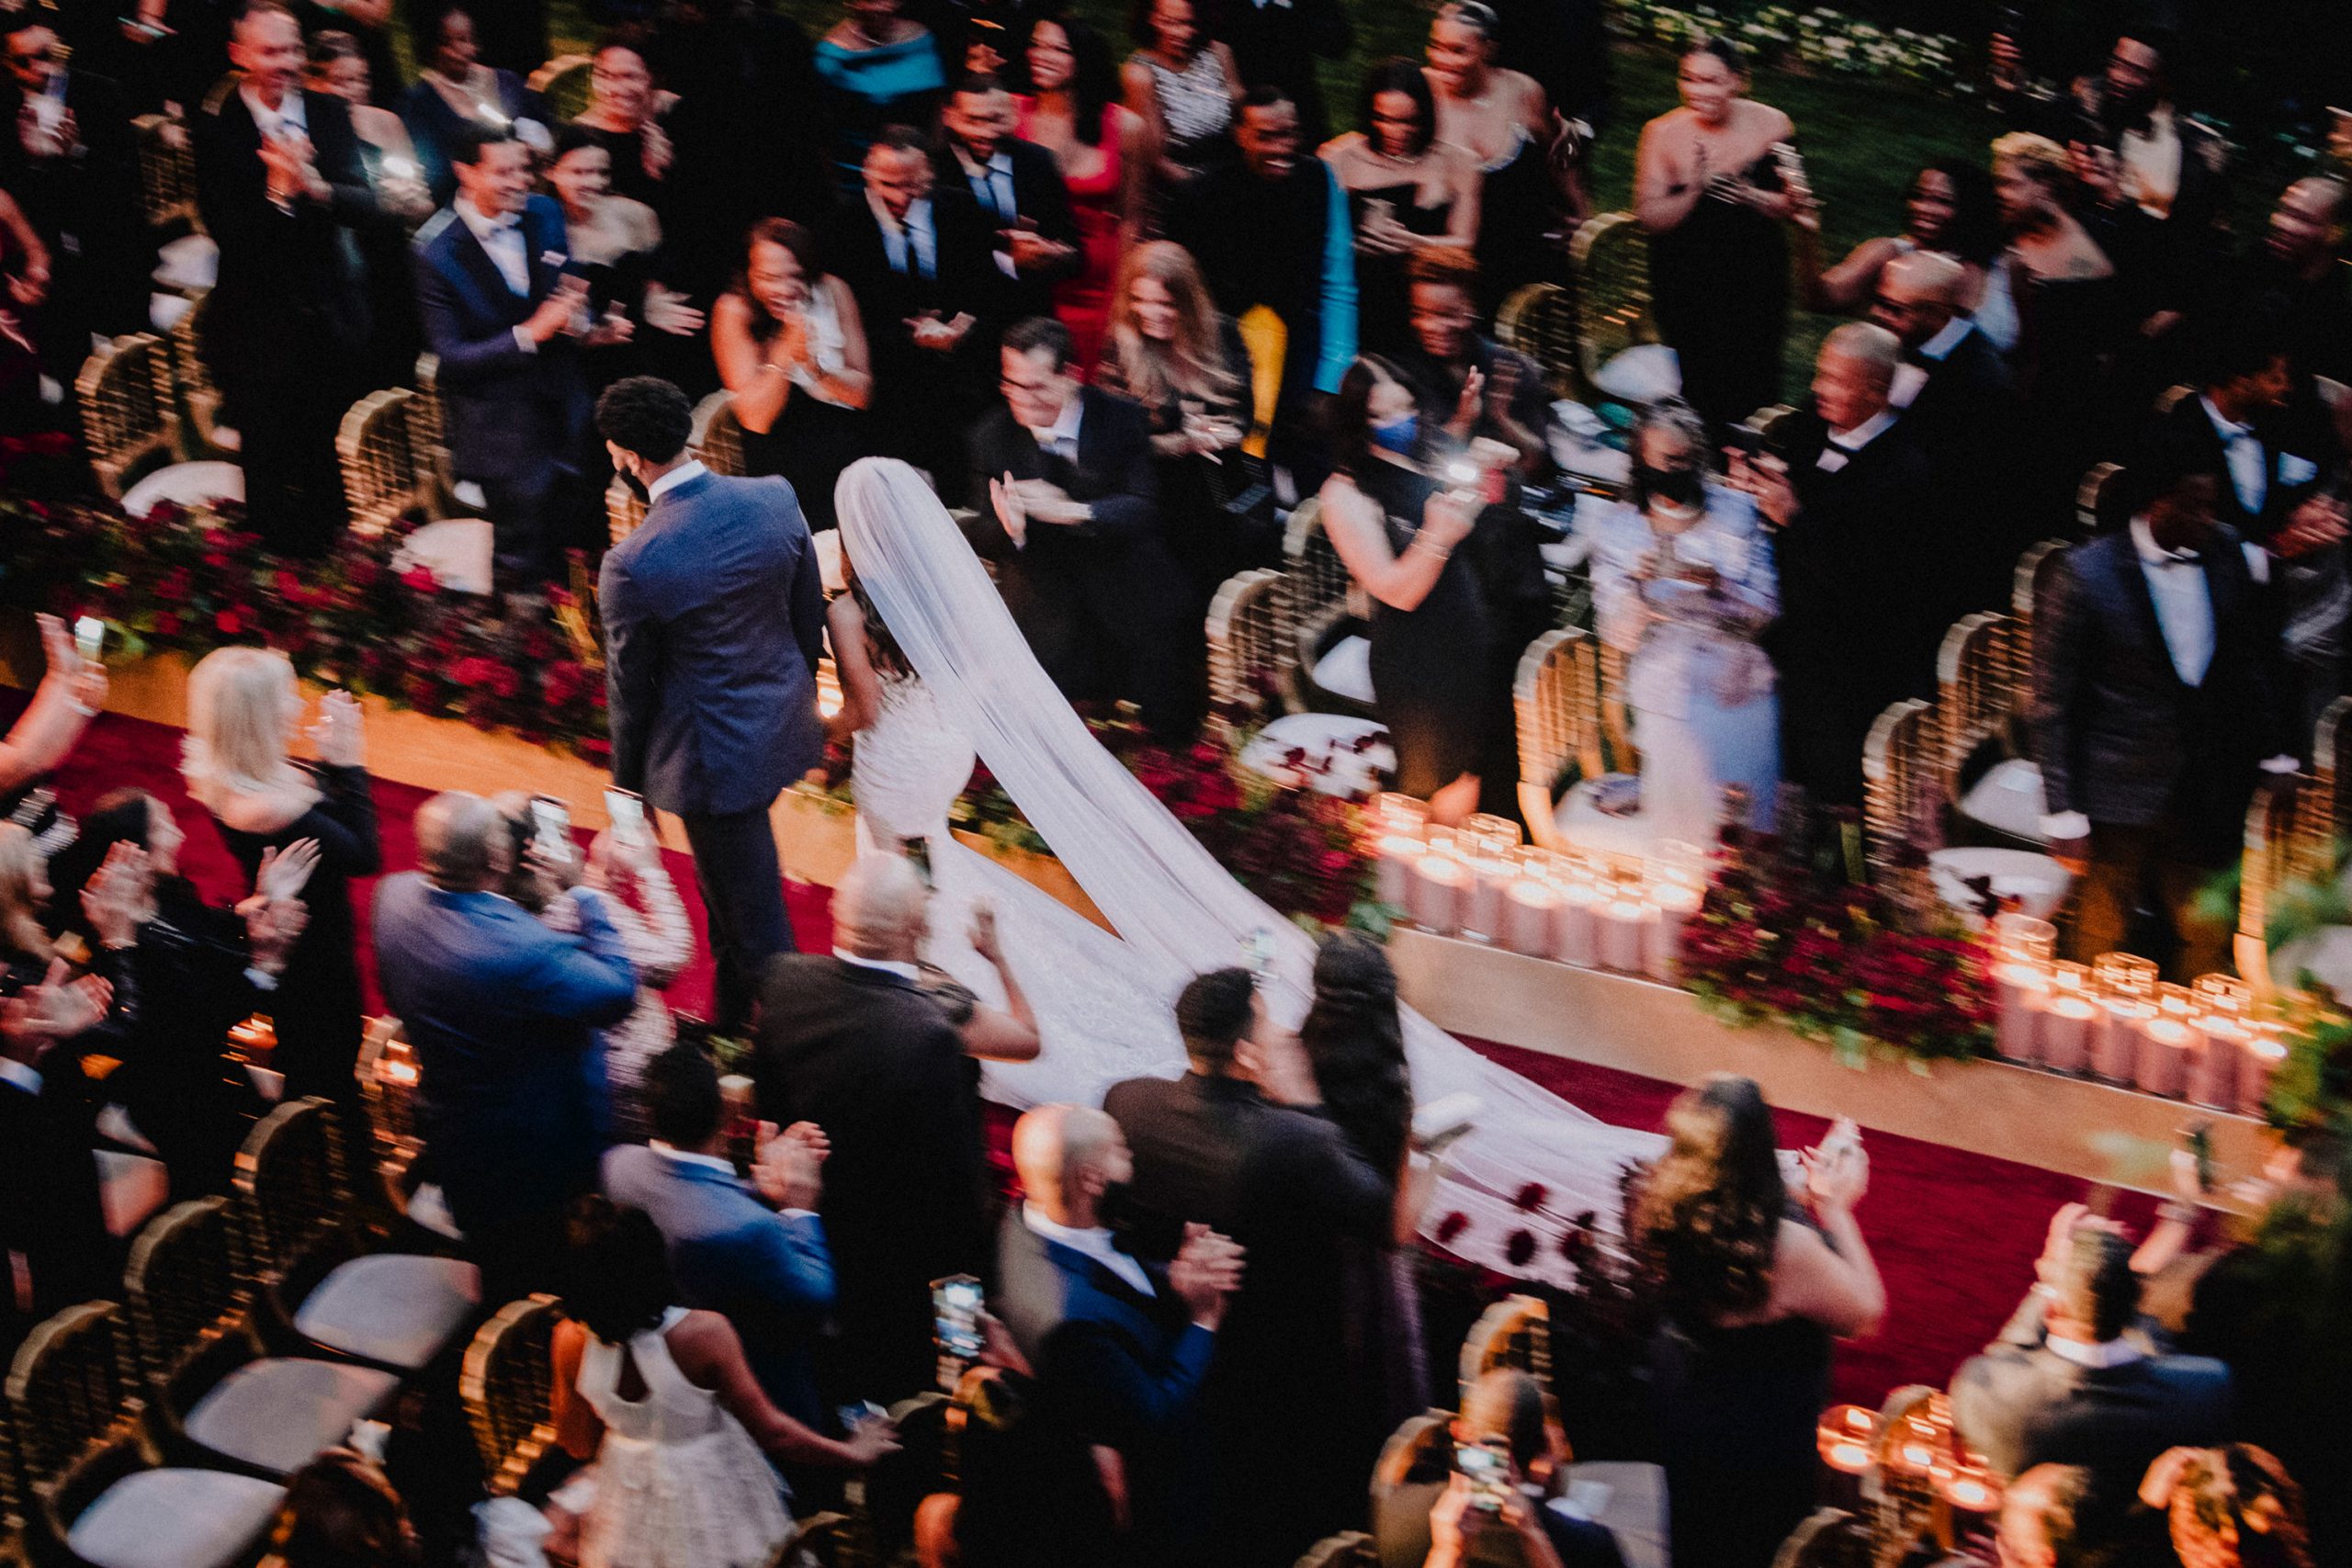
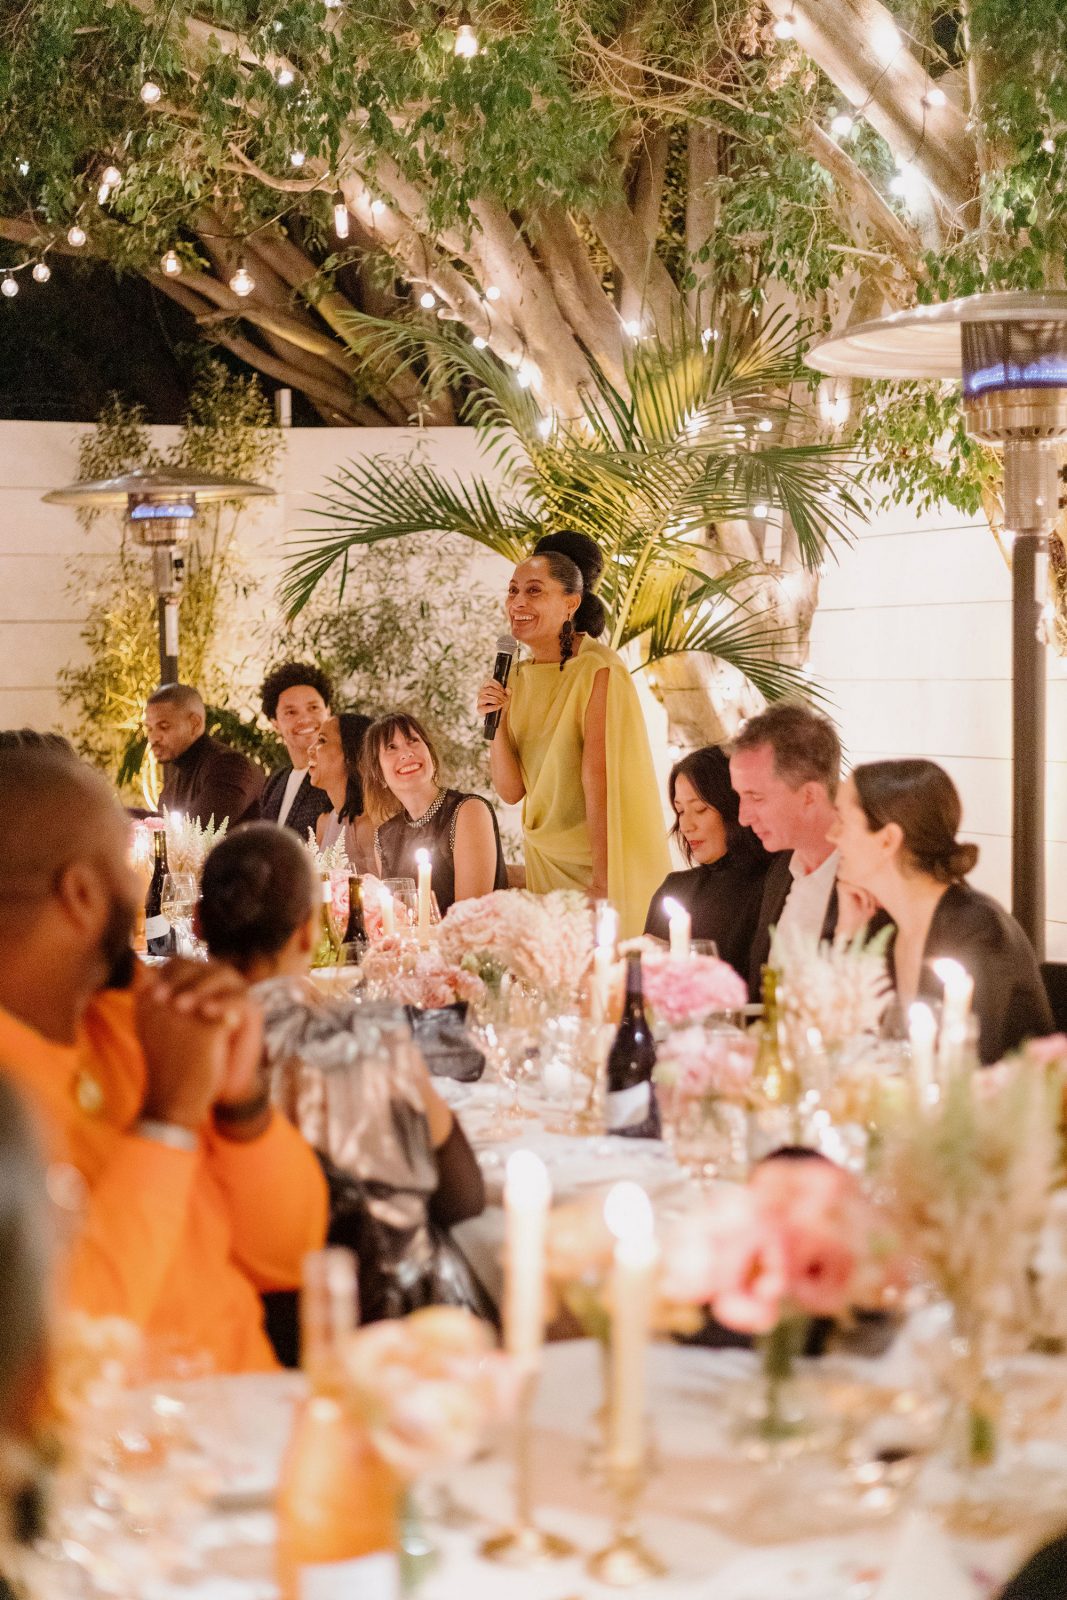
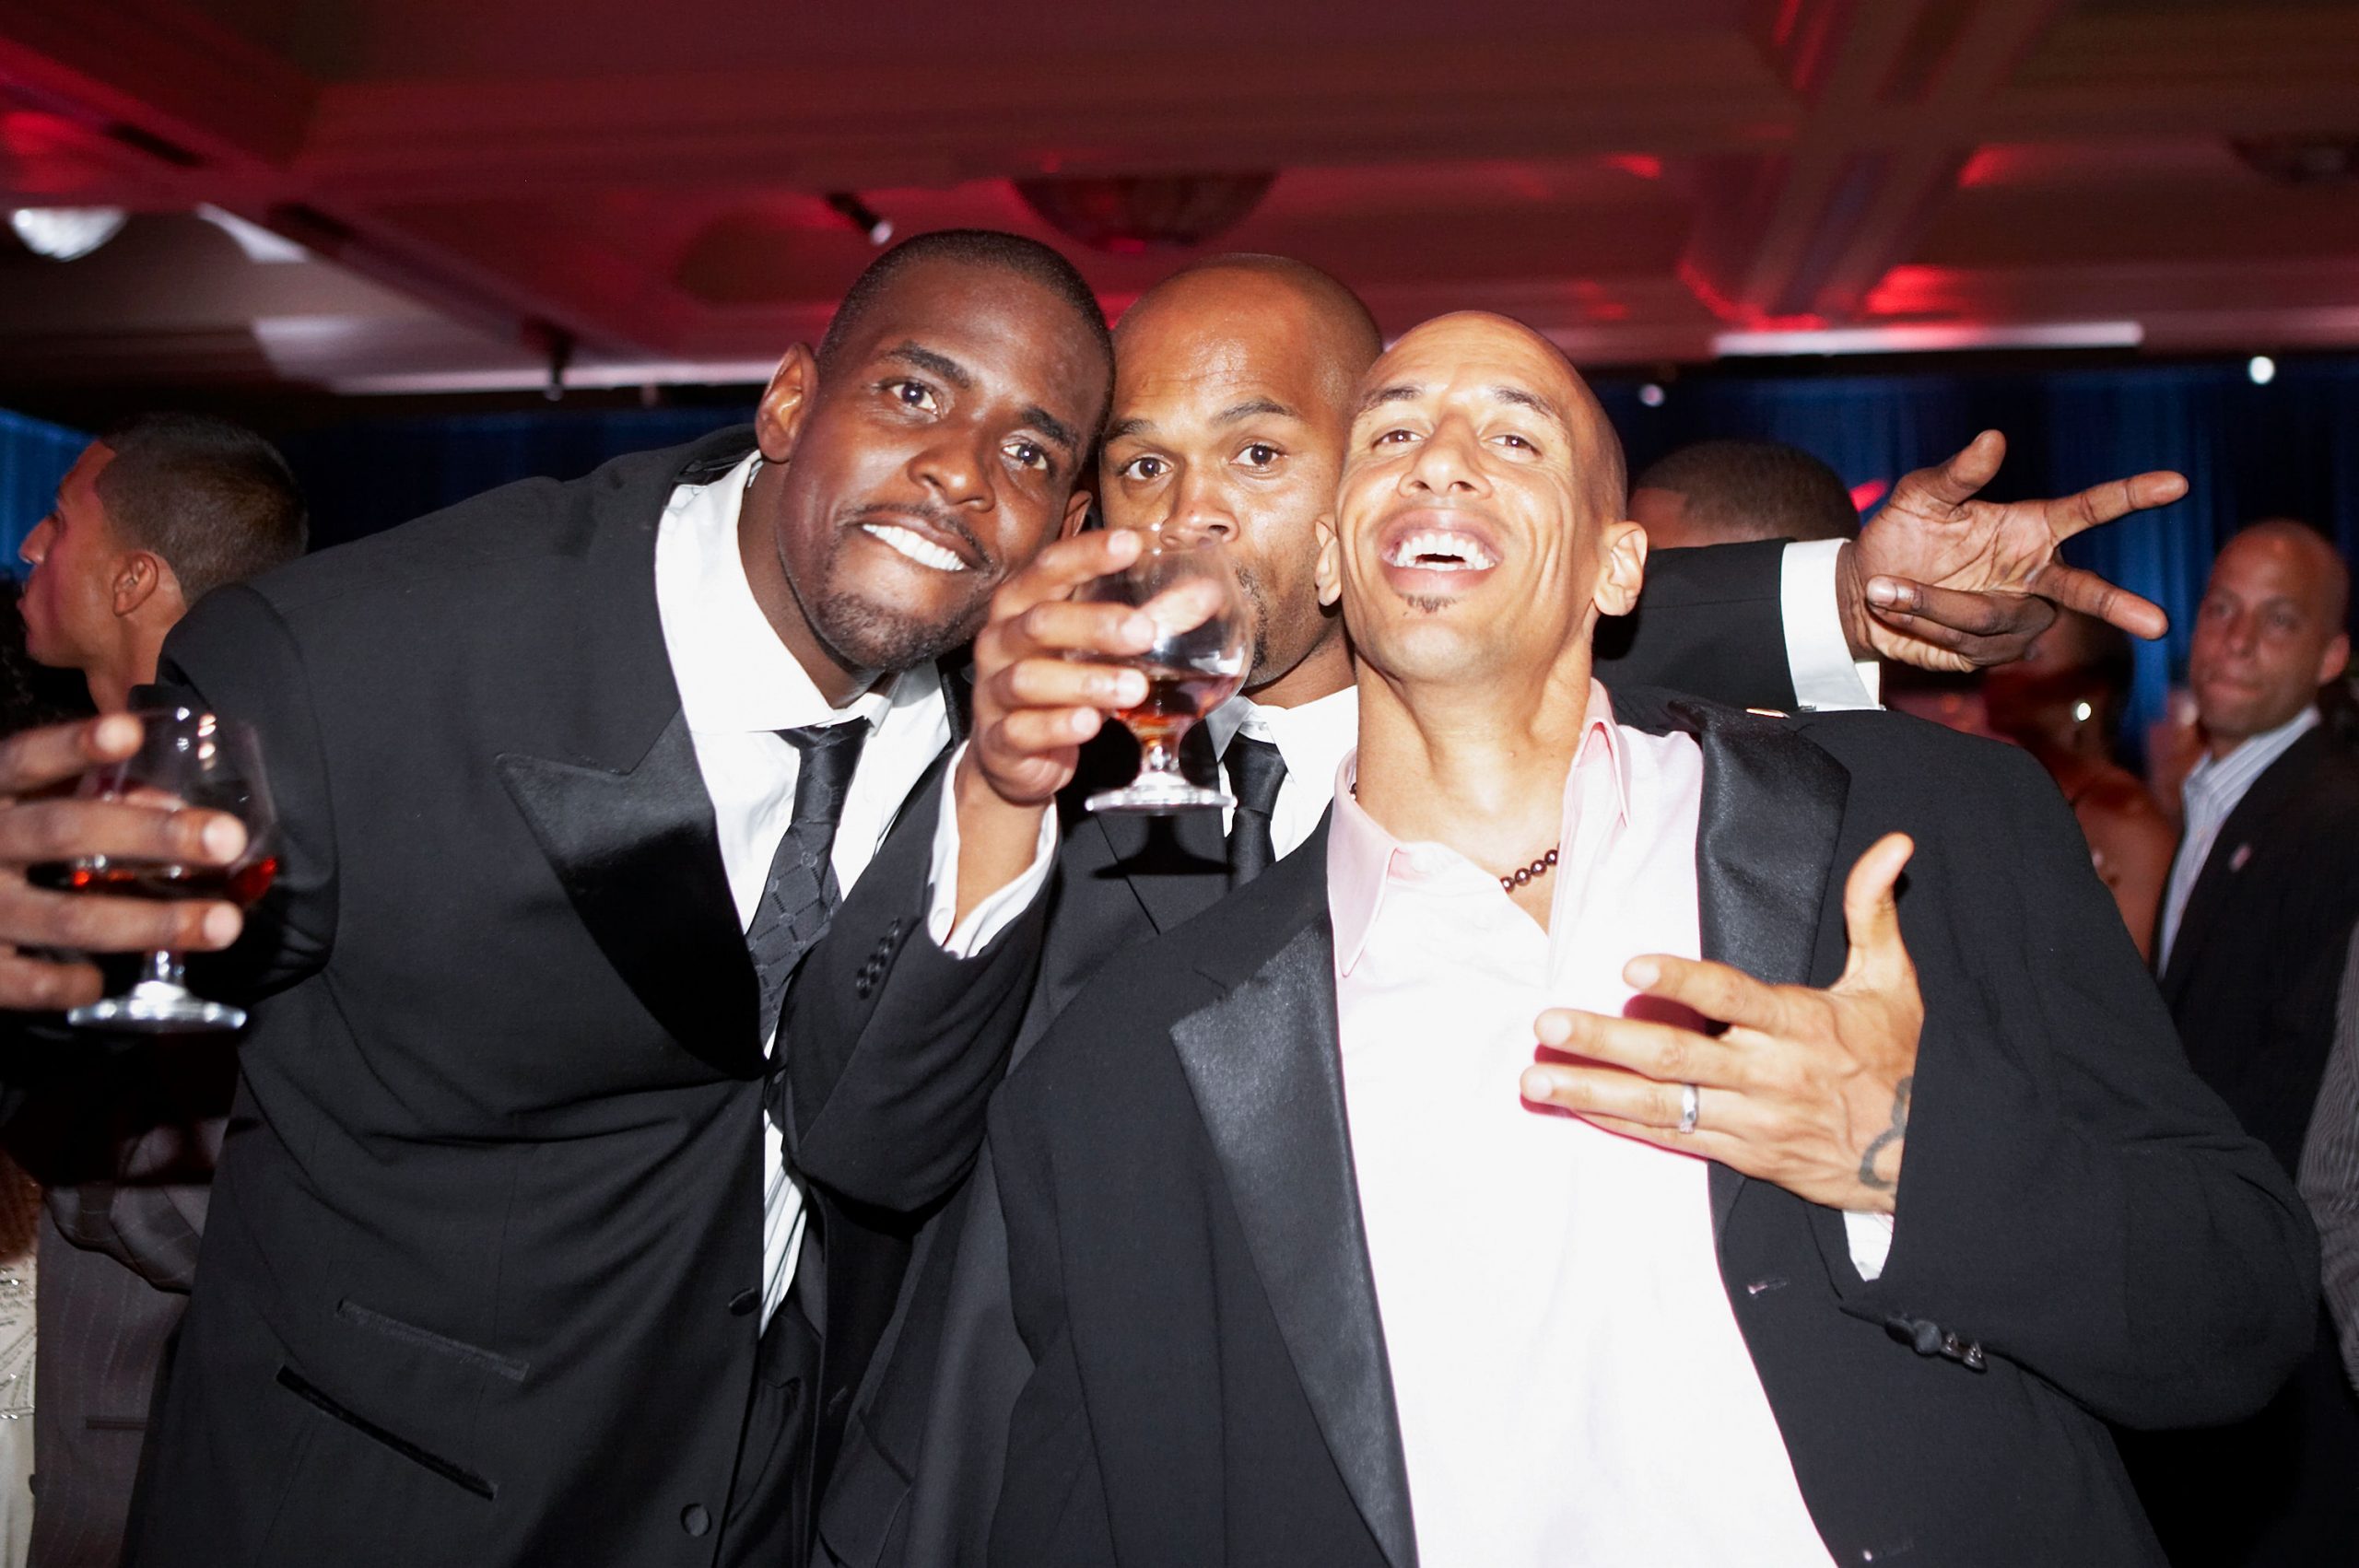
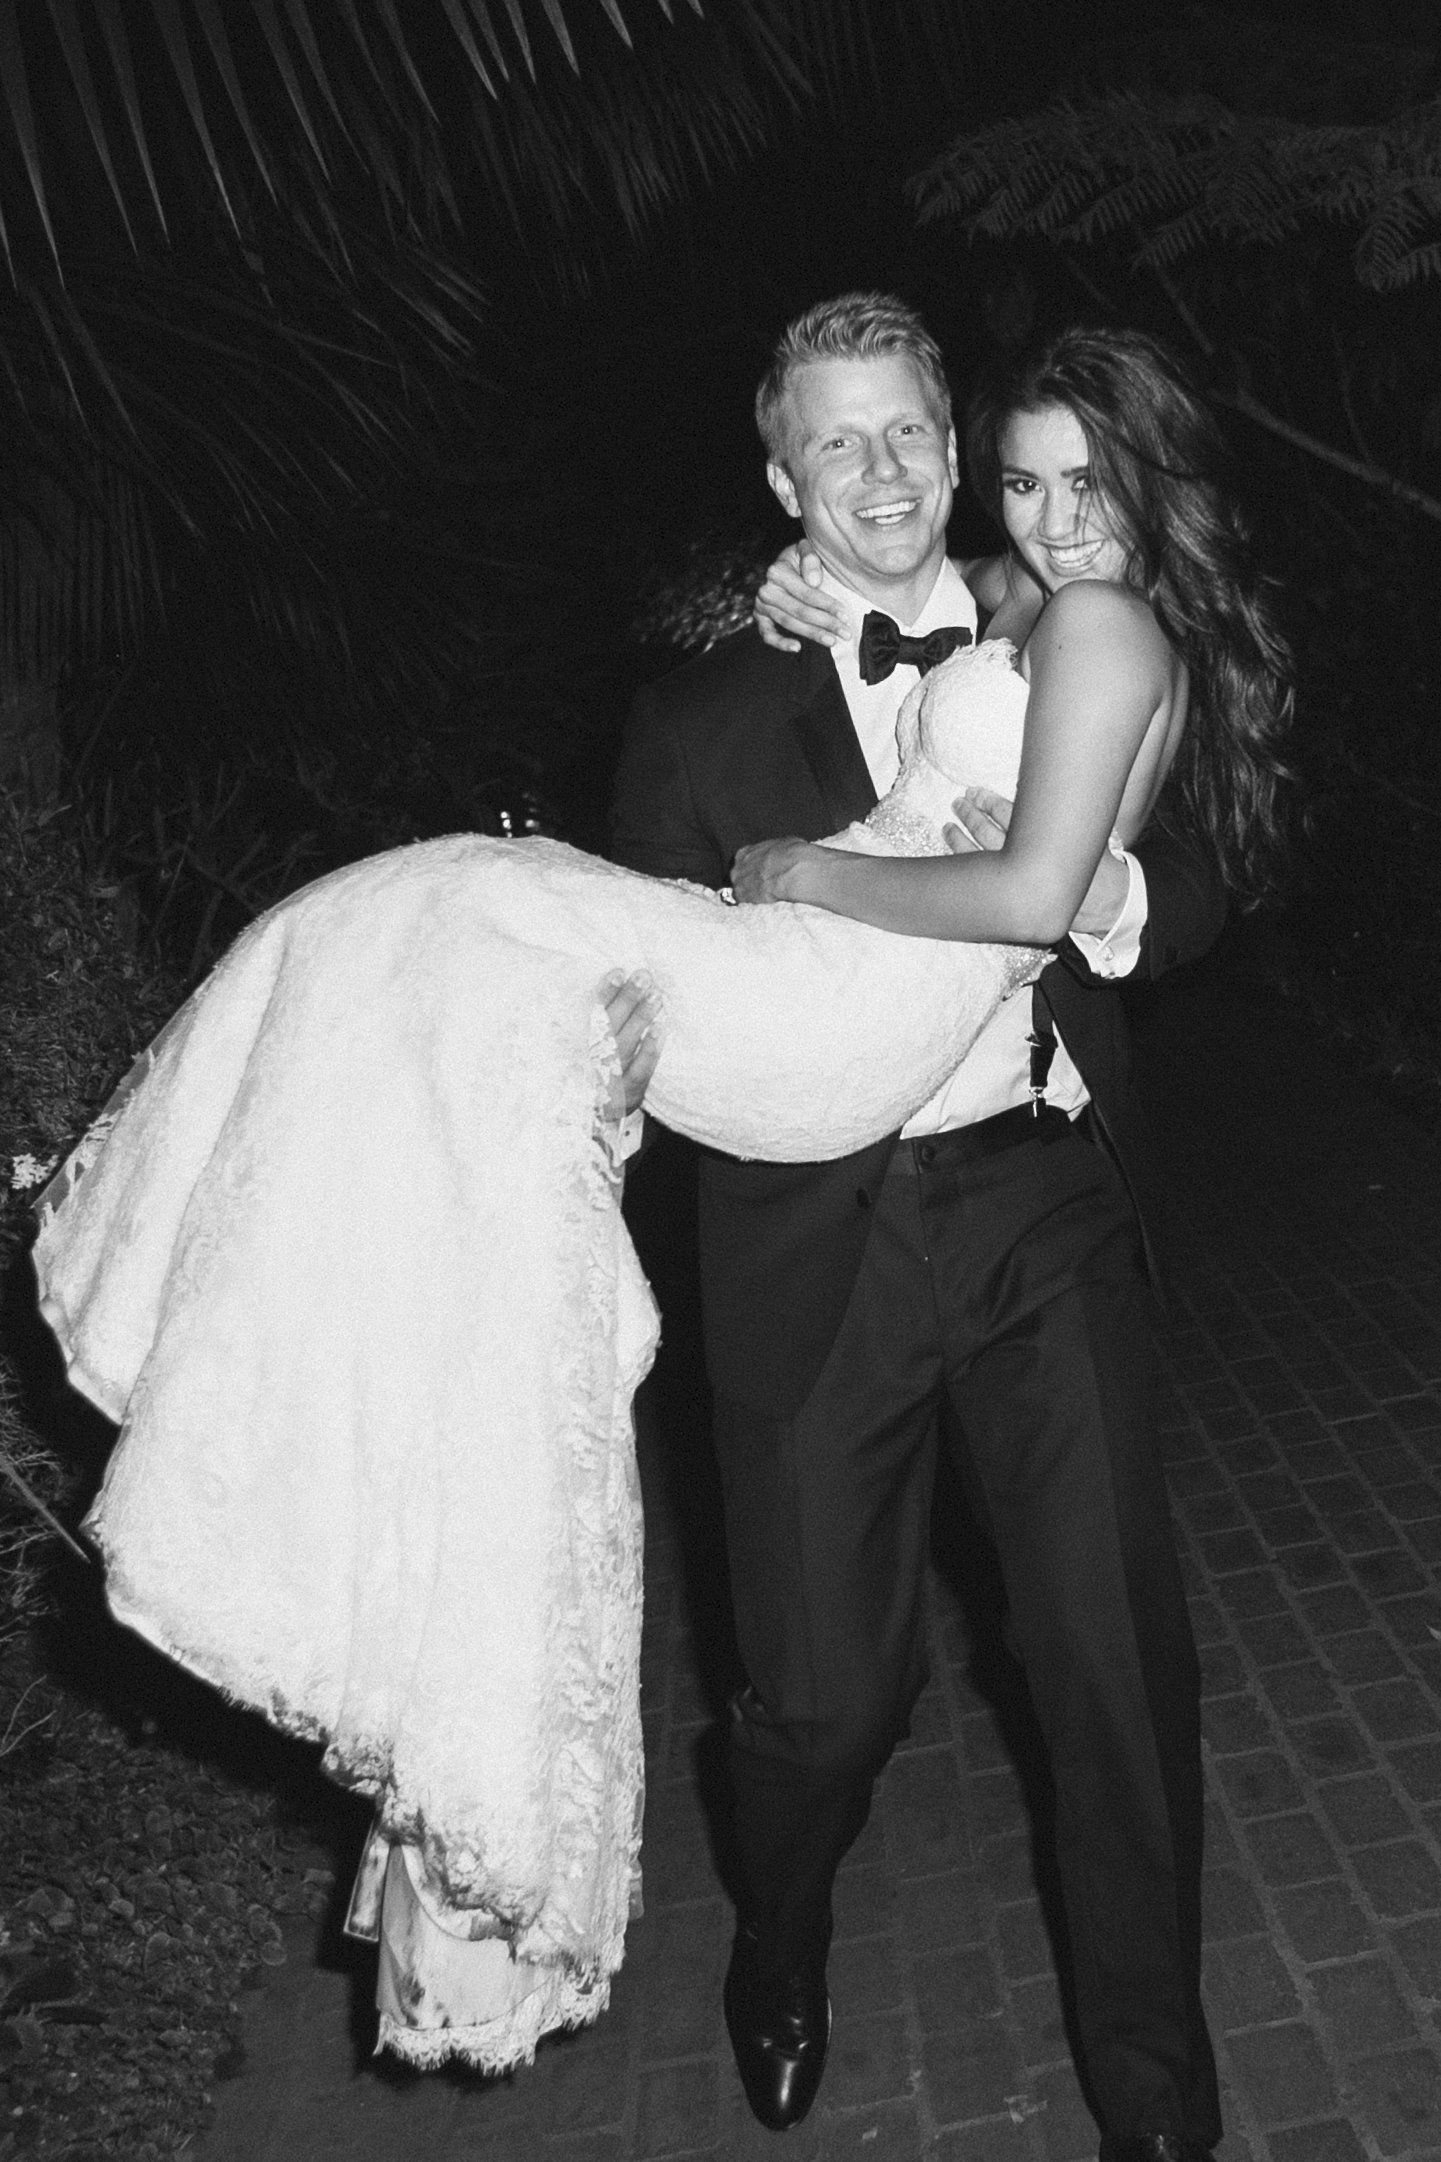
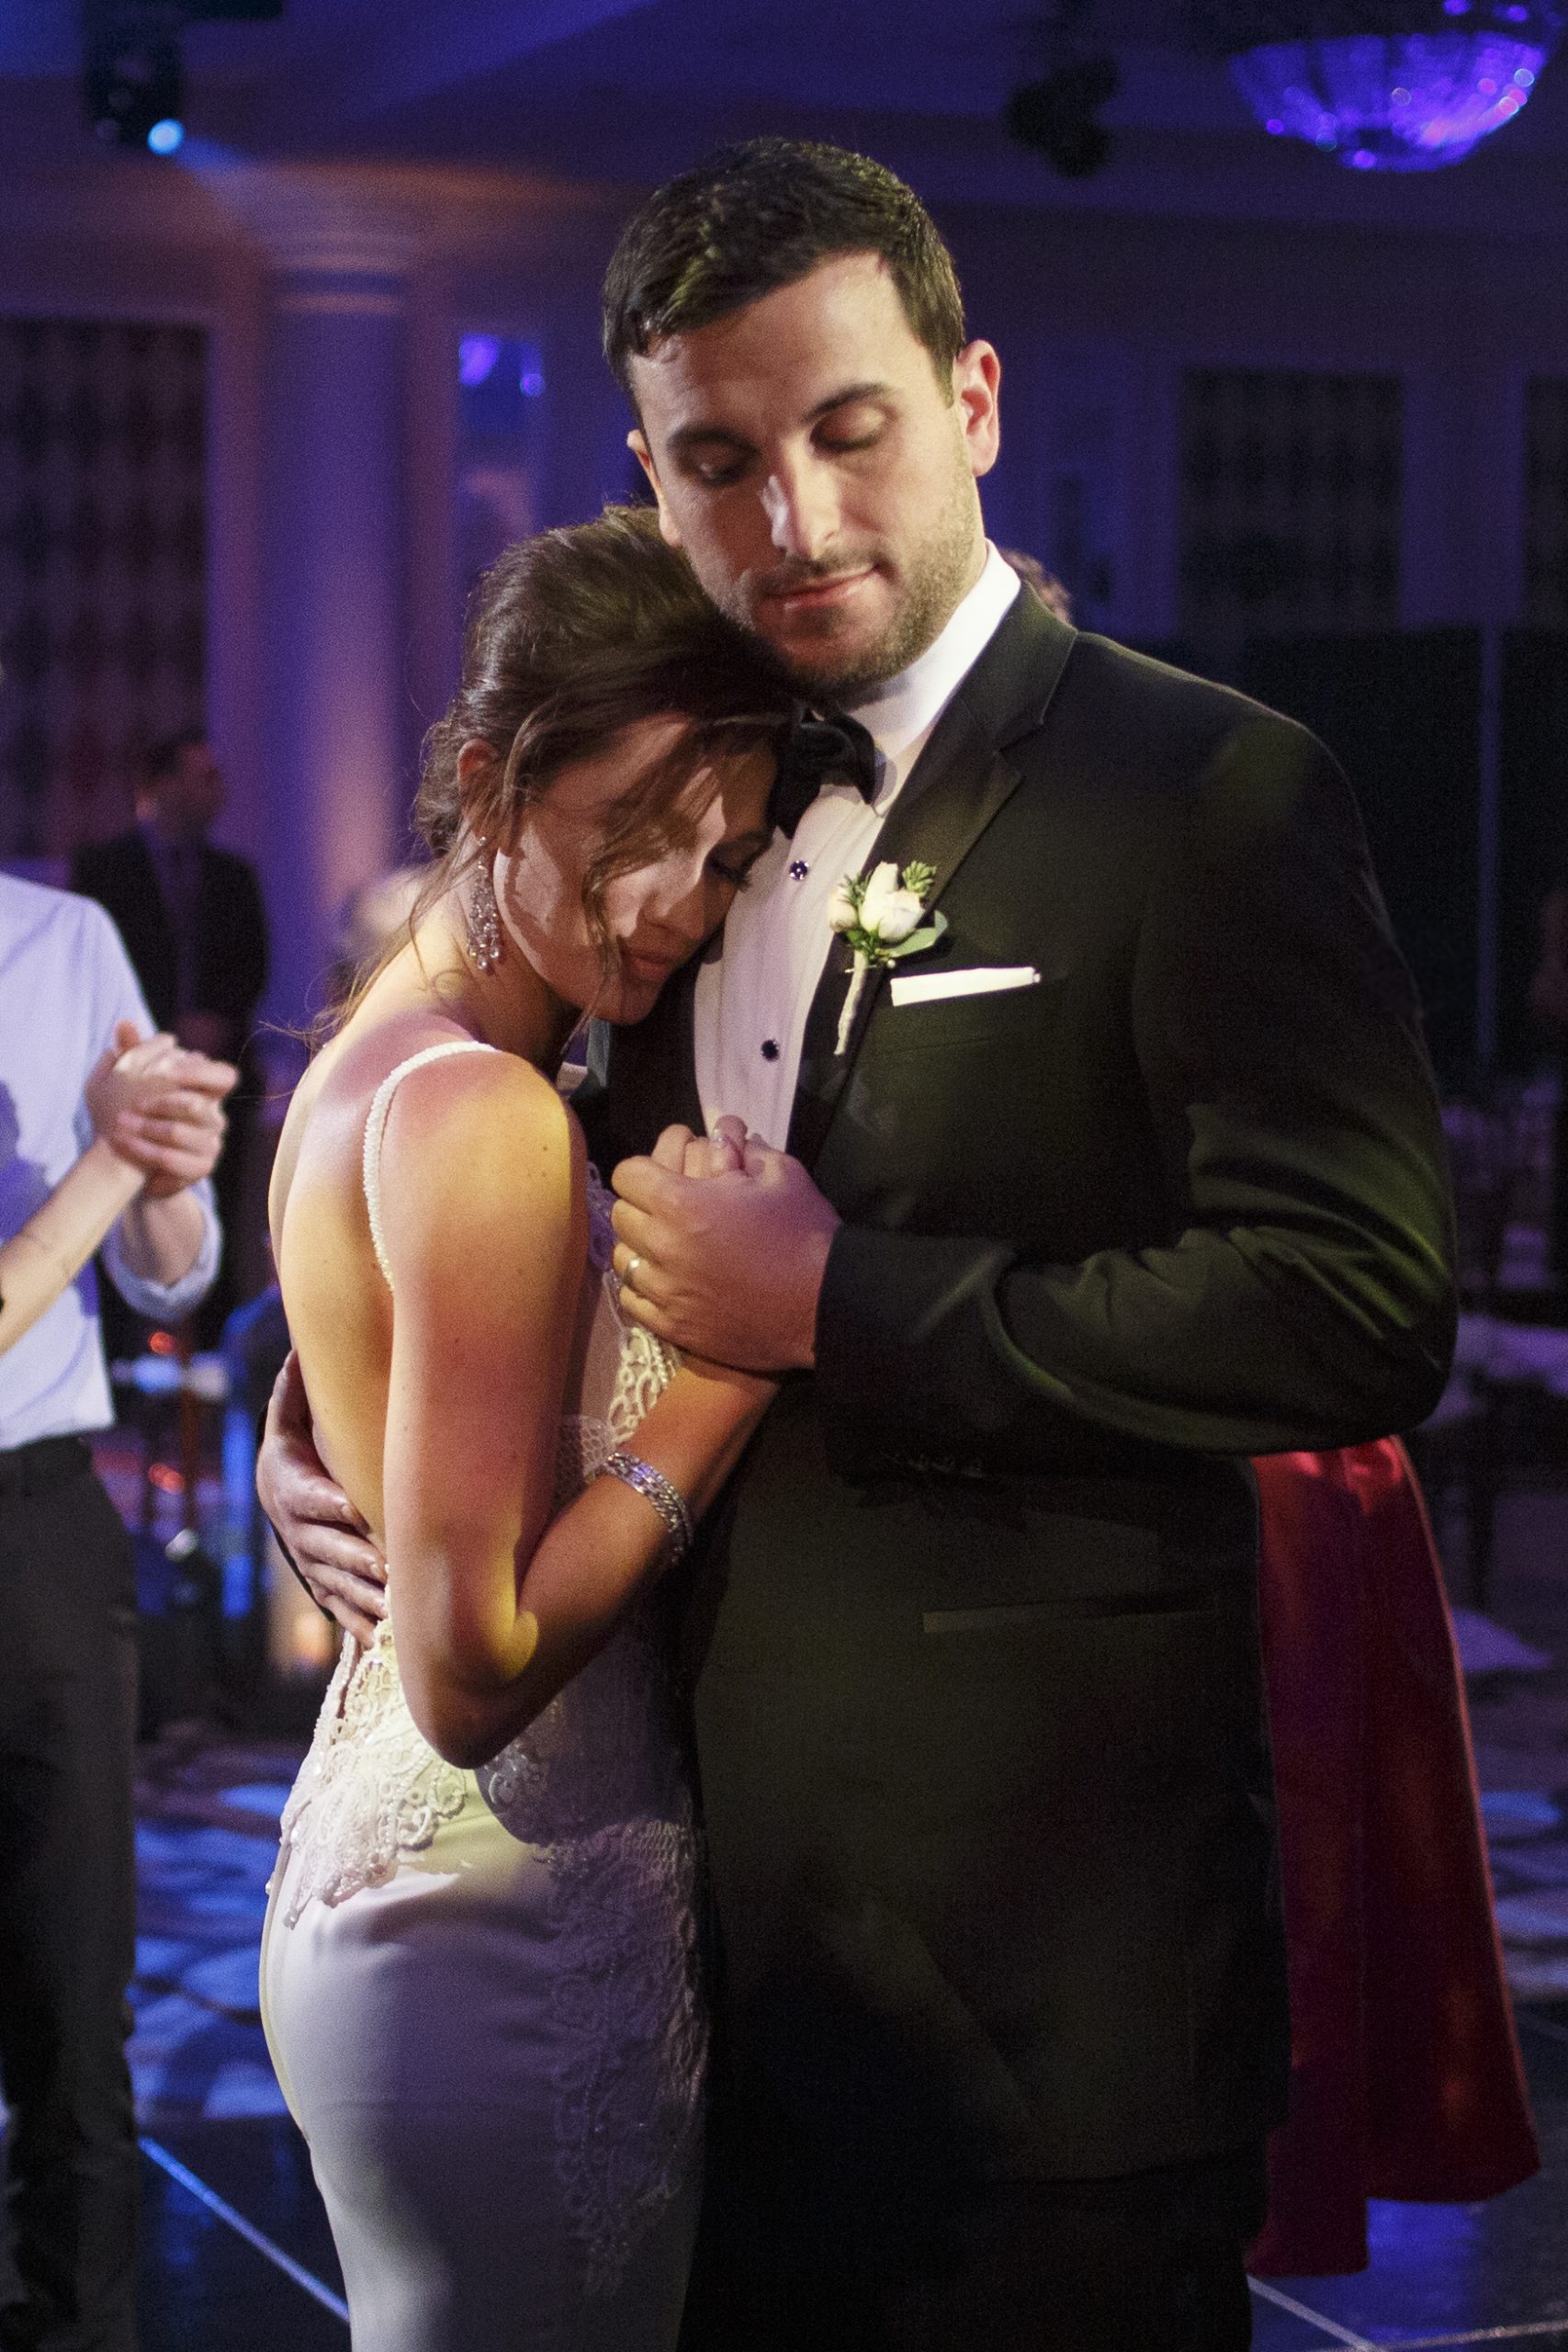
- Candid shots of people having good time.
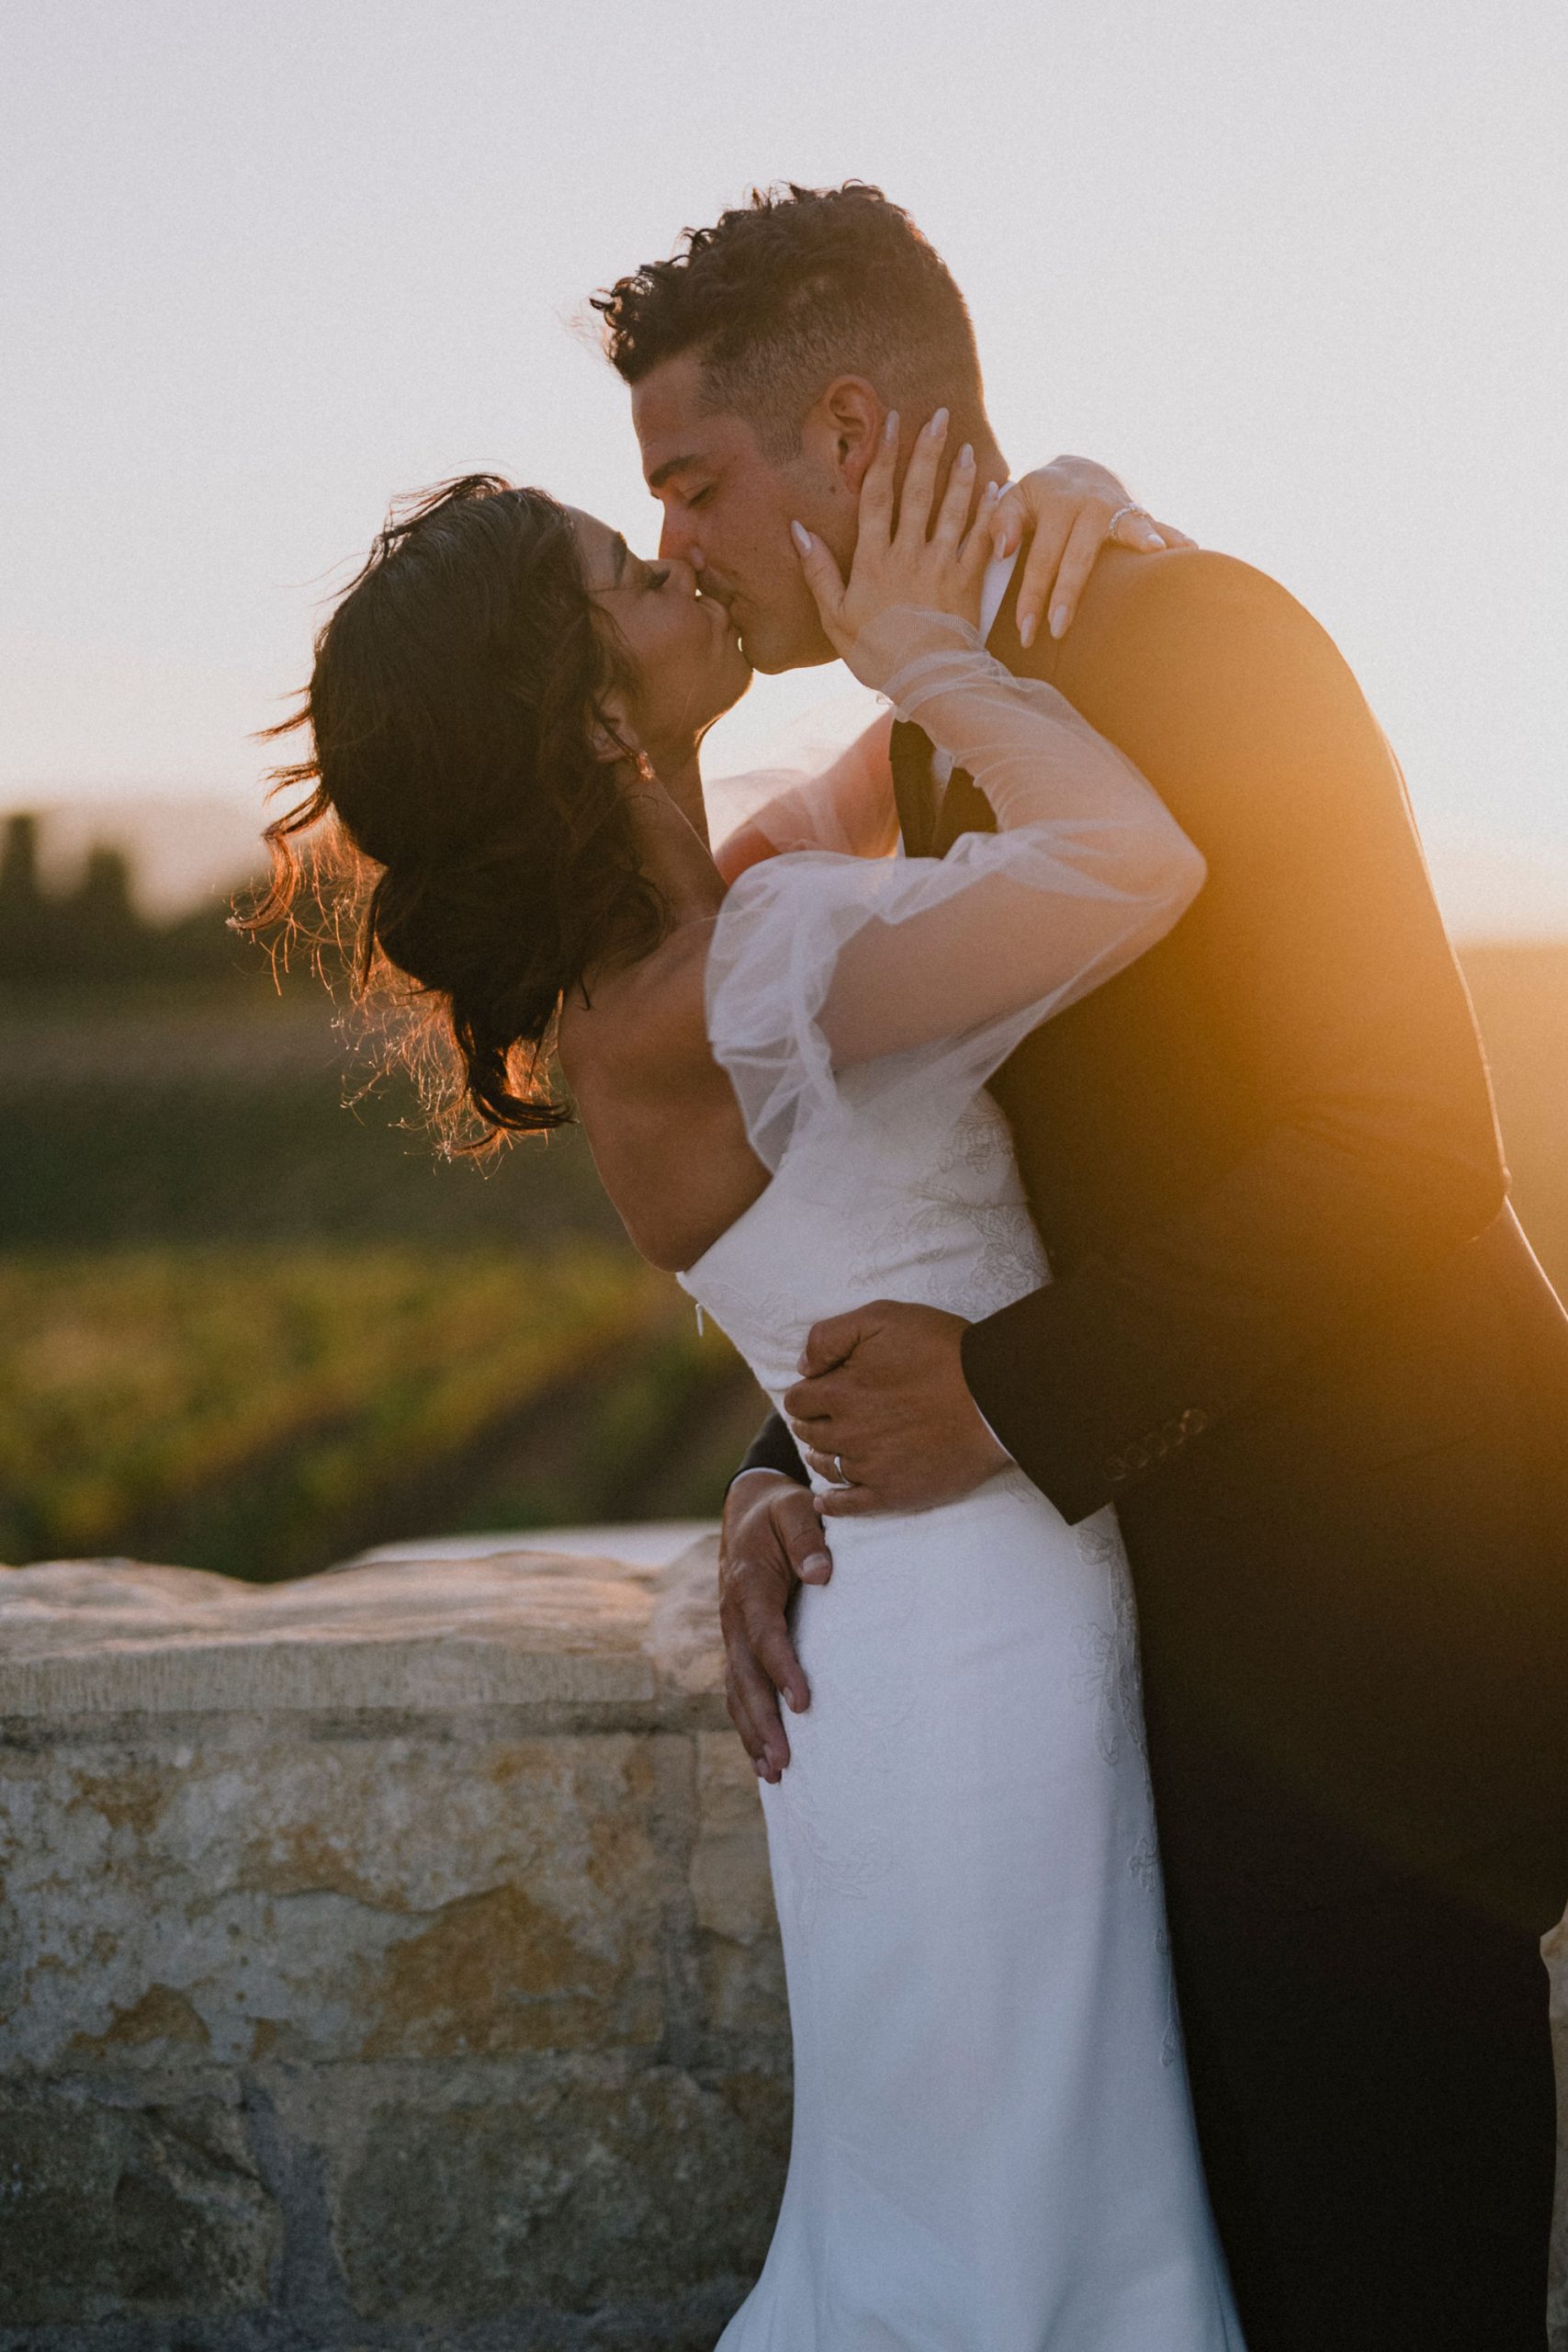
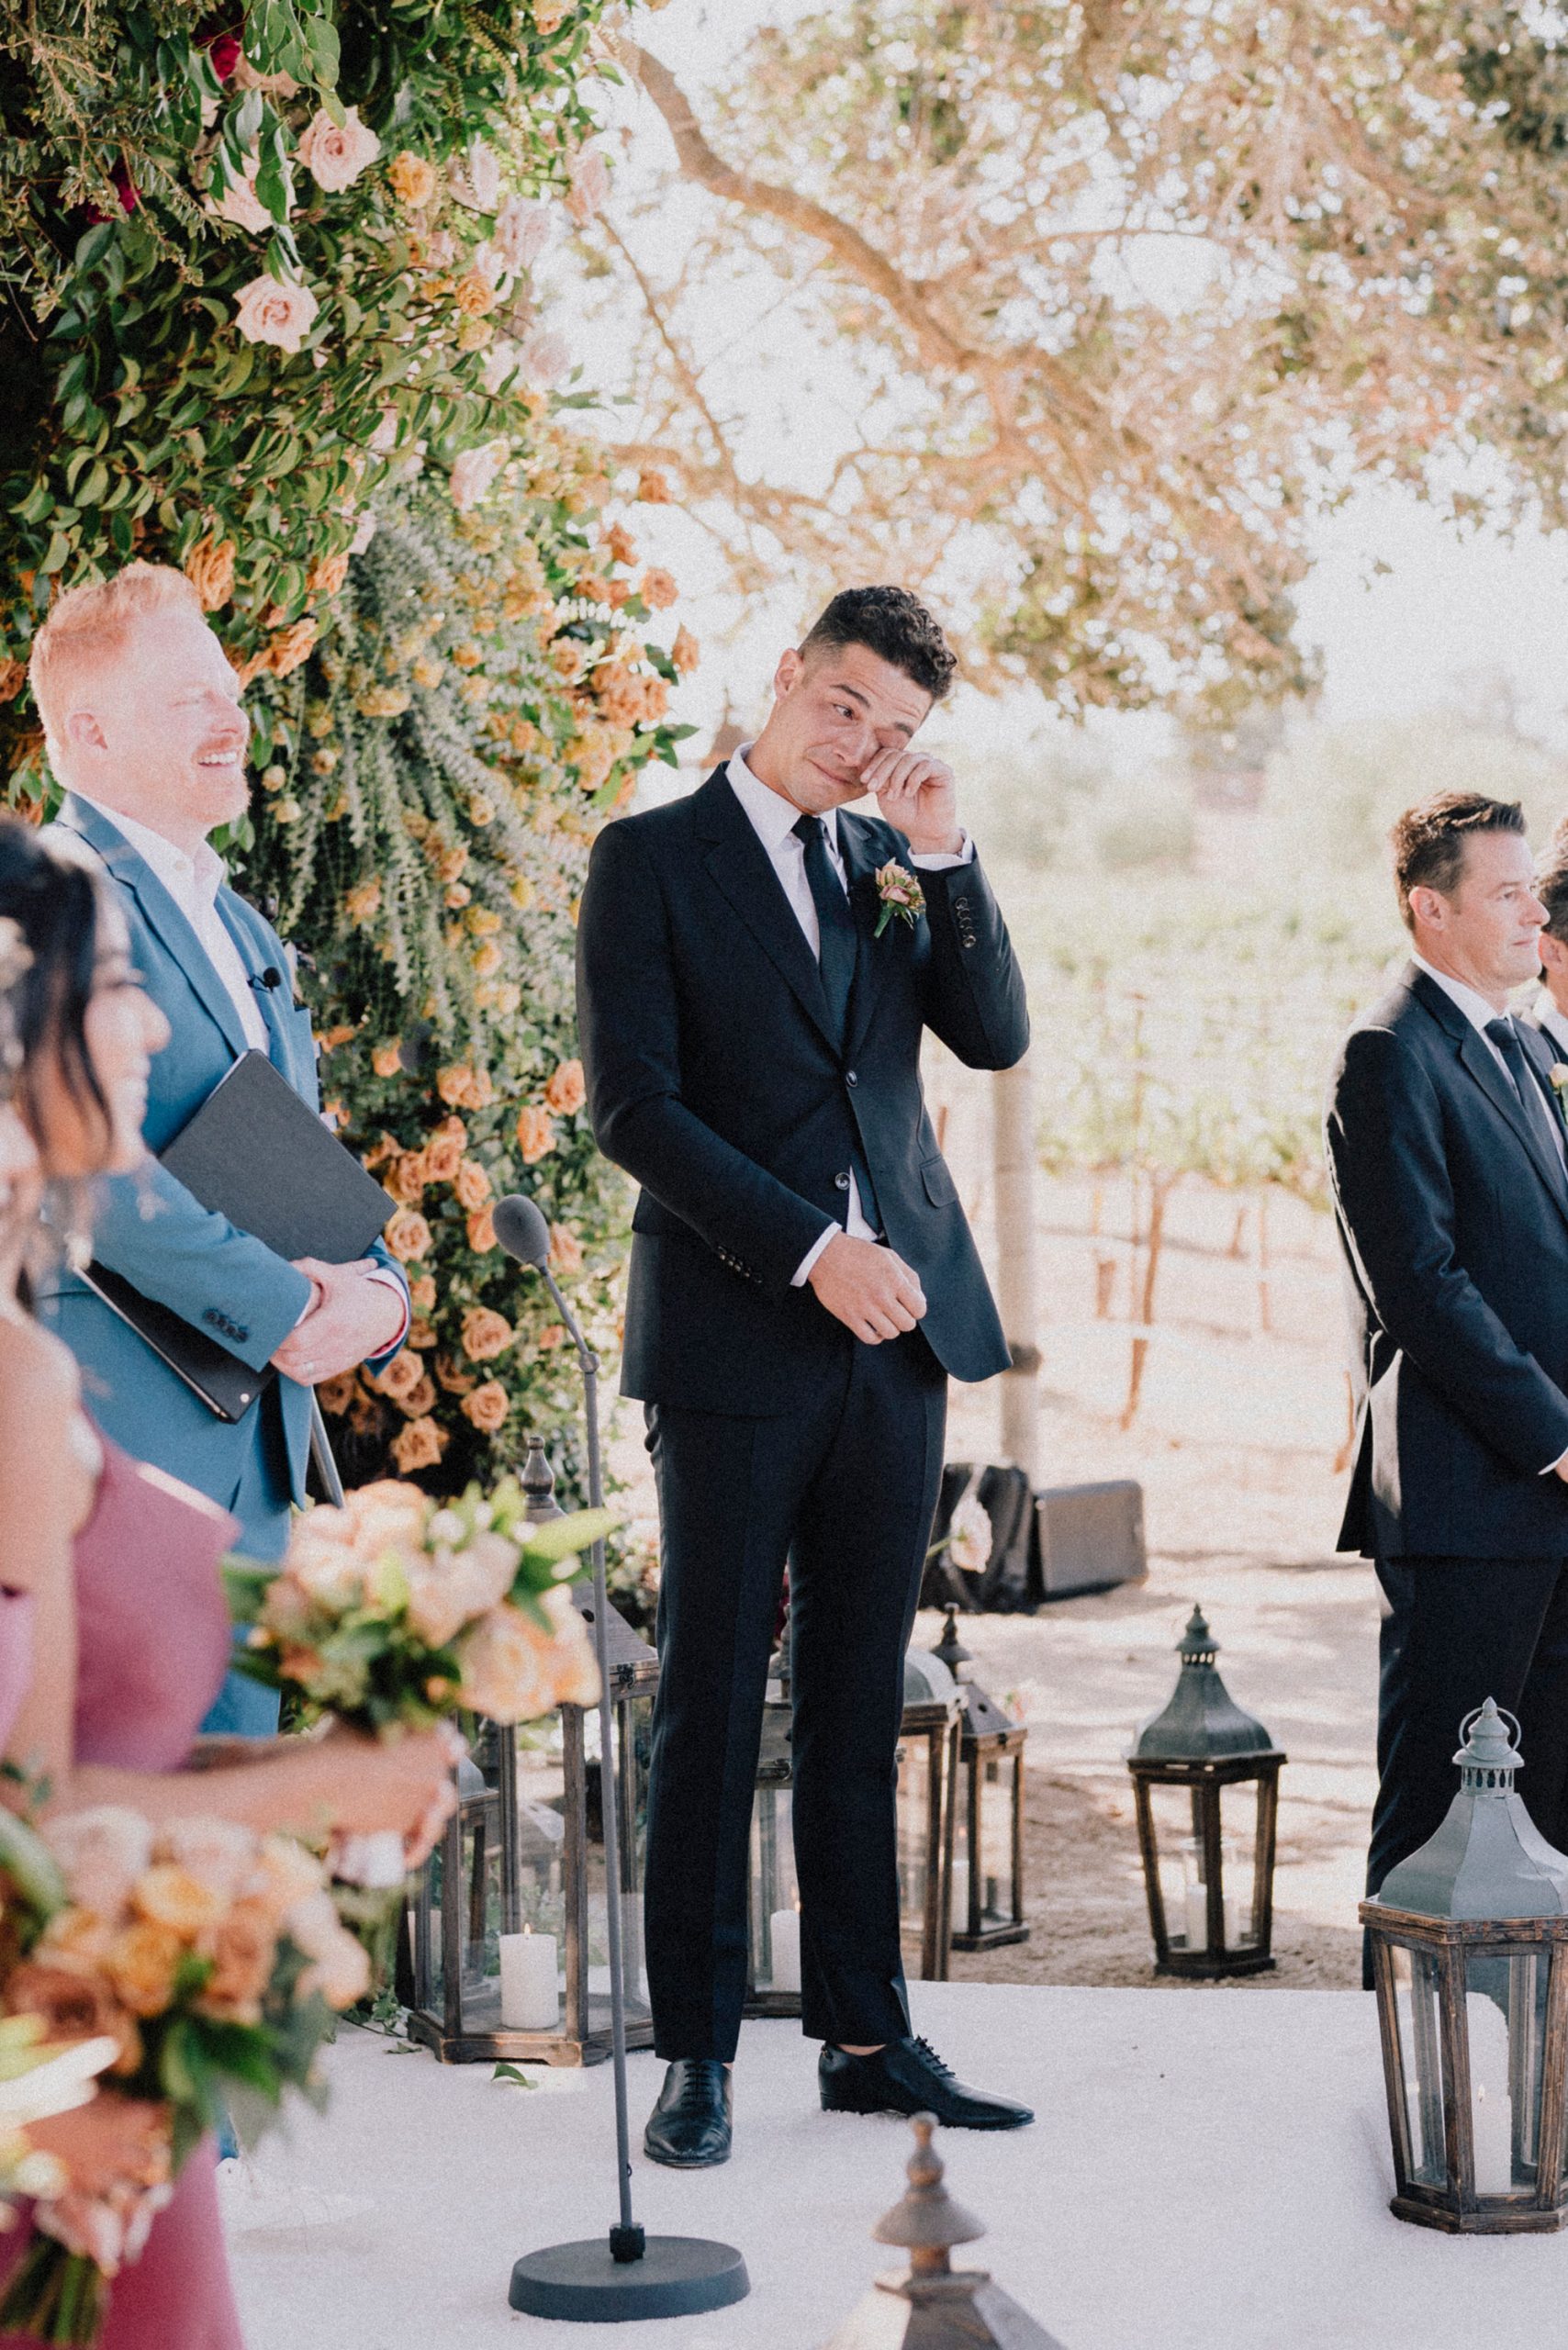
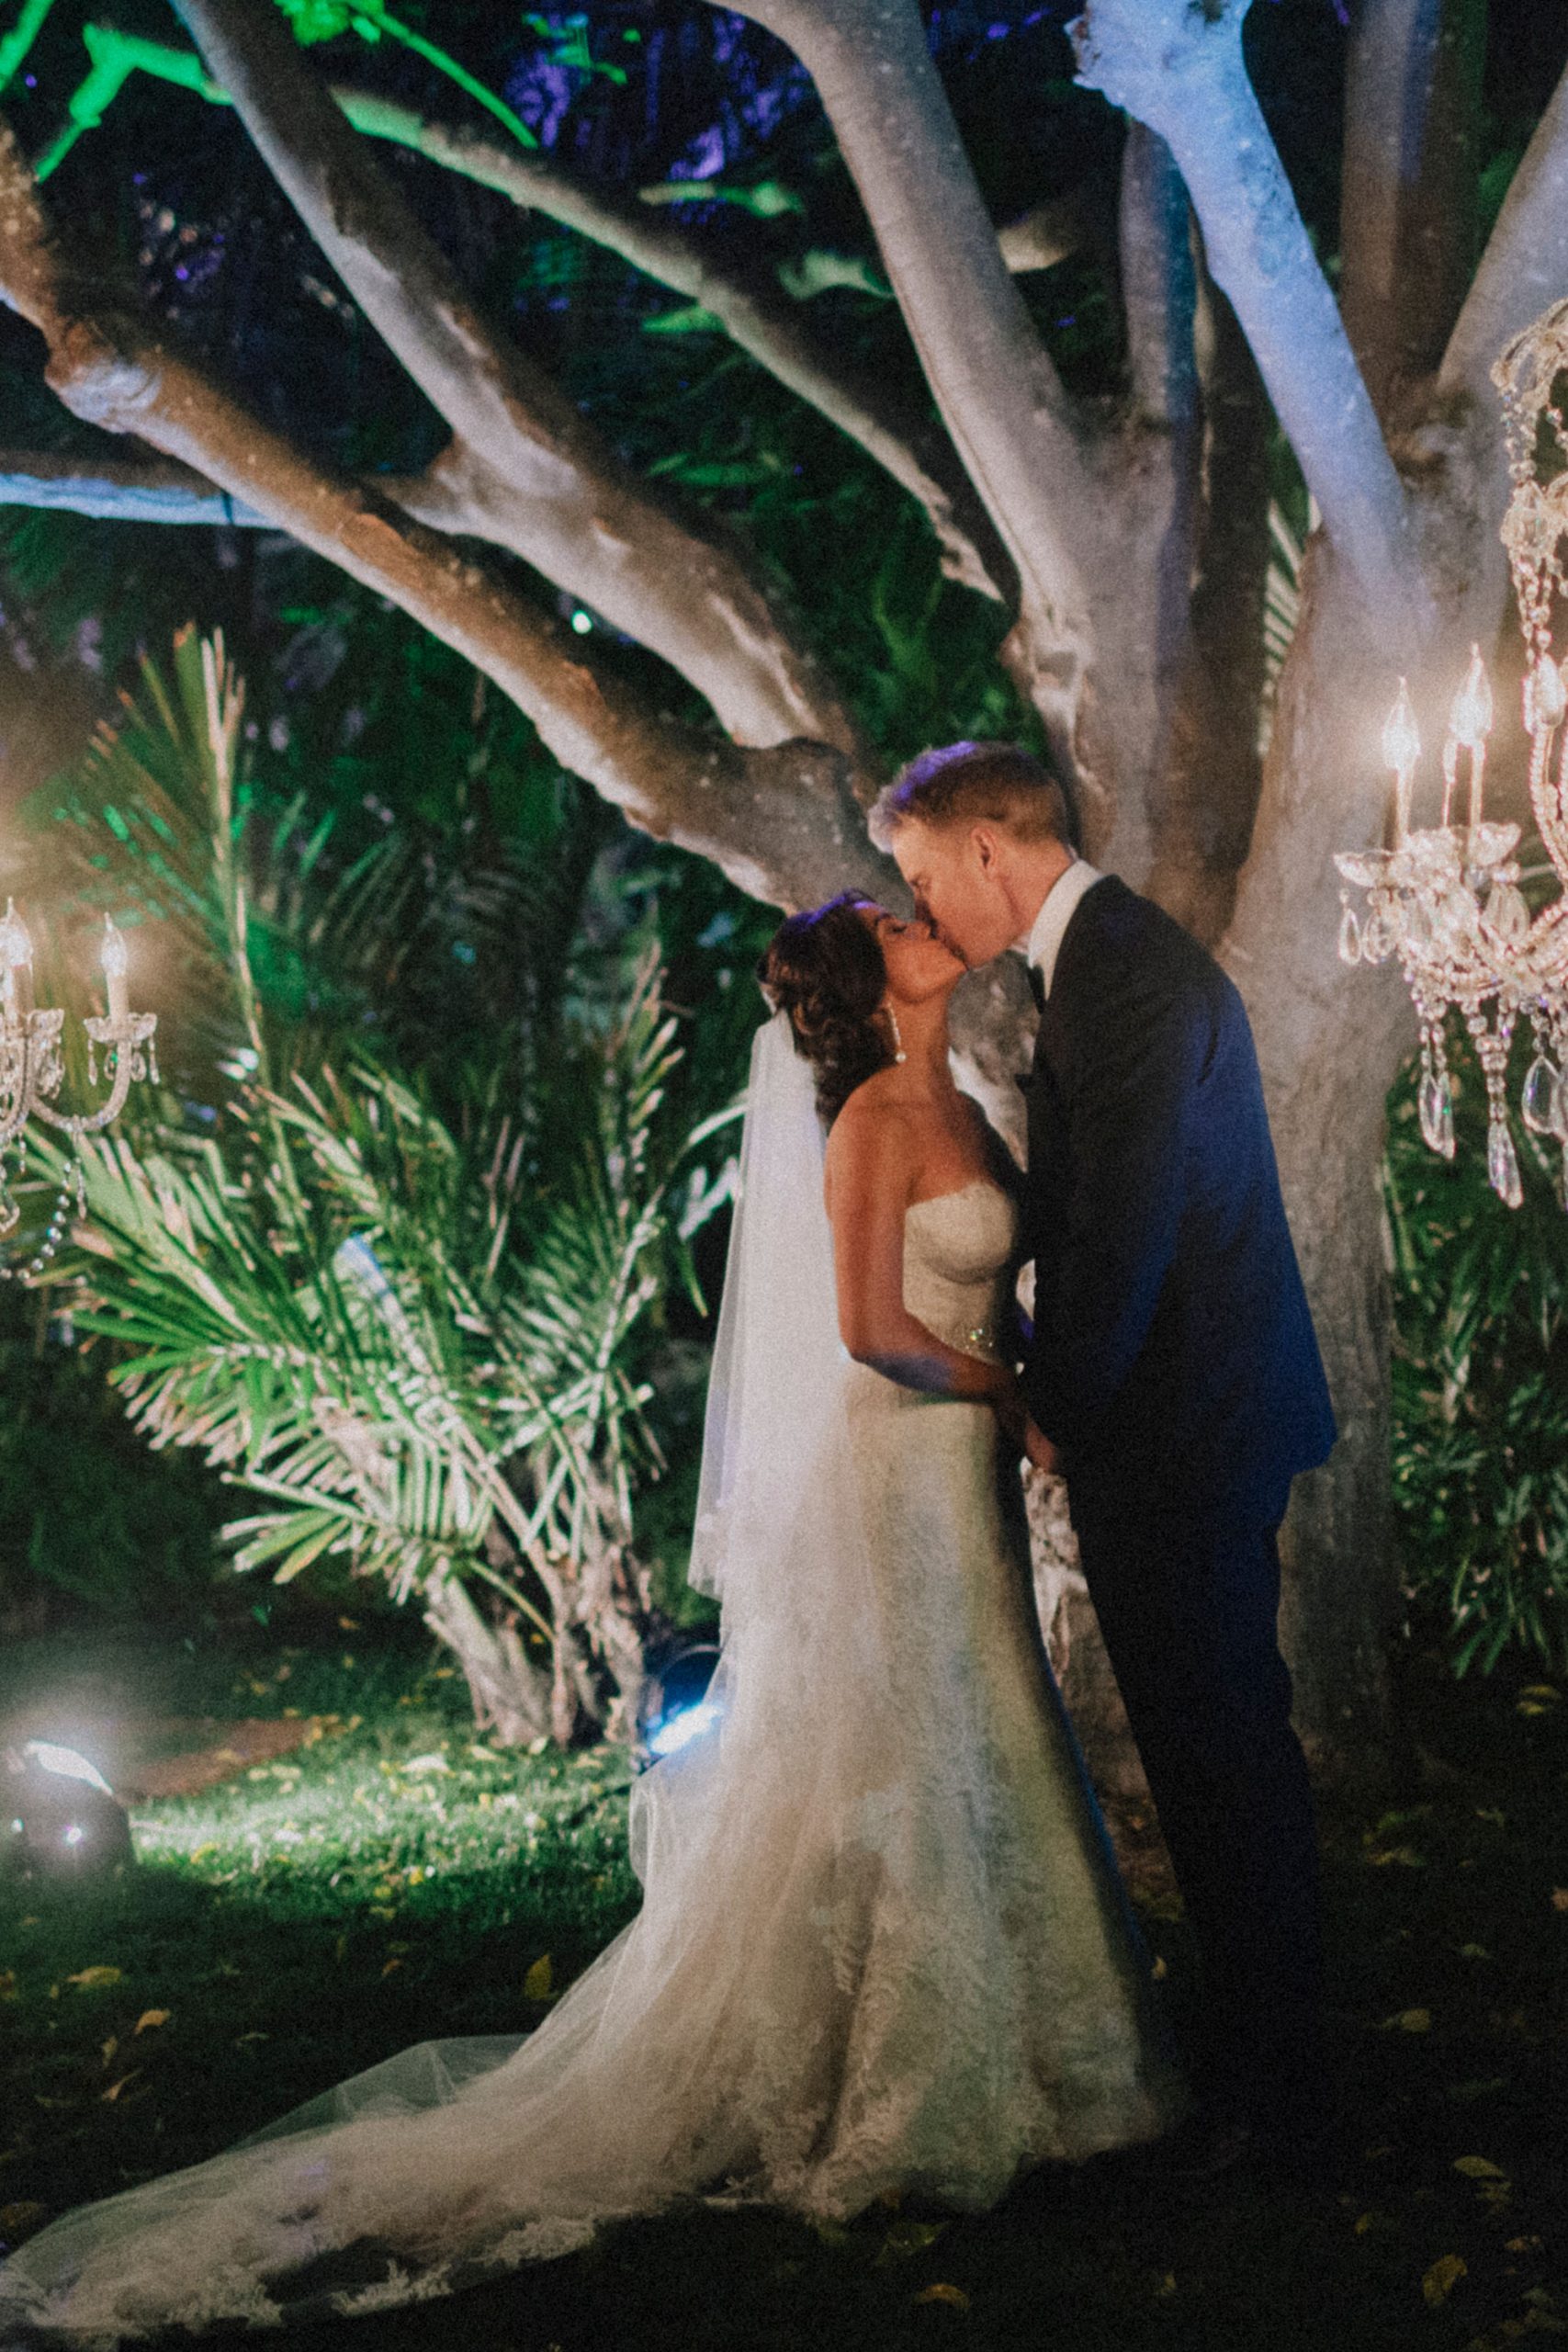
- Emotional moments or very photojournalistic image.
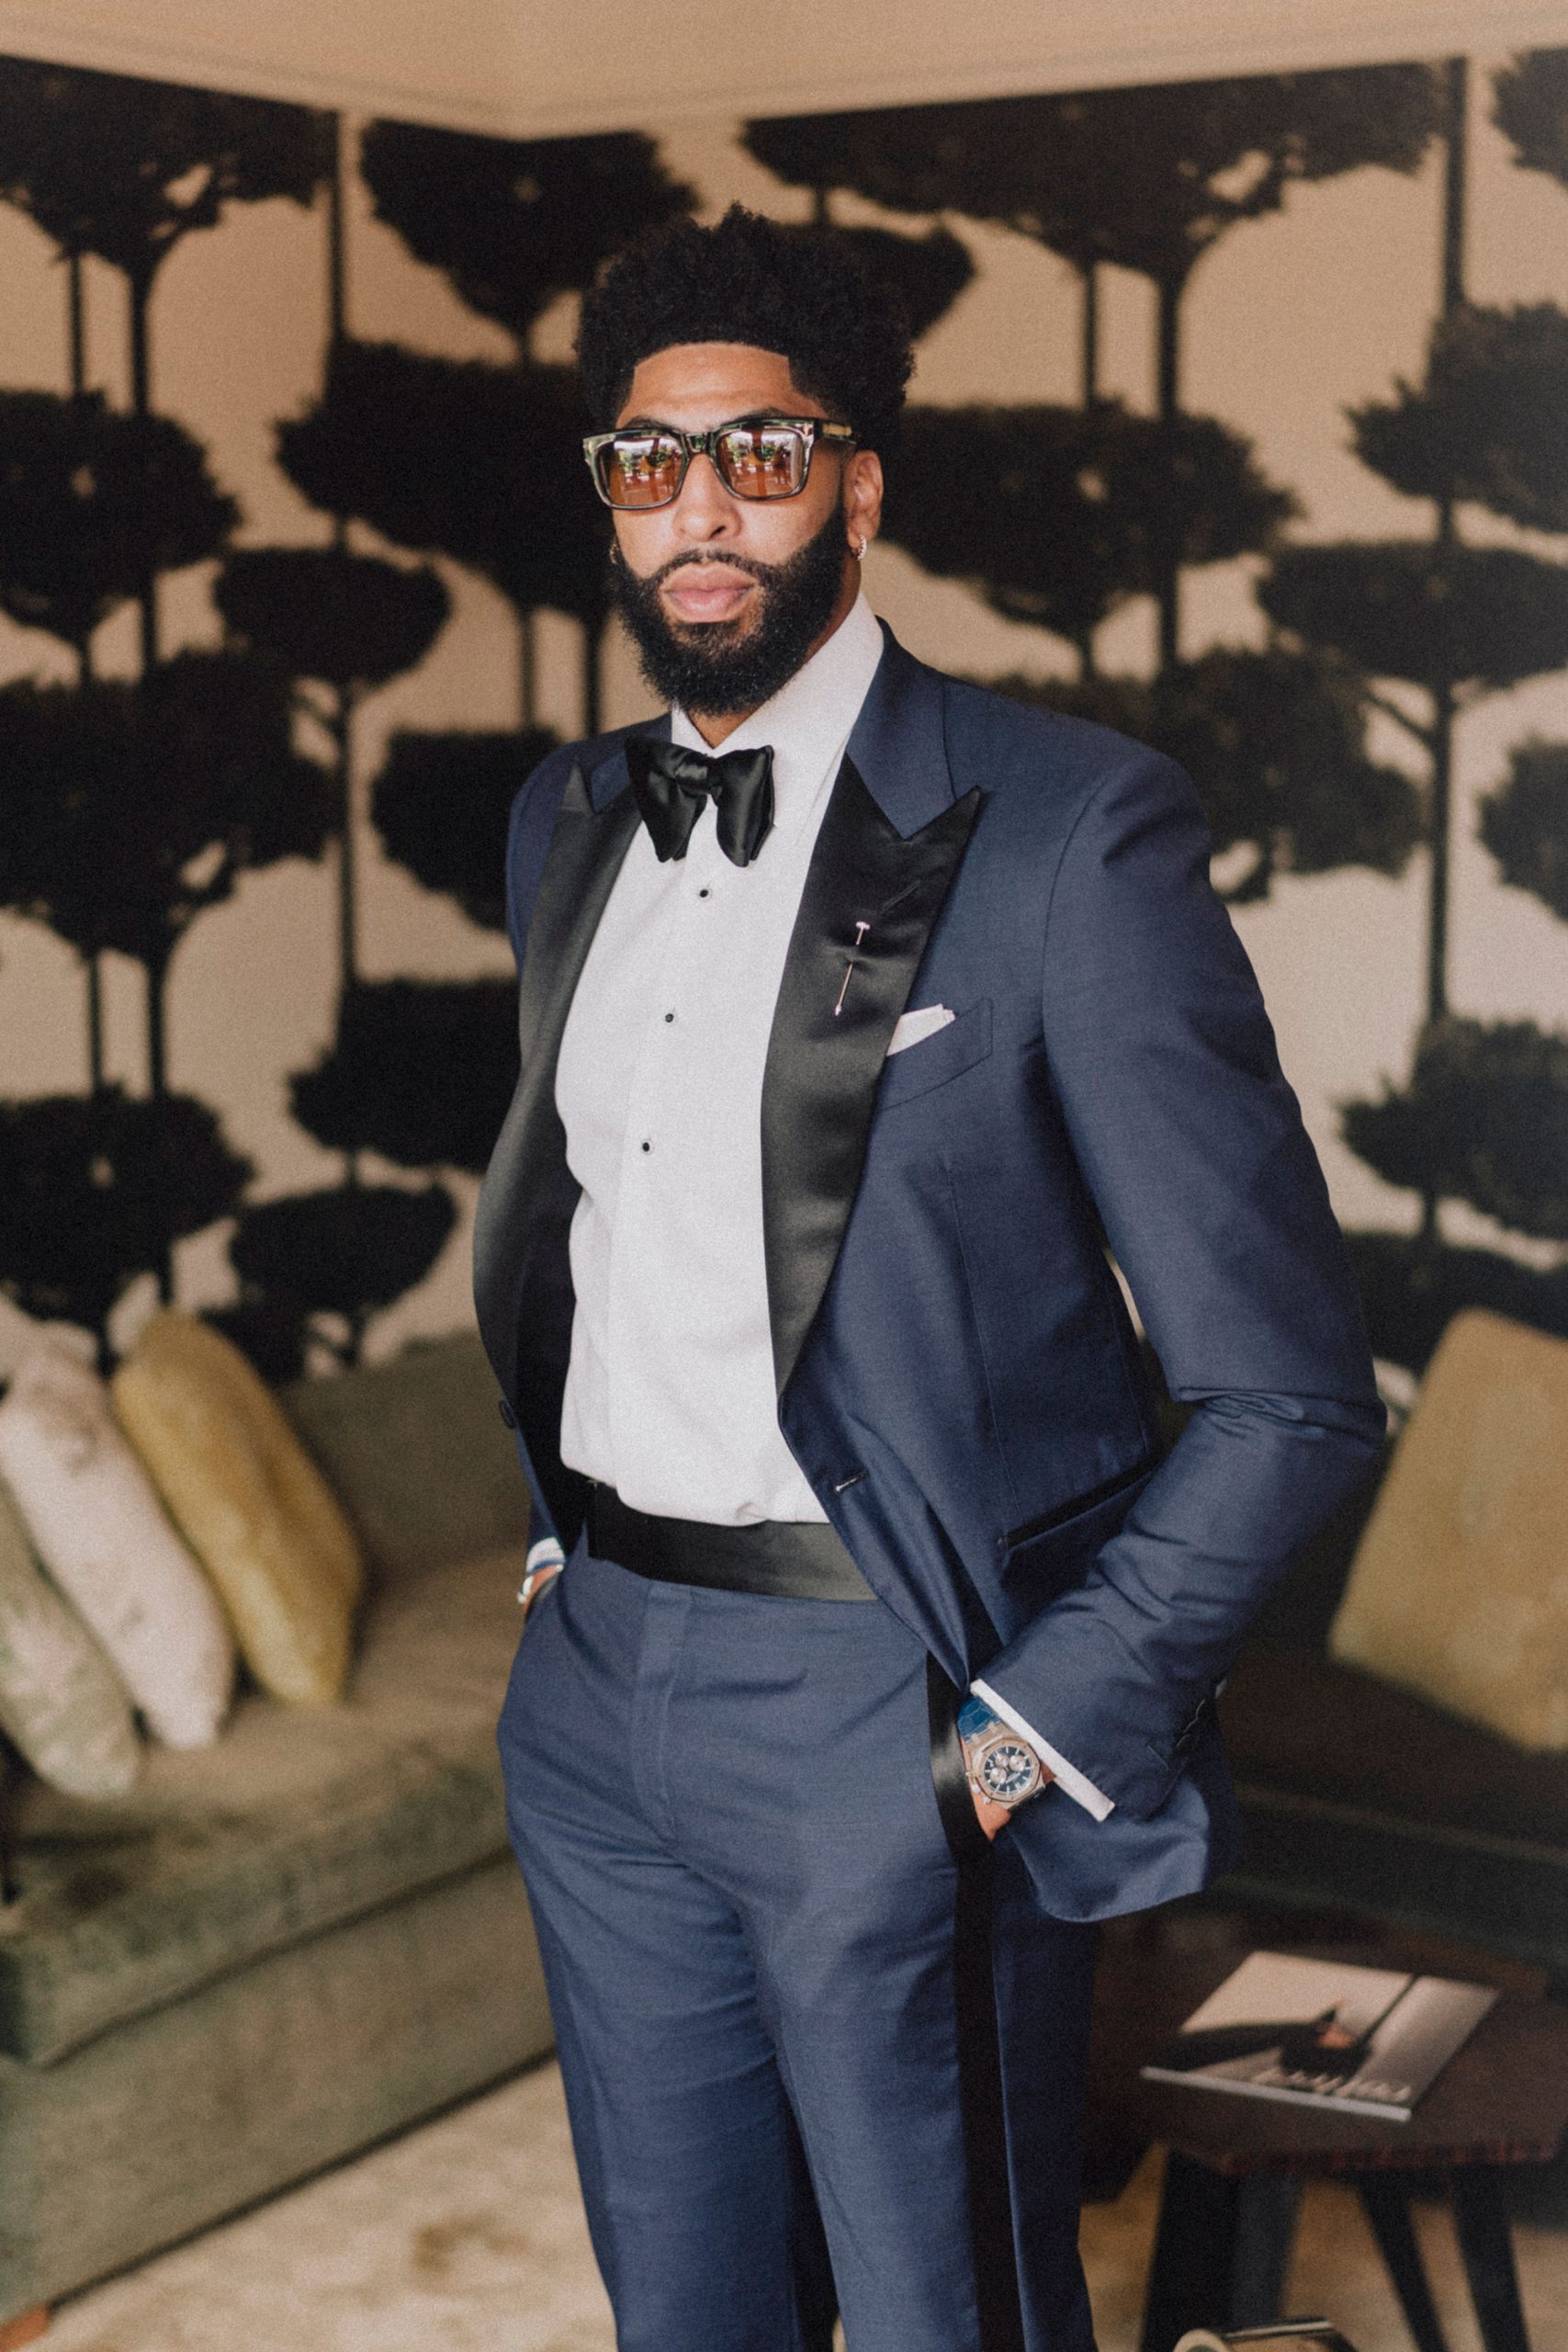
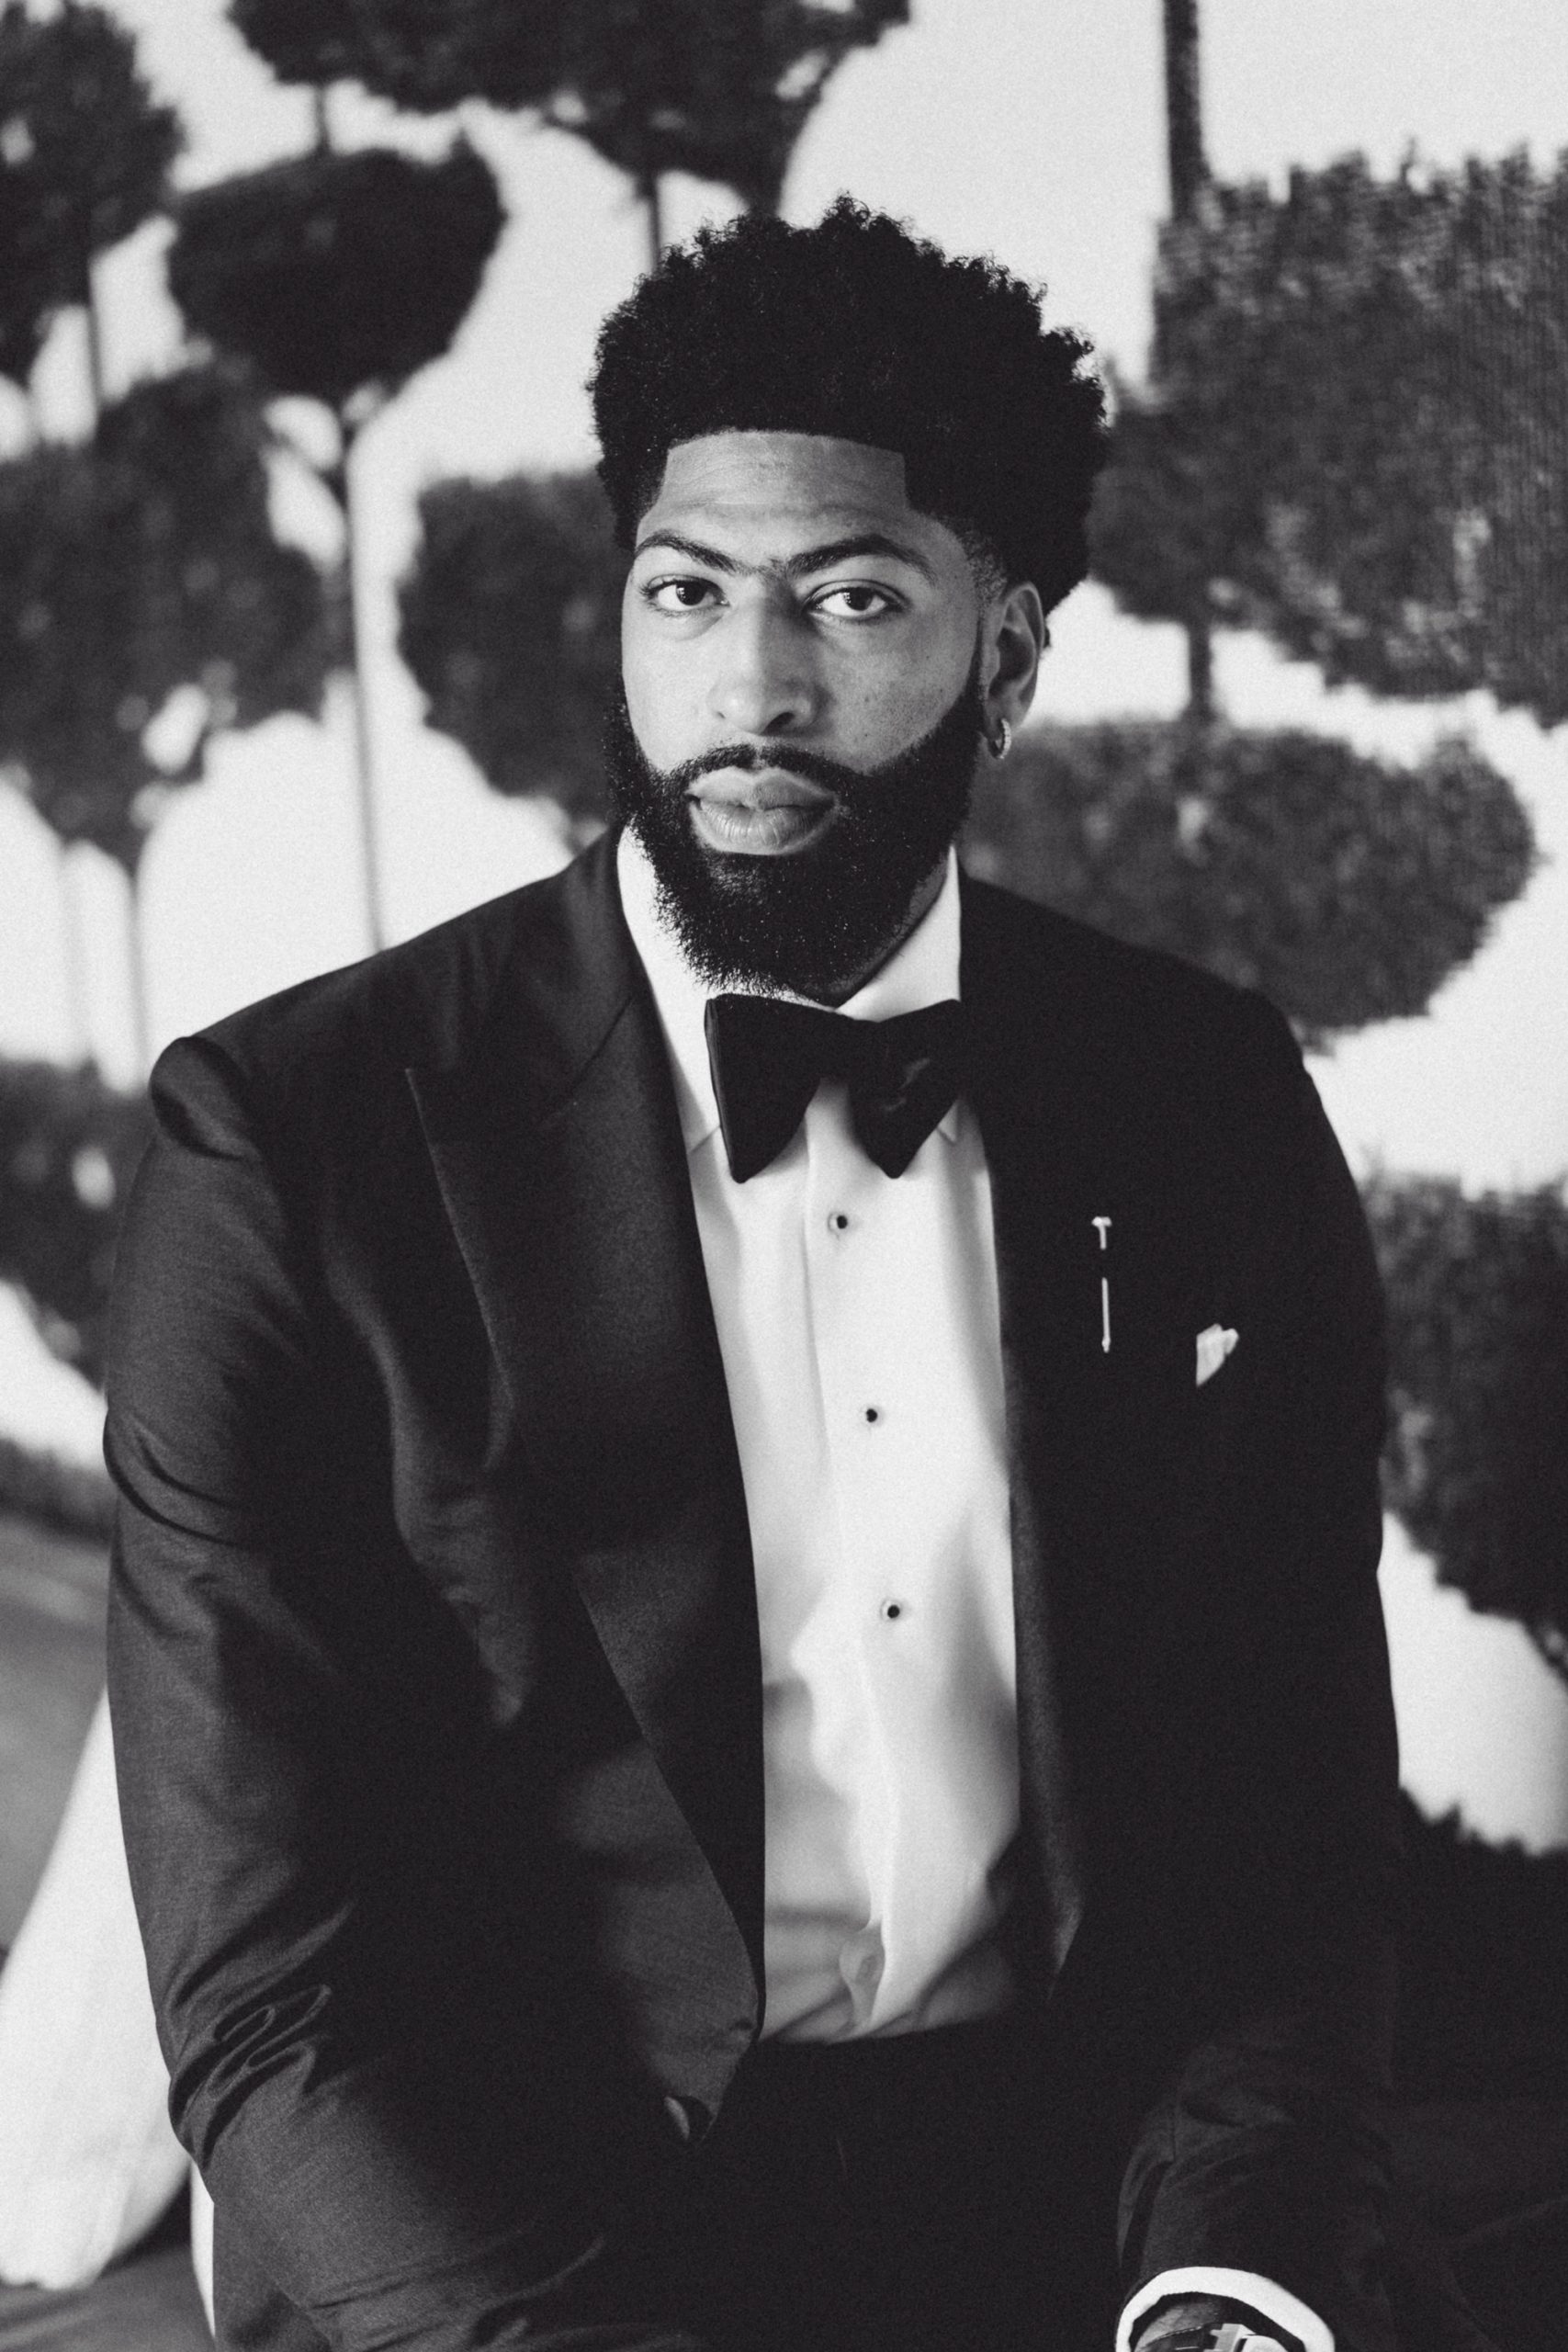
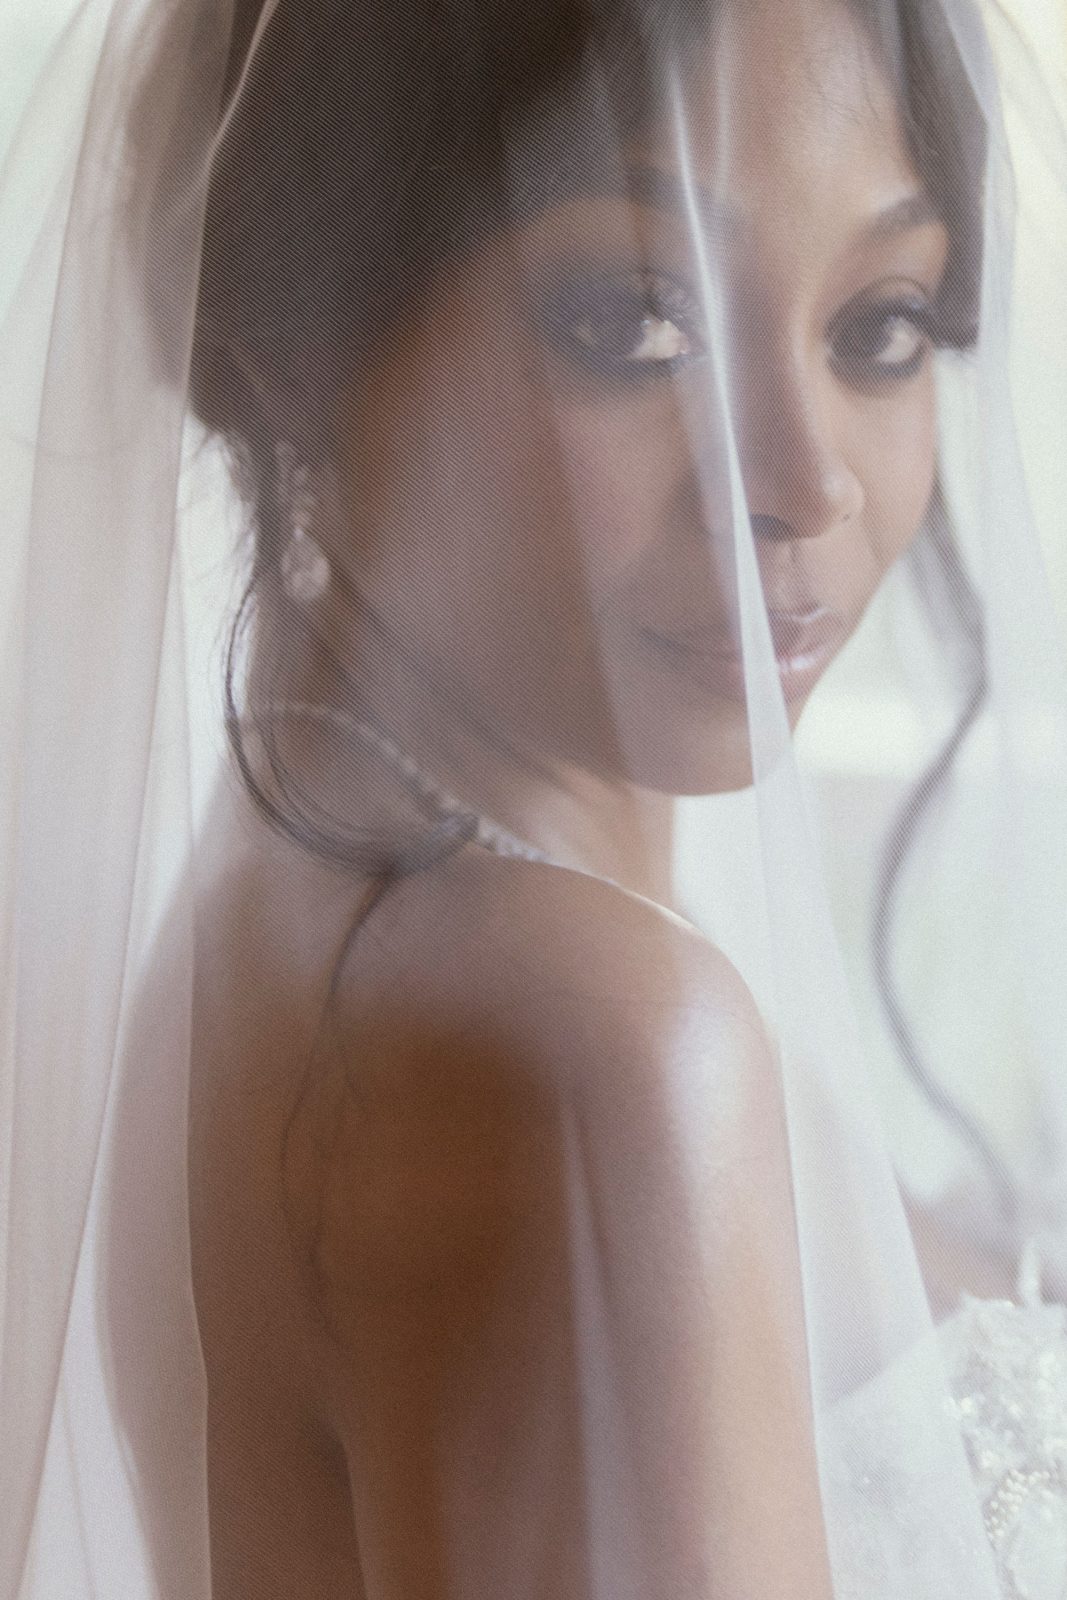
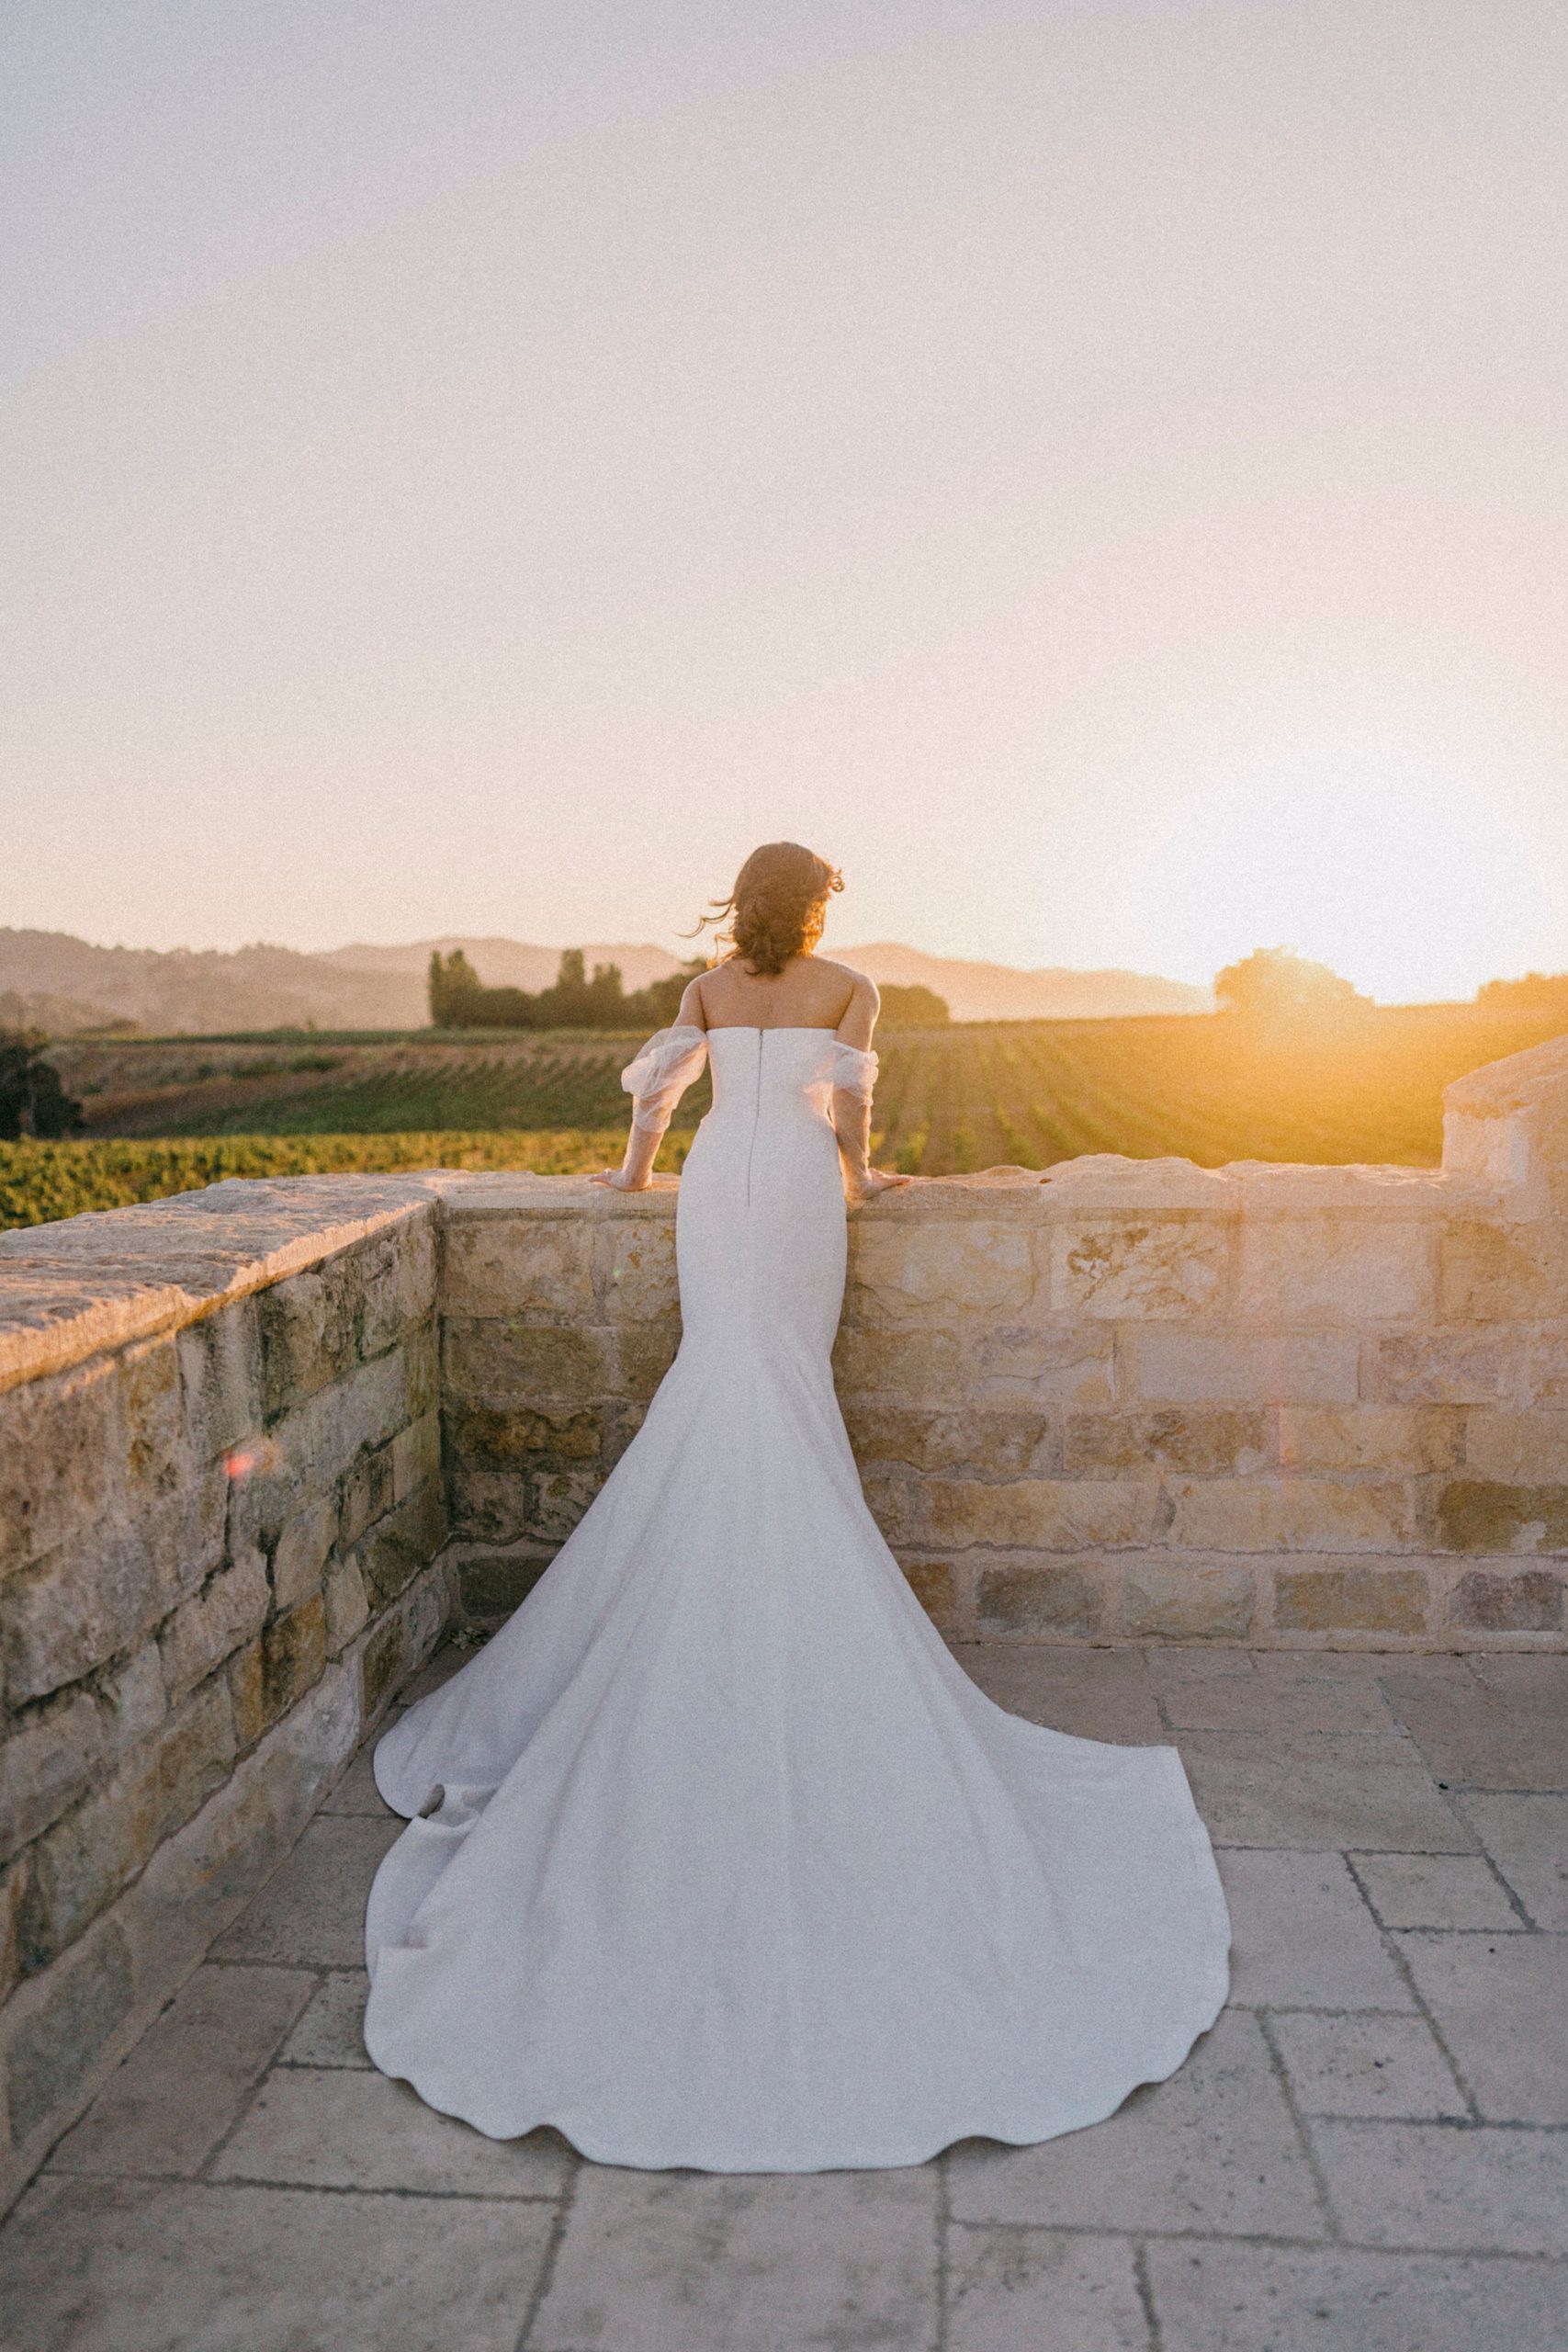
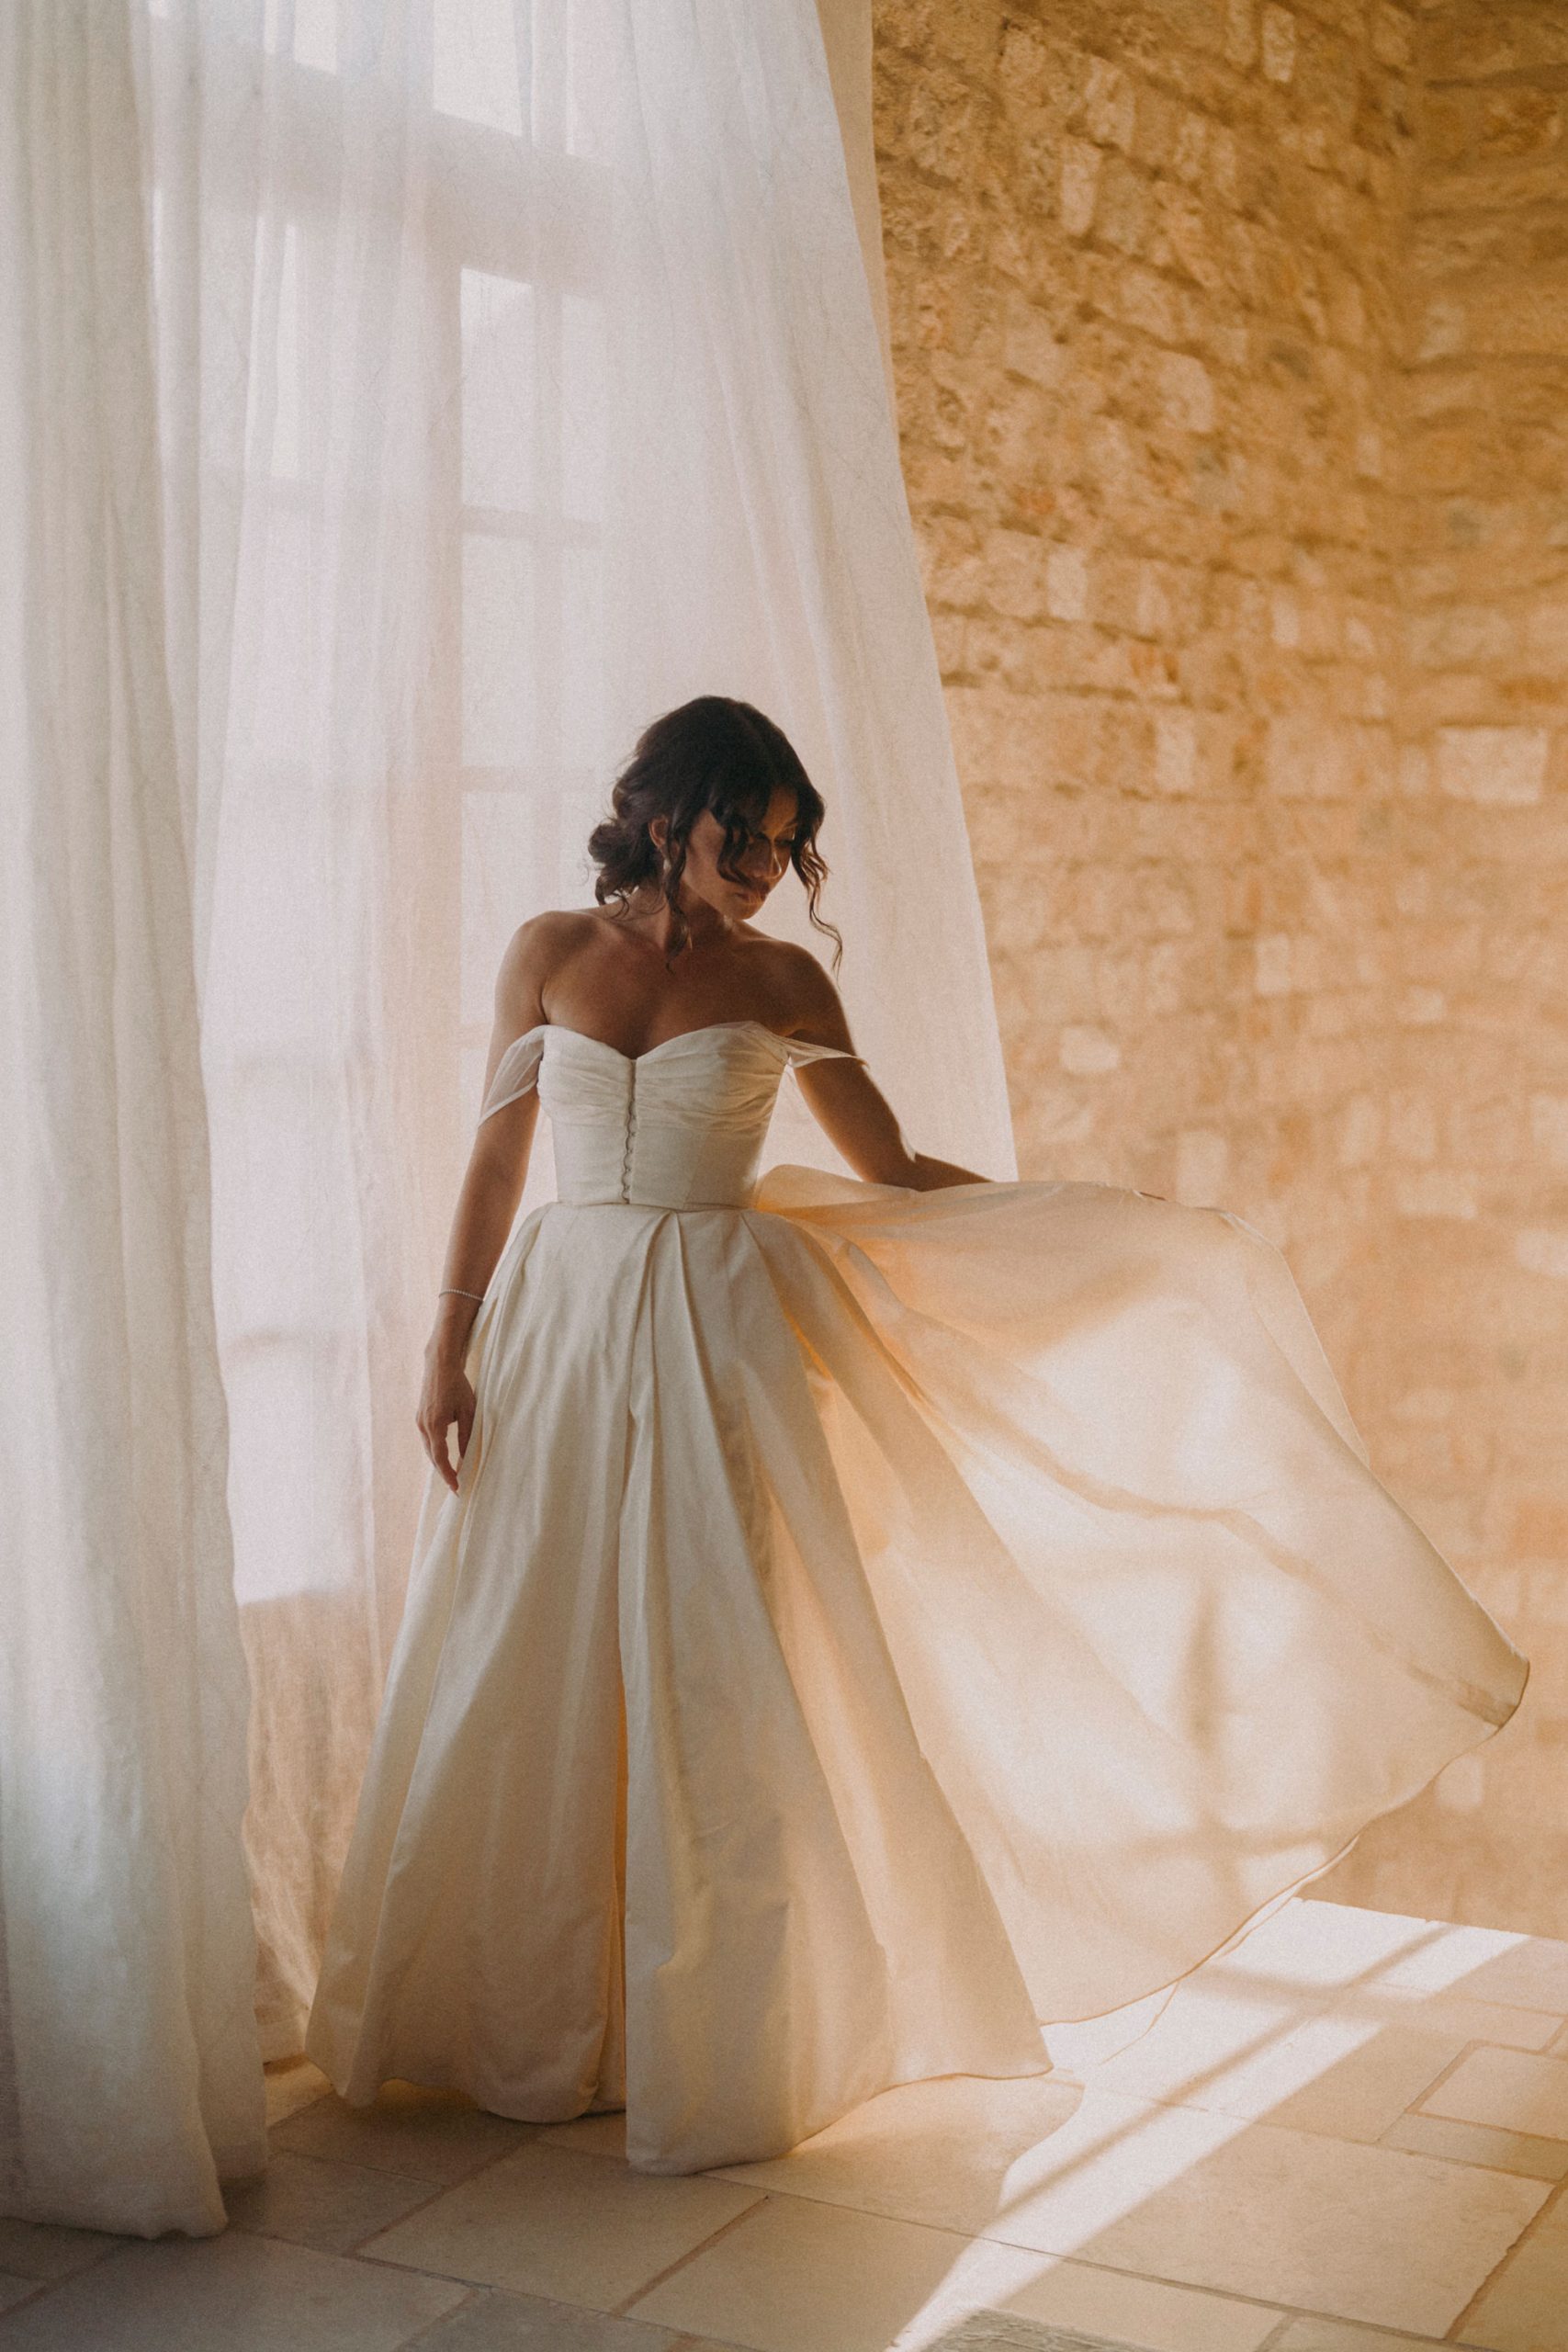
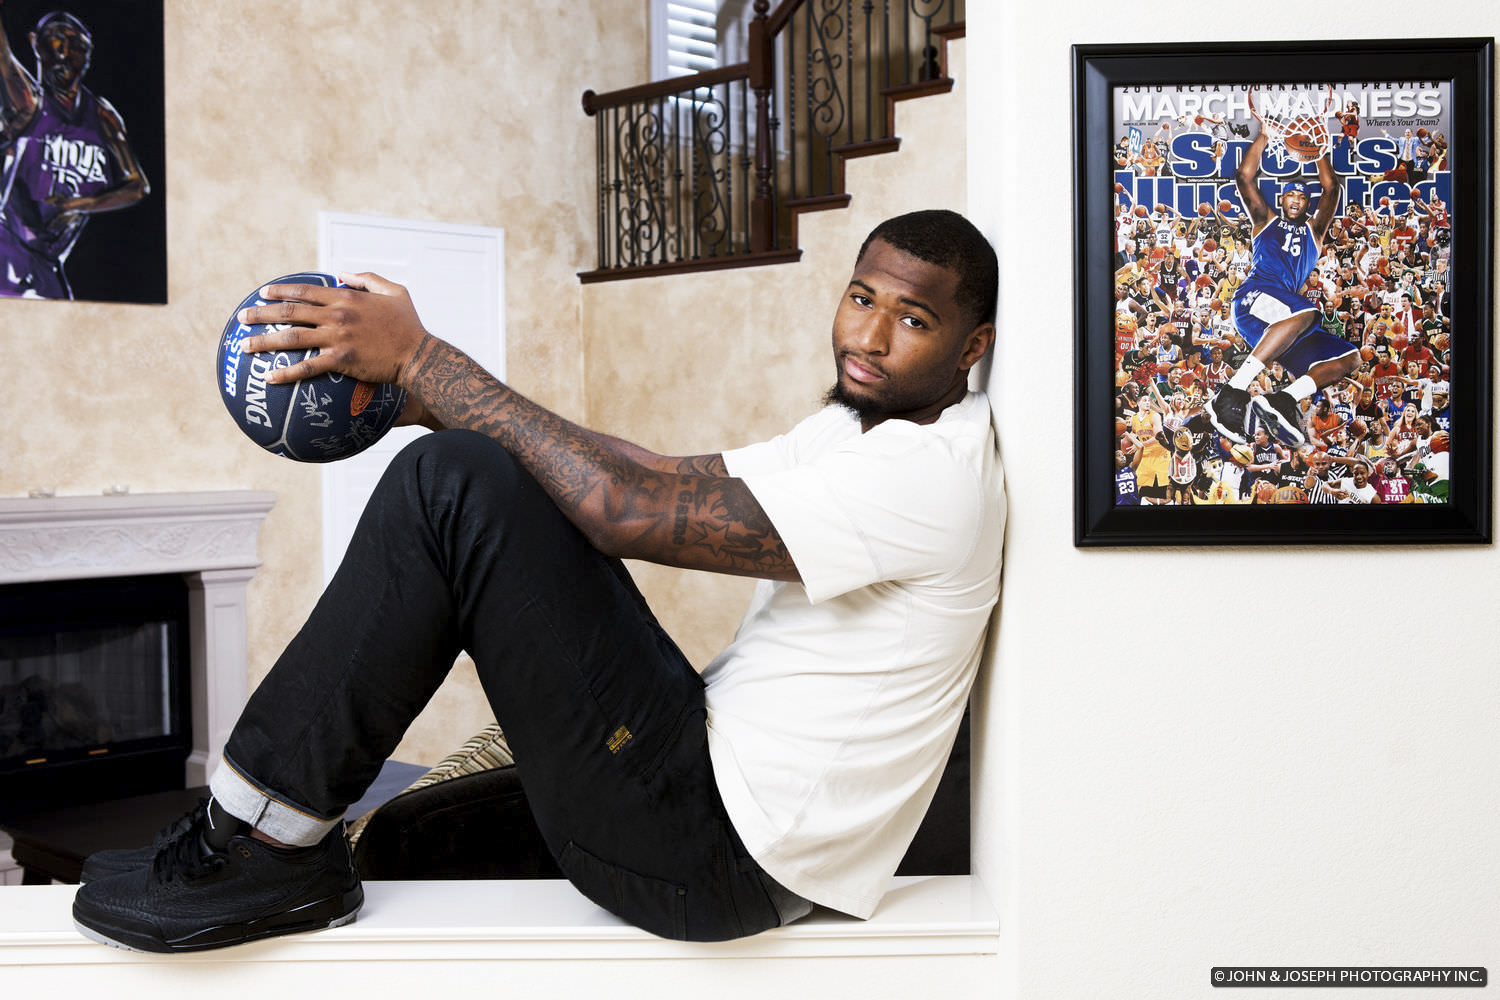
- Portraits in front of a clean background.
- Groom and Groomsmen getting ready
Deleting Photos
- Please remove photos as you edit images. Culling is generally done on loose side, so we expect good LR editors to remove photos as they go through images closely.
- Very redundant, too similar shot = DELETE
- Bride/Groom not looking pretty = DELETE
- Mother of the Bride or Groom not best angle = DELETE
- Double Chin on Bride or Groom = DELETE
Cropping
- Keep original aspect ratio when cropping. 2×3 for most photos and 4.5×6 for some medium format images.
- Yes, please crop and rotate images as needed. Do not crop more than 50% of the image.
- Orientation change is ok. You can crop horizontal photo into a vertical and visa versa. We just want the image to be clean.
Example Galleries:
- https://clients.johnandjoseph.com/shainamarcoanddeanstolarpv/
- https://clients.johnandjoseph.com/hayleynormanandmatthewrotnerpv/
- https://clients.johnandjoseph.com/lynnsunandtomsheehypv/
- https://clients.johnandjoseph.com/cassandramullanyandandersenshenpv/
- https://clients.johnandjoseph.com/samanthahirschmannandeliboskeypv2/
- https://clients.johnandjoseph.com/jacqulinebaltazarandjackhaldruppv/
- https://clients.johnandjoseph.com/emmabernsteinandmarcusmacdonaldpv/
- https://clients.johnandjoseph.com/laurenhebronianddavidyazdanipv/
- https://clients.johnandjoseph.com/claudiaaragonandshauntidwellpv/
- https://clients.johnandjoseph.com/karenelizaldeandjohndegasperispv/